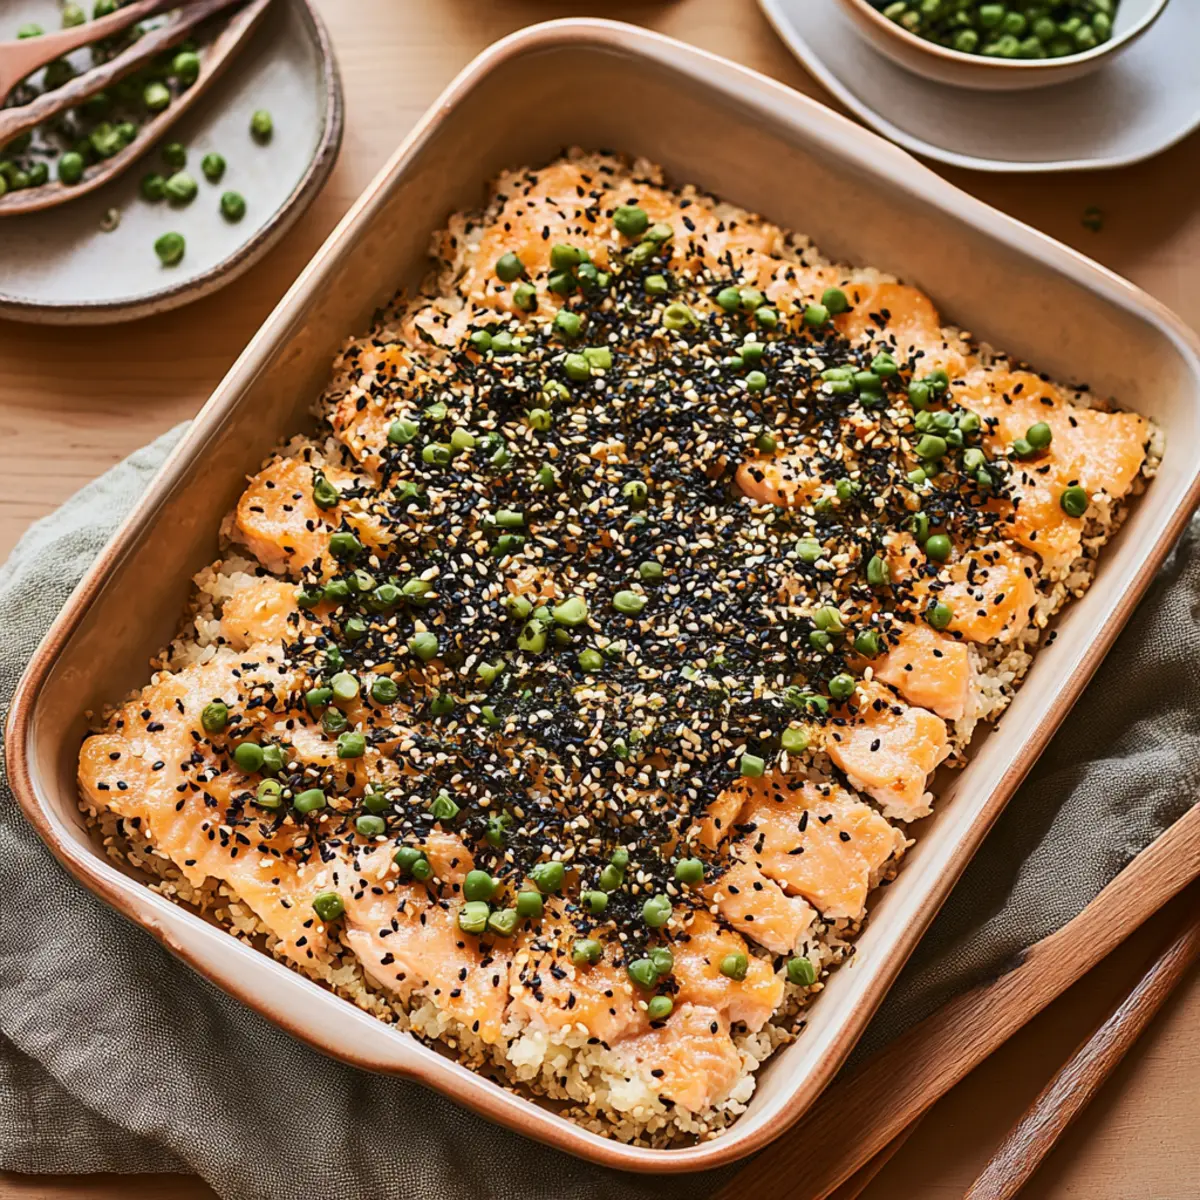
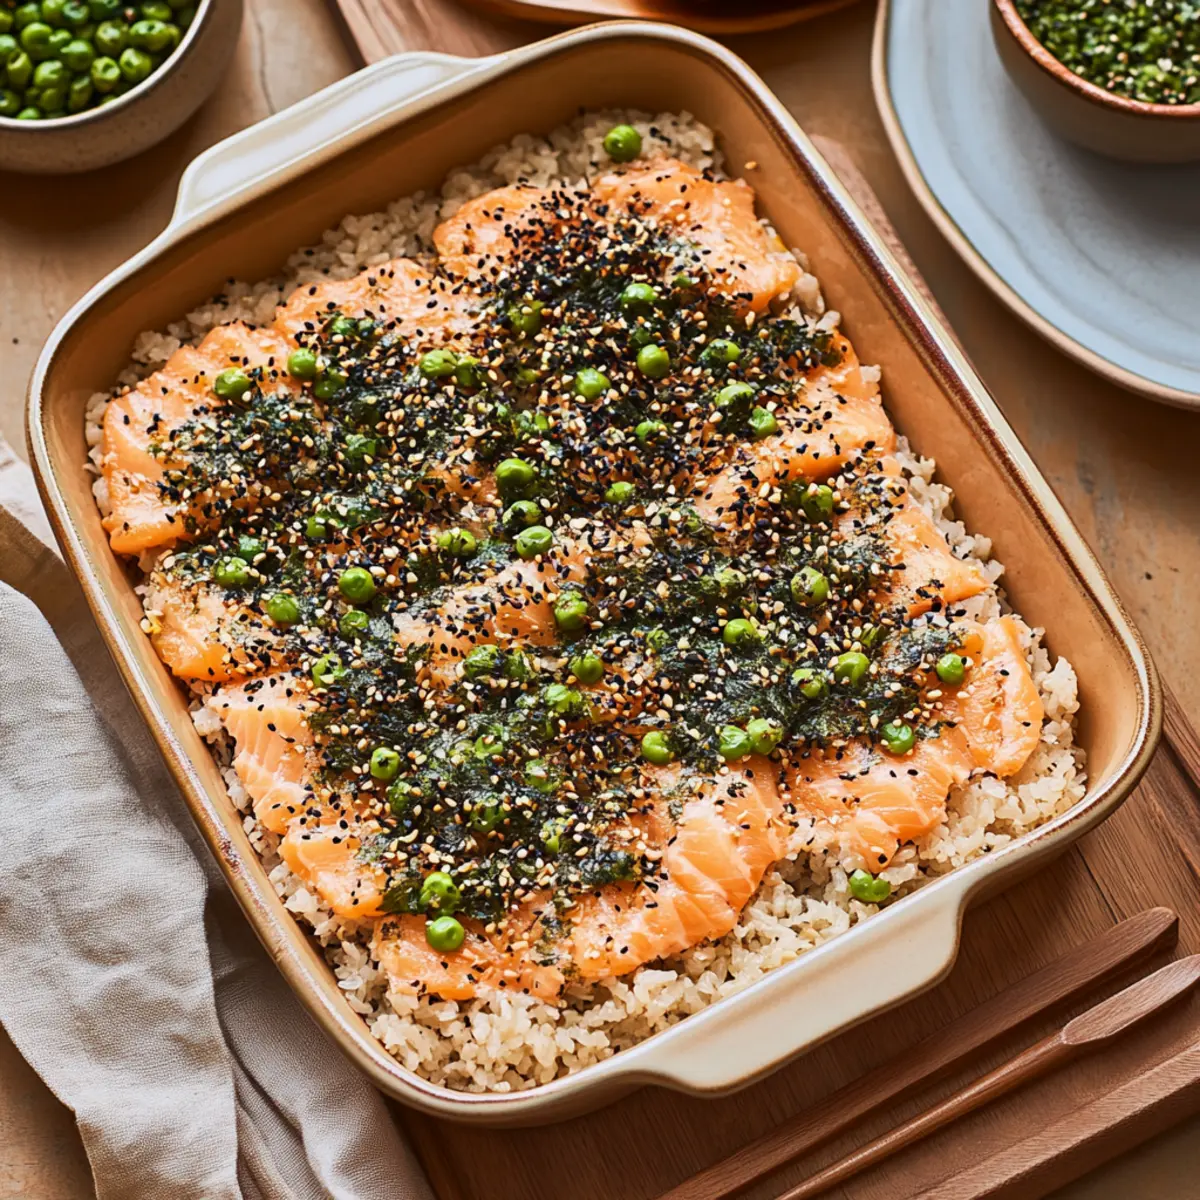
Imagine walking into your kitchen after a long day, expecting the same old dinner routine, and being met with a tantalizing aroma wafting through the air. That’s how I felt when I discovered the Easy Salmon Sushi Bake, a dish that turns the classic sushi experience into a cozy, homey masterpiece. Just picture it: tender baked salmon layered over sticky sushi rice, adorned with vibrant toppings, all melded together for a burst of flavors that will transport you right to your favorite sushi joint.
This recipe is my go-to for those nights when I crave something special but don’t have the luxury of time. It’s incredibly simple to whip together, and dare I say it’s a showstopper at family dinners or friendly gatherings! Plus, with the option to use Coconut Aminos instead of soy sauce, you can easily customize it to fit your taste preferences. Trust me, this is a versatile dish that satisfies cravings and sparks joy around the dinner table. Let’s delve into the details of crafting this delicious salmon bake—your taste buds are in for a treat!
Why is the Salmon Sushi Bake a must-try?
Comforting, Flavorful Dish: The Salmon Sushi Bake takes the beloved flavors of sushi and transforms them into a cozy, baked meal that’s perfect for any night of the week.
Easy Preparation: It’s easy to whip up, making it ideal for busy evenings.
Flavorful Layers: Layers of tender salmon and sticky sushi rice create an explosion of flavors in every bite.
Customizable Ingredients: Enjoy the freedom to use Coconut Aminos for a less salty option, offering a healthier twist.
Crowd-Pleaser: This dish is guaranteed to impress friends and family alike, making it the ultimate entertaining option!
Serve with Fun: Pair it with nori squares or tortilla chips for a fun serving experience!
This Salmon Sushi Bake is truly a delightful choice for any homemade meal that warms the heart and pleases the palate.
Salmon Sushi Bake Ingredients
• Prepare to create a sensational Salmon Sushi Bake!
For the Rice Base
- Sushi Rice – The essential base; cook according to package instructions for the perfect stickiness.
For the Salmon Mixture
- Salmon (1 ½ pounds) – The star of the dish; tender and flavorful when baked or broiled.
- Low Sodium Soy Sauce or Coconut Aminos (½ cup) – Adds savory depth; consider coconut aminos for a less salty twist.
- Toasted Sesame Oil (2 Tablespoons) – Infuses a rich, nutty flavor that elevates the dish.
- Kewpie Mayo (3 Tablespoons) – Provides a creamy richness that binds the ingredients beautifully.
- Sriracha (1 Tablespoon or more) – Delivers the perfect kick; adjust to let your preferences shine through.
- Rice Vinegar (1 Tablespoon) – Adds tanginess that balances the flavors delightfully.
- Cream Cheese (8 ounce container) – Creaminess incarnate, enhancing the texture of the bake.
- Green Onions (1 bunch, chopped) – Freshness and a pop of color to elevate the presentation.
- Furikake Seasoning (¼ cup) – Adds an umami boost and crunch to the top layer.
For Serving
- Nori Squares – Traditional sushi accompaniment for a fun way to enjoy.
- Tortilla Chips – A crunchy twist for dipping and serving.
How to Make Salmon Sushi Bake
- Cook the rice: Prepare sushi rice according to package instructions, ensuring it becomes sticky and fluffy. This base sets the stage for your delicious bake.
- Bake the salmon: Cook the salmon by baking at 375°F for 15-18 minutes, or broil for about 8 minutes. It's done when it flakes easily with a fork.
- Shred the salmon: Allow the cooked salmon to cool slightly, then shred it while removing the skin. This adds texture to your filling.
- Mix ingredients: In a bowl, combine the shredded salmon with soy sauce, sesame oil, kewpie mayo, sriracha, rice vinegar, cream cheese, green onions, and furikake. Stir until blended.
- Preheat oven: Set your oven to 400°F, prepping it for the final bake. This helps achieve a lovely finish on top.
- Layer the rice: Press the cooked sushi rice into an even layer in an 8x8 or 9x11 baking dish. This accommodates the salmon filling perfectly.
- Add salmon mixture: Spoon the salmon mixture evenly over the rice layer, ensuring every bite has flavor.
- Sprinkle toppings: Generously sprinkle furikake seasoning on top for that extra umami kick.
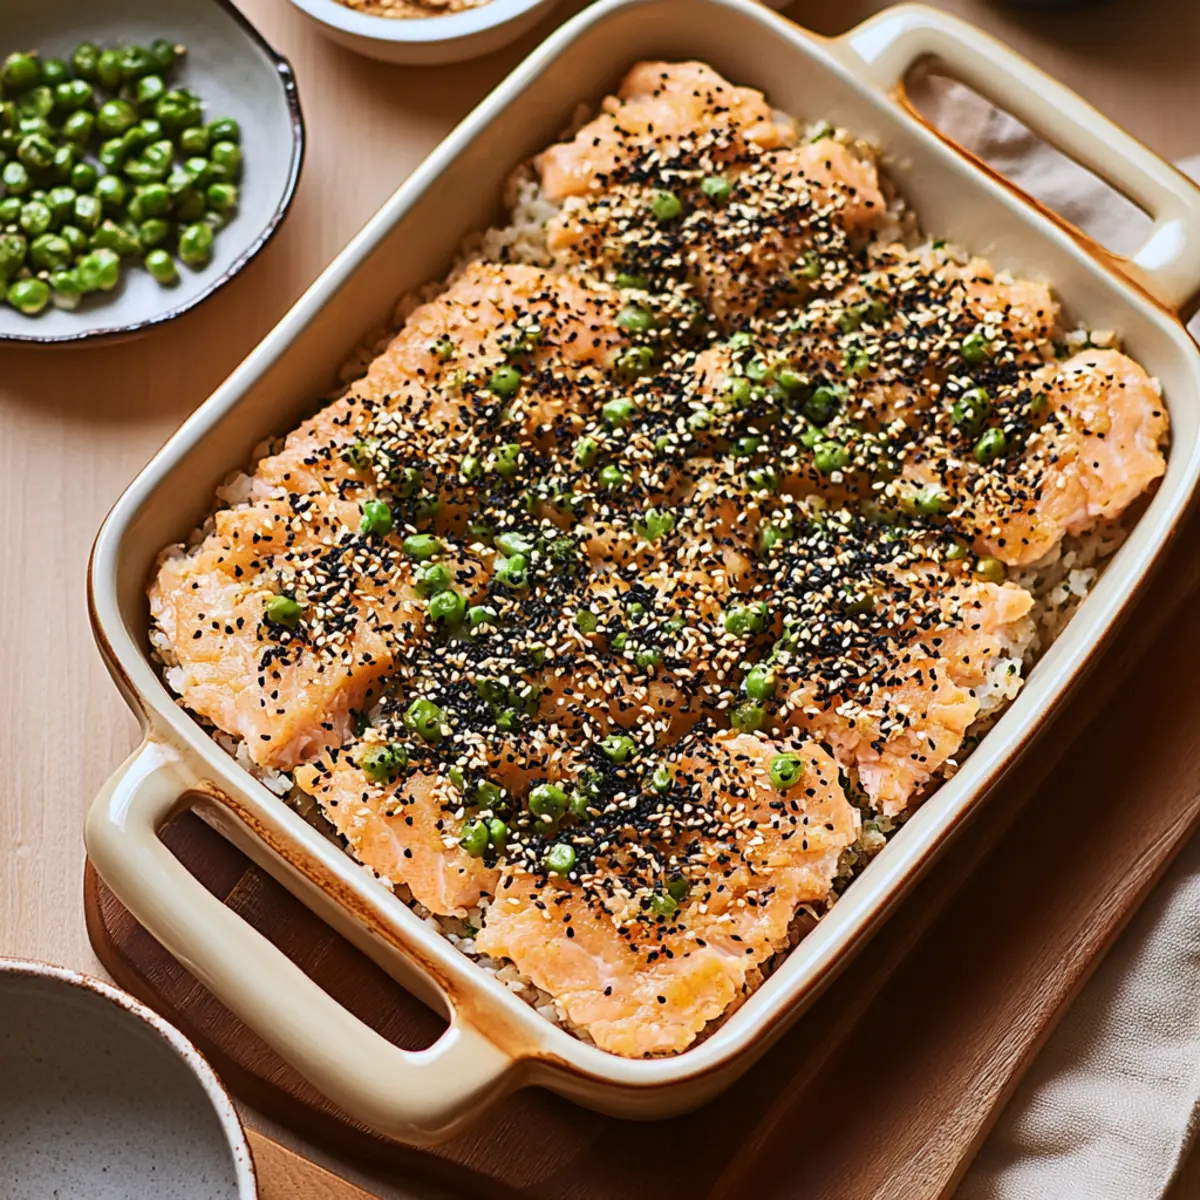
- Bake: Place the dish in the oven and bake for about 10 minutes. Then, broil for an additional 2-3 minutes until the top is lightly browned.
- Serve: Dish out your vibrant Salmon Sushi Bake immediately with nori squares or tortilla chips. Enjoy the fun of assembling bites!
Optional: Add thinly sliced avocado on top for an extra creamy touch.
Exact quantities are listed in the recipe card below.
What to Serve with Salmon Sushi Bake?
Imagine the delightful crunch of fresh sides and savory drinks that will elevate your culinary experience and bring your dinner to life.
- Crispy Edamame: Lightly salted and roasted, they offer a crunchy contrast that perfectly complements the creamy salmon.
- Seaweed Salad: Refreshing and slightly tangy, its umami flavor balances the richness of the bake.
- Miso Soup: A warm bowl adds depth and tradition, enhancing your sushi-inspired dinner with comforting aromas.
- Pickled Ginger: The zesty kick cleanses the palate, adding a refreshing note that ties each bite together beautifully.
- Chilled Sake: Serve this Japanese rice wine chilled; the smoothness and fragrance pairs exquisitely with the dish’s flavors.
- Cucumber Sushi Rolls: Light and crunchy, they echo the sushi theme and add a refreshing element to the meal.
- Mango Sticky Rice: A sweet and creamy dessert that contrasts the savory notes of the sushi bake, making for a delightful finale.
- Japanese Beer: A cold Asahi or Sapporo will enhance the flavors, making your meal feel festive and complete.
These pairings create a symphony of textures and flavors, turning your Salmon Sushi Bake dinner into a full-fledged culinary adventure!
Expert Tips for Making Salmon Sushi Bake
- Sticky Rice: Ensure your sushi rice is cooked according to package instructions; this creates the essential sticky base for your Salmon Sushi Bake.
- Skin-Free Salmon: Always remove the salmon skin before mixing it into the filling to achieve a smooth, creamy texture.
- Sriracha Adjustments: Feel free to adjust the amount of Sriracha to suit your heat preference; it can make a big difference in flavor balance.
- Coconut Aminos Option: Consider using Coconut Aminos instead of soy sauce for a lower-sodium alternative that still packs a savory punch.
- Golden Crust: For that perfect golden crust, broil the bake for an additional 2-3 minutes after baking; it adds an irresistible finishing touch.
How to Store and Freeze Salmon Sushi Bake
Fridge: Store leftover Salmon Sushi Bake in an airtight container in the fridge for up to 3 days. Reheat in the oven at 350°F until warmed through for the best texture.
Freezer: You can freeze the Salmon Sushi Bake for up to 3 months. Wrap portions tightly in plastic wrap and aluminum foil, then store in a freezer-safe container.
Thawing: To reheat, thaw overnight in the fridge and reheat in a 350°F oven until hot. This helps retain the dish's flavors and moisture.
Reheating: Enjoy your reheated Salmon Sushi Bake with fresh toppings like green onions, nori, or a drizzle of extra kewpie mayo for a delicious twist!
Salmon Sushi Bake Variations
Feel free to mix and match with these delicious twists to elevate your Salmon Sushi Bake experience!
- Coconut Aminos: Replace soy sauce with coconut aminos for a gluten-free, less salty flavor without compromising taste.
- Spicy Mayo: Enhance the creaminess by substituting regular mayo with spicy mayo for an extra kick.
- Vegetable Medley: Add diced bell peppers, carrots, or zucchini for a colorful veggie boost that adds texture and flavor.
- Avocado Slices: Top your bake with fresh avocado slices before serving for a creamy, rich finish on every bite.
- Quinoa Base: Swap out sushi rice for cooked quinoa to incorporate a nutty flavor and an added protein punch.
- Nori Crumble: Instead of whole nori, crumble it on top before serving, adding a delightful crunch and oceanic flavor.
- Sriracha Drizzle: For those who crave heat, drizzle extra sriracha on top before serving to personalize the spice level to your preference.
- Sesame Seeds: Toasted sesame seeds sprinkled on top give a nutty aroma and a visual appeal.
Let your culinary creativity shine by trying out these variations, making each Salmon Sushi Bake a unique masterpiece!
Easy Salmon Sushi Bake Recipe FAQs
Can I use canned salmon for sushi bake?
Absolutely! Canned salmon can be a convenient alternative. If you choose to use canned, simply drain it well and shred it into the mixture. Just make sure to check if it’s seasoned so you can adjust other ingredients accordingly.
Can I make sushi with cooked salmon?
Very much so! Cooked salmon works wonderfully in sushi or sushi-inspired dishes like this bake. The rich flavor of cooked salmon pairs beautifully with creamy and tangy ingredients, making for a delicious meal that’s sure to please.
How long to bake sushi bake at 375 degrees?
You’ll want to bake the Salmon Sushi Bake at 375°F for about 15-18 minutes. Keep an eye on it for that luscious flaky texture. If you're feeling a bit adventurous, broil it for an additional 2-3 minutes after baking to give it a gorgeous golden crust.
What do you soak salmon in for sushi?
If you're preparing fresh salmon for sushi, soaking it in a mixture of rice vinegar, salt, and a touch of sugar for about 15-30 minutes can enhance the flavor and help to 'cure' it slightly. This step adds a nice tanginess that pairs well with sushi rice.
Can I use Costco salmon to make sushi?
Certainly! Costco offers high-quality salmon that can be great for sushi or a sushi bake. Just ensure that it's labeled sushi-grade or fresh, which will ensure it’s safe to eat raw if you ever choose to venture into sushi rolls.
Is all canned salmon already cooked?
Yes, most canned salmon is fully cooked before being canned, which makes it safe to eat straight from the can. Just be sure to check the label to confirm, as some options may require cooking or additional preparation for the best flavors.
Irresistibly Easy Salmon Sushi Bake for a Cozy Night In
Ingredients
- 2 cups sushi rice
- 1 ½ pounds salmon
- ½ cup low sodium soy sauce or Coconut Aminos
- 2 Tablespoons toasted sesame oil
- 3 Tablespoons Kewpie mayo
- 1 Tablespoon Sriracha
- 1 Tablespoon rice vinegar
- 8 ounces cream cheese
- 1 bunch green onions chopped
- ¼ cup furikake seasoning
- as needed nori squares
- as needed tortilla chips
Instructions
- Cook the rice: Prepare sushi rice according to package instructions, ensuring it becomes sticky and fluffy.
- Bake the salmon: Cook the salmon by baking at 375°F for 15-18 minutes, or broil for about 8 minutes.
- Shred the salmon: Allow the cooked salmon to cool slightly, then shred it while removing the skin.
- Mix ingredients: In a bowl, combine the shredded salmon with soy sauce, sesame oil, kewpie mayo, sriracha, rice vinegar, cream cheese, green onions, and furikake. Stir until blended.
- Preheat oven: Set your oven to 400°F.
- Layer the rice: Press the cooked sushi rice into an even layer in an 8x8 or 9x11 baking dish.
- Add salmon mixture: Spoon the salmon mixture evenly over the rice layer.
- Sprinkle toppings: Generously sprinkle furikake seasoning on top.
- Bake: Place the dish in the oven and bake for about 10 minutes, then broil for an additional 2-3 minutes.
- Serve: Dish out your vibrant Salmon Sushi Bake immediately with nori squares or tortilla chips.
Notes
- Sticky Rice: Ensure your sushi rice is cooked according to package instructions.
- Skin-Free Salmon: Always remove the salmon skin before mixing it into the filling.
- Sriracha Adjustments: Feel free to adjust the amount of Sriracha to suit your heat preference.
- Coconut Aminos Option: Consider using Coconut Aminos instead of soy sauce for a lower-sodium alternative.
- Golden Crust: Broil the bake for an additional 2-3 minutes for that perfect golden crust.