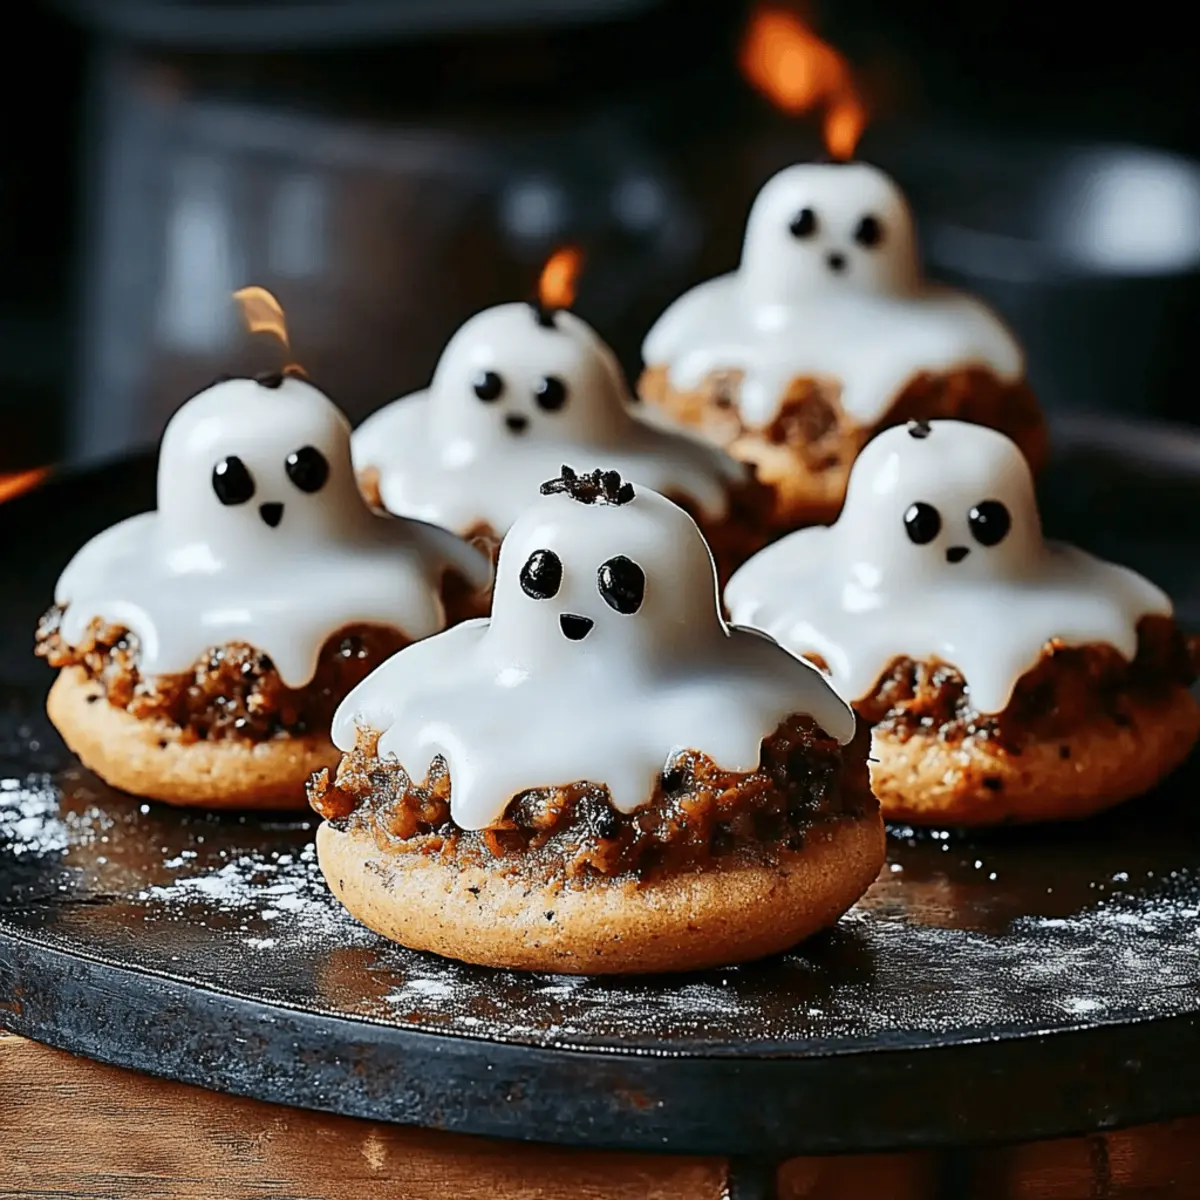
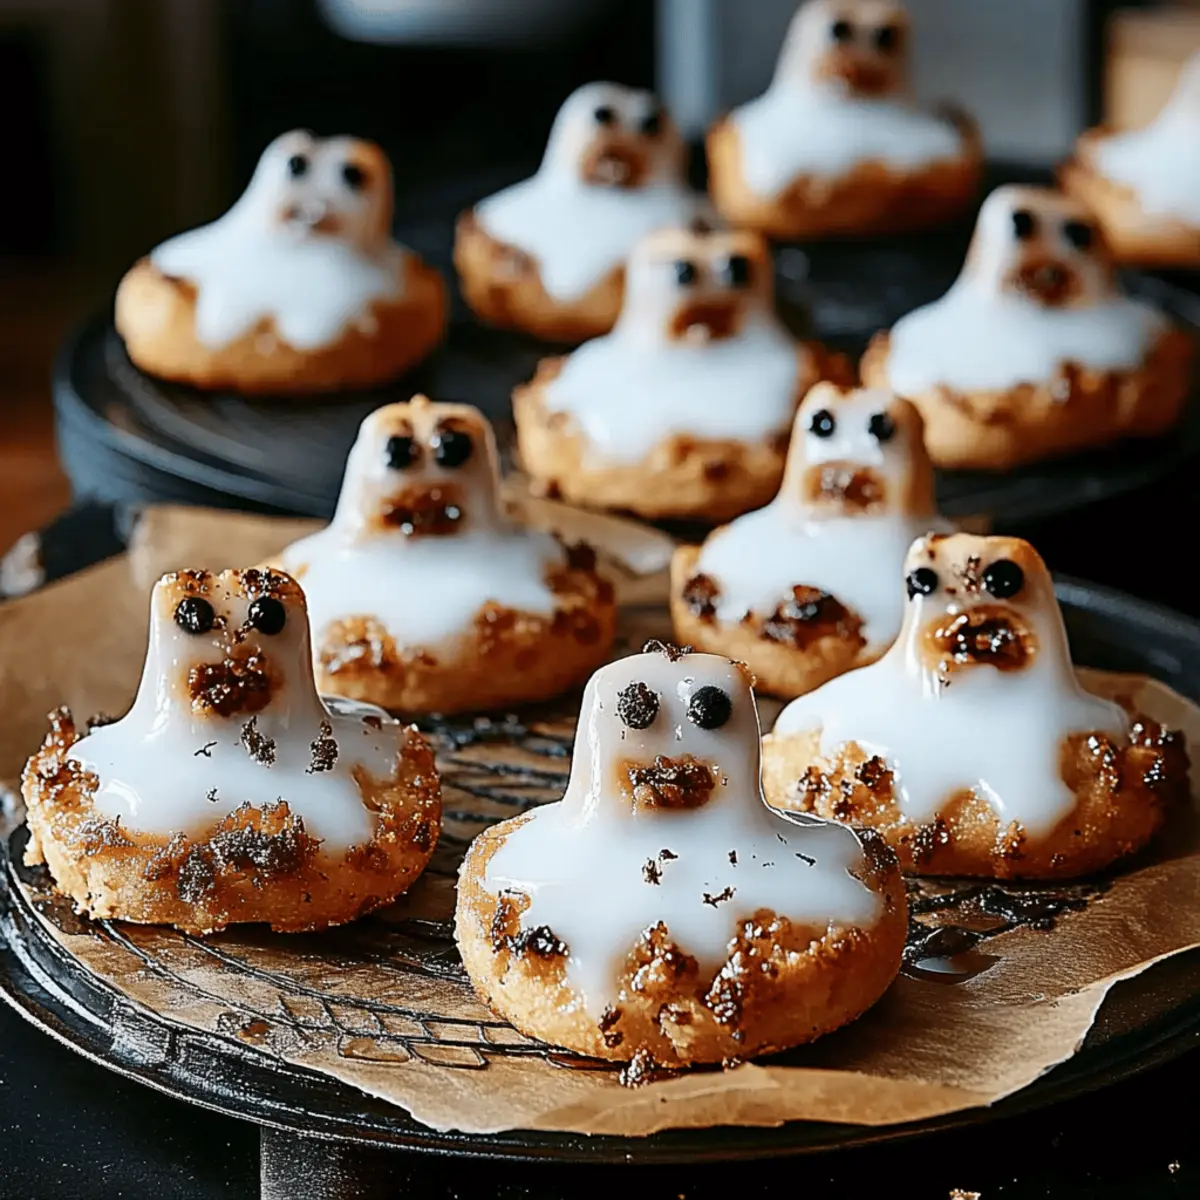
As I unwrapped the delightful aroma of freshly baked cookies, I couldn’t help but smile at the memories flooding back. These Ghost Cookies, with their rich chocolate chips and soft, chewy centers, are my go-to comfort food. Perfect for those cozy evenings or as an unexpected treat for guests, these cookies come together in just under half an hour—ideal for busy schedules! With simple ingredients and quick prep, they promise a delicious escape from the mundane routine of fast food. Plus, who doesn’t love a batch of warm cookies straight from the oven? Are you ready to fill your kitchen with sweet nostalgia? Let’s dive into the world of baking these delightful Ghost Cookies together!
Why are these Ghost Cookies unforgettable?
Irresistible Taste: With rich chocolate chips melting into a chewy center, each bite offers a delightful explosion of flavor that will leave everyone wanting more.
Quick and Easy: Whip them up in just 26 minutes, making them perfect for spontaneous cravings or unexpected guests.
Perfect for Any Occasion: Whether it's a Halloween gathering or a cozy family night, these cookies add a touch of festive fun to every event.
Crowd-Pleasing Treat: Everyone loves chocolate chip cookies, and these spooky twists are guaranteed to please both kids and adults alike.
Heartwarming Memories: Baking these cookies invites nostalgia, creating moments that you’ll cherish with family and friends. Try them for yourself, and savor the magic of homemade treats!
Ghost Cookies Ingredients
Get ready to bake these delightful treats!
For the Cookie Base
- 2 ¼ cups all-purpose flour – This forms the backbone of your Ghost Cookies, giving them that perfect chewy texture.
- ½ teaspoon baking soda – A little leavening magic to help your cookies rise just right.
- 1 cup unsalted butter – Softened to room temperature, this adds richness and flavor, ensuring your cookies are melt-in-your-mouth delicious.
- ½ cup granulated sugar – For a touch of sweetness that balances perfectly with the brown sugar.
- 1 cup packed brown sugar – This gives your cookies a chewy texture and a hint of caramel flavor.
- 1 teaspoon salt – Enhances all the flavors for the ultimate sweet-and-salty combination.
- 2 teaspoons pure vanilla extract – Adds a warm, aromatic depth that everyone will love.
- 2 large eggs – These bring moisture and structure, helping your cookies hold their shape.
- 2 cups chocolate chips – The star of the show! Use semisweet or dark chocolate for a rich, melty surprise in every bite.
For the Ghostly Decoration
- White chocolate melts – Perfect for drizzling over the cookies, giving them a spooky ghostly appearance.
- Chocolate icing – For creating eyes and smiles, personalizing your Ghost Cookies for a fun touch.
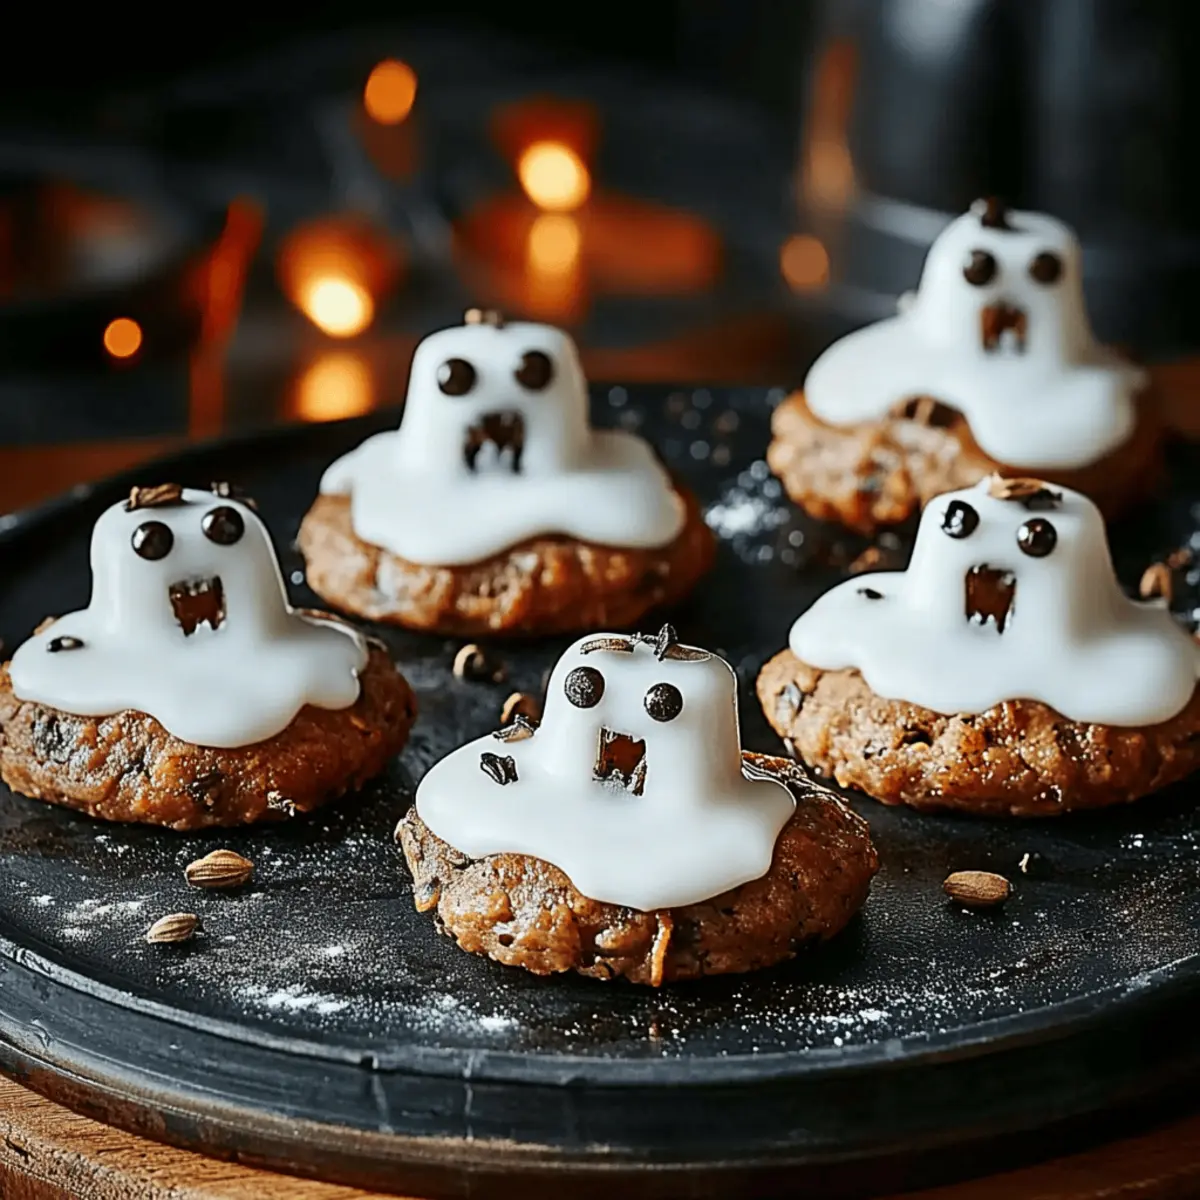
These Ghost Cookies are a whimsical twist on the classic chocolate chip recipe, making them a seasonal favorite!
Step‑by‑Step Instructions for Ghost Cookies
Step 1: Preheat the Oven
Start by preheating your oven to 375°F (190°C), ensuring it’s perfectly warmed for baking. This step is crucial for achieving those golden edges on your Ghost Cookies. Grab a baking sheet, and line it with parchment paper to prepare for the cookies to come.
Step 2: Mix the Dry Ingredients
In a small bowl, whisk together 2 ¼ cups of all-purpose flour and ½ teaspoon of baking soda until well combined. This mixture will help give your Ghost Cookies the right texture. Set this aside as you move onto the wet ingredients, ensuring everything is organized as you bake.
Step 3: Cream the Sugars and Butter
In a large mixing bowl, cream together 1 cup of unsalted butter, ½ cup of granulated sugar, 1 cup of packed brown sugar, and 1 teaspoon of salt. Use a hand mixer or stand mixer for about 2–3 minutes until the mixture is smooth and creamy, with a light and fluffy consistency that’s just begging to be baked.
Step 4: Add Eggs and Vanilla
Beat in 2 teaspoons of pure vanilla extract and 2 large eggs to the butter-sugar mixture. Continue mixing for another minute until fully combined, ensuring a smooth batter that will soon transform into your enchanting Ghost Cookies. The aroma will make your kitchen feel inviting and warm.
Step 5: Combine Wet and Dry Mixtures
Gradually add the dry flour mixture to the creamed butter blend, stirring gently until just combined. Be careful not to overmix—this will keep your Ghost Cookies soft and chewy. The dough should be slightly sticky, signaling that you're on the right track to cookie perfection.
Step 6: Fold in the Chocolate Chips
Gently fold in 2 cups of chocolate chips using a spatula. Make sure the chocolate is evenly distributed throughout the dough, so each bite of your Ghost Cookies is a delightful surge of sweetness. The chocolate chips are the stars, adding a decadent touch to your chewy base.
Step 7: Shape the Cookie Dough
Using a tablespoon, drop rounded balls of dough onto the ungreased baking sheets, spacing them about 2 inches apart. This allows the cookies to spread while they bake—watch them puff up and become beautifully golden. You should see the dough glistening with chocolate chips peeking through.
Step 8: Bake to Perfection
Place the baking sheets in your preheated oven and bake for 9 to 11 minutes. Keep an eye on them; they’re ready when the edges turn golden brown, but the centers might look slightly soft—that’s the perfect indication of a chewy Ghost Cookie awaiting your enjoyment!
Step 9: Cool and Decorate
Once baked, remove the sheets from the oven and let the cookies cool for a few minutes. Then transfer them to a wire rack to cool completely. When they cool down, drizzle white chocolate melts over the top to give them a ghostly appearance, using chocolate icing for eyes and smiles to complete the spooky look!
Make Ahead Options
These Ghost Cookies are perfect for meal prep enthusiasts! You can prepare the cookie dough up to 24 hours in advance by mixing all the ingredients (excluding the chocolate chips) and storing it in an airtight container in the refrigerator. This helps maintain their freshness and flavor. You can also scoop out the dough onto baking sheets and freeze the individual cookie balls for up to 3 months. When you're ready to bake, simply place them on a baking sheet directly from the freezer and bake for an additional minute or two. This way, you’ll have warm, gooey Ghost Cookies at a moment’s notice—perfect for busy weeknights or surprise guests!
Ghost Cookies Variations to Try
Feel free to let your creativity shine with these tasty twists on the classic Ghost Cookies recipe!
-
Nutty Surprise: Add 1 cup of chopped nuts for a crunchy texture and nutty flavor that complements the chocolate perfectly. A blend of walnuts or pecans provides a delightful crunch in every bite!
-
Family-Friendly Gluten-Free: Substitute all-purpose flour with a gluten-free baking blend to make these cookies celiac-friendly. The texture may vary a bit, but they’ll still delight family members of all dietary needs!
-
Boozy Twist: Incorporate 1 tablespoon of your favorite liqueur, like rum or Irish cream, into the cookie dough for an adult spin on a classic treat. This adds a warm, comforting flavor—perfect for gatherings!
-
Spicy Kick: Mix in 1 teaspoon of cinnamon or a pinch of cayenne pepper for an unexpected spiciness. The sweet and spicy interplay can elevate your cookies to a whole new level!
-
Vegan Ghosts: Use plant-based butter and flax eggs (1 tablespoon flaxseed mixed with 3 tablespoons water) for a vegan version of these cookies. They’ll still be blissfully chewy and deliciously ghostly!
-
Chocolate Lovers: Replace half the chocolate chips with white chocolate chips for an unforgettable combination of flavors. This twist gives a beautiful contrast to the visual appeal of the cookies!
-
Seasonal Flavors: Add a teaspoon of pumpkin spice for a fall-inspired cookie that beautifully melds with the chocolate taste. This perfect seasonal swap will have your guests raving about the festive twist!
-
Fruitful Add-ins: Toss in ½ cup of dried cranberries or cherries for a sweet-tart contrast. This fruity addition adds not just flavor but delightful little surprises in every chewy bite.
Whether you’re exploring new flavors or accommodating dietary needs, these variations will keep your Ghost Cookies exciting and adaptable for all to love! If you're curious about how these changes might combine beautifully, consider checking out my recipe for Classic Chocolate Chip Cookies or dive into a seasonal favorite with Pumpkin Spice Chocolate Chip Cookies!
How to Store and Freeze Ghost Cookies
Room Temperature: Keep your Ghost Cookies in a sealed container at room temperature for up to 3 days. This helps maintain their soft, chewy texture while ensuring they stay fresh.
Fridge: For prolonged freshness, store the cookies in the fridge for up to a week. Just be sure to use an airtight container to prevent them from drying out or absorbing any fridge odors.
Freezer: Freeze your Ghost Cookies for up to 3 months. Place them in a freezer-safe bag or container with parchment paper between layers to avoid sticking.
Reheating: When ready to enjoy, simply warm them in the microwave for about 10-15 seconds or in the oven at 350°F (175°C) for 5 minutes to bring back their deliciously chewy texture.
What to Serve with Ghost Cookies
Feel the warm embrace of nostalgia as you create a delightful feast around these charming treats.
-
Ice-Cold Milk: The classic pairing that never disappoints! Whether whole or chocolate milk, it perfectly enhances the sweetness of the cookies.
-
Pumpkin Spice Latte: Wrap yourself in fall flavors! This creamy, spiced drink offers a cozy complement to the chocolatey delight of your Ghost Cookies.
-
Gingerbread Biscotti: For a crunchy texture contrast, these spiced cookies are a delightful choice and add a festive touch to your dessert spread.
-
Vanilla Ice Cream: Serve a scoop alongside your cookies for a decadent dessert. The creaminess balances the sweetness and makes for a rich experience.
-
Chocolate Fondue: Dip your Ghost Cookies into warm, melted chocolate for an indulgent treat that’s sure to impress friends at your spooky gathering.
-
Caramel Apple Slices: Fresh, crisp apples drizzled with creamy caramel offer a refreshing and slightly tart contrast that pairs perfectly with cookies.
For drinks, consider serving fun-themed cocktails or mocktails to keep the occasion spirit high while enjoying these delightful Ghost Cookies!
Helpful Tricks for Ghost Cookies
-
Ingredient Temperature: Ensure your butter is at room temperature. This creates a creamy texture when combined with sugars, yielding soft and chewy Ghost Cookies.
-
Don’t Overmix: When combining your wet and dry ingredients, mix just until incorporated. Overmixing can lead to tough cookies instead of the desired softness.
-
Perfect Spacing: Drop your cookie dough about 2 inches apart to allow for spreading during baking. This will help them rise and keep their shape for those iconic ghostly puffs.
-
Baking Time: Keep an eye on the cookies as they bake. Remove them from the oven when they’re golden around the edges but slightly soft in the center—perfect for that chewy texture your Ghost Cookies need.
-
Decorate After Cooling: Allow your cookies to cool on a wire rack before decorating. This prevents the white chocolate drizzle from melting and creates a striking ghostly appearance.
Ghost Cookies Recipe FAQs
What is the best way to select ripe ingredients for my Ghost Cookies?
Absolutely! When choosing ingredients like butter, ensure it's softened to room temperature; this enhances creaminess and is key for texture. For eggs, use large, fresh ones. For the chocolate chips, opt for semisweet or dark, depending on your preference—choose high-quality brands for the best flavor.
How should I store my Ghost Cookies?
The more the merrier! Store your Ghost Cookies in a sealed container at room temperature for up to 3 days to keep them soft and chewy. If you want them to last longer, refrigerate them in an airtight container for up to a week. This way, you can enjoy the spooky taste for a bit longer!
Can I freeze my Ghost Cookies?
Absolutely! To freeze your Ghost Cookies, allow them to cool completely. Then, place them in a freezer-safe bag or container with parchment paper between layers to prevent sticking. They can last for up to 3 months in the freezer. When you’re ready to enjoy them, thaw overnight in the fridge or at room temperature.
What should I do if my Ghost Cookies spread too much while baking?
If your cookies spread too much, it could be due to overly warm butter—ensure it’s just softened, not melted. Also, check that you measured your flour correctly; a bit too little may lead to excess spreading. If the dough is too soft, chilling it in the fridge for about 30 minutes before baking can help maintain their shape.
Are these cookies safe for pets or people with allergies?
Very good question! Ghost Cookies contain ingredients like butter and chocolate, which can be harmful to pets, especially dogs. For allergies, be aware that they contain gluten and dairy. If you need to make them allergy-friendly, consider using gluten-free flour and dairy-free chocolate chips.
How do I decorate my Ghost Cookies for a spooky touch?
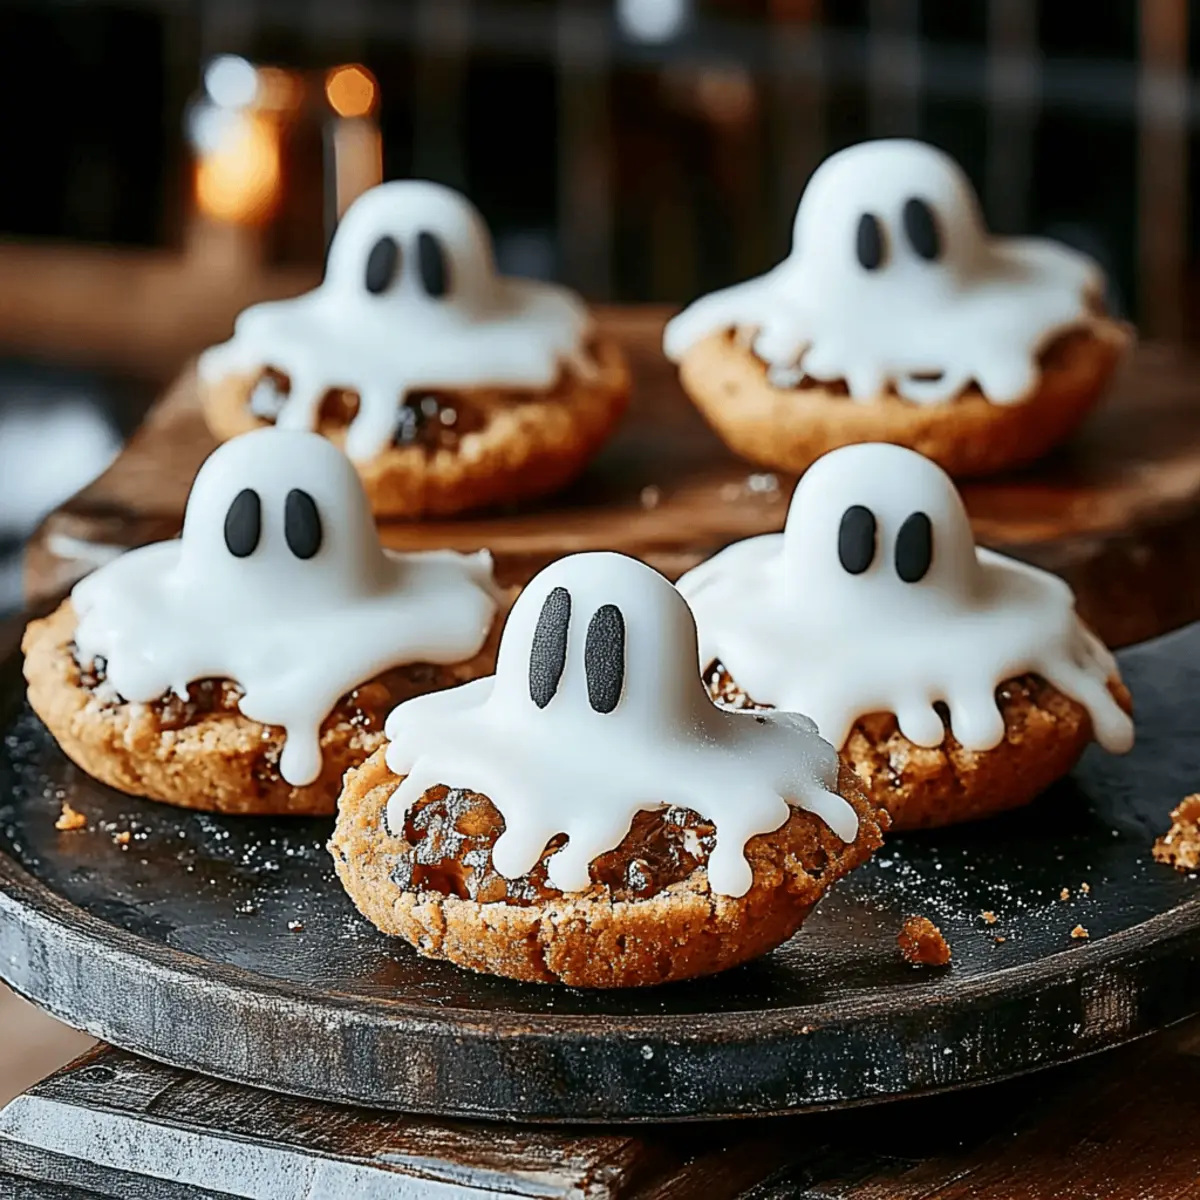
Get creative! Once your cookies are cooled, melt white chocolate and drizzle it over the cookies to create a ghostly appearance. For the eyes and smiles, use chocolate icing to pipe on your design. This not only makes them fun but allows for personalization—don’t be afraid to get playful with your spooky decorations!
Boo-tiful Ghost Cookies Perfect for Spooky Treats
Equipment
- Oven
- Mixing bowls
- Baking sheets
- Parchment Paper
- spatula
- Whisk
- hand mixer
Ingredients
For the Cookie Base
- 2.25 cups all-purpose flour This forms the backbone of your Ghost Cookies.
- 0.5 teaspoon baking soda A little leavening magic to help your cookies rise.
- 1 cup unsalted butter Softened to room temperature for richness and flavor.
- 0.5 cup granulated sugar Adds a touch of sweetness.
- 1 cup packed brown sugar Gives a chewy texture and hint of caramel flavor.
- 1 teaspoon salt Enhances all flavors.
- 2 teaspoons pure vanilla extract Adds warm aroma.
- 2 large eggs Brings moisture and structure.
- 2 cups chocolate chips Use semisweet or dark chocolate.
For the Ghostly Decoration
- white chocolate melts For drizzling over cookies.
- chocolate icing For creating eyes and smiles.
Instructions
Step‑by‑Step Instructions for Ghost Cookies
- Preheat your oven to 375°F (190°C) and line a baking sheet with parchment paper.
- In a small bowl, whisk together the flour and baking soda until well combined.
- In a large bowl, cream together the butter, granulated sugar, brown sugar, and salt until smooth and creamy.
- Beat in the vanilla extract and eggs until fully combined.
- Gradually add the dry flour mixture to the creamed butter blend, stirring gently until just combined.
- Fold in the chocolate chips using a spatula until evenly distributed.
- Drop rounded balls of dough onto the baking sheets, spacing them about 2 inches apart.
- Bake for 9 to 11 minutes until edges are golden brown, but centers remain slightly soft.
- Cool for a few minutes on the baking sheets, then transfer to a wire rack. Decorate with white chocolate and icing.