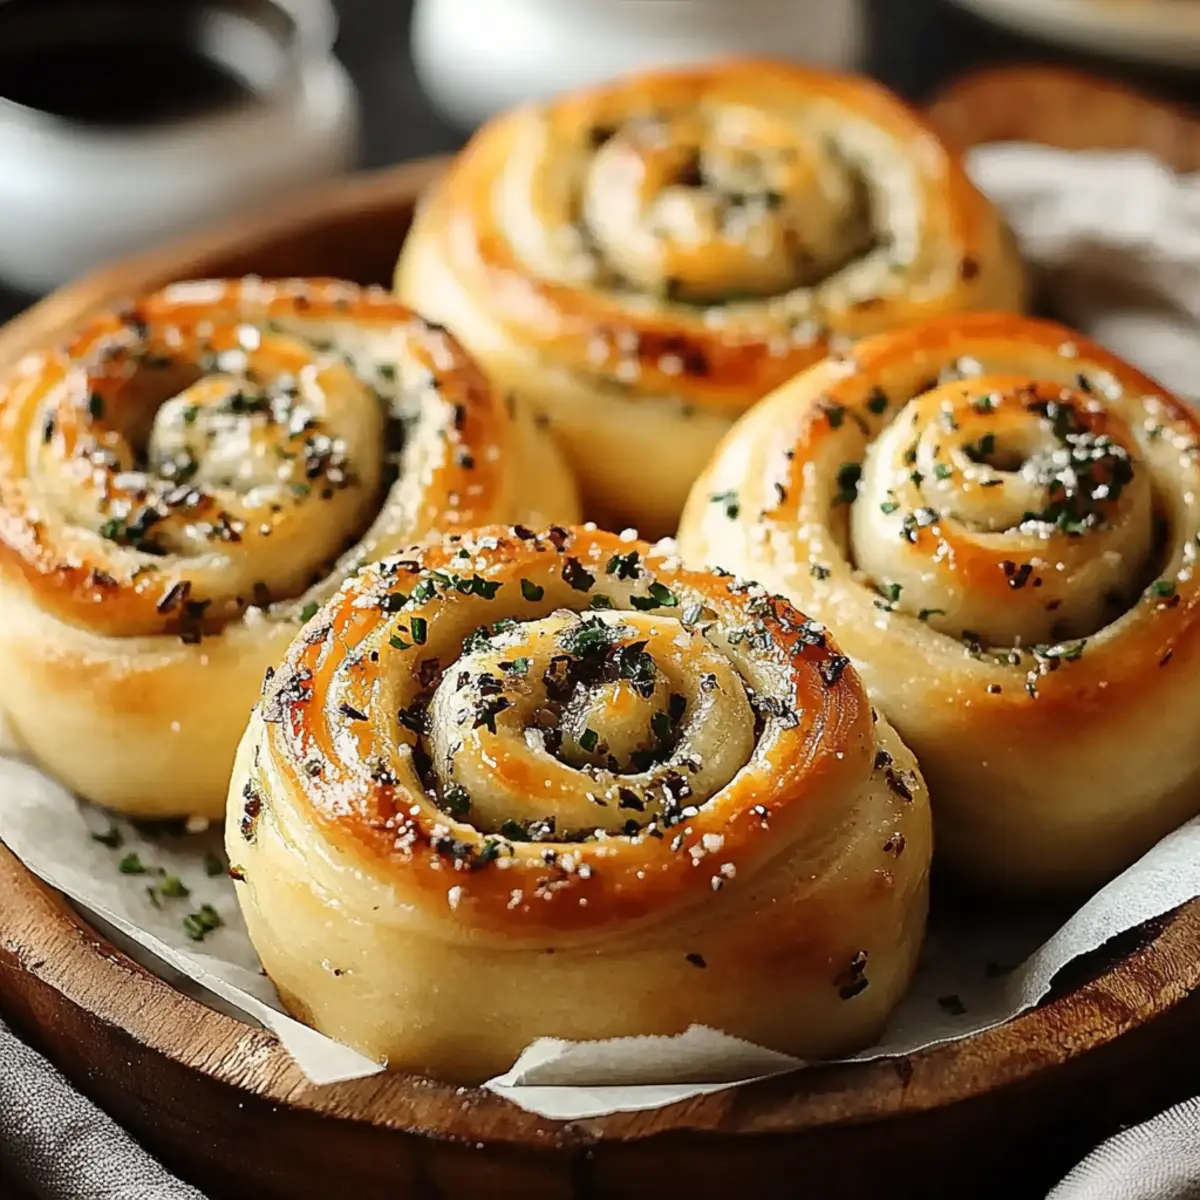
As I stood in my kitchen, the aroma of fresh garlic swirling through the air took me back to my grandmother's Sunday dinners—warm, inviting, and filled with a sense of home. Today, I’m excited to share my recipe for Garlic Swirl Rolls, a delightful twist on traditional rolls that will elevate any meal. Not only are these rolls simple to make, but they also offer the perfect touch of flavor that even the busiest home chefs will appreciate. Imagine serving these fluffy, garlicky wonders alongside your favorite dishes or enjoying them straight out of the oven as an irresistible snack. Whether you’re looking to impress guests or simply treat yourself, these rolls are sure to become a staple in your kitchen. Are you ready to swirl up some deliciousness?
Why Are Garlic Swirl Rolls a Must-Try?
Irresistible aroma: The moment these rolls start to bake, your kitchen will fill with a mouthwatering garlic scent that’s impossible to resist.
Easy preparation: Even if you’re new to baking, these rolls are straightforward and cater to all skill levels.
Versatile pairings: Serve them alongside family favorites, like Roasted Garlic Parmesan or simply enjoy them on their own!
Crowd-pleaser: Perfect for gatherings; these rolls are sure to be a hit at any celebration.
Homemade delight: A cozy alternative to store-bought options, making your meals even more special. Don't forget to check out my Cheese Garlic Crack for another flavorful addition!
Garlic Swirl Rolls Ingredients
For the Dough
- All-purpose flour – the backbone of your rolls, giving them that fluffy texture.
- Yeast – essential for allowing the dough to rise and creating lightness in each bite.
- Warm water – activates the yeast, so ensure it’s not too hot to touch.
- Sugar – nurtures the yeast for a better rise; a touch is all you need!
- Salt – adds flavor and balances out the sweetness of the sugar.
- Olive oil – keeps the dough moist and adds a hint of richness.
For the Filling
- Garlic – freshly minced garlic will infuse an irresistible flavor throughout the rolls.
- Butter – melts into the dough, providing a rich, comforting layer of taste.
- Parsley – fresh parsley gives a burst of color and a fresh, herby note.
- Parmesan cheese – adds a nutty, savory depth that complements the garlic beautifully.
Optional Topping
- Extra melted butter – brush on top after baking for additional flavor and shine.
- Sea salt – a sprinkle on top enhances the taste and gives a delightful crunch.
These Garlic Swirl Rolls will soon be a favorite in your home!
Step‑by‑Step Instructions for Garlic Swirl Rolls
Step 1: Prepare the Dough
In a large mixing bowl, combine 2 cups of all-purpose flour, 1 packet of yeast, and 1 tablespoon of sugar. Gradually stir in 1 cup of warm water and 2 tablespoons of olive oil. Mix until a shaggy dough forms, then knead on a floured surface for about 8-10 minutes until smooth and elastic. Allow the dough to rise in a warm spot for 1 hour or until it doubles in size.
Step 2: Prepare the Filling
While the dough rises, melt 4 tablespoons of butter in a small pan over low heat. Add 3 cloves of minced garlic and cook for 2–3 minutes until fragrant. Remove from heat and stir in ¼ cup of chopped fresh parsley and ½ cup of grated Parmesan cheese. Set aside to cool slightly while your dough continues to rise.
Step 3: Shape the Rolls
Once the dough has risen, punch it down to release the air and roll it out on a floured surface into a rectangle about ¼ inch thick. Spread the garlic filling evenly over the dough, leaving a small border around the edges. Starting from one long side, carefully roll the dough into a tight log, then slice it into 12 equal pieces using a sharp knife or bench scraper.
Step 4: Second Rise
Place the sliced rolls into a greased baking dish, making sure they are arranged close together. Cover the dish with a clean kitchen towel and let the rolls rise for another 30 minutes in a warm place until they puff up. Preheat your oven to 375°F (190°C) during the last 10 minutes of the rise.
Step 5: Bake
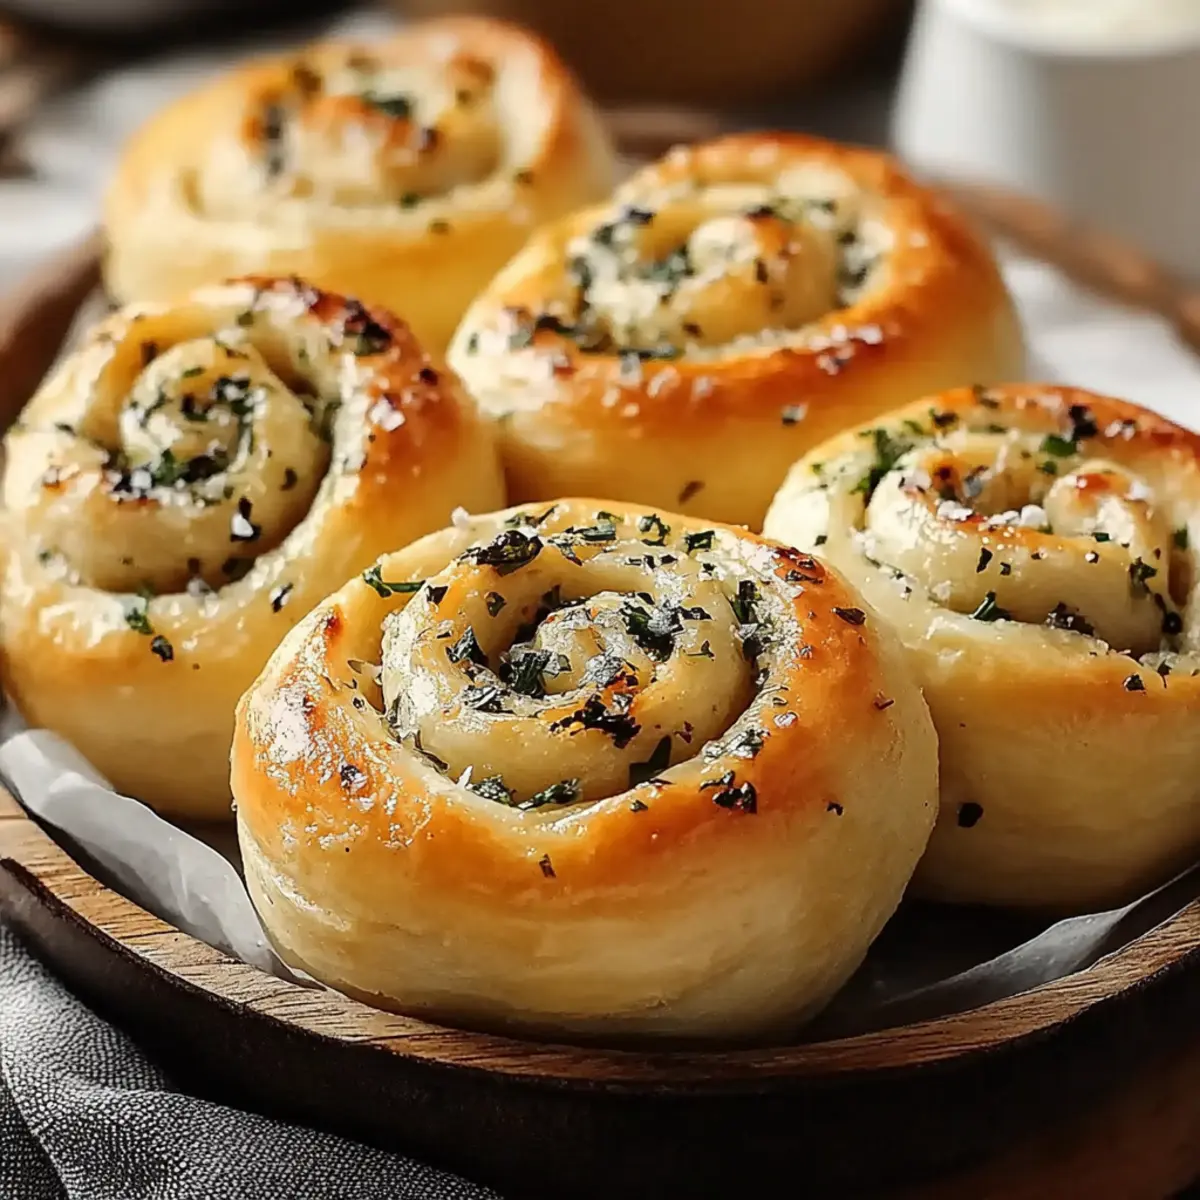
Once the rolls have risen, bake them in the preheated oven for 20-25 minutes, or until they are golden brown on top and fragrant. The rolls will have a lovely, fluffy texture and a delightful sheen. If you like, brush the tops with additional melted butter right after you take them out of the oven for extra flavor and shine.
Make Ahead Options
These Garlic Swirl Rolls are perfect for busy weeknights and make-ahead meal prep! You can prepare the dough up to 24 hours in advance and refrigerate it after the first rise. Just be sure to cover it tightly with plastic wrap to prevent drying out. If you prefer, you can also shape the rolls and let them rise in the baking dish, covering them with a towel or plastic wrap and refrigerating for up to 3 days. When you’re ready to bake, remove them from the fridge and let them come to room temperature (about 30 minutes) before proceeding with the final baking. This way, you can enjoy fresh, fluffy Garlic Swirl Rolls with minimal effort any night of the week!
Garlic Swirl Rolls Variations
Feel free to unleash your creativity and customize these rolls to your heart's content!
-
Gluten-Free: Substitute all-purpose flour with a 1:1 gluten-free flour blend for a wheat-free delight. These rolls will still be soft and delicious!
-
Herby Delight: Add dried Italian herbs like oregano or basil to the dough for an extra flavor boost. A sprinkle will transport your taste buds straight to the Mediterranean.
-
Cheesy Twists: Mix in grated mozzarella or fontina cheese into the filling for an oozy, cheesy surprise with every bite. Imagine that melty goodness contrasting each fluffy swirl!
-
Spicy Kick: Incorporate a pinch of red pepper flakes into the garlic filling for a warm, gentle heat. This twist adds a delightful zing that gives your rolls personality.
-
Sweet Garlic: Swap out some minced garlic for minced shallots and add a touch of honey to the filling. This variation offers a sweet yet savory taste that will captivate your palate.
-
Caramelized Onions: Sauté thinly sliced onions until golden and sweet, and mix them into the filling for a rich, complex flavor. Each bite will burst with sweetness and depth.
-
Seed Topping: Before baking, sprinkle sesame or poppy seeds on top for a beautiful crunch and added flavor. This lovely touch makes your rolls look as good as they taste!
-
Extra Shine: Brush the rolls with a mixture of olive oil and balsamic vinegar before baking for a glossy finish and a dash of tangy delight. Adding that shine elevates the overall presentation!
These variations create endless possibilities for your Garlic Swirl Rolls. Enjoy mixing and matching flavors that suit your taste preferences! For more scrumptious pairing ideas, consider serving these rolls with my Biscoff Cinnamon Rolls or dive into these Cheesecake Egg Rolls for dessert!
How to Store and Freeze Garlic Swirl Rolls
Fridge: Store leftovers in an airtight container for up to 3 days. This helps keep your Garlic Swirl Rolls fresh without drying them out.
Freezer: Wrap individual rolls tightly in plastic wrap and place them in a freezer-safe bag. They can be frozen for up to 3 months, allowing you to enjoy them later!
Reheating: To reheat, place frozen rolls directly in a preheated oven at 350°F (175°C) for about 10-15 minutes, or until warmed through. For fridge-stored rolls, just 5-7 minutes should suffice. Enjoy their deliciousness once again!
Tips for the Best Garlic Swirl Rolls
-
Use Fresh Garlic: Always opt for fresh garlic rather than pre-minced. It enhances the flavor and aroma, making your Garlic Swirl Rolls truly memorable.
-
Warm Water Is Key: Ensure your warm water is around 110°F (43°C). Too hot will harm the yeast, and too cold will prevent activation.
-
Knead Properly: Knead your dough for enough time (8-10 minutes) to develop gluten, ensuring fluffy rolls. A sticky dough can indicate insufficient kneading.
-
Don’t Rush the Rises: Allow the dough to rise until doubled in size for the best texture. Skipping this step will lead to dense rolls.
-
Check Oven Temperature: An oven thermometer can ensure accuracy; baking in a properly heated oven guarantees golden, evenly baked Garlic Swirl Rolls.
What to Serve with Garlic Swirl Rolls
As you pull those warm, fluffy rolls from the oven, imagine pairing them with delightful dishes that enhance their rich garlic flavor and make your meal unforgettable.
-
Creamy Tomato Soup: The acidity of the soup balances the buttery rolls beautifully, creating a comforting duo perfect for dunking.
-
Savory Herb Salad: A fresh mix of greens and herbs adds a crisp texture and brightens your plate, providing a lovely contrast to the soft rolls.
-
Braised Short Ribs: The deep, hearty flavors of short ribs complement the rolls nicely, ideal for a cozy family dinner that feels indulgent.
-
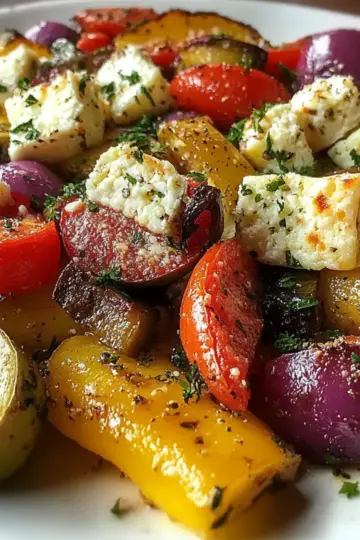
Roasted Vegetables: Colorful and caramelized veggies add a sweet, earthy touch, elevating the meal's overall appeal and providing wholesome nutrition.
-
Spinach and Feta Quiche: This delightful quiche brings a savory dimension to your table, harmonizing wonderfully with the garlic-infused rolls.
-
Chardonnay: A chilled glass of this white wine enhances the rolls' flavor while bringing a touch of elegance to your evening.
-
Chocolate Lava Cake: If you’re in the mood for dessert, the gooey richness of a lava cake provides a luxurious finish after enjoying the savory rolls.
Garlic Swirl Rolls Recipe FAQs
What type of garlic should I use for Garlic Swirl Rolls?
Absolutely use fresh garlic for the best flavor! Freshly minced garlic infuses your rolls with an irresistible aroma and flavor, which is far superior to anything pre-minced.
How should I store leftover Garlic Swirl Rolls?
To keep your rolls fresh, store them in an airtight container at room temperature for up to 3 days. If you wish to prolong their deliciousness, you can also refrigerate them, but be mindful as this may slightly change their texture.
Can I freeze Garlic Swirl Rolls?
Yes, you can freeze your Garlic Swirl Rolls! Wrap each roll tightly in plastic wrap and place them in a freezer-safe bag. They can be stored for up to 3 months. When you’re ready to enjoy, simply reheat them from frozen in a preheated oven at 350°F (175°C) for about 10-15 minutes.
What should I do if my dough doesn’t rise?
If your dough hasn’t risen, check the yeast freshness before starting (it should bubble when activated). Ensure your warm water is around 110°F (43°C) and give the dough more time to rise in a warm, draft-free area. If things still aren’t working, you can create a makeshift warm environment by placing the dough in an oven turned off but slightly warmed.
Are these Garlic Swirl Rolls safe for people with allergies?
If you have allergies, take caution! The recipe contains gluten (from all-purpose flour), dairy (butter and cheese), and can easily be modified for those who are lactose intolerant by using dairy-free alternatives. Always use appropriate substitutes to ensure your rolls are safe for your dietary needs.
Can I add extra ingredients to the Garlic Swirl Rolls?
The more the merrier! Feel free to customize your filling with ingredients like sundried tomatoes, spinach, or additional cheeses. Just ensure that any extras you add don’t go overboard, as too much filling can interfere with the rolling and rising process.
Garlic Swirl Rolls that Will Elevate Your Dinner Game
Equipment
- Mixing bowl
- Baking dish
- Oven
- pan
- Knife
- Kitchen towel
Ingredients
Dough Ingredients
- 2 cups all-purpose flour the backbone of your rolls
- 1 packet yeast essential for allowing the dough to rise
- 1 cup warm water activates the yeast
- 1 tablespoon sugar nurtures the yeast
- 1 teaspoon salt adds flavor
- 2 tablespoons olive oil keeps the dough moist
Filling Ingredients
- 4 tablespoons butter melts into the dough
- 3 cloves garlic freshly minced
- ¼ cup parsley chopped fresh parsley
- ½ cup Parmesan cheese grated
Optional Toppings
- 2 tablespoons extra melted butter for brushing on top
- 1 teaspoon sea salt for sprinkling on top
Instructions
Step-by-Step Instructions
- In a large mixing bowl, combine 2 cups of all-purpose flour, 1 packet of yeast, and 1 tablespoon of sugar. Gradually stir in 1 cup of warm water and 2 tablespoons of olive oil. Mix until a shaggy dough forms, then knead on a floured surface for about 8-10 minutes until smooth and elastic. Allow the dough to rise in a warm spot for 1 hour or until it doubles in size.
- While the dough rises, melt 4 tablespoons of butter in a small pan over low heat. Add 3 cloves of minced garlic and cook for 2–3 minutes until fragrant. Remove from heat and stir in ¼ cup of chopped fresh parsley and ½ cup of grated Parmesan cheese. Set aside to cool slightly while your dough continues to rise.
- Once the dough has risen, punch it down to release the air and roll it out on a floured surface into a rectangle about ¼ inch thick. Spread the garlic filling evenly over the dough, leaving a small border around the edges. Starting from one long side, carefully roll the dough into a tight log, then slice it into 12 equal pieces.
- Place the sliced rolls into a greased baking dish, making sure they are arranged close together. Cover the dish with a clean kitchen towel and let the rolls rise for another 30 minutes in a warm place until they puff up. Preheat your oven to 375°F (190°C) during the last 10 minutes of the rise.
- Once the rolls have risen, bake them in the preheated oven for 20-25 minutes, or until they are golden brown on top and fragrant. Optionally, brush the tops with additional melted butter right after you take them out of the oven.