As I stood in my kitchen, the aroma of freshly baked vanilla cupcakes filled the air, awakening memories of celebrations from my childhood. Today, I’m excited to share my delightful take on a classic favorite: Boston Cream Pie Cupcakes. This handheld dessert combines the nostalgic flavors we all love, offering a manageable portion for any occasion. With minimal prep time and the flexibility to customize flavors for everyone at your table, these cupcakes are not just an indulgent treat—they're perfect for impressing friends or just satisfying your sweet tooth. Are you ready to learn how to whip up these scrumptious delights and indulge in a bite of nostalgia? Let’s dive in!
Why Are Boston Cream Pie Cupcakes a Must?
Handheld Delight: These cupcakes offer all the classic flavors of Boston cream pie in a convenient, bite-sized portion, making them perfect for parties or cozy gatherings.
Decadent Layers: The fluffy vanilla cupcake, rich pastry cream, and glossy ganache create a symphony of textures and tastes that will leave everyone wanting more.
Customizable: Feel free to mix and match flavors! Try almond extract in the cream or swap in dark chocolate for the ganache to put your twist on this treat.
Minimal Effort, Maximum Impact: With simple steps that even beginner bakers can master, you’ll impress your friends and family without spending all day in the kitchen.
Crowd-Pleaser: These cupcakes are sure to stand out at any gathering. Just watch as people smile with each delicious bite! Pair them with a cup of coffee or tea for a well-rounded experience, just like with Cinnamon Roll Cupcakes or a light fruit salad for balance.
Boston Cream Pie Cupcake Ingredients
For the Cupcakes
• All-Purpose Flour – Provides structure to the cupcakes; substitute with a gluten-free blend for a gluten-free option.
• Granulated Sugar – Adds sweetness and moisture; consider coconut sugar for a lower glycemic index variant.
• Baking Powder – Helps the cupcakes rise; ensure it's fresh for optimal results.
• Salt – Enhances the flavors of the other ingredients.
• Unsalted Butter – Adds richness and flavor; can be replaced with vegan butter for a dairy-free alternative.
• Sour Cream – Contributes moisture and tanginess; yogurt can serve as a suitable substitute.
• Egg Whites – Incorporates air to achieve a light texture; you can use flaxseed meal as a vegan alternative.
• Milk – Provides moisture, helping to create a tender crumb; feel free to use non-dairy milk as a substitute.
• Water – Adjusts the batter consistency.
For the Pastry Cream
• Egg Yolks – Key for richness in the pastry cream; omit for vegan versions or use a commercial egg replacer.
• Cornstarch – Thickens the pastry cream; arrowroot powder is a good alternative.
• Granulated Sugar – Sweetens the cream filling; consider using a sugar substitute if desired.
• Milk – Forms the base of the pastry cream; non-dairy alternatives work nicely as substitutes.
• Unsalted Butter – Adds richness; can be swapped with vegan butter for a dairy-free version.
• Vanilla Extract – Infuses the pastry cream with classic flavor; feel free to experiment with other extracts.
For the Ganache
• Heavy Cream – Creates a silky ganache; use coconut cream for a non-dairy option.
• Chocolate Chips – The star of the ganache; choose dark chocolate for a richer taste, or semi-sweet if preferred.
• Corn Syrup – Adds gloss and helps the ganache set; refined sugar syrup can be an alternative.
These delightful Boston Cream Pie Cupcakes are ready to be brought to life in your kitchen! Enjoy baking!
Step‑by‑Step Instructions for Boston Cream Pie Cupcakes
Step 1: Preheat and Prepare
Preheat your oven to 350°F (175°C) and line a standard cupcake pan with liners for easy removal. This step ensures your Boston Cream Pie Cupcakes have the perfect environment to rise and achieve that lovely, golden-brown color. Gather your mixing bowls, whisk, and measuring utensils to streamline your baking process.
Step 2: Cream the Butter and Sugar
In a large mixing bowl, cream together unsalted butter and granulated sugar using an electric mixer on medium speed for about 3-4 minutes until the mixture is light and fluffy. This key action incorporates air, leading to a moist and tender cupcake texture. Be patient as this step builds the delightful base of your Boston Cream Pie Cupcakes.
Step 3: Add Wet Ingredients
Blend in the sour cream and vanilla extract, mixing until well combined. Gradually add the egg whites, mixing in two separate batches to ensure they incorporate fully. You want a smooth batter that will provide the moistness and depth of flavor that makes these cupcakes so irresistible.
Step 4: Combine Dry Ingredients
In a separate bowl, whisk together the all-purpose flour, baking powder, and salt until evenly combined. This mixture adds structure to your cupcakes. In another container, mix the milk and water, then progressively incorporate both the dry and liquid mixtures into the wet batter, stirring gently until just combined to avoid a dense cupcake.
Step 5: Fill and Bake
Carefully fill each cupcake liner halfway with the batter, ensuring even distribution for uniform baking. Place the pan in the preheated oven and bake for 15-17 minutes. Check for doneness by inserting a toothpick into the center; it should come out clean. This step is crucial, as perfectly baked cupcakes are the foundation of your Boston Cream Pie creation.
Step 6: Make the Pastry Cream
While the cupcakes cool, prepare the pastry cream. In a saucepan, whisk together sugar, cornstarch, and milk over medium heat. Cook, stirring constantly, until the mixture becomes thick and bubbly. Next, temper the egg yolks by gradually adding some of this hot mixture, then return it to the saucepan, cook until boiling, then stir in butter and vanilla. Allow to cool before filling the cupcakes.
Step 7: Prepare the Ganache
To make the ganache, heat the heavy cream in a small saucepan until just steaming, then pour it over the chocolate chips placed in a heatproof bowl. Let it sit for a few minutes before whisking until smooth. This step is essential for achieving that silky ganache that adds a decadent finish to your Boston Cream Pie Cupcakes.
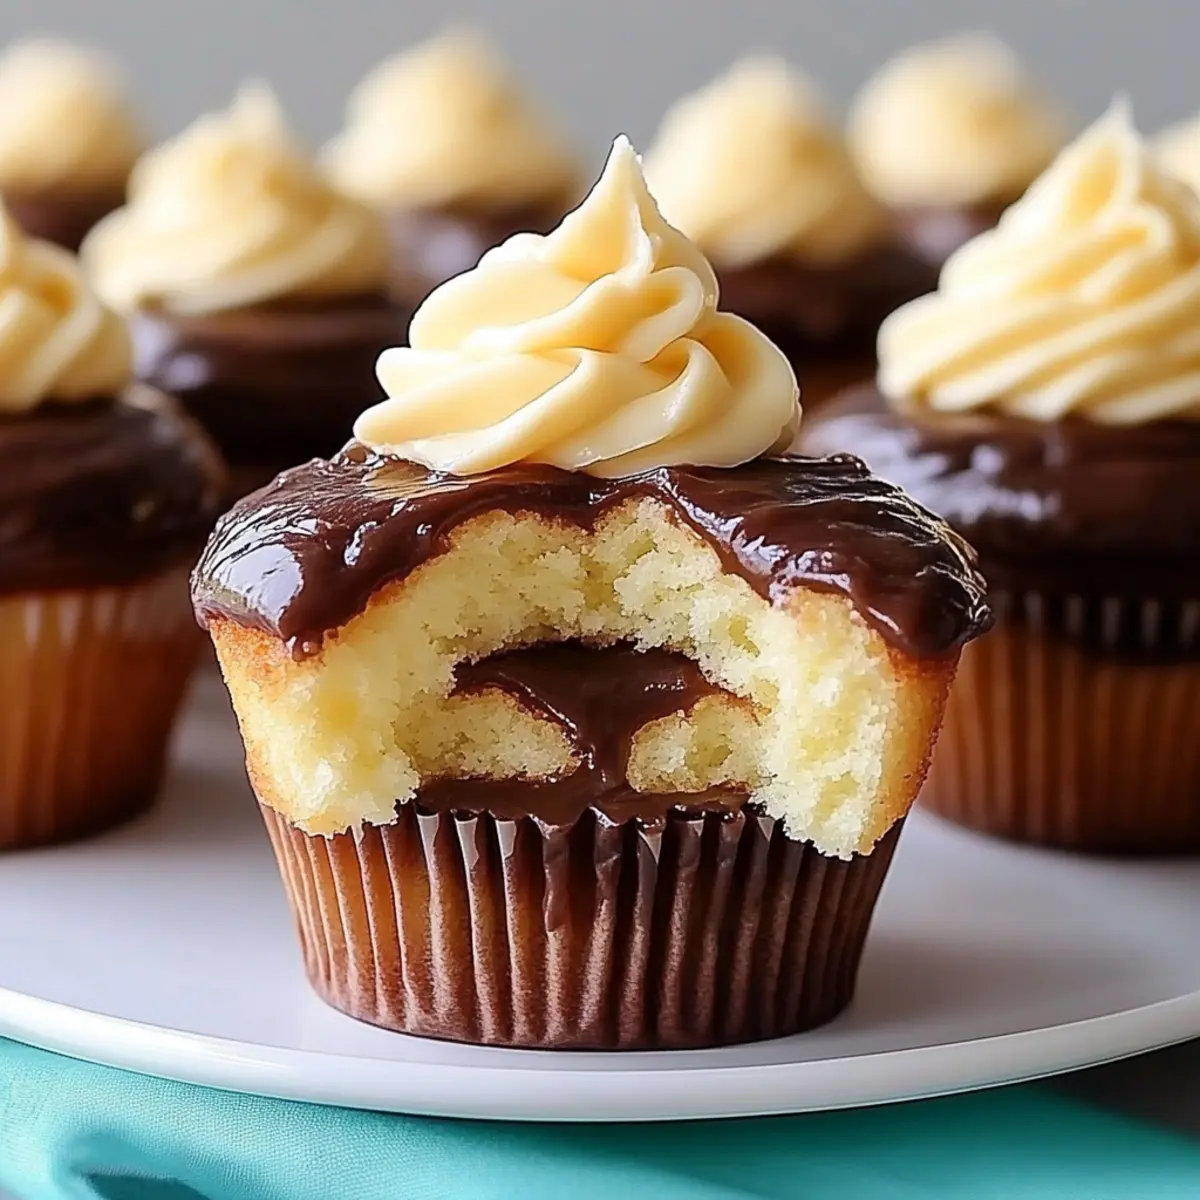
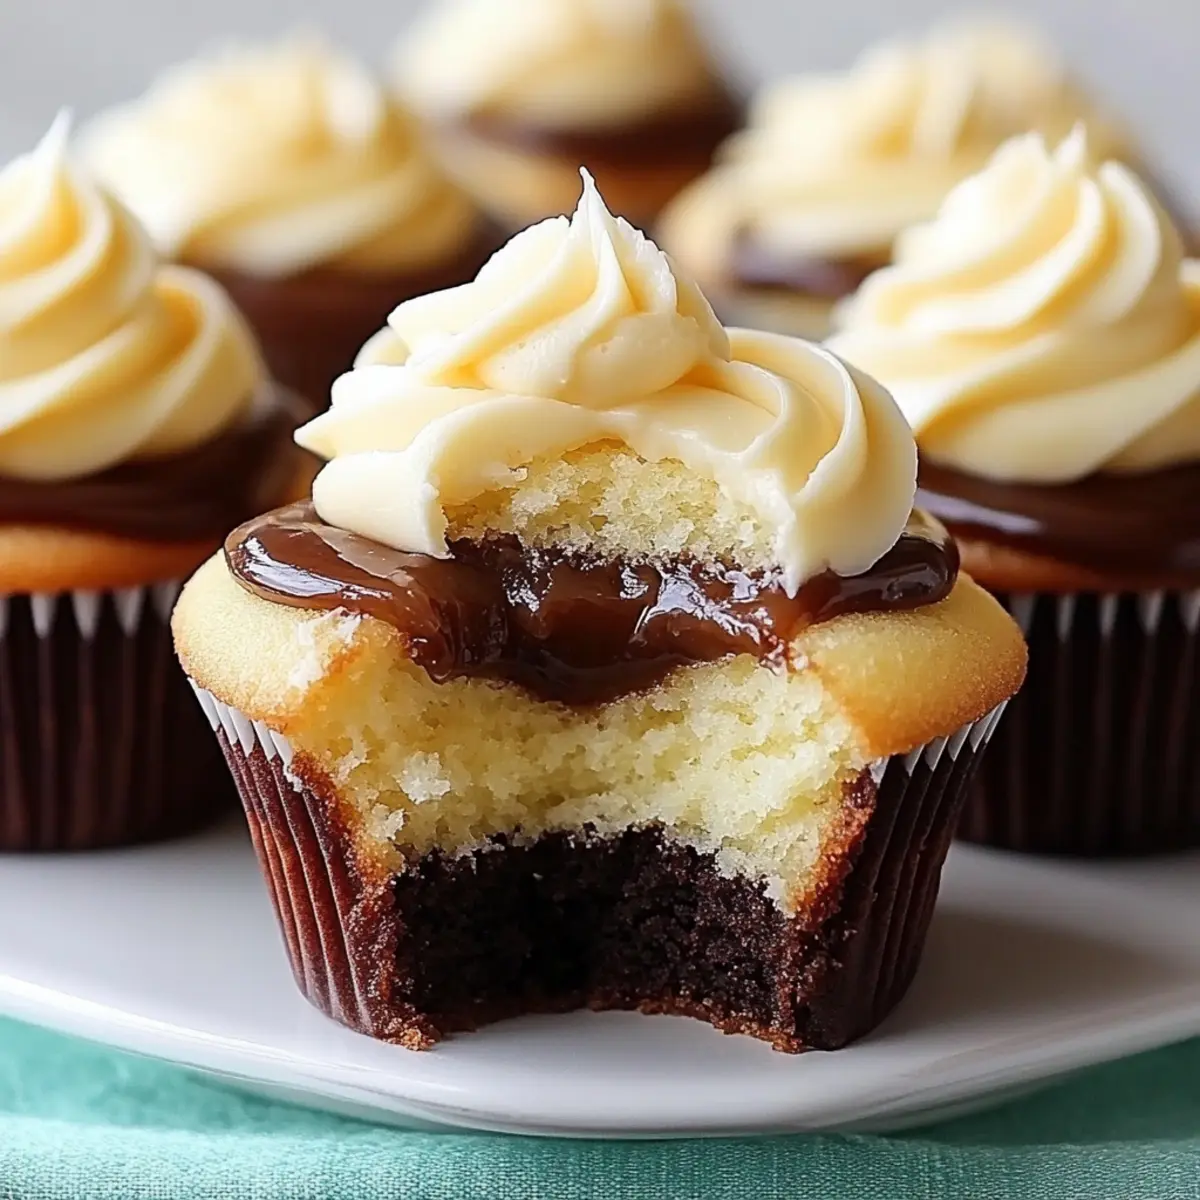
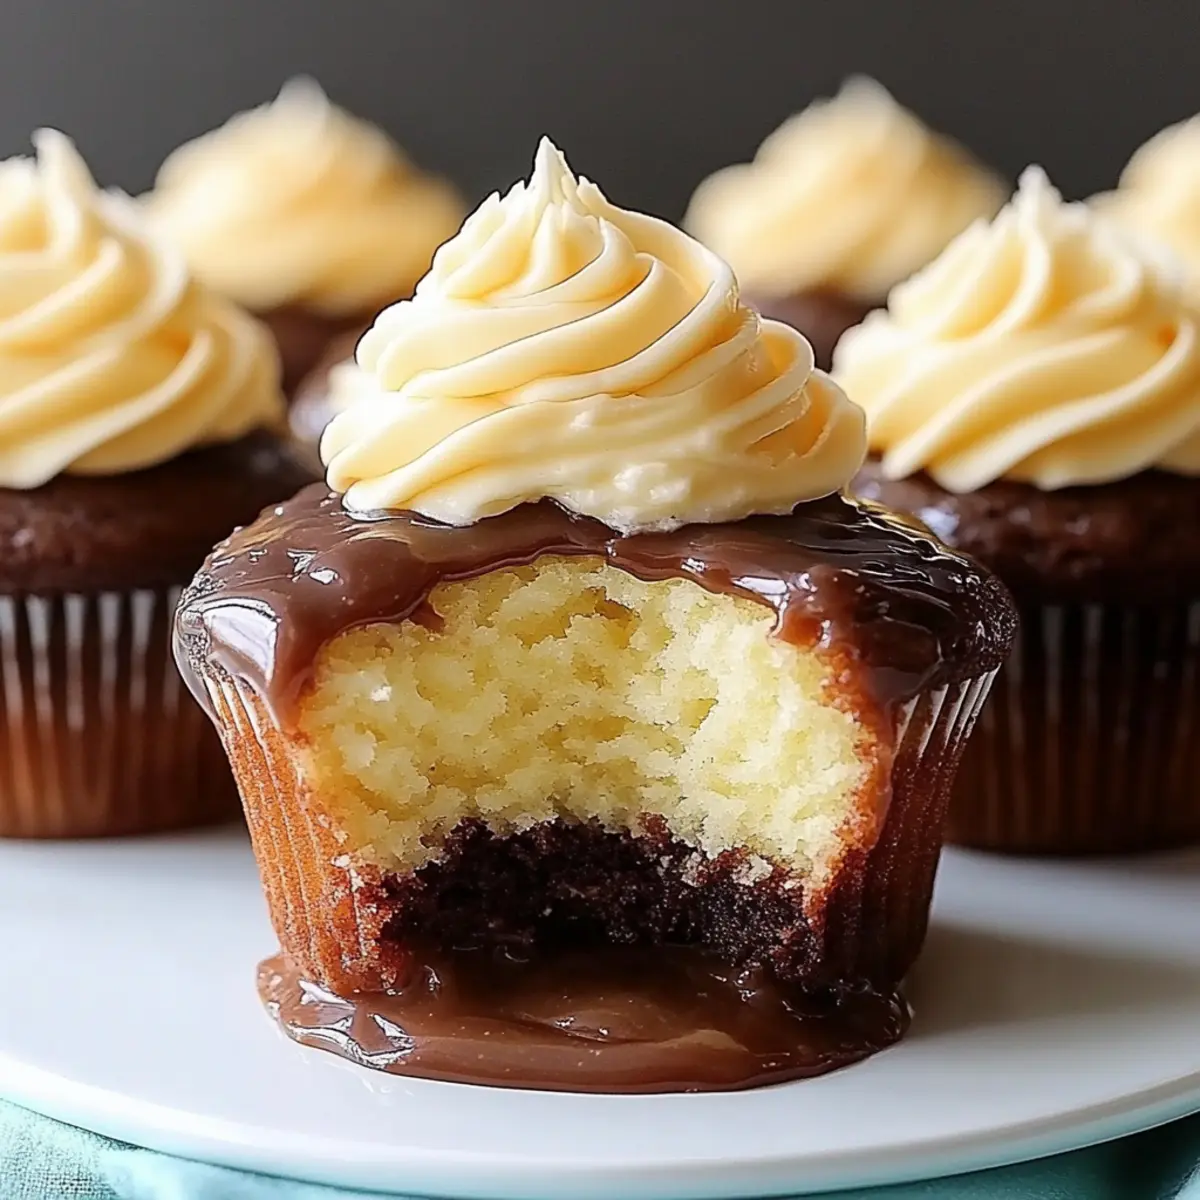
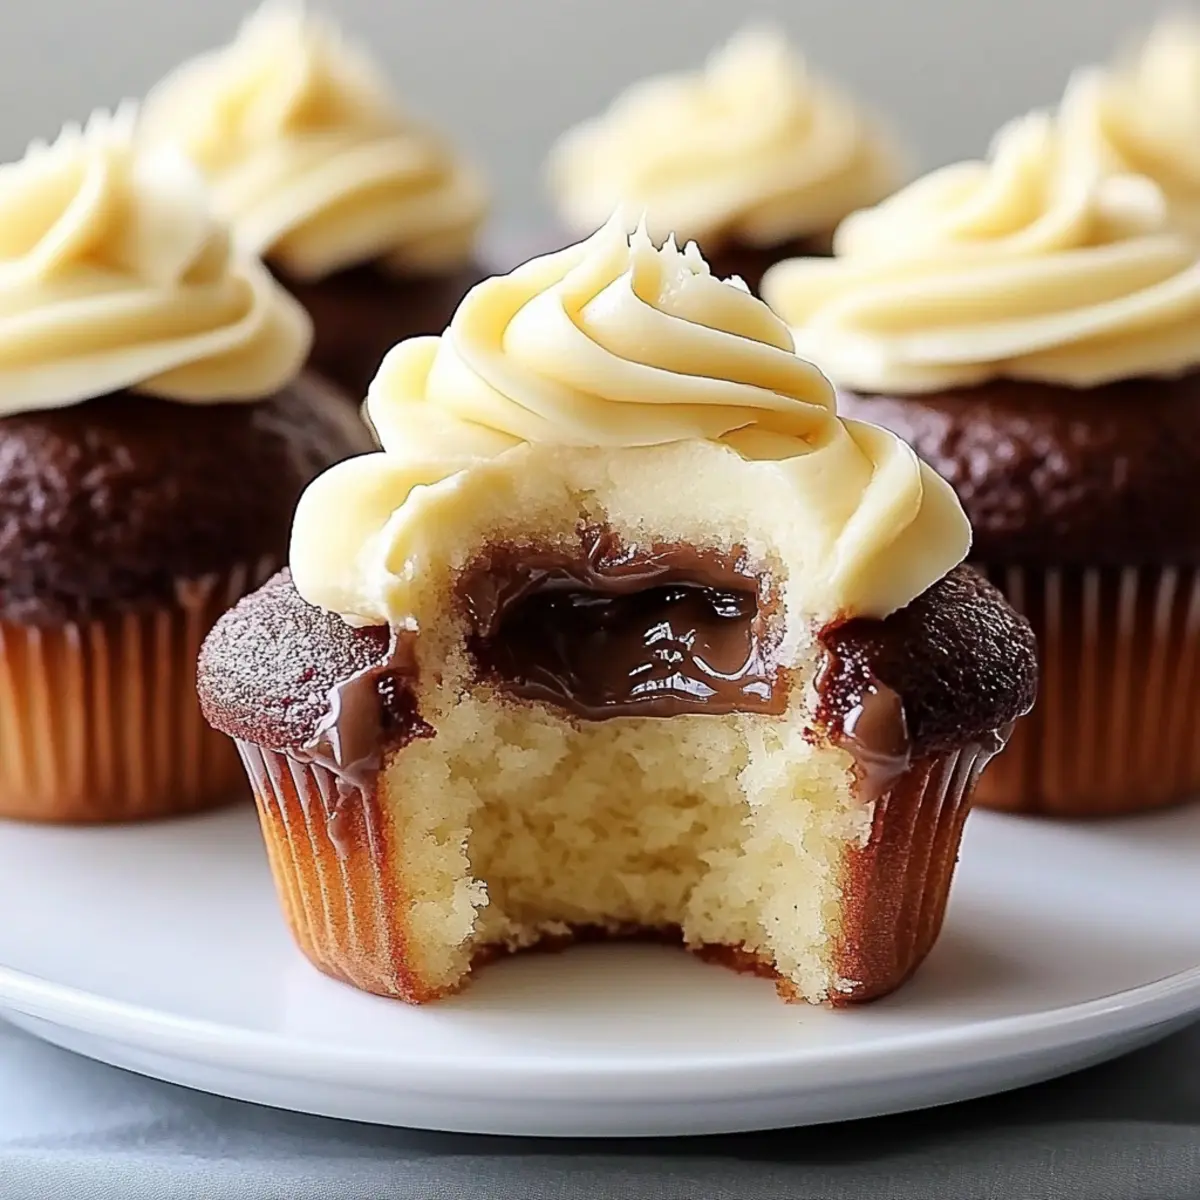
Step 8: Assemble the Cupcakes
Once the cupcakes are fully cooled, use a knife or cupcake corer to cut out the center of each one. Fill each cavity generously with the prepared pastry cream. This step ensures that every bite of your Boston Cream Pie Cupcakes is filled with rich, creamy goodness that mirrors the classic dessert.
Step 9: Top with Ganache
Finally, drizzle or spread the cooled ganache over the filled cupcakes, allowing it to cascade down the sides for an appealing look. The glossy finish will make these treats even more tempting. Allow the ganache to set slightly at room temperature before serving, enhancing the delicious layers of flavor and texture.
What to Serve with Boston Cream Pie Cupcakes
Indulging in these delightful cupcakes opens the door to a world of delicious pairings that elevate your dessert experience.
-
Fresh Fruit Salad: A burst of vibrant fruits balances the richness of the cupcakes with refreshing flavors.
-
Espresso or Coffee: A strong cup of coffee pairs beautifully, cutting through the sweetness and bringing out the chocolate notes.
-
Vanilla Ice Cream: The creaminess of vanilla ice cream adds a delightful texture contrast and enhances the dessert's indulgence.
-
Chocolate-Covered Strawberries: These offer a luxurious touch—juicy and sweet, complementing the ganache’s chocolate delight.
-
Whipped Cream: A dollop of light, airy whipped cream adds a soft, creamy element that complements the cupcakes without overwhelming them.
-
Mint Tea: The freshness of mint tea provides a pleasant contrast, cleansing the palate between bites of the rich cupcakes.
-
Caramel Sauce Drizzle: A thin drizzle of warm caramel tempts the taste buds, bringing an additional layer of sweetness to each bite.
-
Chocolate Martini: Elevate the experience with a creamy, decadent cocktail that perfectly mirrors the chocolate flavors of the ganache.
Perfectly chosen pairings make each bite of your Boston Cream Pie Cupcakes an unforgettable experience!
Storage Tips for Boston Cream Pie Cupcakes
Fridge: Store cupcakes in an airtight container in the refrigerator for up to 3-4 days. This keeps them fresh and ready for snacking!
Room Temperature: If consuming within a day, you can keep them at room temperature, but make sure they're covered to prevent drying out.
Freezer: For longer storage, freeze individual cupcakes wrapped tightly in plastic wrap for up to 2 months. Thaw them overnight in the fridge before serving.
Reheating: To enjoy them warm, gently heat in the microwave for about 10-15 seconds, just to take the chill off, which enhances the flavor of your Boston Cream Pie Cupcakes.
Boston Cream Pie Cupcakes Variations
Customize your Boston Cream Pie Cupcakes to suit your taste and dietary needs! Get ready to explore exciting flavor twists and swaps.
- Dairy-Free: Replace butter and cream with vegan butter and coconut cream for a delightful non-dairy version.
- Gluten-Free: Use a gluten-free all-purpose flour blend to make these cupcakes accessible for those with gluten sensitivities.
- Alternative Sweeteners: Consider swapping granulated sugar with coconut sugar or a sugar substitute for a lower glycemic index.
- Flavor Infusions: Mix in flavored extracts like almond or orange into the pastry cream for a surprising twist that tantalizes the taste buds.
- Chocolate Variety: Use dark, white, or even flavored chocolate chips in your ganache to tailor the chocolate experience to your liking.
- Add Texture: Fold in crushed nuts or chocolate chips into the batter for added crunch and flavor.
- Spice It Up: For a heat kick, consider adding a pinch of cayenne or chili powder to the ganache for a surprising twist.
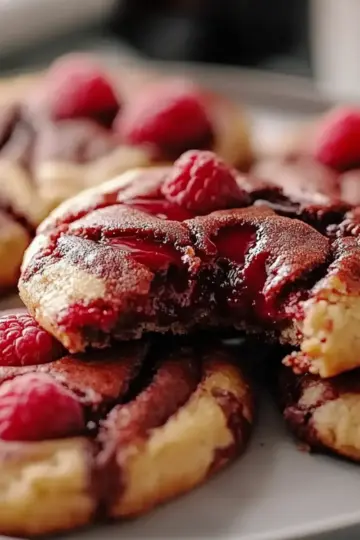
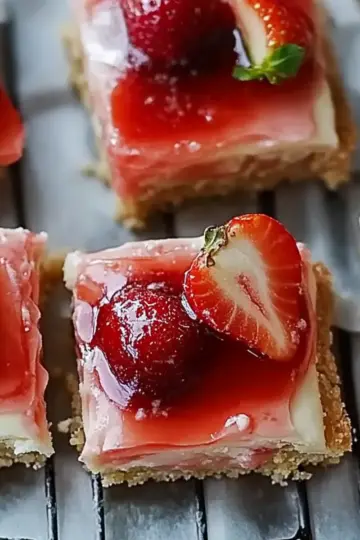
- Fruity Filling: Incorporate pureed fruits into the pastry cream for a refreshing burst of flavor, such as strawberries or raspberries.
Let your imagination run wild with these variations, and make each batch of cupcakes uniquely yours! For other sweet ideas, check out these delightful Strawberry Cupcakes Moist or Cinnamon Cream Cheese desserts for inspiring alternatives.
Expert Tips for Boston Cream Pie Cupcakes
-
Cream Butter Well: Make sure to cream the butter and sugar until light and fluffy; this gives your cupcakes a tender crumb.
-
Don’t Overmix: Avoid overmixing the batter once you add the dry ingredients, as this can lead to dense Boston Cream Pie Cupcakes.
-
Cool Completely: Allow cupcakes to cool completely before filling them with pastry cream to prevent it from melting.
-
Temperature Matters: Use room temperature ingredients for an even batter, which helps achieve the best texture for your cupcakes.
-
Chill Ganache: Let the ganache cool in the fridge until spreadable; this ensures it maintains a rich consistency when topping your cupcakes.
Make Ahead Options
These Boston Cream Pie Cupcakes are perfect for meal prep enthusiasts! You can prepare the cupcake batter up to 24 hours in advance by mixing it and storing it in the refrigerator. The pastry cream can also be made a day ahead, allowing it to chill before filling your cupcakes. Simply assemble the cakes right before serving by cutting out the centers and filling them with the chilled cream, then topping with ganache. To maintain their freshness, keep the filled cupcakes in an airtight container in the refrigerator for up to 3 days. This way, you'll enjoy delicious and moist cupcakes, just as delightful as if they were freshly made!
Boston Cream Pie Cupcakes Recipe FAQs
How do I select ripe ingredients for this recipe?
For best results, always choose high-quality ingredients. Opt for fresh, unsalted butter, eggs, and sour cream. Ensure that your baking powder is fresh; it should fizz when added to liquid for optimal cupcake rise. When choosing chocolate chips for the ganache, look for high-quality dark chocolate for a rich flavor profile.
How should I store these cupcakes, and how long do they last?
Store your Boston Cream Pie Cupcakes in an airtight container in the refrigerator for up to 3-4 days. This keeps them fresh and prevents them from drying out. If you want to enjoy them at room temperature, allow them to sit covered for a day; just make sure they’re sealed properly to retain moisture.
Can I freeze Boston Cream Pie Cupcakes?
Absolutely! To freeze, wrap each individual cupcake tightly in plastic wrap and place them in an airtight container or a freezer bag. They will keep well for up to 2 months. When you're ready to enjoy them, thaw them overnight in the fridge. Before serving, you might want to let them come to room temperature for the best taste.
What can I do if my ganache isn't setting?
If your ganache isn’t setting properly, it might be due to temperature. Ensure you’re using the correct ratio of chocolate to cream—generally, a 1:1 ratio works well. If it's too loose, refrigerate it for 10-15 minutes until it thickens to your desired consistency. If it has thickened too much, gently reheat it, stirring until smooth and pourable again.
Are there any allergy considerations for these cupcakes?
Yes, definitely! If you're making these cupcakes for someone with dietary restrictions, you can substitute several ingredients. Use gluten-free flour for those with gluten sensitivities, and swap dairy products like butter or cream with vegan alternatives. Be sure to check for nut allergies, especially if using coconut ingredients or certain chocolate brands, as cross-contamination may occur.
What should I do if the cupcakes sink in the middle?
Experiencing sinking cupcakes can be frustrating! This often happens when there’s too much liquid or if the batter was overmixed, leading to a dense texture. To avoid this, measure your ingredients carefully, and gently mix the batter until just combined, avoiding any vigorous stirring. Ensure your oven is properly calibrated and at the correct temperature before baking to achieve the perfect rise.
Indulgent Boston Cream Pie Cupcakes That Steal the Show
Equipment
- Cupcake pan
- Mixing bowls
- Whisk
- Electric mixer
- Saucepan
Ingredients
For the Cupcakes
- 1 ½ cups All-Purpose Flour Can substitute with gluten-free blend
- 1 cup Granulated Sugar Consider using coconut sugar
- 2 teaspoons Baking Powder Ensure fresh
- ½ teaspoon Salt
- ½ cup Unsalted Butter Can use vegan butter
- ½ cup Sour Cream Yogurt can be substituted
- 3 large Egg Whites Can use flaxseed meal as a vegan alternative
- ½ cup Milk Non-dairy milk as a substitute
- ¼ cup Water
For the Pastry Cream
- 4 large Egg Yolks Omit for vegan versions
- ¼ cup Cornstarch Arrowroot powder is an alternative
- ⅓ cup Granulated Sugar Consider using sugar substitute
- 2 cups Milk Non-dairy alternatives can be used
- 4 tablespoons Unsalted Butter Use vegan butter for dairy-free version
- 1 teaspoon Vanilla Extract
For the Ganache
- 1 cup Heavy Cream Coconut cream for non-dairy option
- 8 ounces Chocolate Chips Choose dark or semi-sweet
- ¼ cup Corn Syrup Refined sugar syrup can be an alternative
Instructions
Baking Instructions
- Preheat your oven to 350°F (175°C) and line a standard cupcake pan with liners.
- In a large mixing bowl, cream together unsalted butter and granulated sugar using an electric mixer on medium speed for about 3-4 minutes until light and fluffy.
- Blend in the sour cream and vanilla extract, then gradually add egg whites in two batches, mixing until smooth.
- In a separate bowl, whisk together flour, baking powder, and salt. Mix milk and water, then gradually incorporate both mixtures into the wet batter.
- Fill each cupcake liner halfway with batter and bake for 15-17 minutes, checking doneness with a toothpick.
- While the cupcakes cool, prepare the pastry cream by whisking sugar, cornstarch, and milk over medium heat until thick and bubbly, then temper in the egg yolks.
- For the ganache, heat the heavy cream until steaming, pour over chocolate chips, and whisk until smooth.
- Cut out the center of each cooled cupcake and fill with pastry cream.
- Drizzle or spread the ganache over the filled cupcakes.