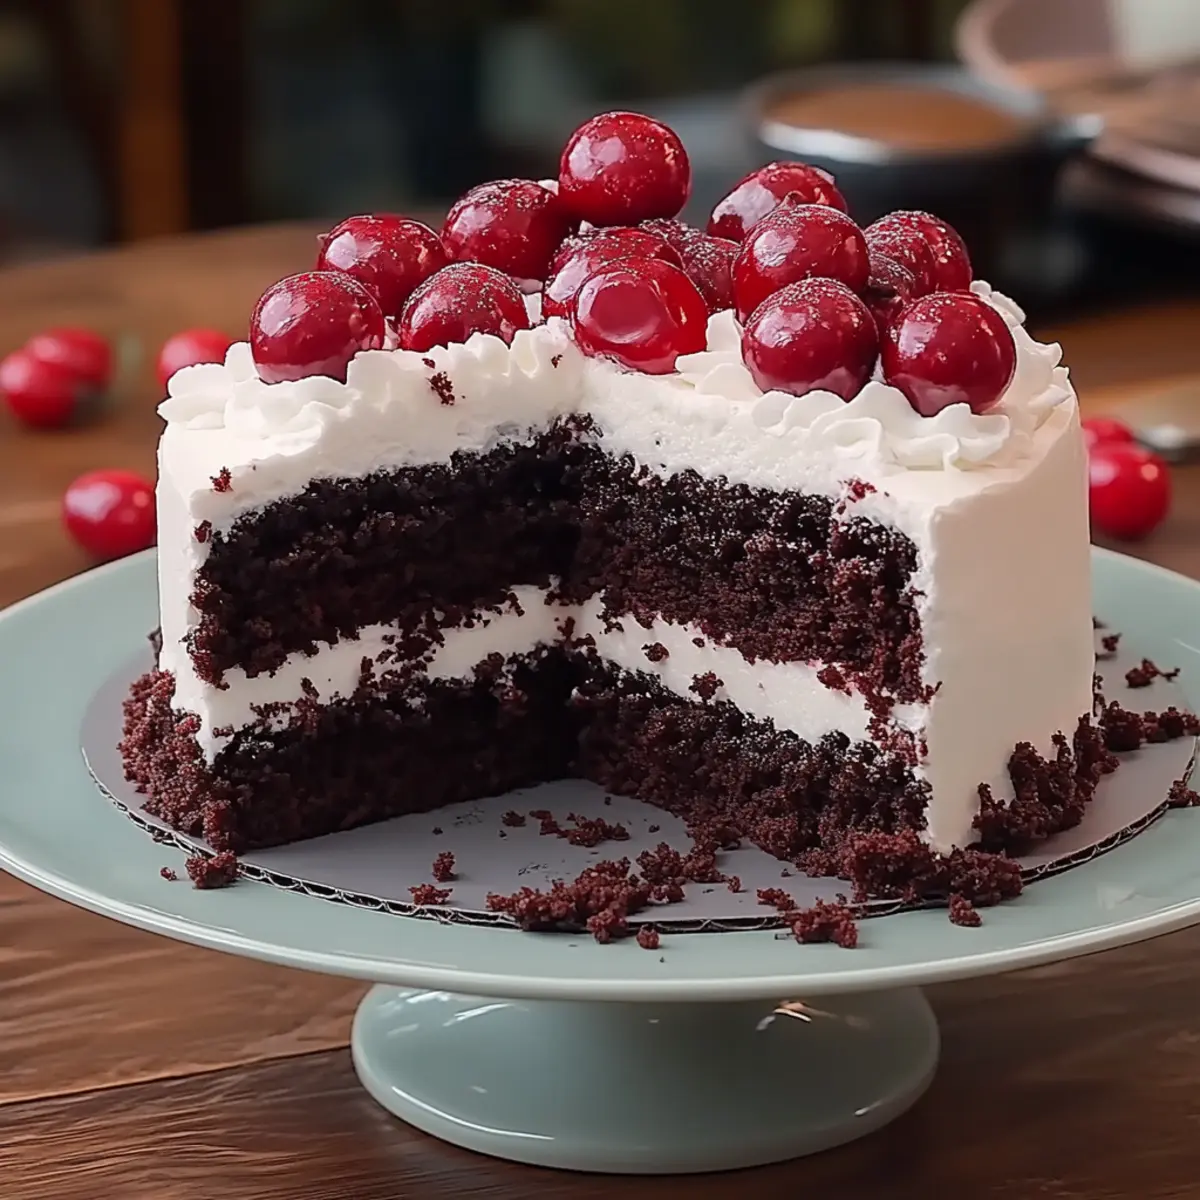
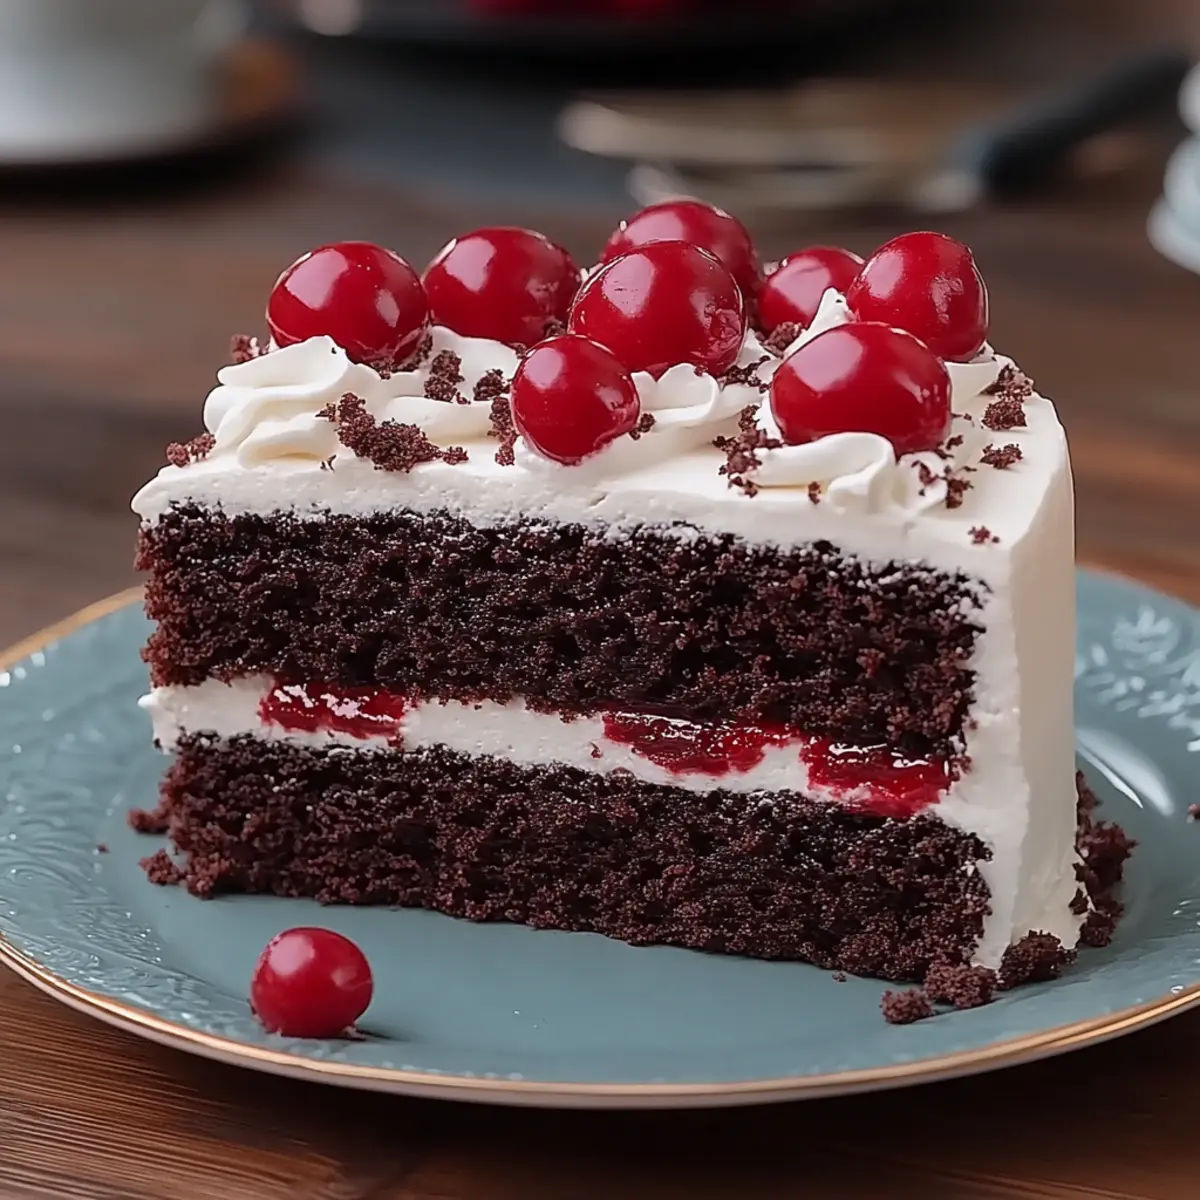
As I rummaged through my pantry, the feeling of nostalgia washed over me—the scent of rich cocoa and sweet cherries wafted in from a cherished memory of family celebrations. Enter the enchanting world of Black Forest Cake, a showstopper that not only dazzles the eye but also brings warmth to the heart. This recipe is a delightful blend of moist chocolate layers and luscious whipped cream, perfectly marrying elegance and comfort. With a quick prep time and the ability to be a crowd-pleaser at any gathering, this cake is a fantastic way to break free from the mundane routine of fast food. Trust me, your kitchen will soon be the centerpiece of joyful chatter and sweet indulgence. Are you ready to elevate your dessert game and create something unforgettable? Let’s dive into this delicious adventure!
Why is Black Forest Cake a Must-Try?
Irresistible flavors: The combination of rich chocolate and sweet cherries creates a heavenly experience that’s hard to resist.
Quick to make: With just over an hour from start to finish, you can whip up this stunning cake in no time—perfect for those busy days!
Showstopper dessert: Impress your family and friends with a dessert that not only looks fabulous but also tastes divine.
Versatile for occasions: Whether it’s a birthday, holiday, or casual gathering, this cake fits every celebration perfectly.
Creamy layers: The fluffy whipped cream adds a luxurious touch that balances the chocolate’s richness beautifully.
This Black Forest Cake is sure to add magic to your next event—just like the delightful flavors in Blackberry Lime Cheesecake or the irresistible experience of a Mango Lassi Cake. Indulge and enjoy!
Black Forest Cake Ingredients
For the Cake
• All-purpose flour – this is the base for your cake, giving it structure and texture.
• Granulated sugar – sweetens the cake and helps create a moist texture.
• Unsweetened cocoa powder – infuses rich chocolate flavor, essential for a Black Forest Cake.
• Baking powder – this leavening agent helps the cake rise perfectly.
• Baking soda – works alongside baking powder for an extra lift.
• Salt – enhances the sweetness and balances the flavors in the cake.
• Large eggs – binds the ingredients together and adds moisture.
• Whole milk – enriches the batter for a tender crumb.
• Vegetable oil – keeps the cake moist and adds richness.
• Vanilla extract – adds depth of flavor to the chocolate.
• Boiling water – making the batter thin, ensuring a moist cake.
For the Whipped Cream
• Heavy whipping cream – crucial for the fluffy layers that balance the chocolate.
• Powdered sugar – sweetens the whipped cream for a delightful topping.
• Vanilla extract – enhances the flavor of the whipped cream beautifully.
For the Decoration
• Cherries – lend that classic touch for layers and decoration, and complement the chocolate perfectly.
• Chocolate shavings – adds an elegant finishing touch and enhances the chocolate experience.
With these ingredients in hand, you’re on your way to creating a luscious Black Forest Cake that will sweep everyone off their feet! Happy baking!
Step‑by‑Step Instructions for Black Forest Cake
Step 1: Preheat and Prepare
Begin by preheating your oven to 350°F (175°C) to ensure an even bake for your Black Forest Cake. While the oven warms up, grease and flour two 9-inch round cake pans thoroughly, ensuring an easy release of the cakes once baked. Set them aside while you mix your dry ingredients.
Step 2: Mix Dry Ingredients
In a large bowl, combine 2 cups of all-purpose flour, 2 cups of granulated sugar, ¾ cup of unsweetened cocoa powder, 1½ teaspoons of baking powder, 1½ teaspoons of baking soda, and 1 teaspoon of salt. Whisk together until well blended, creating a dry mixture that's light and airy—this will set the stage for your cake's delightful texture.
Step 3: Combine Wet Ingredients
Add 2 large eggs, 1 cup of whole milk, ½ cup of vegetable oil, and 2 teaspoons of vanilla extract to the dry mixture. Use a hand mixer on medium speed for about two minutes, or until the batter is smooth and fully incorporated. You'll notice a luscious, thick batter ready for the boiling water miracle that follows.
Step 4: Incorporate Boiling Water
Carefully stir in 1 cup of boiling water to the batter. This crucial step will give your Black Forest Cake its signature moisture, resulting in a thin batter that should look glossy and rich. Be cautious with the hot water, and mix gently until no lumps remain.
Step 5: Bake the Cake
Pour the batter evenly into the prepared pans. Place them in the preheated oven and bake for 30-35 minutes or until a toothpick inserted in the center comes out clean. As the cakes rise, your kitchen will fill with the irresistible scent of chocolate—an excellent sign of deliciousness ahead!
Step 6: Cool the Cakes
Once baked, remove the pans from the oven and allow the cakes to cool in the pans for about ten minutes. After that, gently transfer them to wire racks to cool completely. Patience here is key; letting them cool thoroughly ensures a perfectly stacked Black Forest Cake!
Step 7: Prepare the Layers
Once the cakes are completely cool, slice each layer in half horizontally to create four thinner layers. Meanwhile, drain your cherries, reserving the juice for moistened layers later. This step adds fruity sweetness and balances the richness of the chocolate.
Step 8: Whip the Cream
In a large mixing bowl, whip 3 cups of heavy whipping cream with ½ cup of powdered sugar and 1 teaspoon of vanilla extract on high speed. Continue whipping until stiff peaks form, which takes about 3-5 minutes. You want a voluminous, creamy topping to complement the layers of your Black Forest Cake beautifully.
Step 9: Assemble the Cake
Place one layer of cake on a serving platter. Moisten it with the reserved cherry juice, then spread a generous layer of whipped cream over it. Add a handful of cherries on top, creating a delightful contrast in flavors that elevates this dessert.
Step 10: Stack and Frost
Repeat the process with the next layer, adding more whipped cream and cherries. After stacking the final layer, cover the entire cake with the remaining whipped cream, smoothing it out with a spatula for a polished look. The layers should gleam with enticing richness.
Step 11: Decorate
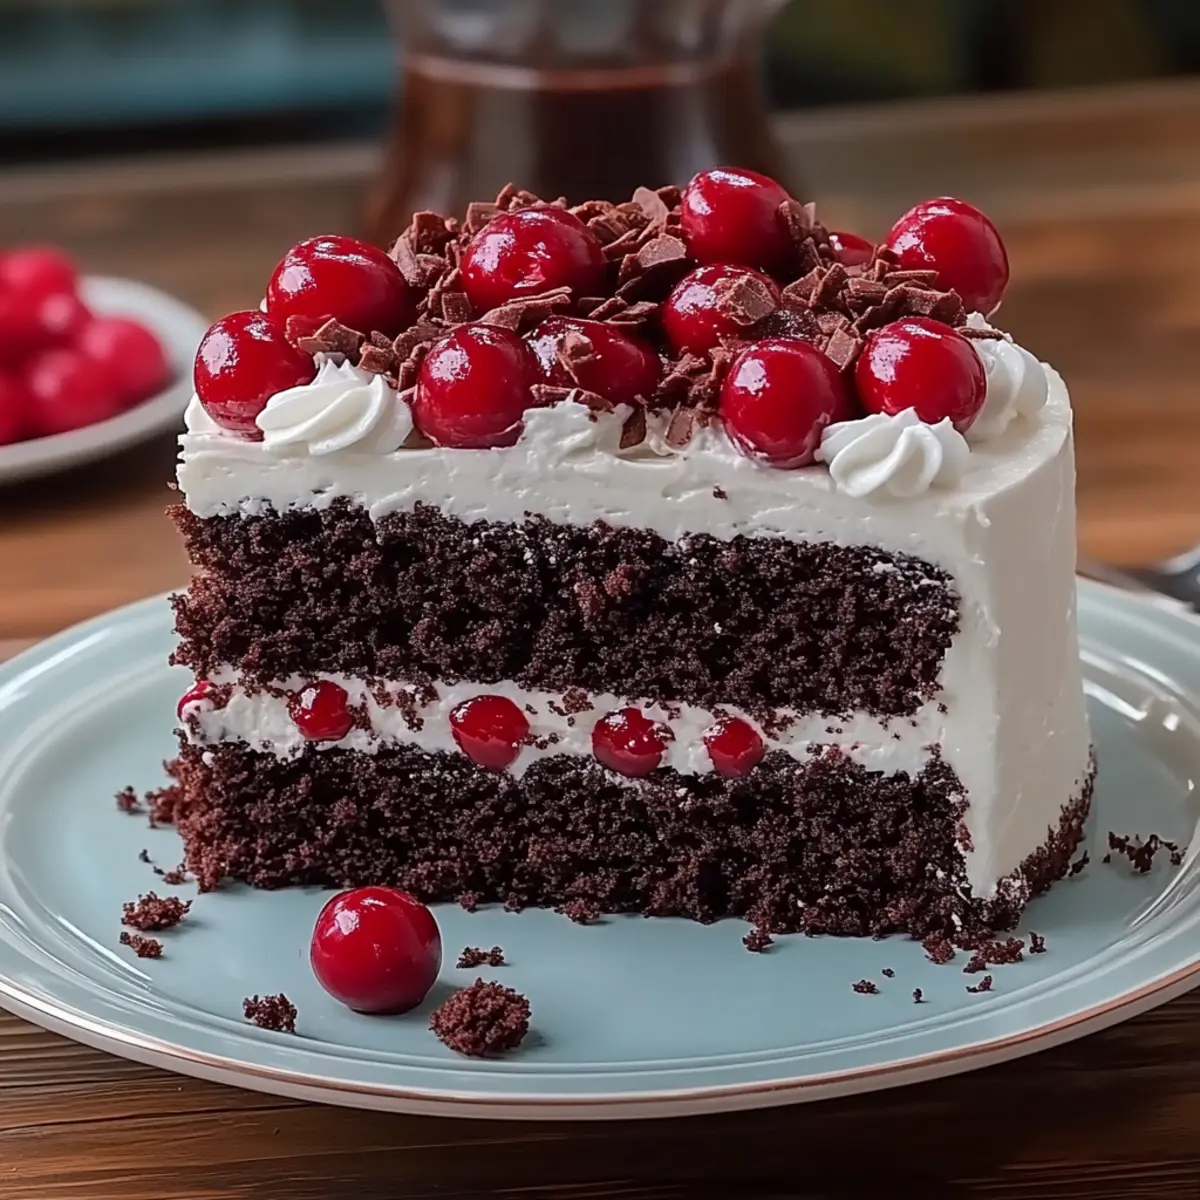
To finish your Black Forest Cake, generously sprinkle chocolate shavings over the top and place extra cherries for a stunning visual appeal. Chill the cake in the refrigerator for at least thirty minutes before serving, allowing the flavors to meld beautifully and making it easier to slice perfectly.
What to Serve with Black Forest Cake?
As you present this indulgent dessert, consider pairing it with delightful accompaniments that elevate the entire dining experience.
-
Fresh Berries: Juicy strawberries or raspberries will add a refreshing burst of flavor, enhancing the cake’s rich chocolate notes.
-
Vanilla Ice Cream: This classic pairing offers a creamy contrast that beautifully complements the chocolate and cherry layers in the cake.
-
Espresso or Coffee: A bold cup of coffee balances the sweetness of the Black Forest Cake with its rich, robust flavor, making each bite even more enjoyable.
-
Chocolate Covered Cherries: Boost the chocolate experience with these decadent treats as a side that harmonizes perfectly with the cake’s layers.
-
Whipped Cream: A light dollop of additional whipped cream can add a luxurious touch, ensuring every slice is decadently creamy.
-
Mint Leaves: Fresh mint adds a pop of color and a hint of freshness, enlivening the rich chocolate taste with its crisp flavor.
These pairings will not only enhance the flavors of your Black Forest Cake but will also create a beautifully balanced dessert table that your loved ones will adore!
Black Forest Cake Variations
Feel free to let your creativity shine by customizing this delightful Black Forest Cake to suit your taste buds!
-
Gluten-Free: Substitute all-purpose flour with a gluten-free baking blend. This option allows everyone to enjoy the cake without sacrificing flavor or texture.
-
Dairy-Free: Use almond or coconut milk instead of whole milk, and swap heavy whipping cream with coconut cream for a delightful dairy-free twist.
-
Fruit Fusion: Add sliced strawberries or raspberries alongside cherries for a seasonal touch. The mix of berries enhances the freshness of the cake beautifully.
-
Nutty Addition: Incorporate chopped walnuts or pecans for a crunchy texture. This nutty aspect brings a wholesome crunch that contrasts nicely with the soft layers.
-
Enhanced Chocolate: Replace half of the cocoa powder with dark chocolate cocoa for a richer chocolate experience. This twist guarantees an even more indulgent flavor.
-
Spicy Kick: Add a pinch of cinnamon or cayenne pepper to the cake batter for a surprising warmth. This bit of spice can elevate the chocolate and cherry flavors WOWing your guests!
-
Miniature Cakes: Create individual servings by using a muffin tin to bake smaller cakes. These mini delicious bites are perfect for parties and easier to share with loved ones.
-
Intense Cherry Flavor: Cook the reserved cherry juice down to a syrup and brush it over the layers for a concentrated flavor boost. It not only adds sweetness but also looks stunning!
Feel inspired to create your dream Black Forest Cake, just like how you might make the irresistible Raspberry Pistachio Cake or the refreshing flavors of Black Raspberry Lemon cookies. Enjoy every crumb of your creation!
How to Store and Freeze Black Forest Cake
Room Temperature: Store your Black Forest Cake at room temperature for up to 1 day, covering it with a cake dome or plastic wrap to prevent it from drying out.
Fridge: If you have leftovers, refrigerate the cake for up to 3 days. Make sure to keep it in an airtight container to maintain its freshness and creamy texture.
Freezer: For longer storage, wrap the assembled cake tightly in plastic wrap and then in aluminum foil, freezing for up to 3 months. Thaw in the fridge overnight before serving.
Reheating: If you prefer your Black Forest Cake warm, allow it to come to room temperature after thawing, or gently microwave individual slices for a few seconds until slightly warm.
Make Ahead Options
These delightful Black Forest Cakes are perfect for busy home cooks looking to save time without compromising on flavor! You can bake the cake layers up to 3 days in advance. Once cooled, wrap each layer tightly in plastic wrap and store them in the refrigerator to maintain their moisture. Additionally, you can whip the cream and store it in an airtight container for up to 2 days; just give it a quick re-whip before using. When you're ready to assemble, moisten the layers with reserved cherry juice, stack the cake with whipped cream and cherries, and finish by decorating with chocolate shavings. This way, your Black Forest Cake is not only a showstopper but also comes together with ease!
Expert Tips for Making Black Forest Cake
Temperature Matters: Ensure all your ingredients are at room temperature before mixing. This leads to a better-emulsified batter, enhancing the texture of your Black Forest Cake.
Be Gentle with Boiling Water: When adding boiling water to your batter, do so gradually. This process helps maintain the airiness of the batter, resulting in a light, moist cake.
Layering Technique: Remember to moisten each cake layer with reserved cherry juice. Skipping this step can lead to a dry cake—remember, it’s all about balance!
Whipped Cream Watch: Beat the whipped cream until stiff peaks form, but don’t overwhip, as it can turn grainy. You want it fluffy and soft to complement the cake's richness.
Chill Before Slicing: Allow your decorated cake to chill in the refrigerator for at least 30 minutes. This helps set the layers and makes it easier to slice through with clean edges.
By keeping these tips in mind, you’ll create a stunning Black Forest Cake that’s not only gorgeous but also decadently delicious!

Black Forest Cake Recipe FAQs
How do I select ripe cherries for my Black Forest Cake?
Absolutely! When choosing cherries, look for ones that are firm, plump, and shiny, with a deep red color. Avoid any that have dark spots or a dull hue, as these may be overripe or bruised. Fresh cherries will provide a wonderful burst of flavor and sweetness that you need for the layers of your Black Forest Cake.
What’s the best way to store leftover Black Forest Cake?
Very! If you have any leftovers, store your Black Forest Cake in the refrigerator for up to 3 days. It’s best to place it in an airtight container to maintain its creamy texture and prevent it from absorbing odors. For short-term storage at room temperature, cover it with a cake dome or plastic wrap, but aim to consume it within 1 day for optimal freshness.
Can I freeze Black Forest Cake? If so, how?
Absolutely! To freeze your Black Forest Cake, start by wrapping the entire assembled cake tightly in plastic wrap. I then recommend wrapping it in aluminum foil for an extra layer of protection. This will help prevent freezer burn. It can be frozen for up to 3 months. When you're ready to enjoy it, thaw the cake in the refrigerator overnight, then bring it to room temperature before serving for the best taste and texture.
What should I do if my cake layers are not rising properly?
Oh no! If your cake layers aren’t rising, make sure that your baking powder and baking soda are fresh. Stale leavening agents can result in a dense cake. Also, avoid overmixing your batter as it can develop the gluten in the flour, leading to a tough texture. Ensure you also allow your oven to fully preheat before baking, as a sudden temperature change can affect your cake’s rise!
Is this recipe suitable for people with allergies?
For sure! The Black Forest Cake contains common allergens like eggs and dairy, so anyone with egg or lactose allergies should avoid it. If you'd like a dairy-free version, consider swapping the cream and milk with coconut cream and almond milk. Additionally, if you’re using cherries from a can, double-check that they don’t have any added allergens. Always consult with your guests if you're serving them to ensure a safe and delicious experience!
Decadent Black Forest Cake to Satisfy Your Sweet Cravings
Equipment
- Oven
- Mixing bowl
- hand mixer
- Cake Pans
- Wire racks
Ingredients
For the Cake
- 2 cups All-purpose flour This is the base for your cake, giving it structure and texture.
- 2 cups Granulated sugar Sweetens the cake and helps create a moist texture.
- ¾ cup Unsweetened cocoa powder Infuses rich chocolate flavor, essential for a Black Forest Cake.
- 1½ teaspoons Baking powder This leavening agent helps the cake rise perfectly.
- 1½ teaspoons Baking soda Works alongside baking powder for an extra lift.
- 1 teaspoon Salt Enhances the sweetness and balances the flavors in the cake.
- 2 large Eggs Binds the ingredients together and adds moisture.
- 1 cup Whole milk Enriches the batter for a tender crumb.
- ½ cup Vegetable oil Keeps the cake moist and adds richness.
- 2 teaspoons Vanilla extract Adds depth of flavor to the chocolate.
- 1 cup Boiling water Making the batter thin, ensuring a moist cake.
For the Whipped Cream
- 3 cups Heavy whipping cream Crucial for the fluffy layers that balance the chocolate.
- ½ cup Powdered sugar Sweetens the whipped cream for a delightful topping.
- 1 teaspoon Vanilla extract Enhances the flavor of the whipped cream beautifully.
For the Decoration
- Cherries Lend that classic touch for layers and decoration.
- Chocolate shavings Adds an elegant finishing touch and enhances the chocolate experience.
Instructions
Step-by-Step Instructions
- Preheat your oven to 350°F (175°C) and grease and flour two 9-inch round cake pans.
- In a large bowl, combine all-purpose flour, granulated sugar, cocoa powder, baking powder, baking soda, and salt. Whisk until well blended.
- Add eggs, whole milk, vegetable oil, and vanilla extract to the dry mixture and mix on medium speed for about two minutes until smooth.
- Carefully stir in boiling water to the batter until no lumps remain.
- Pour the batter into prepared pans and bake for 30-35 minutes or until a toothpick comes out clean.
- Cool in the pans for about ten minutes, then transfer to wire racks to cool completely.
- Once cooled, slice each layer in half horizontally to create four thinner layers. Drain cherries, reserving the juice.
- Whip heavy whipping cream with powdered sugar and vanilla extract until stiff peaks form, about 3-5 minutes.
- Assemble by placing one layer on a platter, moisten with cherry juice, spread whipped cream, and add cherries.
- Repeat with remaining layers, cover the entire cake with whipped cream, and smooth with a spatula.
- Decorate with chocolate shavings and extra cherries, chill for at least 30 minutes before serving.