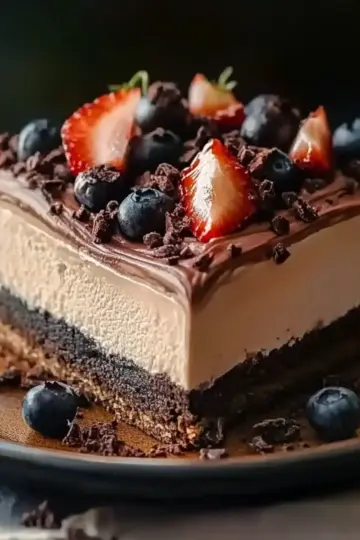
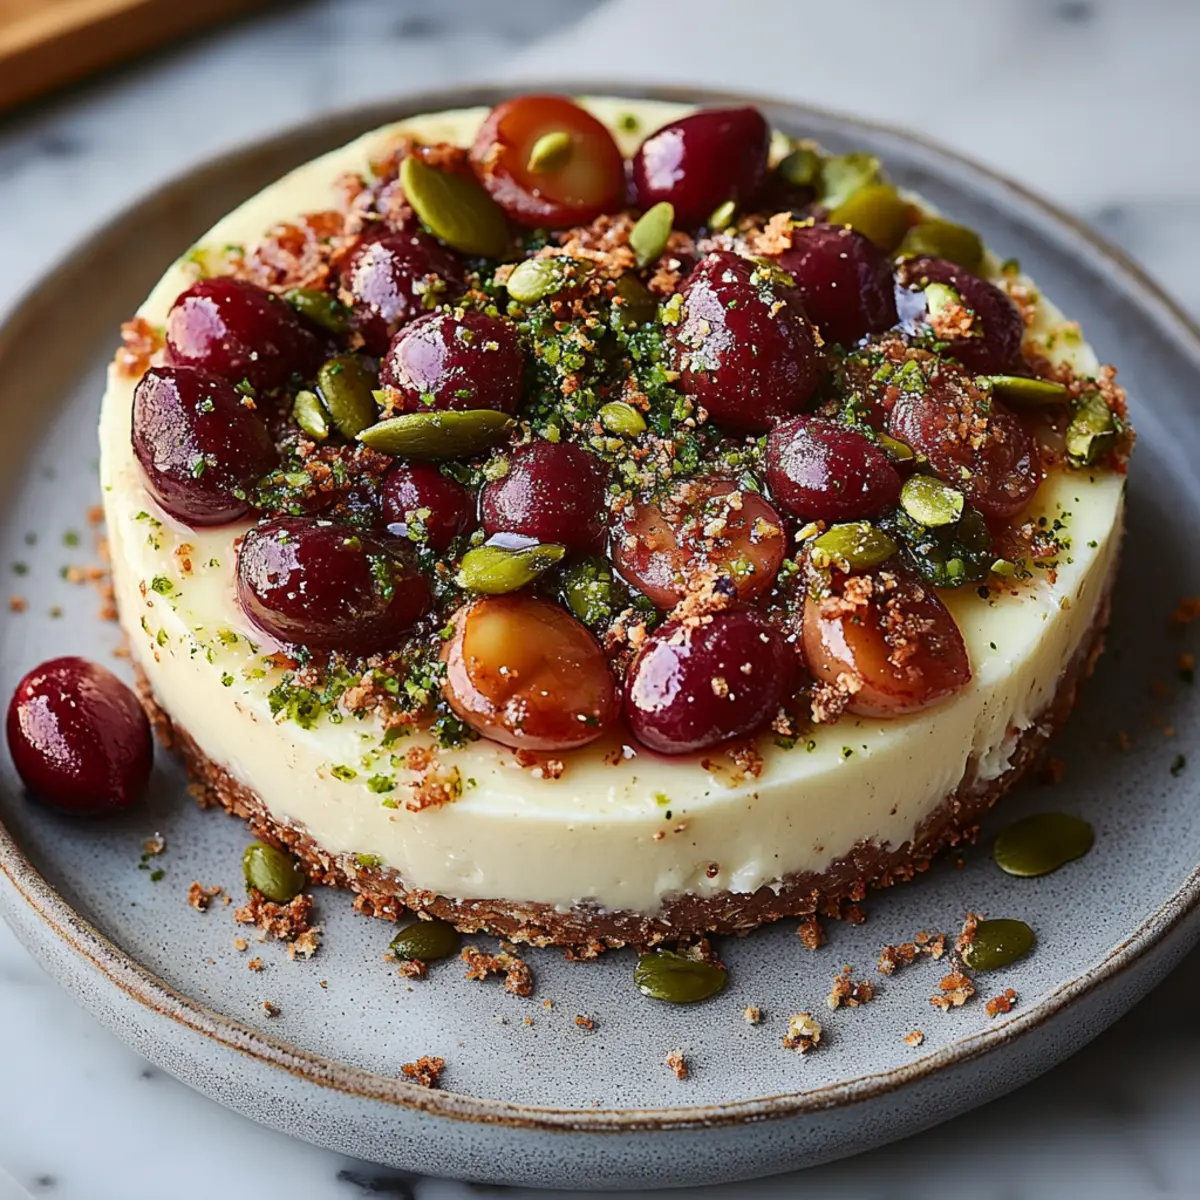
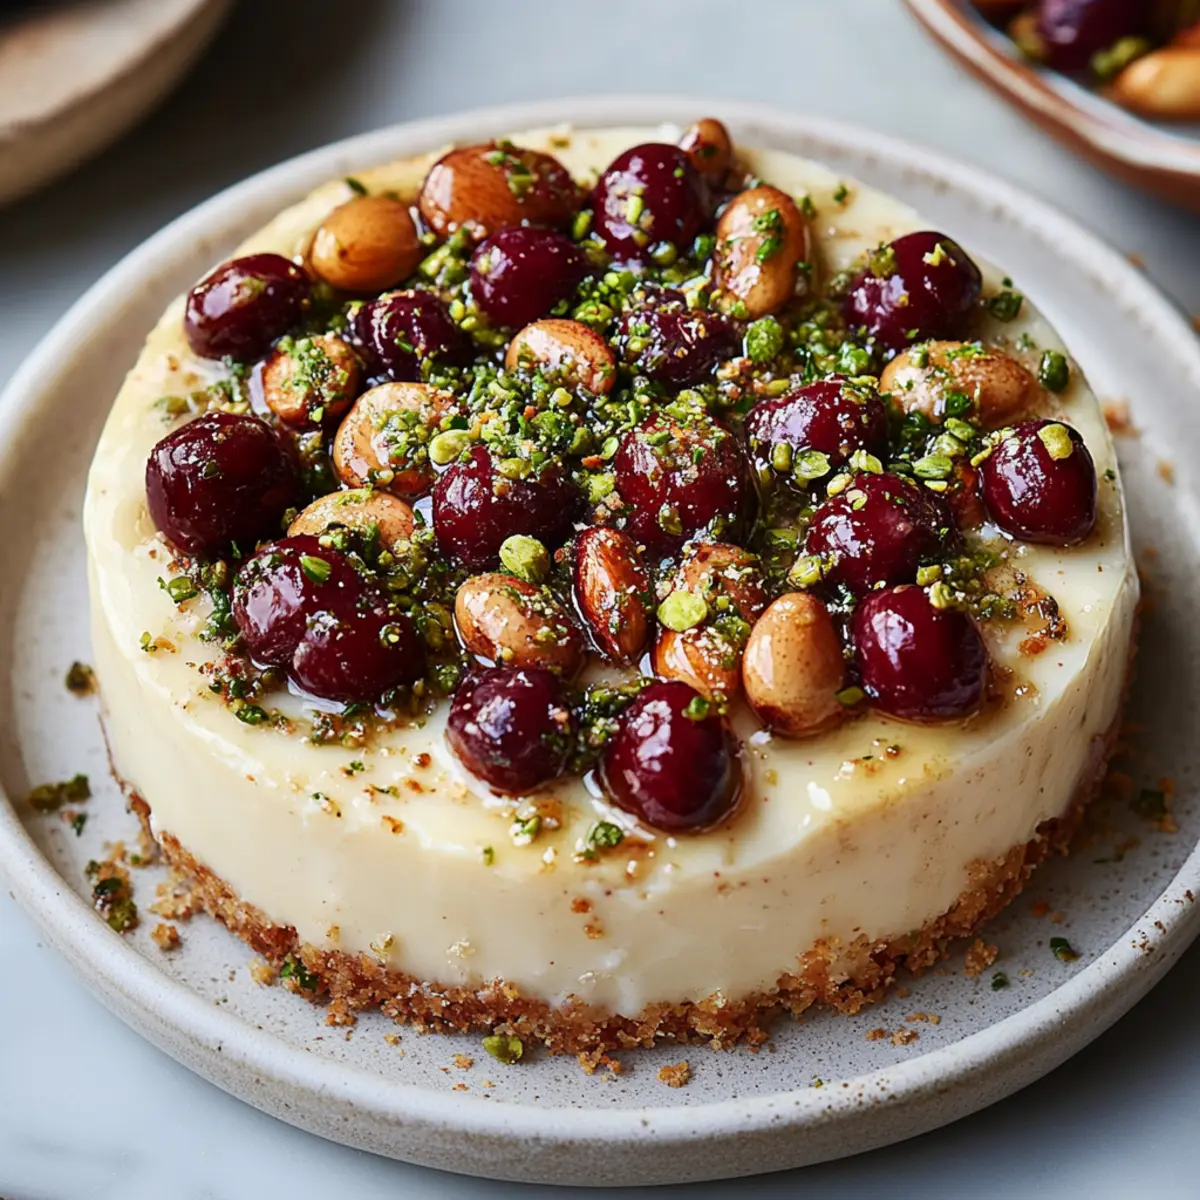
As I stood in my kitchen, the vibrant colors of fresh cherries and green pistachios caught my eye, instantly transforming my ordinary afternoon into a delightful culinary adventure. This Cherry Pistachio Cheesecake is not just a feast for the eyes, but also a treat for the taste buds! With its creamy texture and a crust that complements the fruitiness perfectly, this dessert is a quick triumph you'll love to share with family and friends. Plus, it's a fabulous way to elevate your baking game while saving you from the usual fast food rut. If you're ready to impress your guests or indulge in a slice of pure bliss after dinner, stick around! What secret touch do you think the pistachios add to this gorgeous cheesecake?

What makes this cheesecake a must-try?
Uniqueness: The combination of sweet cherries and crunchy pistachios creates a flavor profile that's both unexpected and delightful.
Creamy Texture: The rich, velvety cream cheese filling melts in your mouth, making each bite a luscious experience.
Easy to Prepare: With an uncomplicated recipe, you can whip up this dessert in no time, perfect for busy evenings or spontaneous gatherings.
Crowd-Pleaser: Whether it's a family dinner or a potluck, this Cherry Pistachio Cheesecake will be a hit, leaving everyone asking for seconds!
Versatile Toppings: Feel free to customize with additional cherries or a sprinkle of crushed pistachios on top for an extra touch of elegance.
Try this recipe, and don’t forget to check out the tips on how to achieve the best cheesecake texture in my previous post on cheesecake perfection!
Cherry Pistachio Cheesecake Ingredients
For the Crust
- Graham cracker crumbs – this forms the perfect base with a buttery crunch.
- Unsalted butter, melted – adds richness and helps bind the crust together.
- Granulated sugar – enhances the sweetness in the crust for a delightful contrast.
For the Filling
- Cream cheese, softened – the star ingredient that provides a creamy, smooth texture.
- Powdered sugar – sweetens the filling while ensuring a silky consistency.
- Vanilla extract – infuses a warm, aromatic flavor that complements the cheesecake beautifully.
- Sour cream – adds tanginess and creaminess, making it ultra-rich.
- Large eggs – binds the filling together; be sure to add them one at a time!
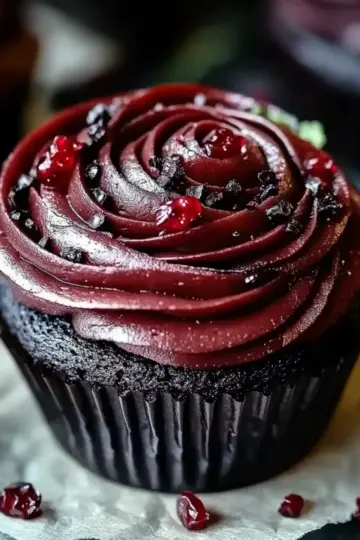
- Fresh cherries, pitted and halved – bursts of juicy sweetness elevate this Cherry Pistachio Cheesecake.
- Shelled pistachios, roughly chopped – for a delightful crunch and nutty flavor throughout.
- Lemon juice – brightens the flavors and balances the sweetness perfectly.
Feel free to play around with the toppings and garnishes for a personal touch! Enjoy crafting this delightful Cherry Pistachio Cheesecake that your loved ones will rave about!
Step‑by‑Step Instructions for Cherry Pistachio Cheesecake
Step 1: Preheat the Oven
Begin by preheating your oven to 325°F (160°C). While the oven warms, take a 9-inch springform pan and grease it with unsalted butter. Lightly dust the pan with flour to ensure the cheesecake releases easily after baking.
Step 2: Prepare the Crust
In a medium mixing bowl, combine 1 ½ cups of graham cracker crumbs, ½ cup of melted butter, and ¼ cup of granulated sugar. Stir the mixture until it resembles wet sand. This will form the delicious crust for your Cherry Pistachio Cheesecake.
Step 3: Bake the Crust
Press the crumb mixture firmly and evenly into the bottom of the prepared springform pan. Once packed down, bake the crust in your preheated oven for 10 minutes. After baking, remove the pan and let it cool while you prepare the cheesecake filling.
Step 4: Make the Cheesecake Filling
In a large mixing bowl, use an electric mixer to beat 2 cups of softened cream cheese on medium speed for about 2 minutes, or until creamy and smooth. This creates the luscious base for your cheesecake, making it a memorable Cherry Pistachio Cheesecake.
Step 5: Add Sweetness
Gradually incorporate 1 cup of powdered sugar into the whipped cream cheese, mixing until fully combined. Scrape down the sides of the bowl as needed to ensure all ingredients blend perfectly and your filling becomes silky.
Step 6: Stir in Flavorings
Add 1 teaspoon of vanilla extract, 1 cup of sour cream, and 1 tablespoon of lemon juice to the mix. Blend these ingredients well until fully incorporated, allowing their flavors to harmonize beautifully in your cheesecake batter.
Step 7: Incorporate the Eggs
Add the 3 large eggs to the mixture one at a time, mixing just until combined after each addition. Be careful not to overmix, as this will help maintain the creamy texture that makes this Cherry Pistachio Cheesecake so delightful.
Step 8: Fold in the Fruits and Nuts
Gently fold in 1 cup of pitted and halved fresh cherries along with 1 cup of roughly chopped shelled pistachios. Use a spatula to ensure that the fruit and nuts are evenly distributed without breaking them, adding a pop of color and flavor.
Step 9: Add the Filling to the Crust
Pour the creamy filling into the cooled crust, smoothing the top with your spatula. This ensures that your Cherry Pistachio Cheesecake looks as wonderful as it tastes, ready to bake to perfection!
Step 10: Bake the Cheesecake
Place the springform pan in the oven and bake for 50-60 minutes. The cheesecake is done when the edges are set but the center has a slight jiggle, indicating a creamy interior.
Step 11: Cool Gradually
After baking, turn off the oven and crack the door open, allowing your cheesecake to cool in the oven for an hour. This gradual cooling helps prevent cracks in your lovely Cherry Pistachio Cheesecake.
Step 12: Chill the Cheesecake
Once cooled, transfer the cheesecake to the refrigerator and let it chill for at least 4 hours, preferably overnight, allowing the flavors to meld and the texture to set beautifully.
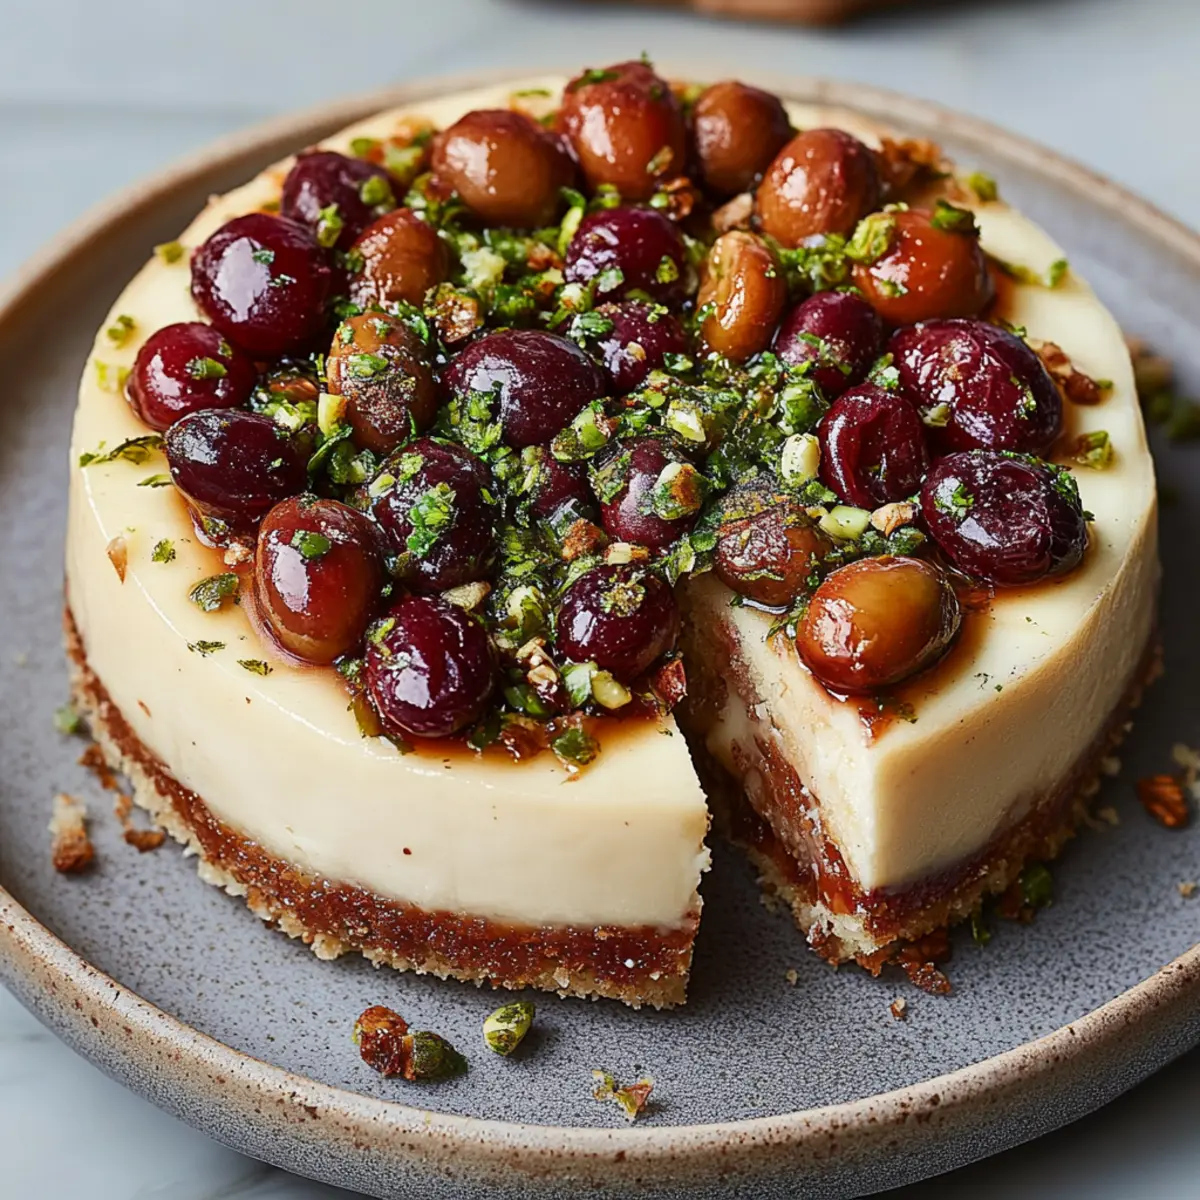
Step 13: Serve and Enjoy
After chilling, carefully remove the sides of the springform pan. Your Cherry Pistachio Cheesecake is now ready to be sliced and served. For an extra touch, garnish it with additional cherries and chopped pistachios before delighting in this beautiful creation!
Expert Tips for Cherry Pistachio Cheesecake
Choose Ripe Cherries: Use fresh, ripe cherries that are sweet and flavorful to enhance the taste of your Cherry Pistachio Cheesecake.
Don’t Overmix: When adding eggs to your filling, mix them just until combined. Overmixing can create air bubbles and result in cracks.
Wait to Cool: Allow the cheesecake to cool gradually in the oven before refrigerating. This helps prevent cracks and preserves its lovely texture.
Chill Longer for Best Flavor: For a richer taste, chill the cheesecake overnight. The longer you let it sit, the more the flavors will develop.
Properly Prep the Springform Pan: Grease and dust your pan well to prevent sticking. This ensures a smooth release and beautiful presentation of your Cherry Pistachio Cheesecake.
Cherry Pistachio Cheesecake Variations
Feel free to get creative and personalize this cheesecake to suit your palate or dietary needs!
-
Gluten-Free: Substitute the graham cracker crumbs with almond flour or gluten-free cookies for a delicious alternative that keeps the flavors intact.
-
Nut-Free: Omit the pistachios and replace them with sunflower seeds or pumpkin seeds for a delightful crunch without nuts. This keeps the dessert friendly for nut-sensitive folks.
-
Sweetener Swap: Use honey or maple syrup in place of granulated sugar to infuse a warm, natural sweetness into your crust and filling. It adds a unique twist you'll absolutely love!
-
Chocolate Lovers: Add cocoa powder to the crust for a chocolatey base or swirl in some melted dark chocolate into the filling before baking for a decadent flavor.
-
Fruit Variations: Try using other fresh fruits like raspberries or blueberries instead of cherries. Each fruit will bring its own unique charm and flavor to your cheesecake!
-
Vegan Option: Swap the cream cheese for a vegan alternative and replace eggs with flaxseed meal to create a plant-based version that still satisfies your sweet tooth.
-
Heat Factor: For a kick of spice, incorporate a pinch of cayenne pepper or cinnamon into the filling. It’s an unexpected twist that adds warmth and depth!
-
Tropical Twist: Mix in some shredded coconut for added texture and a tropical flair that pairs beautifully with the fruits. Just imagine each bite being a sunny getaway!
Don’t forget to check out my post on cheesecake flavors for more inspiration on how to make this cheesecake uniquely yours!
What to Serve with Cherry Pistachio Cheesecake
As you prepare to slice into this creamy indulgence, consider these delightful pairings that will elevate your dessert experience.
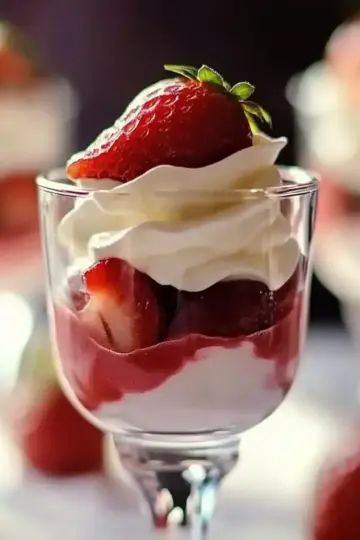
- Fresh Berries: Juicy strawberries and blueberries add a welcome tartness, balancing the sweetness of the cheesecake beautifully.
- Berry Compote: A warm raspberry or cherry compote drizzled atop your cheesecake introduces a rich, tangy layer that enhances each bite.
- Chocolate Sauce: A drizzle of silky chocolate sauce creates a decadent contrast to the fruity notes of the cheesecake, making it an instant showstopper.
- Whipped Cream: Light and airy whipped cream brings a fresh, creamy element that complements the cheesecake's rich texture.
- Coffee: A robust cup of coffee or espresso offsets the sweetness, enhancing the overall flavor profile, perfect for a post-dinner treat.
- Mint Leaves: A few fresh mint leaves not only add color but also a refreshing hint that brightens the ensemble without overpowering.
- Ice Cream: A scoop of vanilla or pistachio ice cream creates a delightful creamy layer, making it a sensational indulgence.
- Sparkling Wine: A glass of bubbly adds a festive touch, its effervescence cutting through the richness of the cheesecake beautifully.
- Almond Biscotti: These crisp cookies offer delightful crunch and nutty undertones, perfect for dipping alongside your cheesecake.
Make Ahead Options
These Cherry Pistachio Cheesecake preparations are perfect for busy home cooks looking to save time during the week! You can prepare the graham cracker crust up to 3 days in advance and store it tightly wrapped at room temperature. Similarly, the cheesecake filling can be made a day ahead and refrigerated, ensuring the ingredients meld beautifully while maintaining its creamy texture. When ready to bake, simply pour the filling into the pre-prepared crust and follow the baking steps. For optimal flavor, refrigerate the cheesecake for at least 4 hours or overnight after baking to allow it to set properly. Trust me, your Cherry Pistachio Cheesecake will be just as delicious and even more time-efficient!
How to Store and Freeze Cherry Pistachio Cheesecake
Fridge: Store your Cherry Pistachio Cheesecake in the refrigerator for up to 5 days. Keep it covered with plastic wrap or in an airtight container to maintain its creamy texture.
Freezer: If you want to enjoy it later, freeze individual slices wrapped tightly in plastic wrap and then placed in a freezer-safe bag for up to 2 months.
Thawing: To enjoy your frozen cheesecake, transfer it to the fridge and let it thaw overnight. For a quicker option, allow it to sit at room temperature for about 1 hour before serving.
Reheating: While cheesecake is best served chilled, if you prefer it slightly warm, gently warm individual slices in the microwave for about 10-15 seconds. Enjoy!
Cherry Pistachio Cheesecake Recipe FAQs
How do I pick the best cherries for my cheesecake?
Absolutely! When selecting cherries, look for ones that are firm, plump, and shiny. Avoid cherries with dark spots or wrinkles, as these indicate overripeness. Fresh, sweet cherries will elevate the flavor of your Cherry Pistachio Cheesecake.
How should I store my Cherry Pistachio Cheesecake?
You can refrigerate your cheesecake for up to 5 days. Make sure to cover it tightly with plastic wrap or seal it in an airtight container to keep it fresh and preserve its creamy texture.
Can I freeze my Cherry Pistachio Cheesecake?
Very! To freeze, slice the cheesecake and wrap each piece tightly in plastic wrap. Then, place the wrapped slices in a freezer-safe bag. Your cheesecake can be stored like this for up to 3 months. Just remember to thaw it in the fridge overnight before serving!
What should I do if my cheesecake cracks during baking?
If your cheesecake cracks, don't worry! This can happen when the mixture is overmixed or exposed to sudden temperature changes. To avoid cracks, be gentle when mixing in the eggs and allow the cheesecake to cool gradually in the oven. For more on fixing cracks, I've written a detailed guide, just check it out!
Are there any dietary considerations I should keep in mind?
Definitely! If you or your guests have allergies, be aware that this recipe contains dairy and nuts. For a dairy-free option, you can substitute the cream cheese with a nut-based cream alternative and use a nut-free crust. Also, please ensure that the pistachios are safe for anyone with nut allergies before serving.
How long do the flavors develop after making the cheesecake?
For the best flavor experience, it’s recommended to chill your Cherry Pistachio Cheesecake overnight. This allows the flavors to meld beautifully, resulting in an even tastier treat!
Decadent Cherry Pistachio Cheesecake for Your Sweet Tooth
Equipment
- 9-inch springform pan
- Mixing bowls
- Electric mixer
- spatula
- Measuring cups
- measuring spoons
Ingredients
For the Crust
- 1.5 cups graham cracker crumbs this forms the perfect base with a buttery crunch.
- 0.5 cups unsalted butter, melted adds richness and helps bind the crust together.
- 0.25 cups granulated sugar enhances the sweetness in the crust.
For the Filling
- 2 cups cream cheese, softened the star ingredient that provides a creamy, smooth texture.
- 1 cups powdered sugar sweetens the filling.
- 1 teaspoon vanilla extract infuses a warm flavor.
- 1 cups sour cream adds tanginess and creaminess.
- 3 large eggs binds the filling together.
- 1 cups fresh cherries, pitted and halved bursts of juicy sweetness.
- 1 cups shelled pistachios, roughly chopped for a delightful crunch.
- 1 tablespoon lemon juice brightens the flavors.
Instructions
Preparation Steps
- Preheat your oven to 325°F (160°C) and grease a 9-inch springform pan with unsalted butter.
- In a medium mixing bowl, combine graham cracker crumbs, melted butter, and granulated sugar. Stir until it resembles wet sand.
- Press the crumb mixture into the bottom of the prepared springform pan and bake for 10 minutes. Let cool.
- In a large mixing bowl, beat softened cream cheese on medium speed until creamy and smooth.
- Gradually add powdered sugar and mix until fully combined.
- Blend in vanilla extract, sour cream, and lemon juice until fully incorporated.
- Add eggs one at a time, mixing just until combined.
- Fold in fresh cherries and chopped pistachios gently.
- Pour filling into cooled crust, smoothing the top.
- Bake for 50-60 minutes until edges are set and center has a slight jiggle.
- Turn off the oven and crack the door open, letting the cheesecake cool for an hour.
- Transfer cheesecake to the refrigerator and chill for at least 4 hours or overnight.
- Remove sides of springform pan and garnish with additional cherries and chopped pistachios before serving.