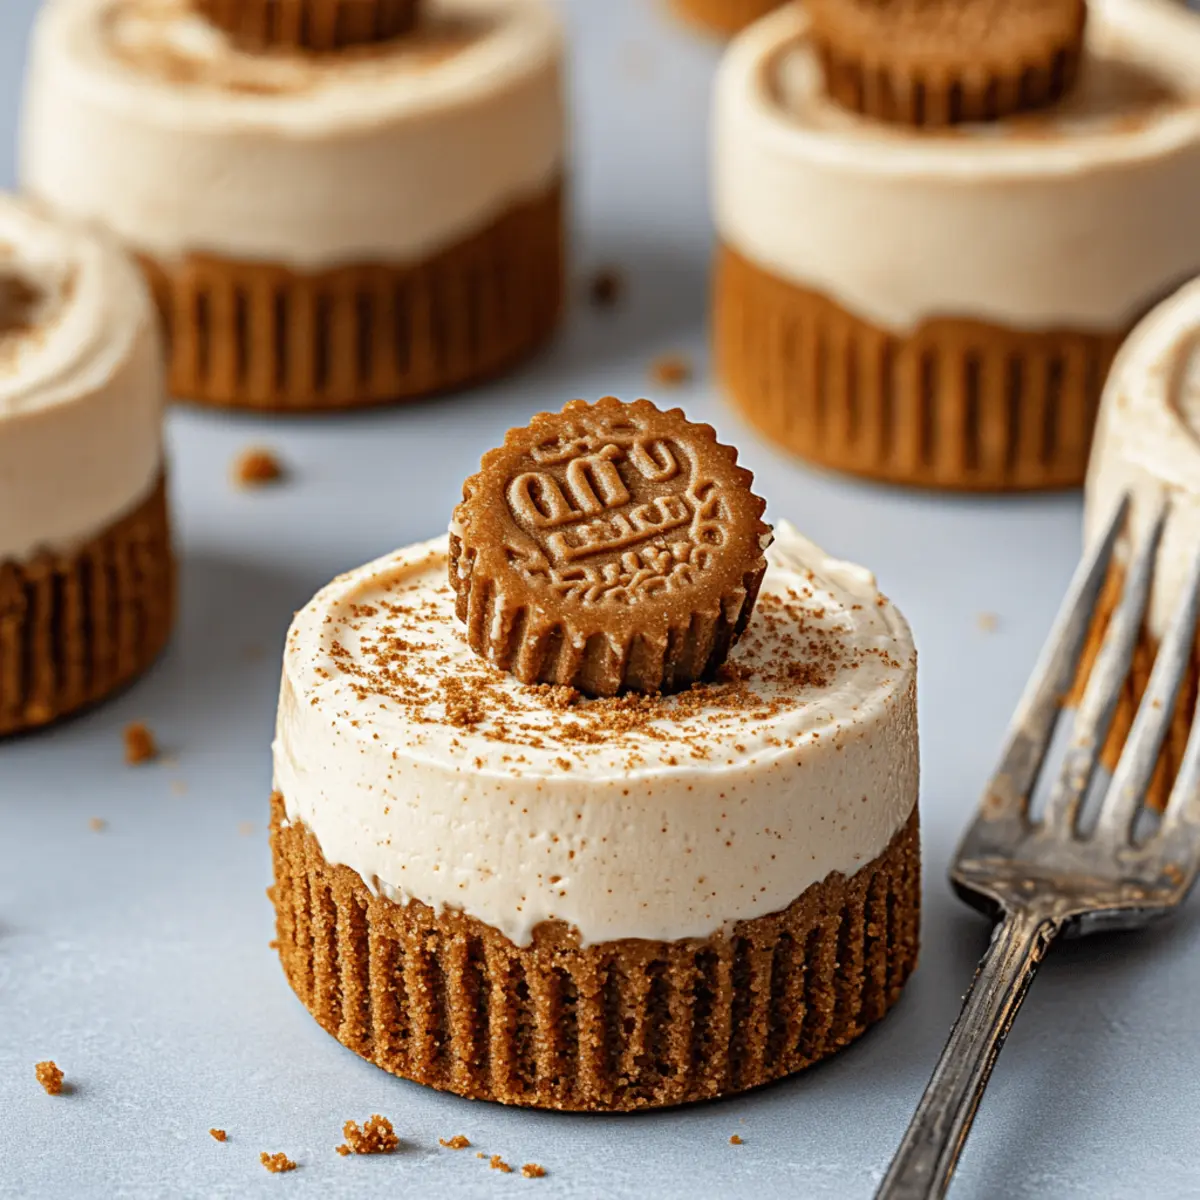
As I opened the pantry, the unmistakable scent of Biscoff cookies wafted through the air, instantly transporting me to a cozy café corner. This sense of nostalgia is precisely why I'm thrilled to share my recipe for No Bake Mini Biscoff Cheesecakes. Perfect for those days when you crave something sweet yet simple, this treat not only requires no baking but also comes together in just 20 minutes! With its creamy filling and crunchy crust, it’s a delightful crowd-pleaser that will leave everyone asking for seconds. Plus, these mini desserts can be made ahead of time, making them the ideal choice for your next gathering. How about whipping up a batch and surprising your friends with this heavenly combination of textures and flavors?
Why are these cheesecakes so irresistible?
Irresistible Flavor: The luscious Biscoff cookie butter combined with creamy cheesecake creates a taste sensation that’s both indulgent and comforting.
Effortless Preparation: With just 20 minutes of hands-on time, these No Bake Mini Biscoff Cheesecakes are perfect for anyone short on time but big on flavor.
Versatile Treat: Dress them up for special occasions, or enjoy them casually with friends. They pair beautifully with coffee or as part of a dessert platter alongside Biscoff Cinnamon Rolls.
Crowd-Pleasing Delight: With their charming mini size, these cheesecakes are sure to impress guests at your next gathering.
Make-Ahead Convenience: Whip up a batch and enjoy them chilled, making them a fantastic option for parties or family gatherings.
No Bake Mini Biscoff Cheesecakes Ingredients
For the Crust
- Biscoff cookie crumbs – 1 ½ cups create a crunchy base and enhance the Biscoff flavor.
- Unsalted butter – 5 tablespoon melted butter binds the crumbs for a firm crust.
- Brown sugar – 1 tablespoon (optional) adds extra richness to the crust.
For the Cheesecake Filling
- Cream cheese – 8 oz softened for a creamy and smooth texture.
- Biscoff cookie butter – ½ cup smooth variety infuses the essential Biscoff flavor into the filling.
- Powdered sugar – ½ cup sweetens the mixture, making it delightful and light.
- Vanilla extract – 1 teaspoon brings warmth and depth to the cheesecake filling.
- Heavy whipping cream – 1 cup (cold) folded in for a light, airy texture in the cheesecake.
For Topping
- Biscoff cookie butter – ½ cup melted slightly will be drizzled on top for an extra indulgent layer.
- Extra Biscoff cookie crumbs – for garnish adding visual appeal and a hint of crunch.
- Whipped cream – optional for serving, offers a light and fluffy contrast.
Enjoy crafting your No Bake Mini Biscoff Cheesecakes—it’s a dessert experience everyone will cherish!
Step‑by‑Step Instructions for No Bake Mini Biscoff Cheesecakes
Step 1: Prepare the Muffin Pan
Start by lining a muffin pan with cupcake liners or using silicone molds for easy removal later. This step is crucial as it ensures your No Bake Mini Biscoff Cheesecakes come out beautifully structured. Prepping your pan ahead of time will help you transition seamlessly into the crust preparation.
Step 2: Make the Crust Mixture
In a mixing bowl, combine 1 ½ cups of Biscoff cookie crumbs, 5 tablespoons of melted unsalted butter, and optionally, 1 tablespoon of brown sugar. Stir vigorously until the mixture resembles wet sand and holds together when pressed. This will form the crunchy base of your cheesecakes, adding a delightful texture that pairs perfectly with the creamy filling.
Step 3: Form the Crusts
Scoop about 1 ½ tablespoons of the crust mixture into each muffin liner. Using the back of a spoon or a small cup, press down firmly to create a compact and even layer. Aim for a sturdy crust that will hold the filling well. Once completed, place the tray in the fridge to set while you prepare the cheesecake filling.
Step 4: Beat the Cream Cheese
In a large mixing bowl, add 8 ounces of softened cream cheese. Using an electric mixer, beat the cream cheese on medium speed until it becomes smooth and creamy, about 2-3 minutes. This step ensures a silky texture for your No Bake Mini Biscoff Cheesecakes, so don’t rush it—focusing on this creamy base enhances the overall experience.
Step 5: Blend in Flavors
Next, add ½ cup of Biscoff cookie butter, ½ cup of powdered sugar, and 1 teaspoon of vanilla extract to the bowl. Beat the mixture on medium speed until fully combined and fluffy, roughly 2 minutes. The combination of these ingredients will infuse your cheesecake filling with rich flavor, making every bite irresistible.
Step 6: Whip the Cream
In a separate bowl, pour in 1 cup of cold heavy whipping cream. Using clean beaters, whip the cream on medium-high speed until stiff peaks form—around 3-4 minutes. This step is key for achieving a light and airy texture in your No Bake Mini Biscoff Cheesecakes, giving them a delightful lift and creaminess.
Step 7: Fold in Whipped Cream
Gently fold the whipped cream into the Biscoff cheesecake mixture using a spatula. Be careful not to deflate the whipped cream, as you want to maintain that light and fluffy texture. This will create a beautifully blended filling that complements the crunchy crust perfectly.
Step 8: Fill the Crusts
Once your crusts have chilled, spoon or pipe the cheesecake filling generously on top of each crust. Use the back of a spoon or an offset spatula to smooth the tops, ensuring an even, professional finish. The contrast between the silky filling and the crunchy crust makes these No Bake Mini Biscoff Cheesecakes truly special.
Step 9: Chill for Firmness
Cover the muffin pan with plastic wrap and place it in the refrigerator to chill for at least 4 hours, or overnight for best results. This chilling time allows the cheesecake filling to set properly, making it easier to slice and serve. You will know they’re ready when they are firm to the touch.
Step 10: Prepare the Topping
Just before serving, gently warm ½ cup of Biscoff cookie butter in the microwave for about 10-15 seconds until it becomes pourable. This drizzle will add a luxurious layer on top of your cheesecakes, intensifying the Biscoff experience and making them look elegantly appetizing.
Step 11: Garnish and Serve
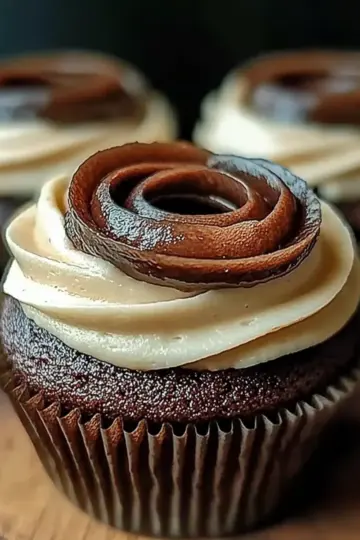
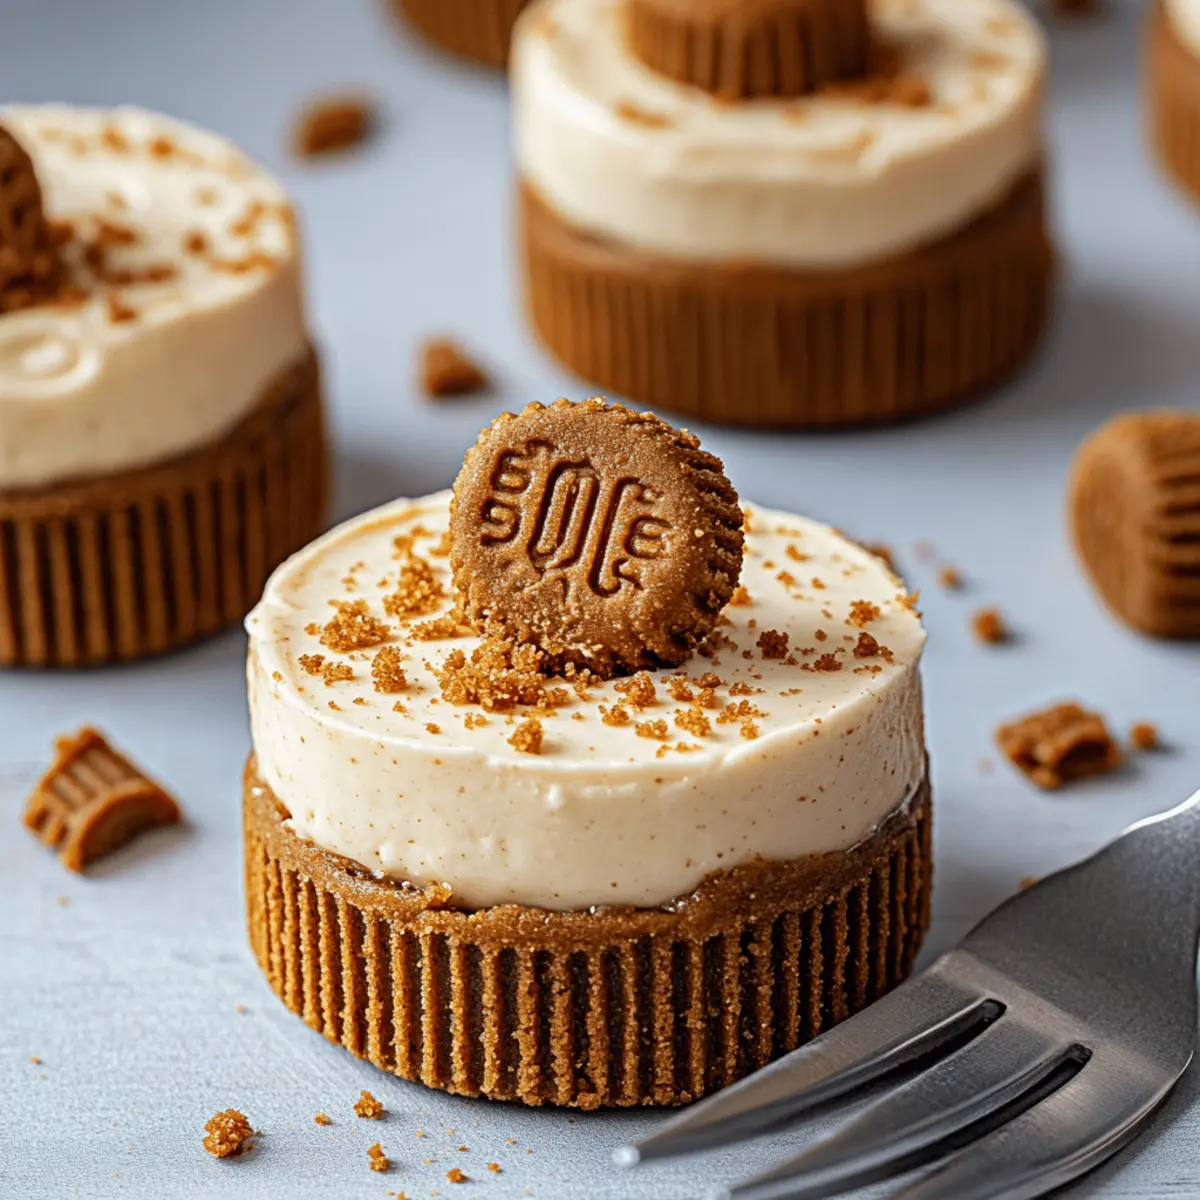
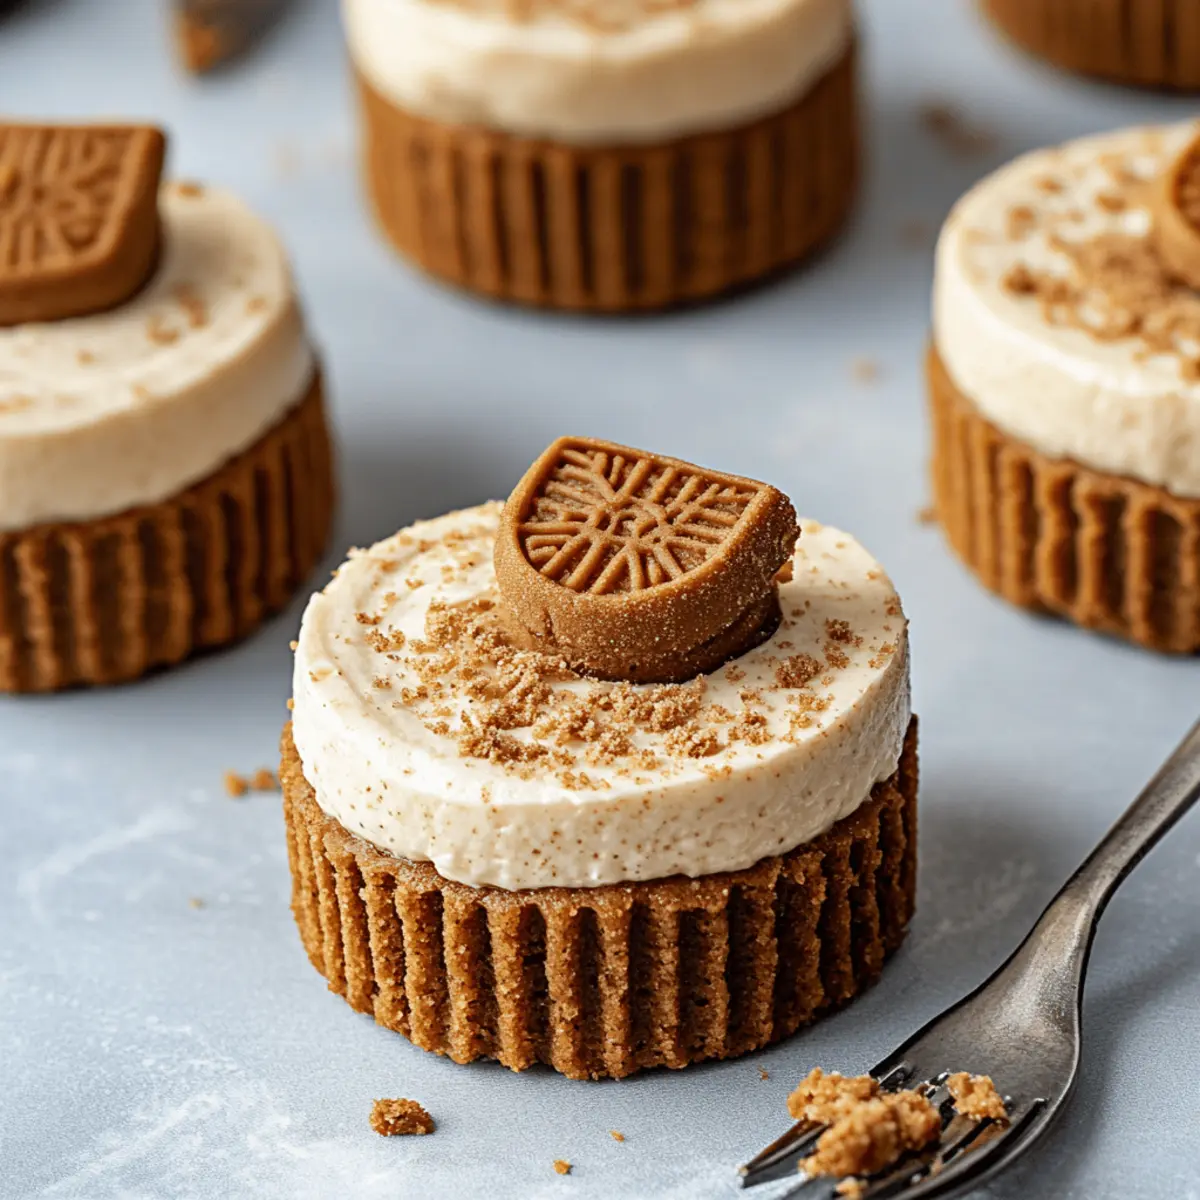
Drizzle or spread the melted Biscoff cookie butter over each mini cheesecake. For an extra touch, sprinkle crushed Biscoff cookies on top and add a dollop of whipped cream if desired. These final touches will make your No Bake Mini Biscoff Cheesecakes not only delicious but visually appealing, perfect for impressing guests!
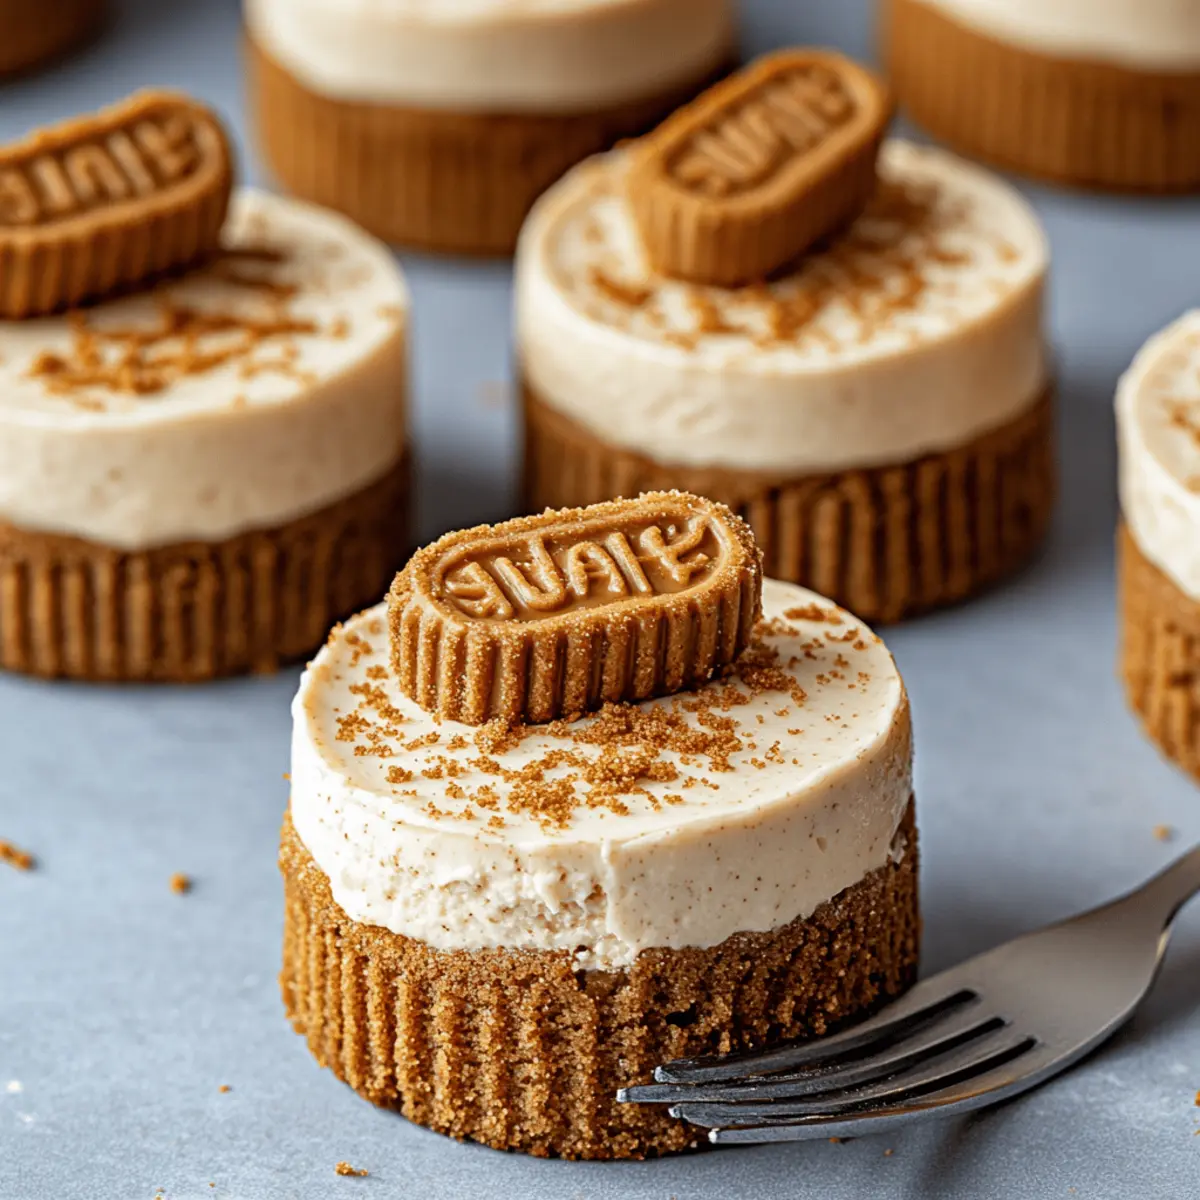
How to Store and Freeze No Bake Mini Biscoff Cheesecakes
Fridge: Keep your mini cheesecakes in an airtight container in the fridge for up to 3 days. This ensures they stay fresh and creamy.
Freezer: If you want to make them ahead, freeze the cheesecakes (without toppings) wrapped individually for up to a month. Thaw overnight in the fridge before serving.
Wrapping: For the freezer storage, use plastic wrap followed by aluminum foil to prevent freezer burn.
Reheating: These cheesecakes are best served chilled, so no reheating is necessary. Just drizzle with melted Biscoff cookie butter before serving for that fresh, delicious taste!
Make Ahead Options
These No Bake Mini Biscoff Cheesecakes are a lifesaver for busy home cooks! You can prepare the crust and cheesecake filling up to 24 hours in advance; simply refrigerate the crusts in the muffin pan and cover the filling in a separate airtight container. Once you’re ready to serve, spoon the filling on top of the chilled crust and let it set for a few minutes to ensure that the textures meld beautifully. Drizzling the melted Biscoff cookie butter just before serving keeps the presentation fresh and tempting. This way, you’ll enjoy the same delicious results with minimal effort on the day of your gathering!
What to Serve with No Bake Mini Biscoff Cheesecakes
Indulge in the complete dessert experience by pairing these delightful bites with complementary flavors and textures.
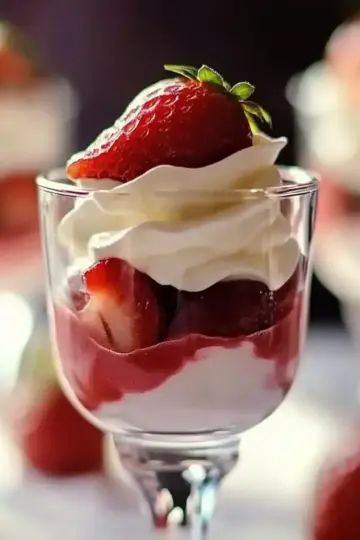
- Fresh Fruit Salad: A colorful mix of berries adds a refreshing burst of flavor that contrasts beautifully with the creamy cheesecakes.
- Coffee or Espresso: The rich, bold notes of coffee enhance the sweetness of the cheesecakes, making each bite even more satisfying.
Enjoy serving these mini cheesecakes alongside a sweet and slightly tart fruit compote. The acidity of the fruit helps cut through the richness, balancing out the meal perfectly.
- Chocolate Truffles: Rich chocolate truffles provide a luxurious touch, creating a decadent dessert platter that will impress even the most discerning guests.
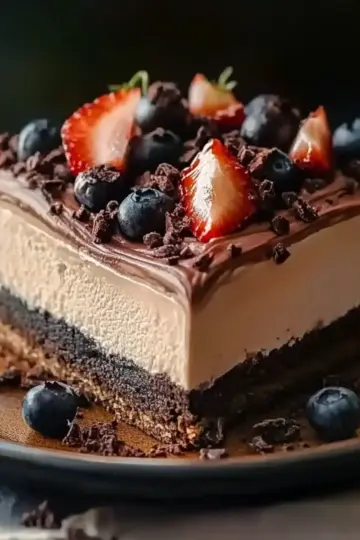
- Vanilla Ice Cream: A scoop of creamy vanilla ice cream contrasts nicely with the crunchy crust, keeping every bite refreshing.
Don't forget about a glass of dessert wine! A chilled Rosé or a sweet Late Harvest wine would elevate the experience and add depth to your dessert table.
- Hazelnut Biscotti: The crunchy texture and nutty flavor complement the Biscoff cheesecakes, providing an extra layer of enjoyment for your guests.
Expert Tips for No Bake Mini Biscoff Cheesecakes
-
Perfect Cream Cheese: Make sure your cream cheese is at room temperature to achieve a silky, smooth filling without lumps.
-
Chill Time Matters: Don’t rush the chilling time; letting them set overnight yields firmer, more flavorsome cheesecakes that are easier to serve.
-
Whip It Good: When whipping the cream, ensure it reaches stiff peaks to create that light and airy texture, essential for your No Bake Mini Biscoff Cheesecakes.
-
Avoid Crumbly Crusts: Press down the crust mixture firmly—this helps it hold together better when serving and adds structure.
-
Garnish Creatively: Get playful with garnishes! Not only can you use crushed cookies, but you can also top them with fresh berries for a delicious twist.
No Bake Mini Biscoff Cheesecakes Variations
Feel free to get creative with these cheesecakes and make them uniquely yours!
-
Gluten-Free: Use gluten-free cookie crumbs instead of regular Biscoff for a deliciously inclusive treat.
-
Vegan: Substitute cream cheese with a vegan alternative and use coconut cream in place of heavy whipping cream for a dairy-free version. For an added twist of flavor, try swapping in some almond extract for a nutty surprise.
-
Chocolate Drizzle: Melt some dark chocolate to drizzle over the cheesecakes instead of Biscoff cookie butter, adding a rich chocolatey touch that complements the flavors beautifully.
-
Nutty Crunch: Add crushed nuts like pecans or walnuts to the crust mixture for extra texture and a delightful nutty flavor that pairs perfectly with the Biscoff.
-
Spice It Up: Incorporate a pinch of cinnamon or nutmeg into the filling to give your cheesecakes a warm, cozy spice that enhances the overall taste profile.
-
Red Velvet Twist: Mix in some cocoa powder into the crust to create a chocolatey crust, and replace some of the cream cheese with red velvet cake batter for a unique flavor and color experience.
-
Fruit Fantasia: Add a layer of fresh fruit like sliced strawberries or bananas on top before drizzling with Biscoff cookie butter for a vibrant, fruity dimension.
-
Size Variations: Instead of mini cheesecakes, make a larger cheesecake in a springform pan. Just increase the chilling time, and this showstopper will impress at any gathering!
For an irresistible pairing, why not serve these alongside a slice of decadent Cheesy Potato Bake or a rich, flavorful Salmon Sushi Bake? Your guests are sure to love mixing these flavors!
No Bake Mini Biscoff Cheesecakes Recipe FAQs
How do I choose the right Biscoff cookies for the crust?
Absolutely! Ensure the Biscoff cookies are fresh, with no dark spots or significant breakage. The cookies should be crisp for optimal crumbling; a freshly opened package works best to achieve the perfect cookie crumbs for your crust.
How long can I store the No Bake Mini Biscoff Cheesecakes?
You can store your mini cheesecakes in an airtight container in the refrigerator for up to 3 days. Keeping them well-covered will help retain their creamy texture and delectable flavor.
Can I freeze No Bake Mini Biscoff Cheesecakes?
Certainly! To freeze, wrap each mini cheesecake individually in plastic wrap, then place them in a freezer-safe container to prevent freezer burn. They can be kept for up to 3 months. When you're ready to enjoy, simply thaw them overnight in the fridge before serving.
What if my filling is lumpy after mixing?
Very common! If your filling turns out lumpy, it may be due to the cream cheese being cold. To fix this, you can use an electric mixer to beat the cream cheese until smooth before adding the other ingredients. Always start with softened cream cheese for the best results!
Are these cheesecakes safe for those with nut allergies?
The No Bake Mini Biscoff Cheesecakes recipe mainly involves cookie products and dairy. However, check the Biscoff products for potential cross-contamination warnings as these may contain traces of nuts. Always read labels carefully if allergies are a concern.
Decadent No Bake Mini Biscoff Cheesecakes You’ll Love
Equipment
- Muffin pan
- Mixing bowls
- Electric mixer
- spatula
Ingredients
For the Crust
- 1.5 cups Biscoff cookie crumbs create a crunchy base and enhance the Biscoff flavor.
- 5 tablespoon Unsalted butter melted butter binds the crumbs for a firm crust.
- 1 tablespoon Brown sugar adds extra richness to the crust.
For the Cheesecake Filling
- 8 oz Cream cheese softened for a creamy and smooth texture.
- 0.5 cups Biscoff cookie butter smooth variety infuses the essential Biscoff flavor into the filling.
- 0.5 cups Powdered sugar sweetens the mixture, making it delightful and light.
- 1 teaspoon Vanilla extract brings warmth and depth to the cheesecake filling.
- 1 cup Heavy whipping cream (cold) folded in for a light, airy texture in the cheesecake.
For Topping
- 0.5 cups Biscoff cookie butter melted slightly will be drizzled on top for an extra indulgent layer.
- Extra Biscoff cookie crumbs for garnish adding visual appeal and a hint of crunch.
- Whipped cream optional for serving, offers a light and fluffy contrast.
Instructions
Preparation
- Start by lining a muffin pan with cupcake liners or using silicone molds for easy removal later.
- In a mixing bowl, combine 1 ½ cups of Biscoff cookie crumbs, 5 tablespoons of melted unsalted butter, and optionally, 1 tablespoon of brown sugar. Stir vigorously until the mixture resembles wet sand and holds together when pressed.
- Scoop about 1 ½ tablespoons of the crust mixture into each muffin liner. Using the back of a spoon or a small cup, press down firmly to create a compact and even layer.
- In a large mixing bowl, add 8 ounces of softened cream cheese. Using an electric mixer, beat the cream cheese on medium speed until it becomes smooth and creamy, about 2-3 minutes.
- Next, add ½ cup of Biscoff cookie butter, ½ cup of powdered sugar, and 1 teaspoon of vanilla extract to the bowl. Beat the mixture on medium speed until fully combined and fluffy, roughly 2 minutes.
- In a separate bowl, pour in 1 cup of cold heavy whipping cream. Using clean beaters, whip the cream on medium-high speed until stiff peaks form—around 3-4 minutes.
- Gently fold the whipped cream into the Biscoff cheesecake mixture using a spatula.
- Once your crusts have chilled, spoon or pipe the cheesecake filling generously on top of each crust. Use the back of a spoon or an offset spatula to smooth the tops.
- Cover the muffin pan with plastic wrap and place it in the refrigerator to chill for at least 4 hours, or overnight for best results.
- Just before serving, gently warm ½ cup of Biscoff cookie butter in the microwave for about 10-15 seconds until it becomes pourable.
- Drizzle or spread the melted Biscoff cookie butter over each mini cheesecake. For an extra touch, sprinkle crushed Biscoff cookies on top and add a dollop of whipped cream if desired.