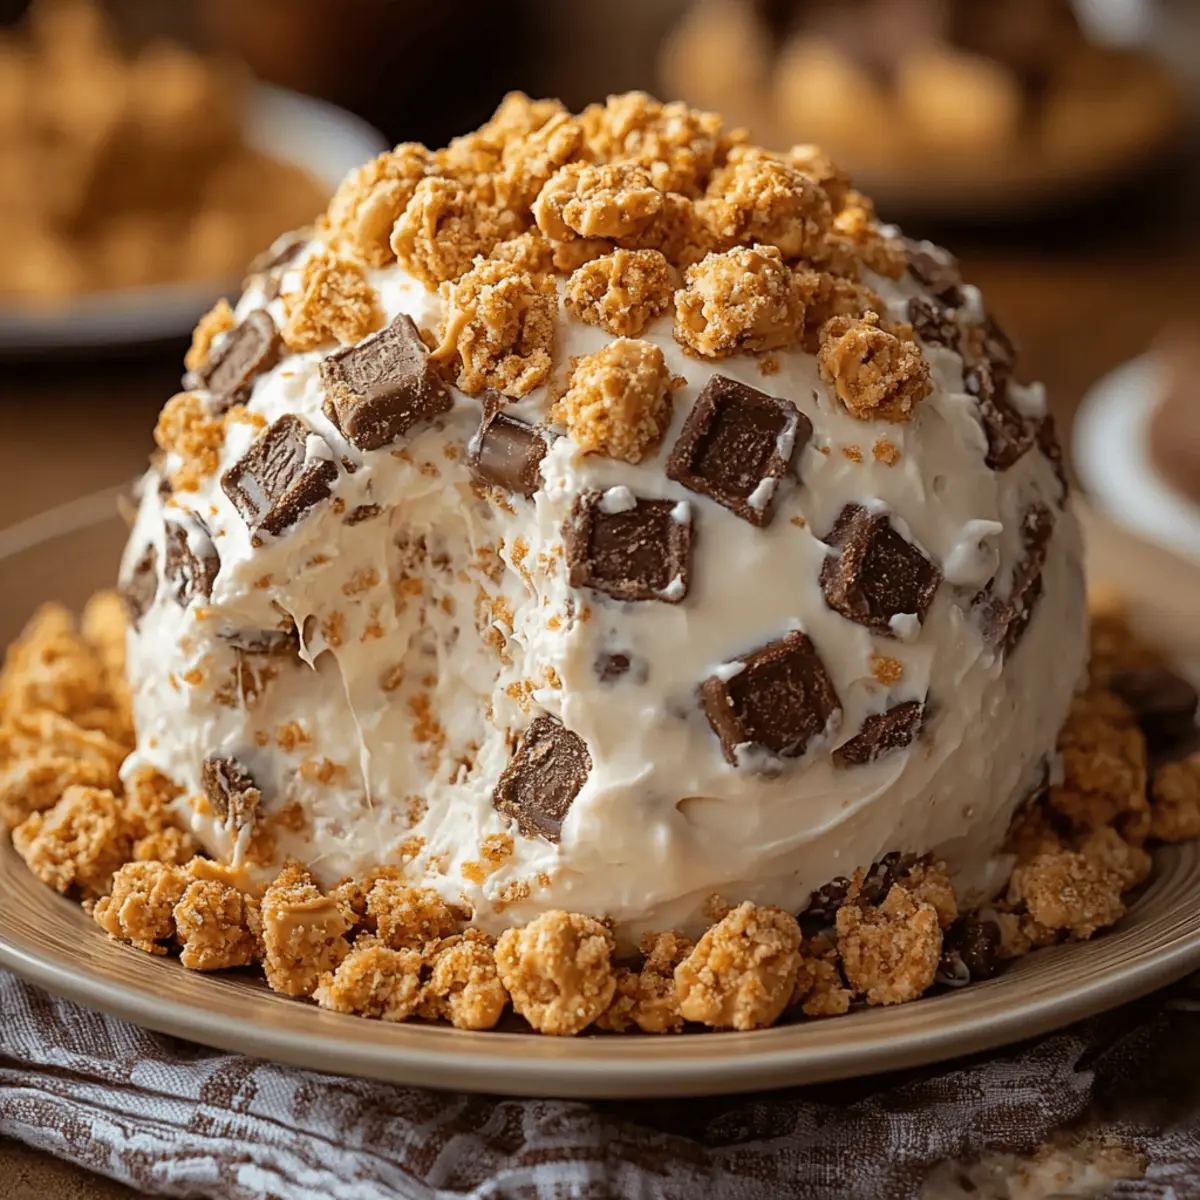
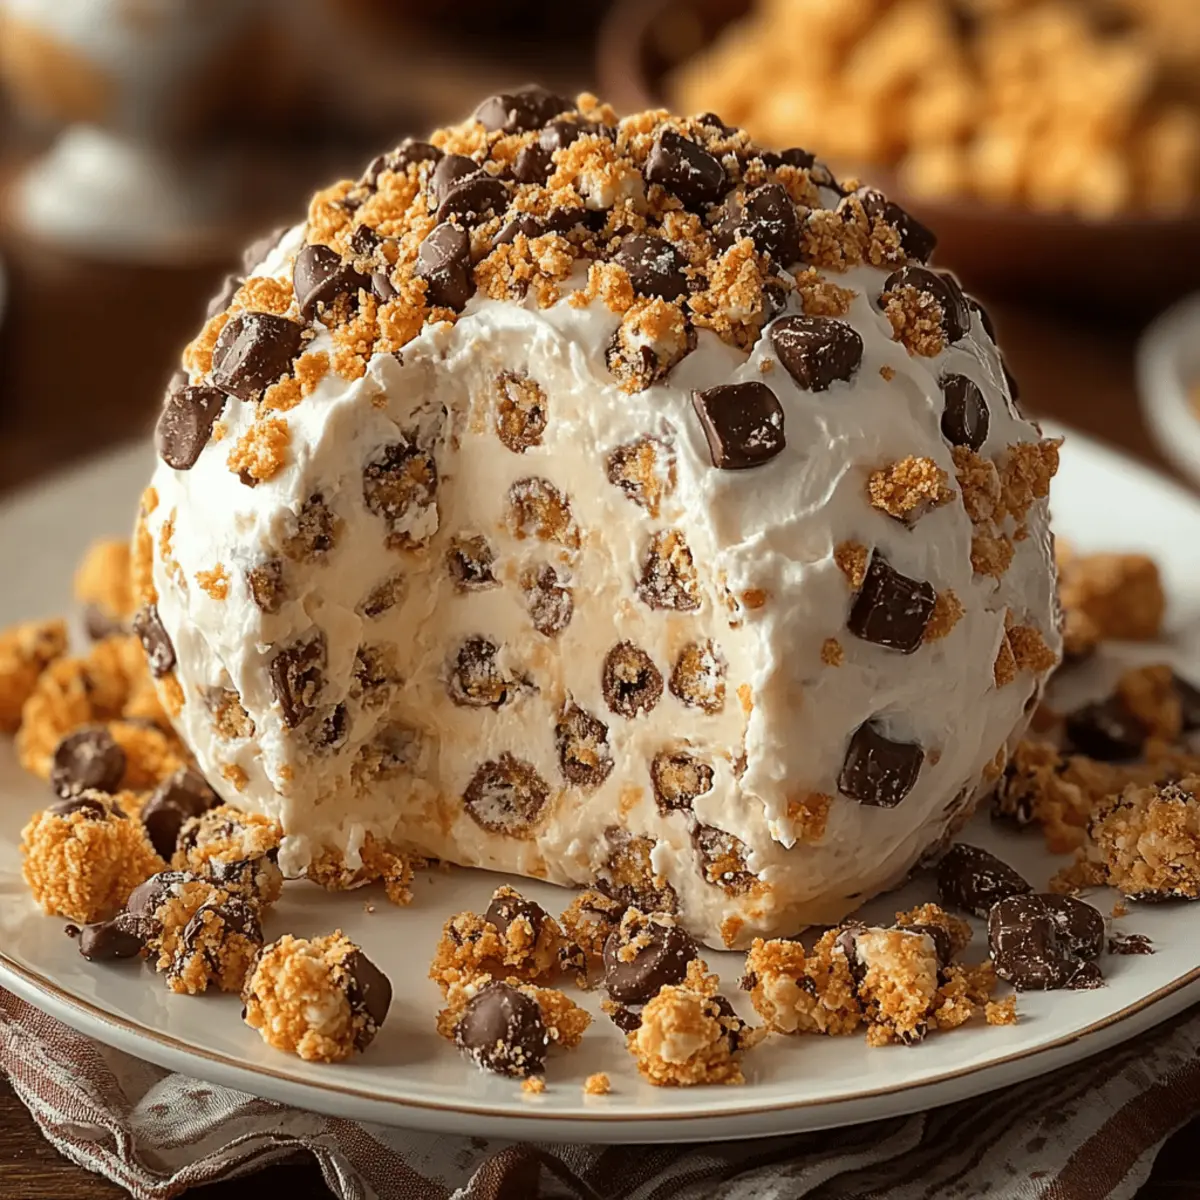
The moment I first tasted a Reese’s Cheese Ball, I knew I had stumbled upon a beautifully delicious secret. This no-bake dessert combines the rich flavors of chocolate and peanut butter, resulting in a creamy indulgence that’s perfect for any gathering or a sweet escape at home. With simple ingredients like smooth cream cheese, sweet powdered sugar, and crunchy mini Reese’s cups, this delightful treat is incredibly easy to make and serves as a fantastic crowd-pleaser. Not only does it require minimal effort with zero baking time, but it's also vegetarian, making it a versatile choice for celebrations or casual snacking. Are you ready to whip up this creamy, dreamy delight and impress your friends and family with a dessert that’s sure to disappear fast?
Why Is This Reese’s Cheese Ball a Must-Try?
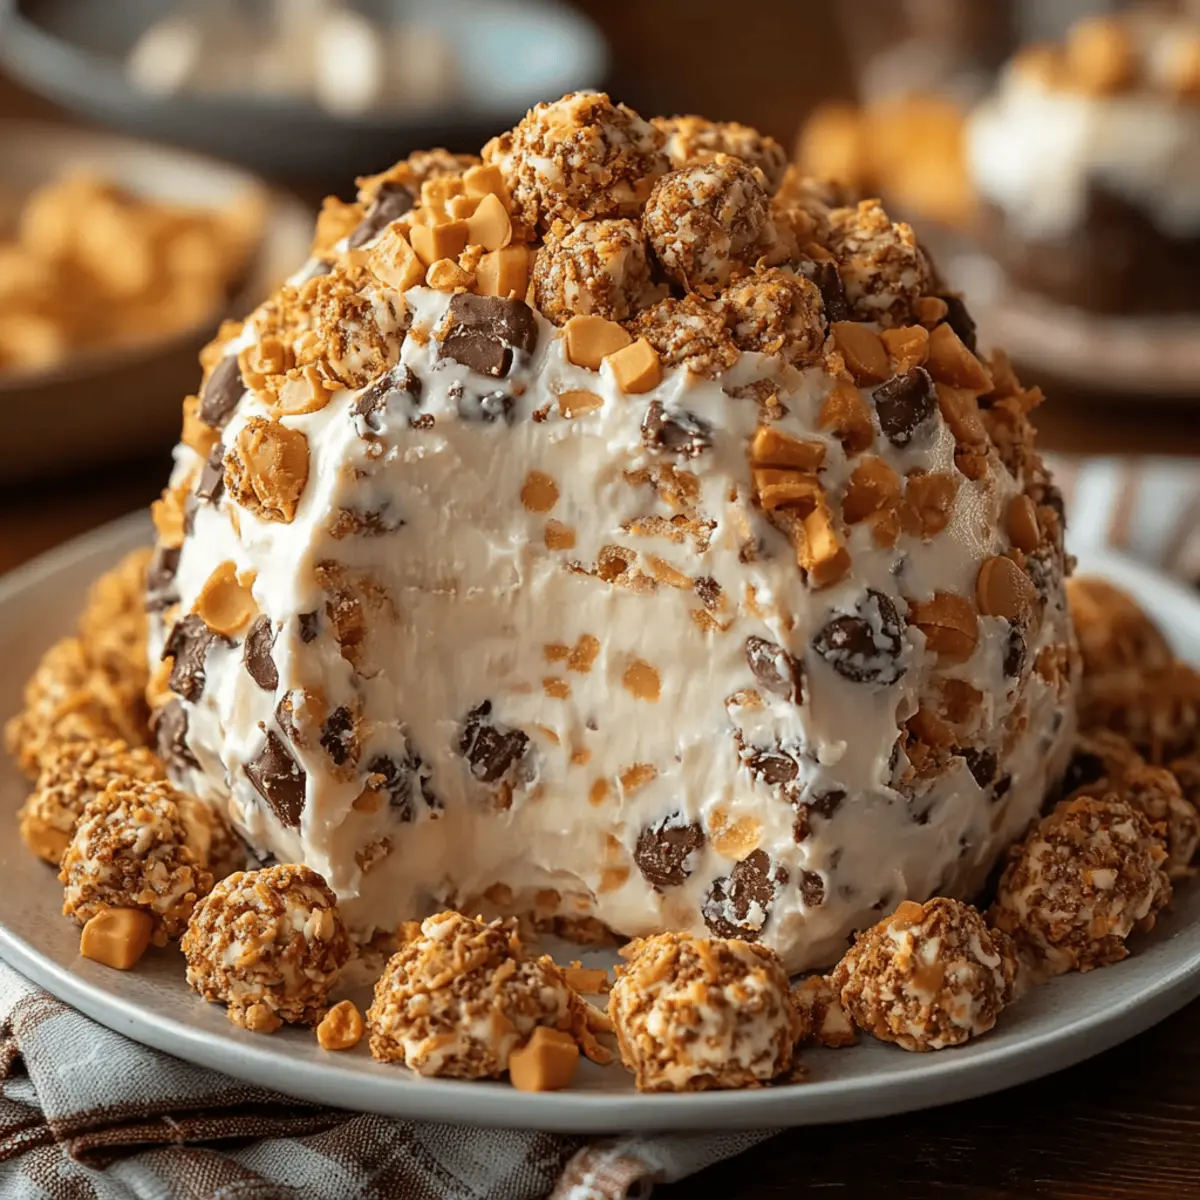
Decadent Delight: This no-bake Reese’s Cheese Ball is a true indulgence, perfectly combining creamy peanut butter and rich chocolate for an irresistible flavor experience.
Easy to Make: With just a few simple ingredients, you'll have a stunning dessert ready in no time; it’s perfect for even novice chefs.
Crowd Favorite: Whether at a party or family gathering, this treat is guaranteed to be a hit; it disappears quickly, leaving everyone craving more!
Versatility: Pair it with various dippers like graham crackers and pretzels or serve it solo—this dessert fits any occasion.
Make-Ahead Convenience: Prepare it a day in advance for enhanced flavors, making it a stress-free option that impresses guests without last-minute hassle.
Get ready to wow your friends with this delicious showstopper!
Reese’s Cheese Ball Ingredients
For the Cheese Ball
- Cream Cheese – Provides creaminess and structure; use full-fat for the richest flavor.
- Creamy Peanut Butter – Adds the classic rich, nutty flavor and smooth texture; substitute with crunchy for added crunch or sunflower seed butter for a nut-free option.
- Powdered Sugar – Sweetens the mixture without grittiness, ensuring a smooth filling; adjust for your desired sweetness level.
- Vanilla Extract – Enhances overall flavor; don’t skip this for the best taste.
- Mini Reese’s Peanut Butter Cups – The star ingredient that brings a delightful chocolate-peanut flavor and crunch; substitute with chopped full-size Reese’s if mini are unavailable.
- Semi-Sweet Chocolate Chips – Coats the cheese ball for a rich, indulgent exterior; choose high-quality chocolate for superior flavor and shine.
Step‑by‑Step Instructions for Reese’s Cheese Ball
Step 1: Mix Cheese and Peanut Butter
In a large mixing bowl, combine 8 ounces of softened cream cheese and 1 cup of creamy peanut butter using an electric mixer. Beat on medium speed until the mixture is fluffy and fully combined, about 2-3 minutes. You want a smooth, creamy texture that looks well-blended and cohesive, which will serve as the delicious base for your Reese’s Cheese Ball.
Step 2: Incorporate Dry Ingredients
Once your mixture is smooth, add 1 cup of powdered sugar and 1 teaspoon of vanilla extract to the bowl. Continue mixing on low speed until the sugar is fully incorporated, about 1-2 minutes. The filling should thicken and start to take shape, resembling a thick batter. Ensure there are no lumps for a delightful, creamy filling.
Step 3: Add Candy
Gently fold in about 1 cup of chopped mini Reese’s Peanut Butter Cups into the mixture. Use a spatula to ensure they remain chunky and evenly distributed throughout, creating a delightful texture for your cheese ball. This step enhances the overall flavor of the Reese’s Cheese Ball, making each bite a rich combination of creaminess and crunch.
Step 4: Shape Ball
Place a large piece of plastic wrap on your countertop and spoon the mixture into the center. Using the wrap, form the mixture into a ball shape, ensuring it is tightly packed and smooth on the outside. Twist the wrap to seal it securely and refrigerate for at least 1 hour. This will help the Reese’s Cheese Ball firm up and hold its shape beautifully.
Step 5: Melt Chocolate
While the cheese ball is chilling, melt 1 cup of semi-sweet chocolate chips in a microwave-safe bowl. Microwave in 20-30 second intervals, stirring in between until the chocolate is completely smooth and glossy. This process usually takes about 1-2 minutes, so keep a close eye to prevent burning the chocolate.
Step 6: Coat Cheese Ball
Once the cheese ball has chilled and firmed up, unwrap it carefully and dip it into the melted chocolate. Rotate it to ensure full coverage, allowing any excess chocolate to drip off. Place the chocolate-coated cheese ball onto a sheet of parchment paper for setting, creating a rich and delectable outer layer.
Step 7: Add Toppings
While the melted chocolate is still soft, sprinkle the top with crushed peanuts or additional chopped mini Reese’s to add extra flavor and aesthetic appeal. This step enhances the visual charm of your Reese’s Cheese Ball, making it a delightful centerpiece for any gathering.
Step 8: Set and Serve
Allow the chocolate to set in the refrigerator for an additional 30 minutes until firm. After it’s set, transfer your Reese’s Cheese Ball to a serving platter. Pair it with dippers like pretzels or apple slices for an assortment of flavors that perfectly complement this indulgent treat, and get ready to delight everyone with your creation!
Expert Tips for Reese’s Cheese Ball
-
Perfect Texture: Make sure your cream cheese is softened completely to avoid lumps and achieve a smooth, creamy filling.
-
Chilling Time: If the mixture feels too soft to shape, chill it briefly before forming the ball. This ensures it holds its shape well.
-
Quick Dipping: Work swiftly when dipping the cheese ball into melted chocolate, as it can soften quickly; a cold cheese ball will coat more easily.
-
Handling Chocolate: Use a fork to handle the cheese ball while dipping—it helps prevent messy fingers and allows for a better coat.
-
Avoiding Sticks: Keep the cheese ball cold and dry before dipping to prevent the chocolate from sticking. This will ensure a smooth, beautiful finish on your Reese’s Cheese Ball.
Make Ahead Options
These Reese’s Cheese Balls are perfect for meal prep, offering a delightful treat that saves time on busy days! You can prepare the cheese ball mixture up to 24 hours in advance. Simply follow the recipe through step 4, then tightly wrap the formed ball in plastic wrap and refrigerate it. This not only helps enhance the flavors but also ensures the cheese ball stays fresh and firm. When you're ready to complete the dish, simply take it out, melt the chocolate (step 5), and coat the ball with it. Finish with toppings before serving for a dessert that’s just as delicious and ready to impress your guests!
Reese’s Cheese Ball Variations
Feel free to unleash your creativity and make this Reese’s Cheese Ball your own with these fun twists and substitutions!
-
Nut-Free: Substitute regular peanut butter with sunflower seed butter for a deliciously nut-free option perfect for those with allergies.
-
Flavored Peanut Butter: Try using honey-roasted or chocolate peanut butter to enhance the taste, adding a unique twist that friends and family will rave about.
-
Graham Cracker Coating: For a lighter version, skip the chocolate coating and roll the cheese ball in crushed graham crackers for a delightful, nostalgic flavor.
-
Chocolate Lovers: Boost the chocolate intensity by adding mini chocolate chips into the cheese ball mixture along with the Reese's; it creates a double whammy of chocolatey goodness!
-
Heat It Up: Add a pinch of cayenne or a splash of hot sauce for those who enjoy a little kick with their sweet treats—it's an exciting contrast you’ll love!
-
Extra Crunch: Mix in chopped pretzels or pecans into the filling for added texture that delights the palate.
-
Choco-Dipped Fruits: Pair with chocolate-dipped apple slices or strawberries for a refreshing and fun way to enjoy this decadent treat.
-
Seasonal Variations: Incorporate seasonal flavors like pumpkin spice or peppermint extract for festive occasions; this cheese ball can easily celebrate every holiday!
By trying out these variations, you’ll keep things exciting in the kitchen while creating something uniquely delicious. Don't forget to check out my Blueberry Cream Cheese on the side for a refreshing complement to your dessert spread!
What to Serve with No-Bake Reese’s Cheese Ball
Elevate your dessert experience with delightful pairings that enhance every creamy, dreamy bite!
-
Graham Crackers: Perfect for scooping, these sweet and crunchy cookies are the classic pairing that complements the rich flavors of the cheese ball.
-
Apple Slices: The crisp freshness of apple slices adds a light, juicy contrast to the creamy, nutty dessert, balancing sweetness and tartness beautifully.
-
Pretzels: Their salty crunch offers a delightful contrast, making each bite an exciting combination of sweet and savory. Simply dip or enjoy alongside!
-
Vanilla Wafers: These sweet, soft cookies create a delightful textural difference while mirroring the creamy sweetness of the cheese ball.
-
Chocolate Drizzle: Boost the indulgence factor by drizzling some melted chocolate over the top; it adds a rich touch that chocolate lovers will adore.
-
Coffee or Milk: Pair your dessert with a warm cup of coffee or a glass of cold milk for a comforting finish, perfectly complementing the peanut butter flavor.
-
Fresh Berries: Strawberries or raspberries add a refreshing burst and attractive color, providing a beautiful contrast against the rich cheese ball.
-
Mini Marshmallows: These fluffy, sweet bites can be skewered and enjoyed alongside the cheese ball; their softness offers another delightful texture.
These pairings will undoubtedly take your No-Bake Reese’s Cheese Ball to the next level, ensuring your gathering is filled with happiness and satisfied taste buds!
How to Store and Freeze Reese’s Cheese Ball
Fridge: Store your Reese’s Cheese Ball wrapped tightly in plastic wrap or in an airtight container in the fridge for up to 5 days. The flavors develop beautifully after a day of chilling.
Freezer: For longer storage, freeze the cheese ball (wrapped tightly) for up to 2 months. Thaw in the fridge overnight before serving.
Reheating: This dessert is best served chilled; avoid reheating, as it may alter the texture.
Make-Ahead: Preparing the Reese’s Cheese Ball a day or two in advance is perfect; this allows for enhanced flavors and saves time for your gathering.
Reese’s Cheese Ball Recipe FAQs
What type of cream cheese is best for this recipe?
For the richest flavor and creamiest texture, I recommend using full-fat cream cheese. It will blend smoothly with the peanut butter, creating the ideal base for your Reese’s Cheese Ball. Make sure it’s at room temperature to avoid lumps during mixing!
How should I store my Reese’s Cheese Ball?
Keep your Reese’s Cheese Ball wrapped tightly in plastic wrap or in an airtight container in the fridge for up to 5 days. As it sits, the flavors will meld together beautifully, making it even more delicious the next day. Perfect for making ahead of time!
Can I freeze the Reese’s Cheese Ball?
Absolutely! Wrap your cheese ball tightly in plastic wrap, then place it in an airtight container or freezer bag. It can be frozen for up to 2 months. When you're ready to enjoy, simply thaw it in the fridge overnight before serving. This allows it to regain its creamy texture without losing flavor.
What if my cheese ball mixture is too soft to shape?
If your mixture is too soft, don’t worry! Just chill it for about 15 to 30 minutes to help it firm up before attempting to shape it into a ball. This short chill will make it much easier to handle, ensuring a perfect and presentable cheese ball.
Are there any dietary considerations I should keep in mind?
Yes! This Reese’s Cheese Ball is vegetarian, making it a great choice for those who don’t consume meat. For those with nut allergies, you can substitute the peanut butter with sunflower seed butter, which still gives a creamy texture and delicious taste. Always double-check all ingredients to ensure they meet your dietary needs!
What should I serve with this dessert?
Pairing is key! I recommend serving your Reese’s Cheese Ball with a variety of dippers such as graham crackers, pretzels, sliced apples, and vanilla wafers for a delightful assortment of textures and flavors that complement the creamy, rich cheese ball perfectly. Enjoy the indulgence!

Indulgent Reese’s Cheese Ball: No-Bake Peanut Butter Bliss
Equipment
- Mixing bowl
- Electric mixer
- plastic wrap
- microwave-safe bowl
- spatula
- Parchment Paper
Ingredients
For the Cheese Ball
- 8 oz cream cheese softened, full-fat for richest flavor
- 1 cup creamy peanut butter can substitute with crunchy or sunflower seed butter
- 1 cup powdered sugar adjust for desired sweetness
- 1 teaspoon vanilla extract important for best taste
- 1 cup mini Reese’s peanut butter cups chopped, can substitute with full-size
- 1 cup semi-sweet chocolate chips high-quality recommended
Instructions
Step-by-Step Instructions for Reese’s Cheese Ball
- In a large mixing bowl, combine the softened cream cheese and creamy peanut butter using an electric mixer. Beat on medium speed for 2-3 minutes until fluffy and fully combined.
- Add powdered sugar and vanilla extract to the mixture. Mix on low speed for 1-2 minutes until the sugar is fully incorporated.
- Gently fold in the chopped mini Reese’s cups using a spatula.
- Spoon the mixture onto plastic wrap in the center and form it into a ball shape. Refrigerate for at least 1 hour.
- Melt the semi-sweet chocolate chips in a microwave-safe bowl, stirring every 20-30 seconds until smooth.
- Unwrap the cheese ball and dip it into the melted chocolate, ensuring full coverage. Place it on parchment paper.
- While still soft, sprinkle the top with crushed peanuts or additional chopped mini Reese’s.
- Refrigerate for an additional 30 minutes until the chocolate is firm before serving.