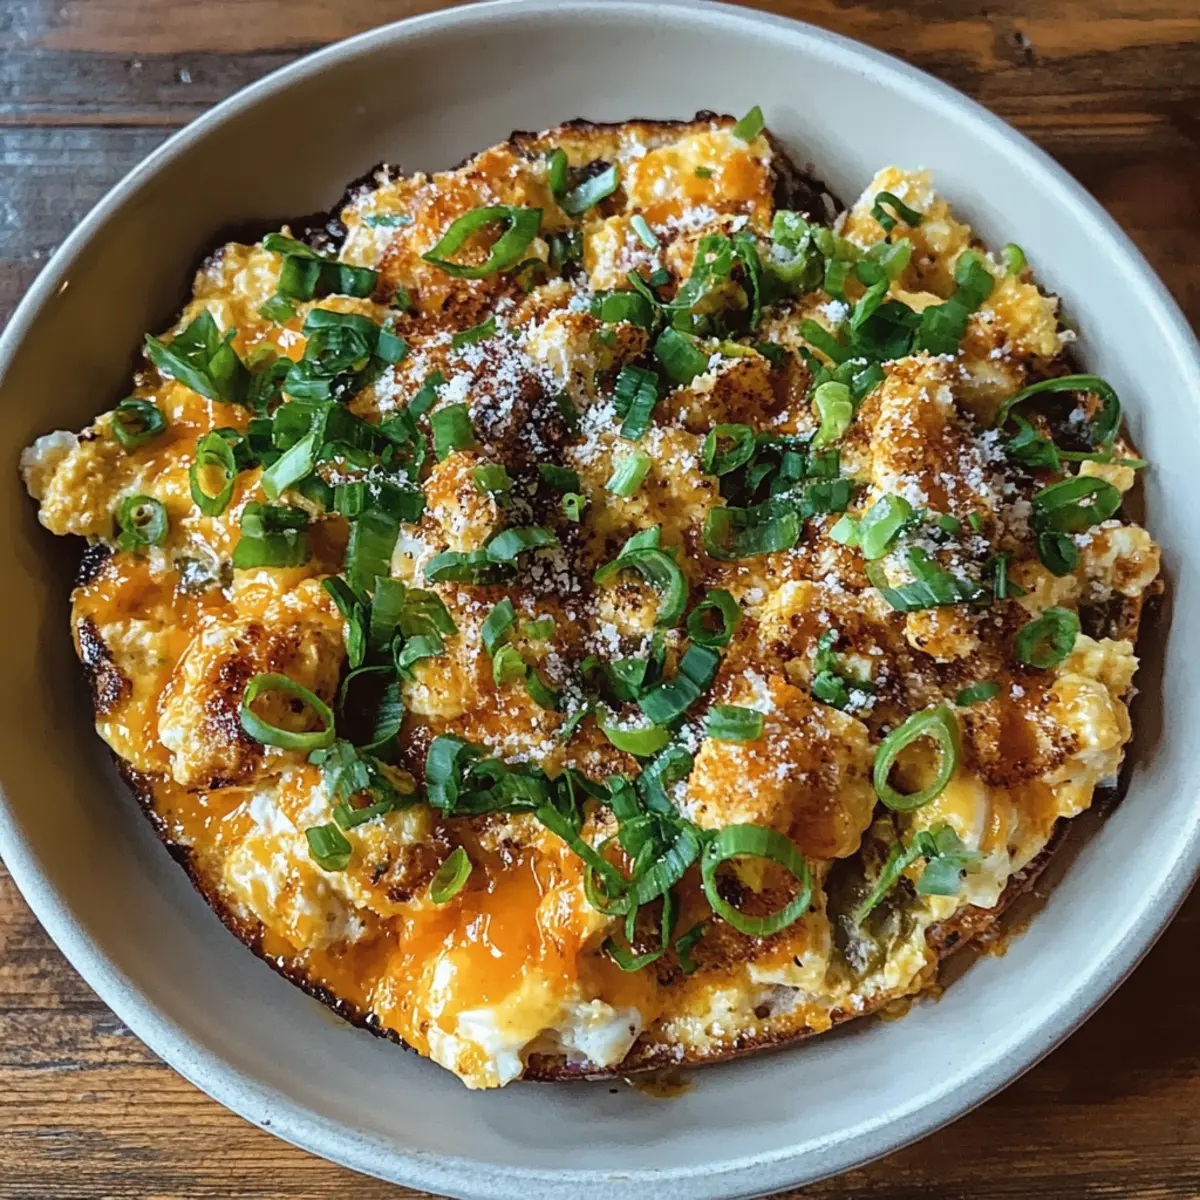
As I stood in my kitchen one morning, the smell of butter sizzling in a pan drew me in like a warm embrace. That's when I decided to whip up a batch of Silky Miso Scrambled Eggs, a dish that offers not just a nourishing breakfast but a delightful twist that elevates your morning routine. With just a handful of ingredients, this recipe turns ordinary eggs into a creamy, umami-rich wonder that’s as comforting as your favorite pajamas. What I adore most about these scrambled eggs is their quick prep time and the fact that they are packed with flavor without a lot of fuss. Trust me, if you’re weary of bland breakfasts and fast food, these silky eggs will reignite your passion for home cooking. Are you ready to transform your mornings?
Why are Silky Miso Scrambled Eggs special?
Creamy Texture: The addition of white miso paste makes these scrambled eggs incredibly rich and silky, taking your breakfast to another level.
Quick and Easy: With only 10 minutes of total prep and cooking time, this recipe fits seamlessly into your busy mornings.
Umami Flavor: Miso imparts a delightful umami kick, making each bite bursting with savory goodness.
Versatile Dish: Enjoy them on their own or as a filling for a breakfast burrito, and you can customize toppings like avocado or smoked salmon to suit your taste!
Crowd-Pleasing: Perfect for brunch gatherings, impress your family and friends with this unique twist on a breakfast classic! For more shortcuts in the kitchen, check out our Easy Egg Recipes.
Silky Miso Scrambled Eggs Ingredients
For the Eggs
• 4 large eggs – A fresh batch delivers the best flavor and texture for your silky scrambled eggs.
• 2 tablespoons white miso paste – This adds a creamy, umami flavor that transforms your dish!
• 2 tablespoons milk – Helps create an even silkier consistency for the perfect creamy finish.
For Cooking
• 1 tablespoon unsalted butter – Provides a rich flavor and aids in creating those silky curds.
• 1 teaspoon vegetable oil – Prevents the butter from burning, ensuring a smooth cooking process.
For Topping
• 2 tablespoons chopped green onions – Adds a fresh crunch and vibrant color to your dish.
• to taste salt – Enhances the flavor; be careful, as miso is already salty!
• to taste freshly ground black pepper – A dash of pepper adds a lovely finishing touch to your silky miso scrambled eggs.
Step‑by‑Step Instructions for Silky Miso Scrambled Eggs
Step 1: Whisk the Base
In a mixing bowl, crack open the 4 large eggs and add 2 tablespoons of white miso paste along with 2 tablespoons of milk. Whisk vigorously for about 30 seconds until the mixture is smooth and homogenous, creating a beautiful base for your Silky Miso Scrambled Eggs. Set this aside while you prepare the skillet.
Step 2: Heat the Skillet
Place a nonstick skillet over low heat and add 1 tablespoon of unsalted butter and 1 teaspoon of vegetable oil. Allow the butter to melt and foam up for about 1 minute; this is your signal that the skillet is ready. The combination of these fats will ensure that your eggs cook evenly without sticking.
Step 3: Cook the Eggs
Pour the whisked egg mixture into the warm skillet, letting it sit undisturbed for about 10 seconds. This initial resting period allows the edges to begin setting, creating those lovely silky curds that are the hallmark of Silky Miso Scrambled Eggs.
Step 4: Stir Gently
After the resting time, take a silicone spatula and gently stir the eggs. Push the cooked curds from the edges toward the center and let the uncooked egg flow to the edges, cooking slowly. Continue this process for 2-3 minutes, keeping the heat low to achieve that luxurious, creamy texture.
Step 5: Monitor for Doneness
As you gently stir, keep an eye on the eggs’ consistency. You want them to look soft, glossy, and just set, which should take an additional 2-3 minutes. The transformation into Silky Miso Scrambled Eggs happens here, so be attentive to ensure they don’t overcook.
Step 6: Season to Taste
Once the eggs reach the desired silky doneness, season with salt and freshly ground black pepper. You may prefer a lighter or richer seasoning, so adjust accordingly to your taste. The miso already contributes some saltiness, so proceed with care.
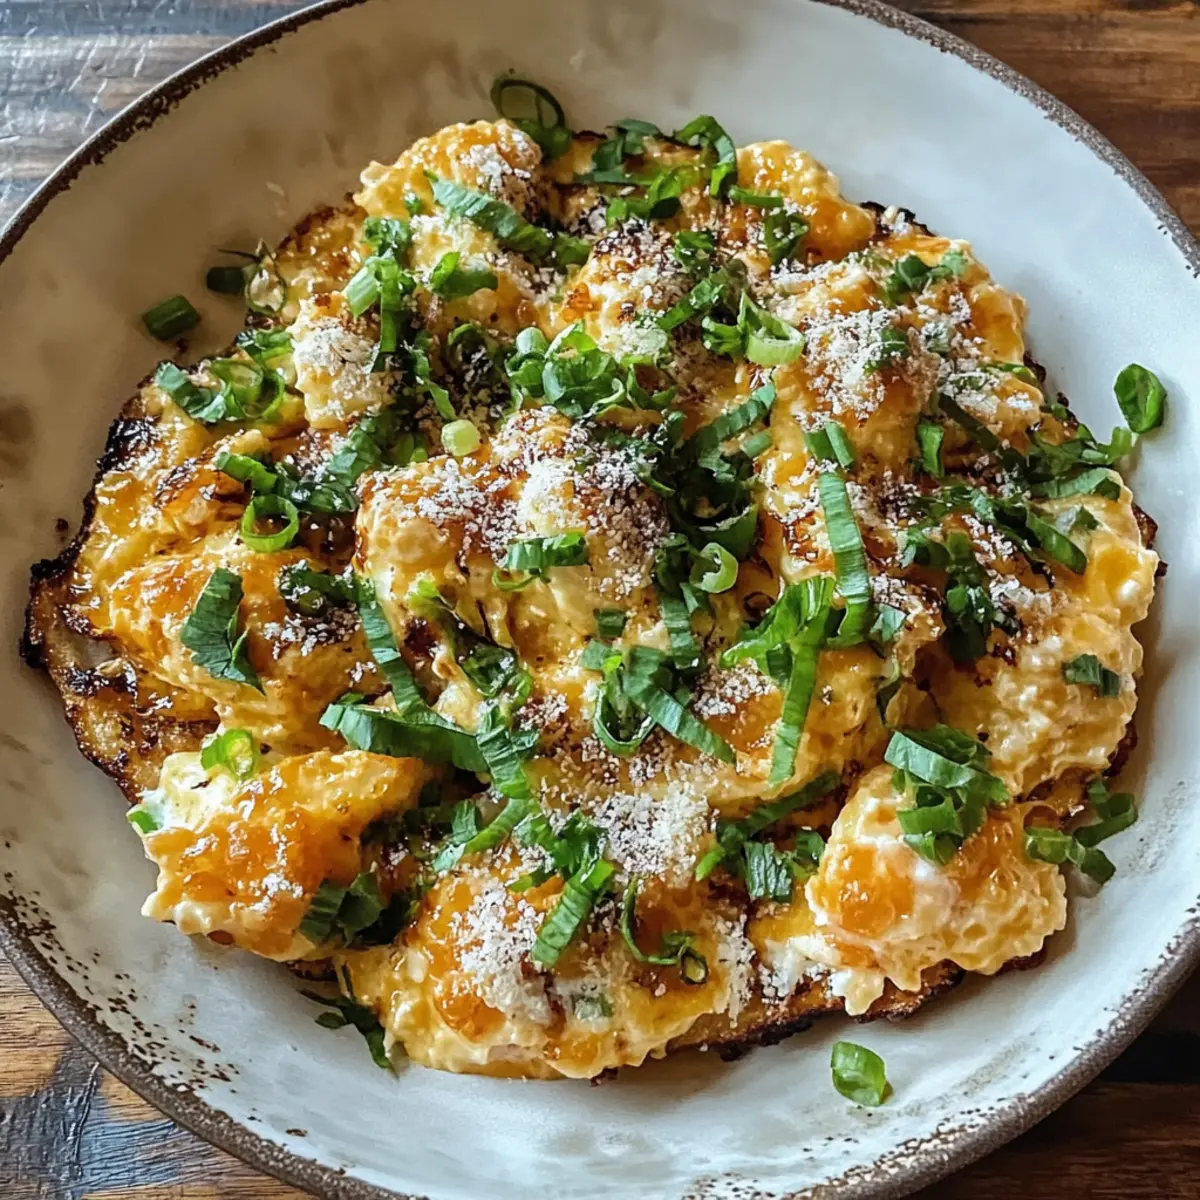
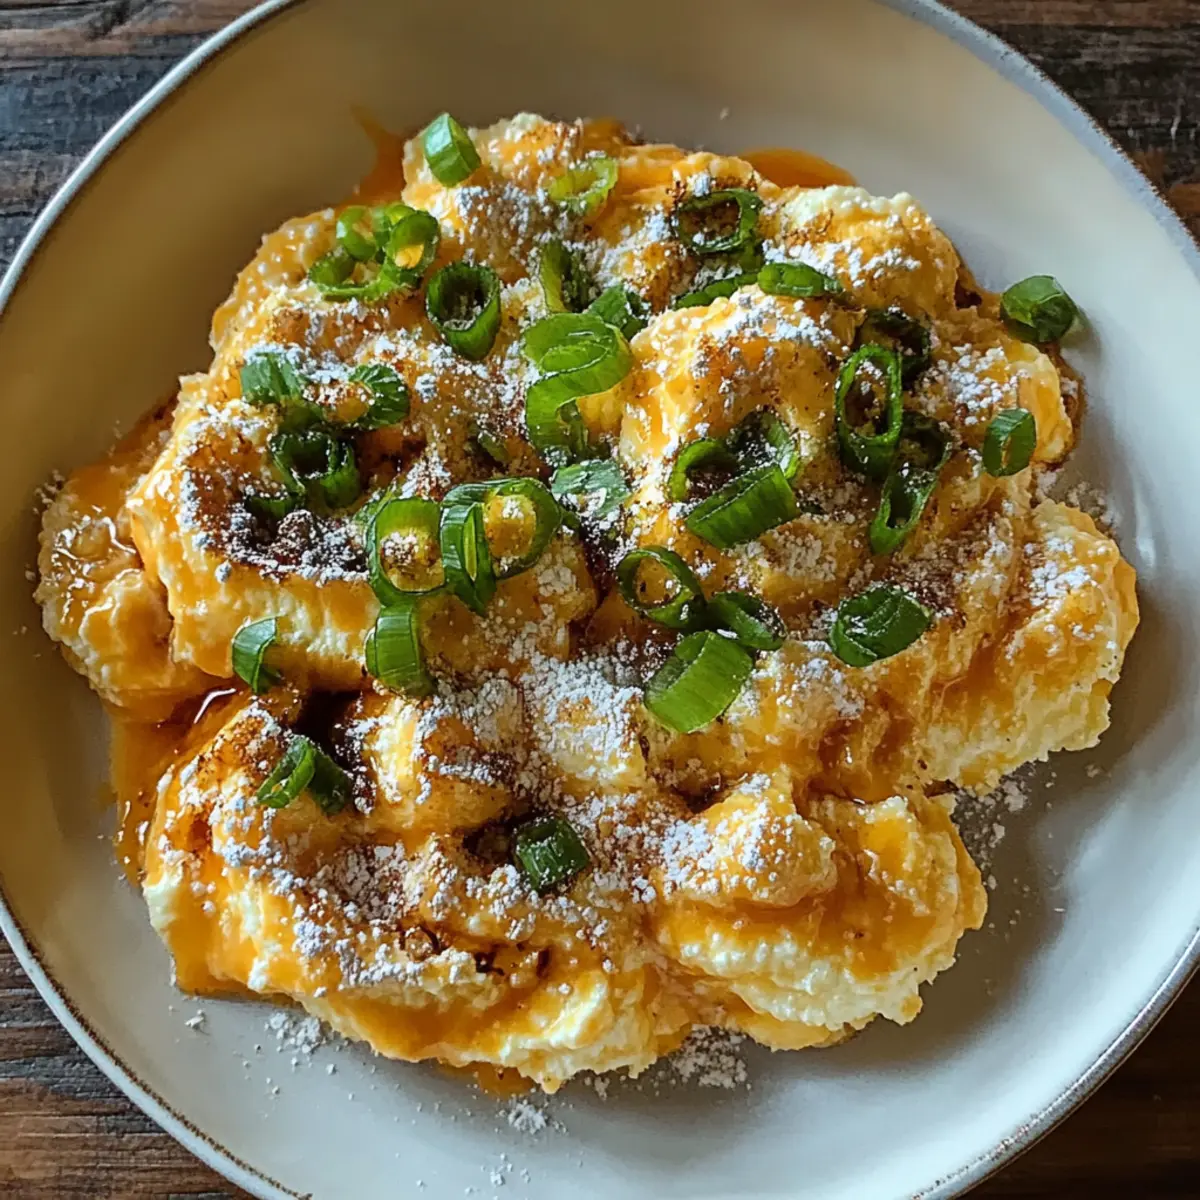
Step 7: Plate and Garnish
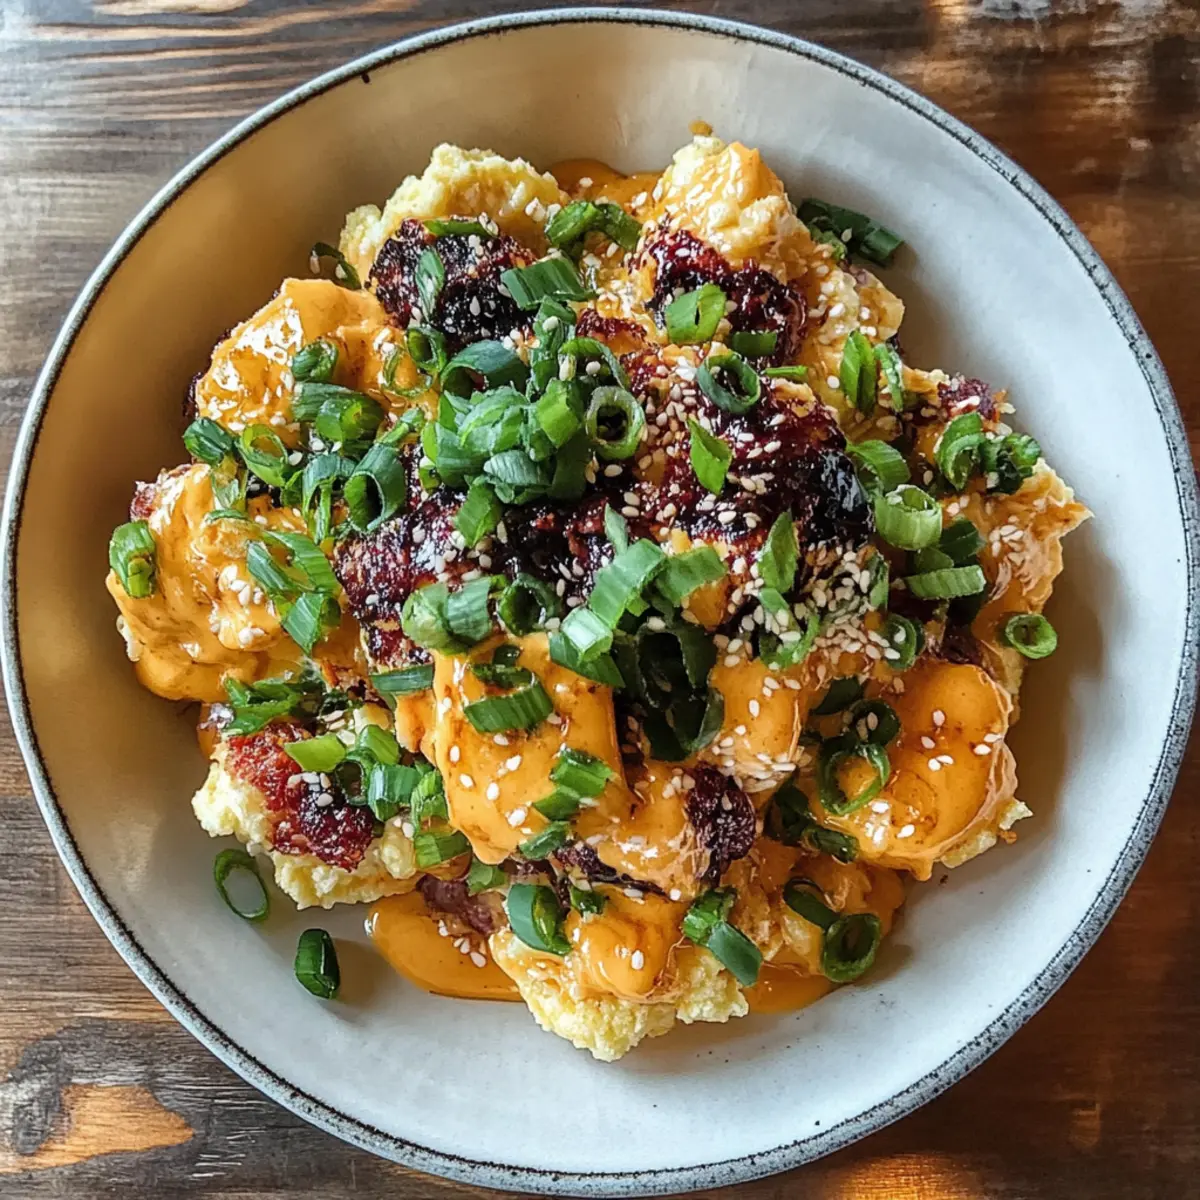
Carefully transfer the Silky Miso Scrambled Eggs onto a plate, taking care not to break those delicate curds. Sprinkle 2 tablespoons of chopped green onions over the top for a pop of color and bright flavor that complements this sumptuous breakfast delight.
How to Store and Freeze Silky Miso Scrambled Eggs
Fridge: Store any leftover Silky Miso Scrambled Eggs in an airtight container in the fridge for up to 3 days. Reheat them gently on low heat in a skillet, adding a splash of milk for creaminess.
Freezer: While fresh scrambled eggs are best enjoyed immediately, you can freeze them in a freezer-safe container for up to 2 months. Just be aware that the texture may change slightly after thawing.
Reheating: For best results, thaw overnight in the fridge before reheating. Warm them gently in a skillet over low heat, stirring occasionally to avoid rubbery curds.
Expert Tips for Silky Miso Scrambled Eggs
Low and Slow: Cook your eggs over low heat to achieve that silky texture; high heat can lead to rubbery curds.
Whisk Thoroughly: Ensure your egg mixture is well-whisked before cooking; this adds to the creaminess of your Silky Miso Scrambled Eggs.
Resting Time: Don't skip the initial resting time in the skillet; it allows the edges to begin setting, ensuring perfect curds.
Seasoning Sensibly: Keep in mind that miso is already salty; taste your eggs before adding additional salt to avoid over-seasoning.
Use Silicone Tools: A silicone spatula is your best friend; it’s gentle on delicate curds while making it easy to fold and stir without breaking them.
Make Ahead Options
These Silky Miso Scrambled Eggs are a fantastic option for meal prep, saving you precious time during busy mornings! You can whisk together the eggs, white miso paste, and milk up to 24 hours in advance; just refrigerate the mixture in an airtight container to maintain freshness. Additionally, you can chop the green onions ahead of time and store them in the fridge for up to 3 days. When you're ready to enjoy your silky eggs, heat the skillet and proceed with cooking directly from the refrigerated mixture. This way, you’ll indulge in creamy, flavorful scrambled eggs that are just as delicious as if you had prepared them fresh that morning!
What to Serve with Silky Miso Scrambled Eggs
Imagine a beautifully arranged breakfast table, where flavors dance and textures mingle delightfully to create a perfect morning feast.
- Crusty Sourdough Toast: The tangy crunch of sourdough pairs beautifully with the creamy eggs, offering a satisfying contrast.
- Fresh Avocado Slices: Creamy avocado adds richness and healthy fats that enhance the umami of the eggs, making each bite luxurious.
- Sauteed Spinach: Lightly wilted spinach brings a vibrant color and fresh taste that complements the egg's depth, rounding out the meal.
- Grilled Tomatoes: Juicy, charred tomatoes offer a burst of acidity that cut through the richness, creating a dynamic flavor combo.
- Sweet Fruit Salad: A refreshing mix of berries and citrus brightens the palate, balancing the savory flavors of your Silky Miso Scrambled Eggs.
- Chai Tea Latte: A warming drink with spices that aligns wonderfully with the umami profile of the eggs, adding a cozy finish to your meal.
Think about serving these scrambled eggs with a combination of these pairings for a delightful breakfast experience that's both nourishing and satisfying!
Silky Miso Scrambled Eggs Variations
Feel free to elevate your Silky Miso Scrambled Eggs with these delicious tweaks that will spark joy in every bite!
- Dairy-Free: Substitute the milk with unsweetened almond milk or oat milk for a creamy, dairy-free version.
- Spicy Kick: Add a pinch of cayenne pepper or a splash of sriracha to your egg mixture for a delightful heat that awakens your taste buds.
- Herb-Infused: Mix in fresh herbs like dill, chives, or cilantro while whisking the eggs for an aromatic twist that brightens the flavor profile.
These variations not only change the flavor but also enhance your breakfast experience. Each ingredient you add brings its unique personality to the dish.
- Cheesy Delight: Fold in crumbled feta or shredded cheddar cheese just before serving for a rich, melty goodness that's irresistible.
- Veggie Boost: Incorporate diced bell peppers or spinach into the mix during cooking for a burst of color and nutrition that complements the creamy eggs beautifully.
Experimenting with these ideas can create endless possibilities for your breakfast!
- Savory Smoked Salmon: Top with a few slices of smoked salmon and a dollop of crème fraîche for a luxurious brunch experience that feels indulgent.
- Avocado Lover: Serve your eggs on toasted sourdough with slices of ripe avocado on top for a colorful, nutritious breakfast that keeps you satisfied.
Feel inspired to explore, and don’t hesitate to make these Silky Miso Scrambled Eggs truly your own! For more creative egg ideas, check out our Savory Scrambled Egg Recipes or discover unique breakfast accompaniments with our Complete Breakfast Guide.
Silky Miso Scrambled Eggs Recipe FAQs
What should I look for when selecting eggs?
Absolutely! Choose large eggs that are fresh, with a glossy shell and a sell-by date as far out as possible. Fresh eggs yield better flavor and texture for your Silky Miso Scrambled Eggs. You can also do the float test; if the egg sinks and lays flat on the bottom, it's fresh!
How should I store leftover Silky Miso Scrambled Eggs?
To store leftovers, place them in an airtight container and refrigerate them for up to 3 days. When you’re ready to enjoy them again, gently reheat on low in a skillet, adding a splash of milk to maintain their creaminess.
Can can I freeze Silky Miso Scrambled Eggs?
Certainly! If you want to freeze them, let them cool completely, and then transfer them to a freezer-safe container. They can be stored for up to 2 months. To reheat, thaw in the fridge overnight, and rewarm slowly in a skillet over low heat, stirring occasionally to avoid a rubbery texture.
What can I do if my scrambled eggs turned out rubbery?
Very! If you find your scrambled eggs rubbery, it usually means they were cooked at too high of heat or for too long. To salvage them, try adding a splash of milk or cream and gently reheating them over low heat, stirring continuously. This can help to soften the texture a bit.
Are there any dietary considerations I should keep in mind?
For those with allergies, note that this recipe contains eggs and dairy. If you’re looking to make it dairy-free, you can substitute the milk with a plant-based alternative like almond or oat milk. Additionally, if you have a soy allergy, be cautious with miso, as it's often made from fermented soybeans.
Silky Miso Scrambled Eggs: A Luxurious Breakfast Delight
Equipment
- nonstick skillet
- Mixing bowl
- Whisk
- silicone spatula
Ingredients
For the Eggs
- 4 large eggs A fresh batch delivers the best flavor and texture for your silky scrambled eggs.
- 2 tablespoons white miso paste This adds a creamy, umami flavor that transforms your dish!
- 2 tablespoons milk Helps create an even silkier consistency for the perfect creamy finish.
For Cooking
- 1 tablespoon unsalted butter Provides a rich flavor and aids in creating those silky curds.
- 1 teaspoon vegetable oil Prevents the butter from burning, ensuring a smooth cooking process.
For Topping
- 2 tablespoons chopped green onions Adds a fresh crunch and vibrant color to your dish.
- to taste salt Enhances the flavor; be careful, as miso is already salty!
- to taste freshly ground black pepper A dash of pepper adds a lovely finishing touch to your silky miso scrambled eggs.
Instructions
Step‑by‑Step Instructions for Silky Miso Scrambled Eggs
- In a mixing bowl, crack open the 4 large eggs and add 2 tablespoons of white miso paste along with 2 tablespoons of milk. Whisk vigorously for about 30 seconds until the mixture is smooth and homogenous.
- Place a nonstick skillet over low heat and add 1 tablespoon of unsalted butter and 1 teaspoon of vegetable oil. Allow the butter to melt and foam up for about 1 minute.
- Pour the whisked egg mixture into the warm skillet, letting it sit undisturbed for about 10 seconds.
- After the resting time, take a silicone spatula and gently stir the eggs, pushing cooked curds from the edges toward the center.
- As you gently stir, monitor the eggs’ consistency; you want them to look soft, glossy, and just set.
- Once the eggs reach the desired silky doneness, season with salt and freshly ground black pepper.
- Carefully transfer the Silky Miso Scrambled Eggs onto a plate and sprinkle 2 tablespoons of chopped green onions over the top.