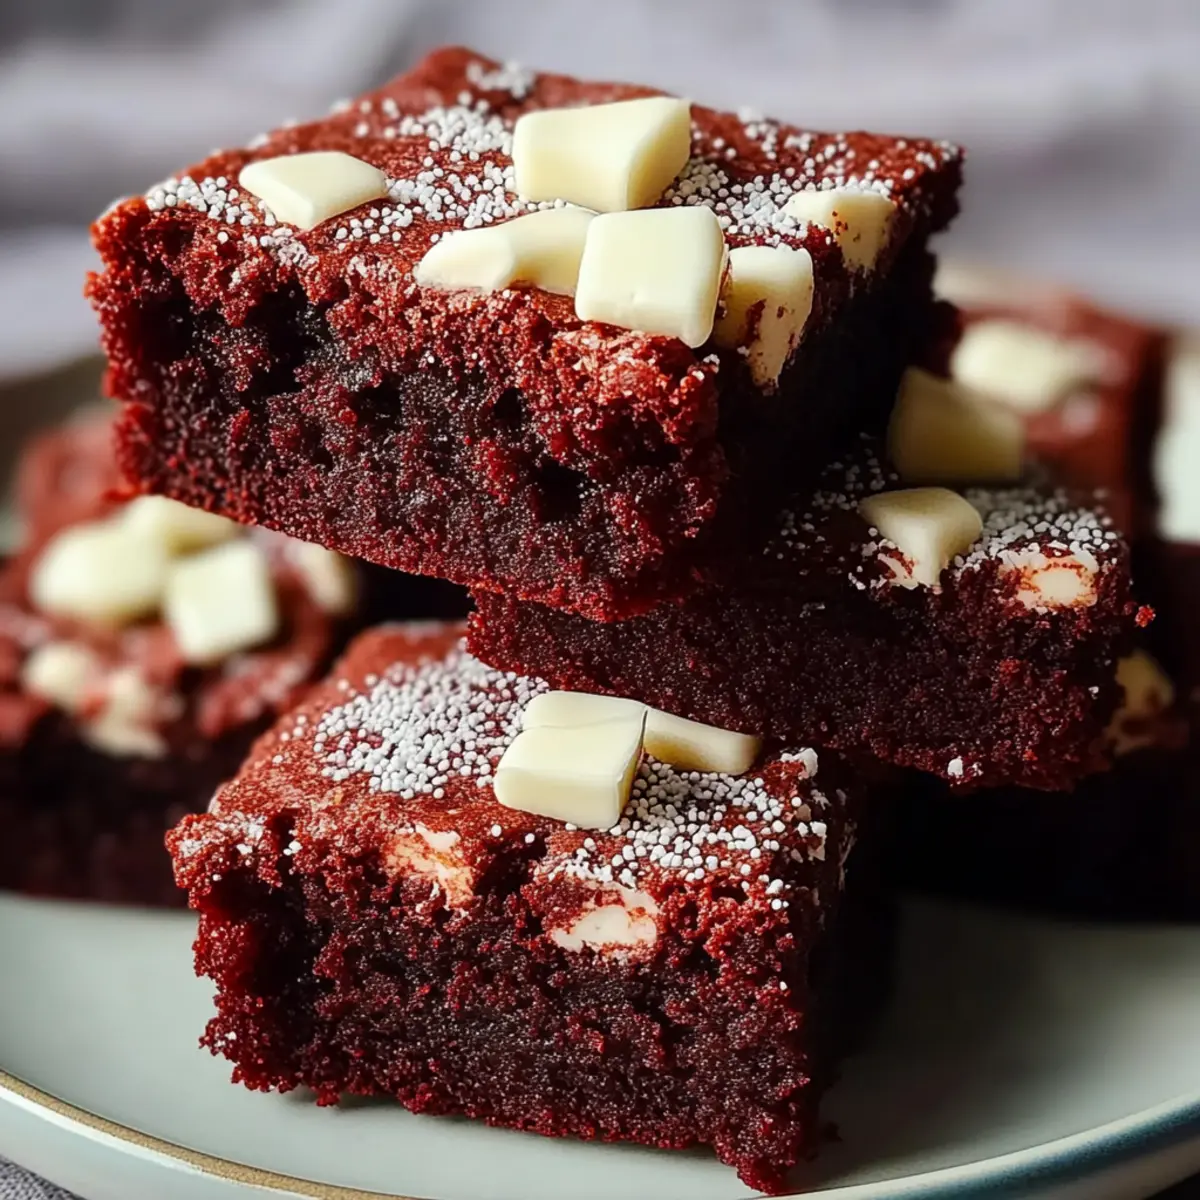
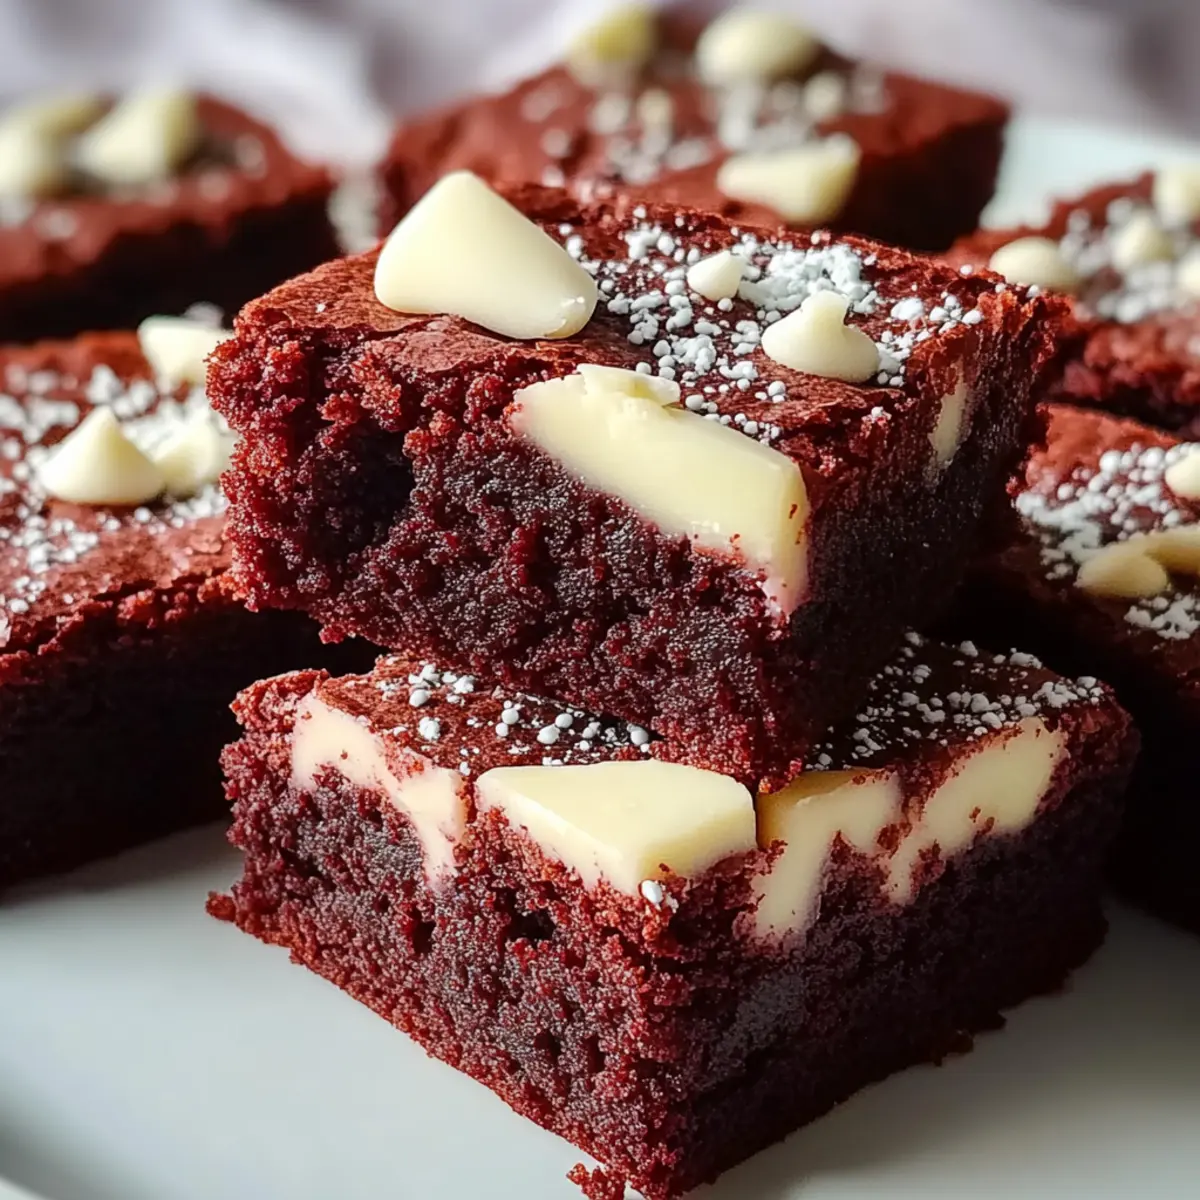
As I sifted flour and cocoa powder, a chocolatey nostalgia washed over me, transporting me back to those carefree days filled with laughter and sweet treats. That’s the magic of these Red Velvet Brownies—baking them is more than just a recipe; it’s a comforting tradition that brings people together. With only 15 minutes of prep time and a rich, vibrant flavor that will impress any crowd, these brownies are a delightful twist on classic chocolate treats. The addition of creamy white chocolate chips makes them irresistibly decadent but still approachable for any home chef. So, whether you’re planning a cozy night in or looking to impress your friends at a gathering, these brownies will surely steal the show. Are you ready to unveil a homemade delight that’s as satisfying to make as it is to eat?
Why are these brownies a must-try?
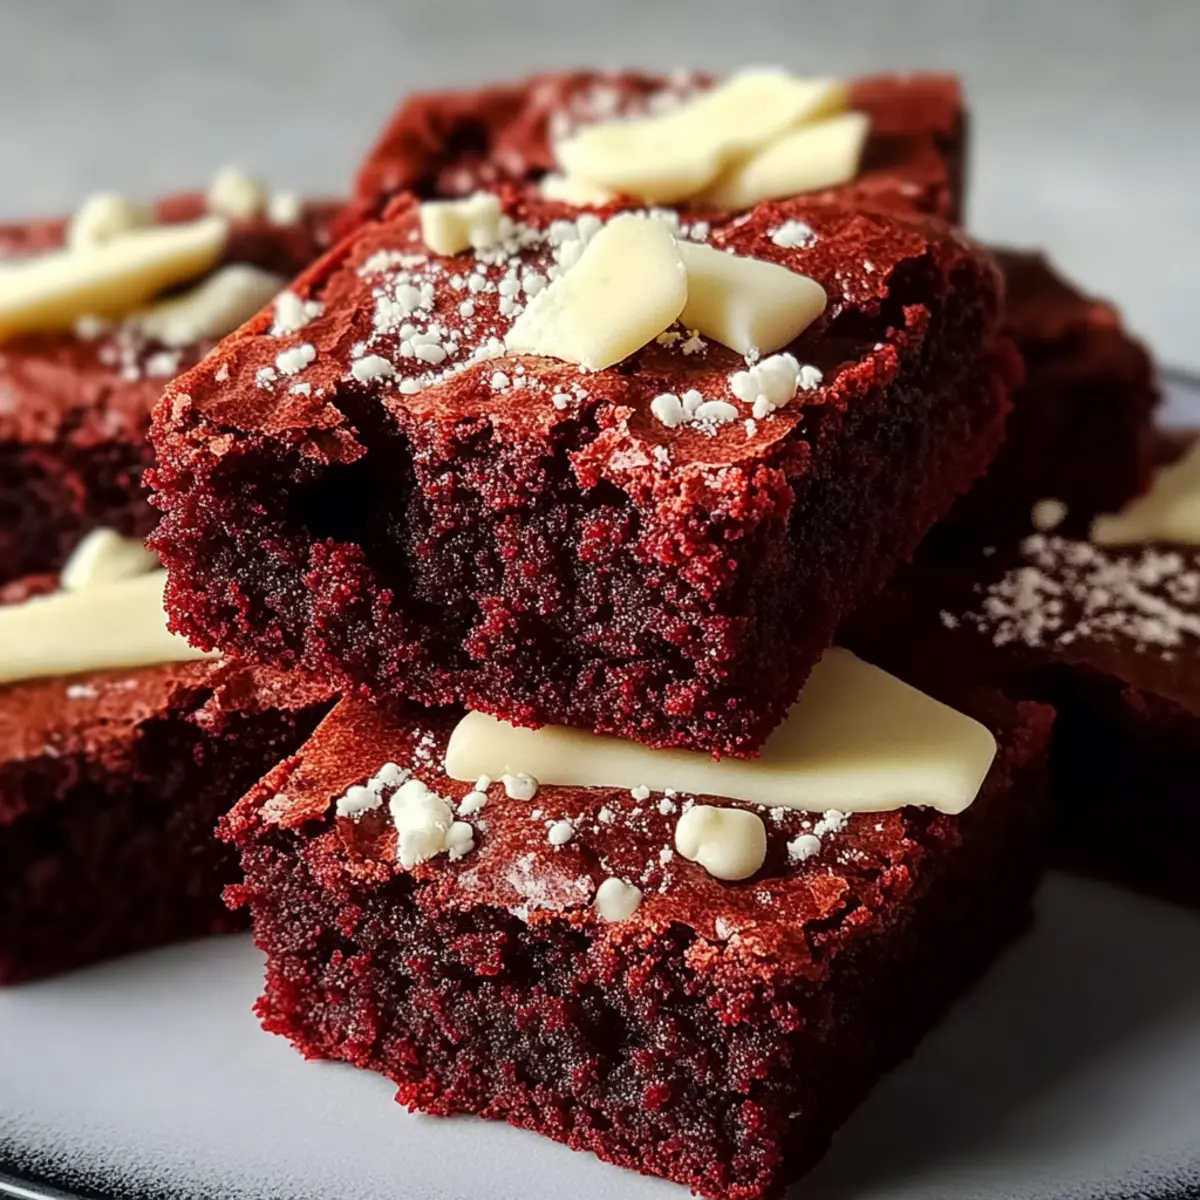
Decadent flavors await you with these Red Velvet Brownies, offering a delightful twist on a classic favorite. Quick prep time of just 15 minutes lets you indulge without the hassle. Rich, vibrant color makes them visually stunning, perfect for celebrations. A white chocolate surprise elevates the brownies, making every bite unforgettable. Plus, they’re a fantastic way to bring loved ones together over a shared treat! For more delicious ideas, try the cozy Thai Red Curry or whip up the delicious Better Than Box Mix Brownies.
Red Velvet Brownie Ingredients
These luscious Red Velvet Brownies are made with simple, heartfelt ingredients.
For the Batter
• 1 cup unsalted butter – melted for a rich, decadent base.
• 1 ½ cups granulated sugar – providing the perfect sweetness to balance the cocoa.
• ½ cup packed brown sugar – adds moisture and depth to the flavor profile.
• 4 large eggs – giving structure and fudginess to each bite.
• 2 teaspoons vanilla extract – enhancing the overall sweetness and flavor.
• 2 cups all-purpose flour – the backbone of the batter for that classic brownie texture.
• ½ cup unsweetened cocoa powder – ensuring a deep chocolate flavor shines through.
• 1 teaspoon baking powder – helping the brownies rise beautifully.
• 1 teaspoon salt – balancing the sweetness and enhancing flavors.
• 1 tablespoon red food coloring – creating that vibrant red hue that makes these brownies special.
• 1 cup white chocolate chips – adding a creamy, sweet surprise in every bite.
These ingredients combine to create a delightful dessert that’s not only visually appealing but also deliciously memorable.
Step‑by‑Step Instructions for Red Velvet Brownies
Step 1: Preheat and Prepare
Begin by preheating your oven to 350°F (175°C). While the oven warms up, grease a 9x13-inch baking pan with your preferred cooking spray or butter. Then, line the pan with parchment paper, allowing some overhang for easy removal later. This will ensure that your Red Velvet Brownies come out intact and are easy to cut into perfect squares.
Step 2: Mix the Wet Ingredients
In a large mixing bowl, combine the melted butter, granulated sugar, and brown sugar. Whisk these together until the mixture is smooth and glossy, which should take about 1-2 minutes. The sugars should be thoroughly incorporated, creating a lovely base for your brownies. People will start to notice that delightful buttery scent as you whisk!
Step 3: Add the Eggs and Vanilla
Now, add the eggs, one at a time, to the butter-sugar mixture, stirring well after each addition. This gentle mixing will create a cohesive batter with a lovely texture. Once all the eggs are added, introduce the vanilla extract, thoroughly blending it until fully incorporated. Your mixture should look rich and inviting, promising delicious Red Velvet Brownies ahead.
Step 4: Combine the Dry Ingredients
In a separate bowl, sift together the flour, cocoa powder, baking powder, and salt. Gradually incorporate this dry mixture into the wet mixture, stirring gently until just combined. Be careful not to overmix; you want a slightly lumpy batter, which will ensure your brownies remain fudgy and delightful after baking. The rich chocolate aroma should fill your kitchen!
Step 5: Add the Color
Next, mix in the red food coloring, stirring well to achieve a vibrant red batter. Don’t be shy with your stirring; make sure the color is evenly distributed throughout the batter. The sight of the bright red hue against the chocolatey backdrop is part of what makes these Red Velvet Brownies so special!
Step 6: Fold in the White Chocolate
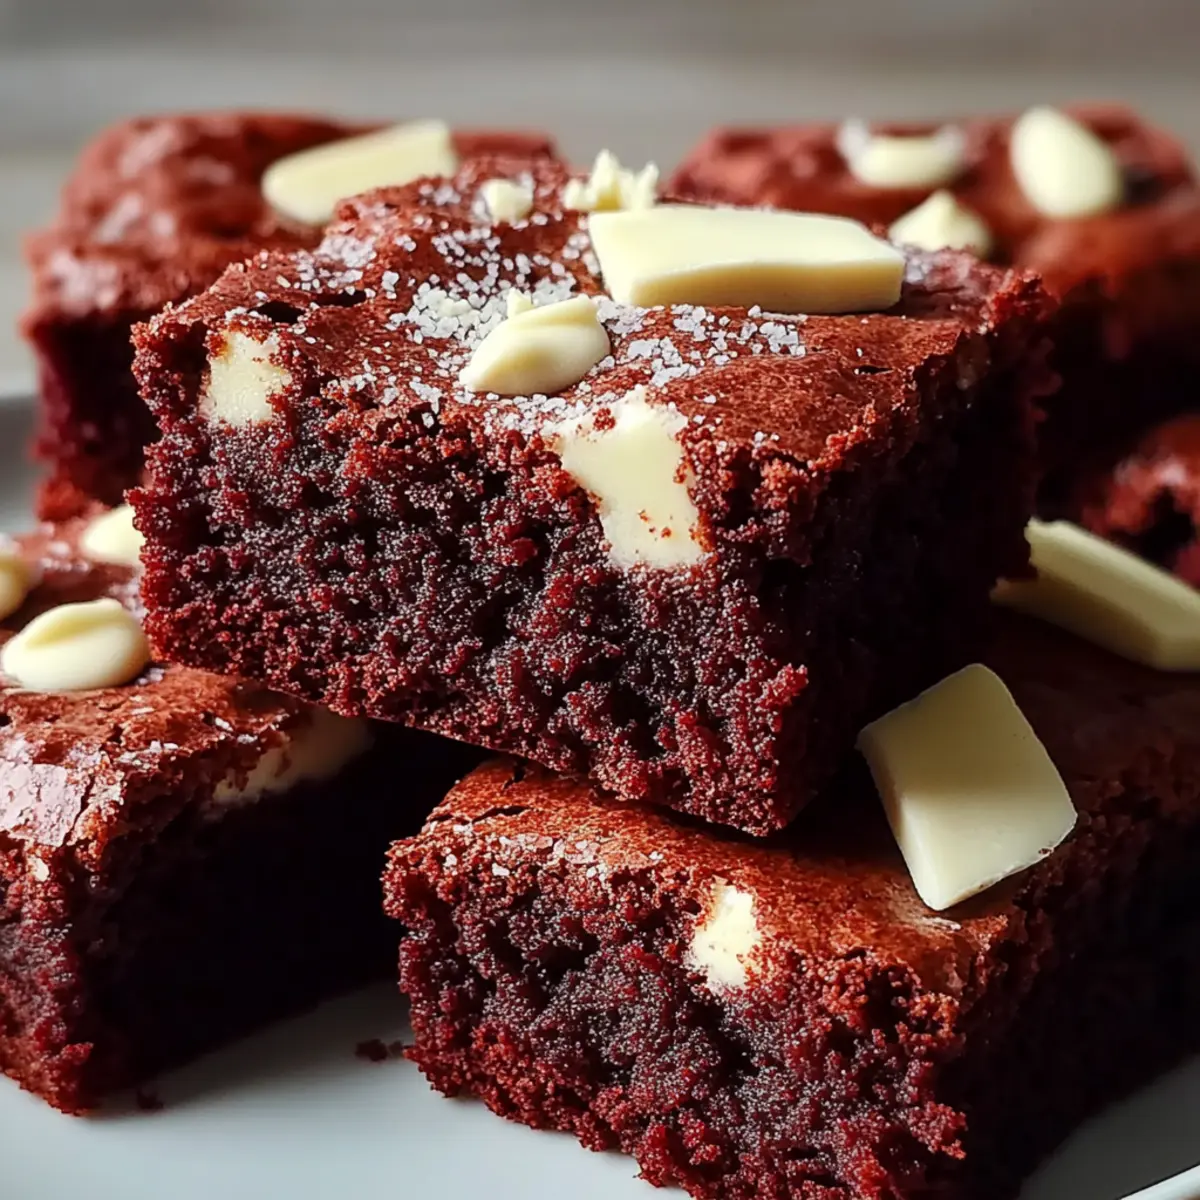
Gently fold in the white chocolate chips or chopped white chocolate, ensuring they are evenly spread throughout the batter without overmixing. The hint of creaminess from the white chocolate will complement the rich cocoa flavor beautifully, making each bite of your brownies an unforgettable experience.
Step 7: Pour and Smooth
Carefully pour the brownie batter into the prepared baking pan. Use a spatula to smooth the top evenly, ensuring it spreads into the corners of the pan. At this stage, your kitchen will be filled with an enticing aroma that beckons everyone to come and taste what’s cooking!
Step 8: Bake to Perfection
Place the baking pan in the preheated oven and bake for 20-25 minutes. Keep a close eye on them; the brownies are done when a toothpick inserted into the center comes out with a few moist crumbs. You should see the edges starting to pull away slightly from the pan, indicating they are perfectly baked.
Step 9: Cool Before Cutting
Once baked, remove the Red Velvet Brownies from the oven and let them cool in the pan for about 10 minutes. After cooling, gently lift them out using the parchment overhang, placing them on a wire rack to cool completely. Allowing them to cool thoroughly will help achieve those perfect clean cuts when you slice them into squares.
Make Ahead Options
These Red Velvet Brownies are perfect for meal prep enthusiasts looking to save time on busy days! You can prepare the brownie batter and refrigerate it up to 24 hours in advance, which helps meld the flavors beautifully. Just mix all your wet and dry ingredients, combine, and store the batter in an airtight container. When you're ready to bake, simply pour the chilled batter into your prepared pan and pop it in the oven! To maintain quality, ensure the batter is sealed well to prevent it from drying out. You'll enjoy fresh, decadent brownies that are just as delightful as if you made them on the spot!
Red Velvet Brownies Variations
Feel free to explore these delightful twists and substitutions, making these Red Velvet Brownies truly your own!
-
Gluten-Free: Substitute all-purpose flour with a 1:1 gluten-free flour blend for a gluten-friendly version.
-
Dairy-Free: Replace unsalted butter with coconut oil or a dairy-free butter alternative, and use dairy-free chocolate chips.
-
Nutty Add-In: Stir in 1 cup of chopped walnuts or pecans for added texture and a nutty flavor that complements the chocolate.
-
Minty Surprise: Add 1 teaspoon of peppermint extract for a refreshing twist that brings a holiday vibe to your brownies.
-
Extra Cocoa: Boost the chocolate flavor by increasing the unsweetened cocoa powder to ¾ cup, giving you a richer taste.
Indulge in exploring these variations, and let your creative spirit shine! Whether you prefer these brownies with a nutty crunch or a refreshing hint of mint, there's a delicious option here for everyone. Don’t forget to check out other sweet treats like the luscious Red Velvet Marble Cupcakes for more inspiration!
What to Serve with Red Velvet Brownies
Elevate your dessert experience with delightful pairings that perfectly complement the indulgence of these vibrant brownies.
-
A scoop of vanilla ice cream: The creamy, cool texture balances the rich fudginess of the brownies, making each bite even more divine.
-
Fresh raspberries: Their tartness cuts through the sweetness, adding a refreshing contrast that brightens each mouthful of chocolate.
-
Chocolate ganache drizzle: A silky layer adds an extra touch of decadence, enhancing the chocolate flavor while creating a stunning presentation.
-
Coffee or espresso: The boldness of coffee pairs beautifully with the chocolate and red velvet, deepening the overall flavor experience and bringing warmth to your dessert table.
-
Mint chocolate chip cookies: The refreshing mint flavor offers a delightful contrast that keeps dessert interesting, creating a sweet and satisfying variety.
-
Cream cheese frosting: A dollop of tangy cream cheese frosting on top elevates your brownies, introducing a luscious layer of classic red velvet flavor.
-
Pecan brittle: For a crunchy element, try pecan brittle; its sweet and nutty profile provides a fantastic texture juxtaposition to your soft brownies.
Expert Tips for Red Velvet Brownies
Use Room Temperature Eggs: Ensure your eggs are at room temperature for a smoother batter. Cold eggs can cause your mixture to become lumpy.
Don’t Overmix: Stir the batter until just combined to keep your brownies fudgy. Overmixing can lead to a cake-like texture instead of gooey decadence.
Check for Doneness: For best results, use a toothpick to test doneness—aim for a few moist crumbs, not dry. This ensures that your Red Velvet Brownies remain rich and delicious.
Cooling Is Key: Let them cool completely before cutting. This step enhances the texture and makes it easier to slice clean squares that look impressive!
Customize Your Flavor: Feel free to experiment with add-ins like nuts or different chocolate types for a unique twist on this classic recipe!
How to Store and Freeze Red Velvet Brownies
Room Temperature: Store your Red Velvet Brownies in an airtight container at room temperature for up to 3 days to maintain their softness and flavor.
Fridge: For longer freshness, place the brownies in the refrigerator in an airtight container for up to a week. Just be sure to allow them to come to room temperature before serving for the best taste.
Freezer: To freeze, wrap the brownies tightly in plastic wrap and then in aluminum foil. They can be stored in the freezer for up to 3 months. Thaw them overnight in the fridge when you're ready to indulge!
Reheating: To enjoy warmed brownies, microwave individual portions for about 10-15 seconds. This will revive their gooey, blissful texture while enhancing those decadent flavors.
Red Velvet Brownies Recipe FAQs
What type of food coloring should I use for Red Velvet Brownies?
Absolutely! For the best results, I recommend using gel food coloring as it provides a more vibrant hue without adding extra liquid to the batter. Liquid food coloring can work, but you might need to adjust the quantity since it’s more diluted. Keep an eye on the color while mixing to ensure that beautiful red shines through!
How should I store leftover Red Velvet Brownies?
To keep your Red Velvet Brownies fresh, store them in an airtight container at room temperature for up to 3 days. If that’s too long, pop them in the fridge, where they’ll last for about a week. Just remember to bring them back to room temperature before serving to really bring out their delicious flavors!
Can I freeze Red Velvet Brownies?
Yes! Freezing your brownies is a great way to enjoy them later. Simply wrap them tightly in plastic wrap, then in aluminum foil to prevent freezer burn. They can be kept in the freezer for up to 3 months. When you’re ready to enjoy, just thaw them overnight in the fridge for the best texture and taste!
What should I do if my brownies turn out too cakey?
If your Red Velvet Brownies end up too cakey, it’s likely due to overmixing or baking them too long. Next time, stir just until incorporated and check for doneness earlier—aim for that toothpick test with a few moist crumbs. You want them fudgy, so don’t be shy about pulling them out a little early if you're in doubt!
Are these brownies safe for pets or those with allergies?
These Red Velvet Brownies contain ingredients like chocolate and sugar, which should be avoided for pets—especially dogs, as chocolate can be toxic to them. If you’re cooking for someone with allergies, ensure to check for sensitivities to ingredients like butter, eggs, or gluten in the flour. You can always substitute with allergy-friendly alternatives to keep everyone safe and happy!
How long do homemade brownies stay fresh?
Homemade Red Velvet Brownies can stay delicious for about 3 days at room temperature in an airtight container and up to a week in the fridge. Freezing is a fantastic option if you want to preserve them longer; they can keep well for up to 3 months in the freezer when properly wrapped. Enjoy your sweet treats, knowing they will stay tasty and delightful!
Decadent Red Velvet Brownies for a Sweet Celebration
Equipment
- Oven
- 9x13-inch baking pan
- Mixing bowls
- Whisk
- spatula
Ingredients
For the Batter
- 1 cup unsalted butter melted
- 1.5 cups granulated sugar providing sweetness
- 0.5 cup packed brown sugar adds moisture
- 4 large eggs adds structure
- 2 teaspoons vanilla extract enhances flavor
- 2 cups all-purpose flour brownie texture
- 0.5 cup unsweetened cocoa powder deep chocolate flavor
- 1 teaspoon baking powder helps brownies rise
- 1 teaspoon salt balances sweetness
- 1 tablespoon red food coloring for red hue
- 1 cup white chocolate chips creamy addition
Instructions
Step-by-Step Instructions
- Preheat your oven to 350°F (175°C) and grease a 9x13-inch baking pan, lining it with parchment paper.
- In a large mixing bowl, combine melted butter, granulated sugar, and brown sugar; whisk until smooth and glossy.
- Add eggs one at a time to the mixture, stirring well after each addition; then mix in the vanilla extract.
- In a separate bowl, sift together flour, cocoa powder, baking powder, and salt; gradually incorporate into the wet mixture.
- Mix in red food coloring until batter is vibrant red.
- Gently fold in white chocolate chips.
- Pour the batter into the prepared pan and smooth the top.
- Bake for 20-25 minutes, checking for doneness with a toothpick.
- Cool the brownies in the pan for 10 minutes before lifting out and cooling completely on a wire rack.