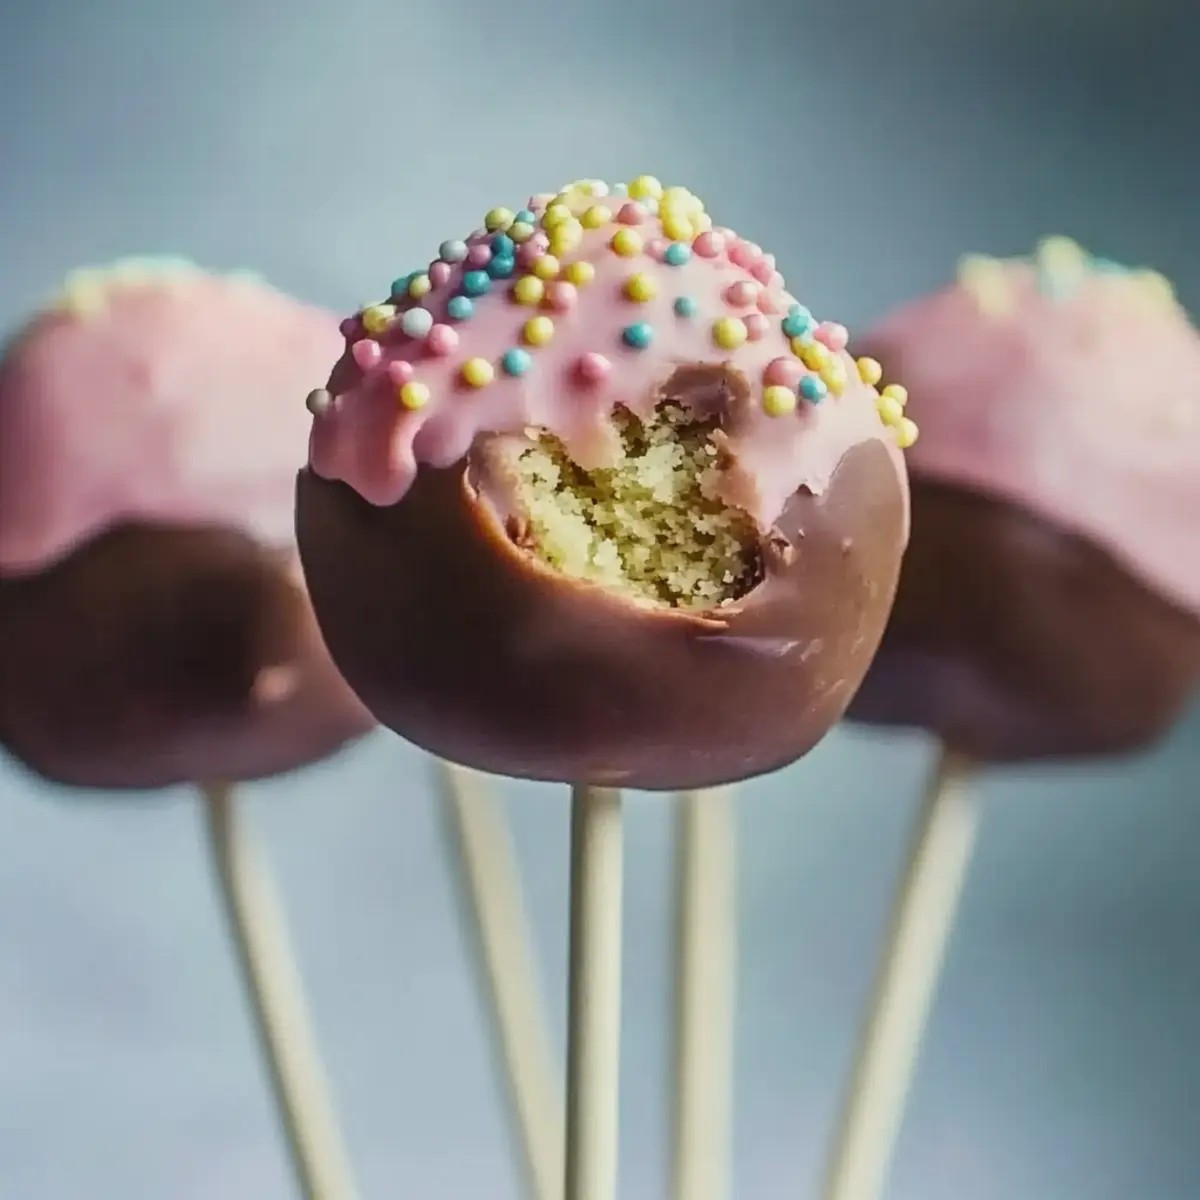
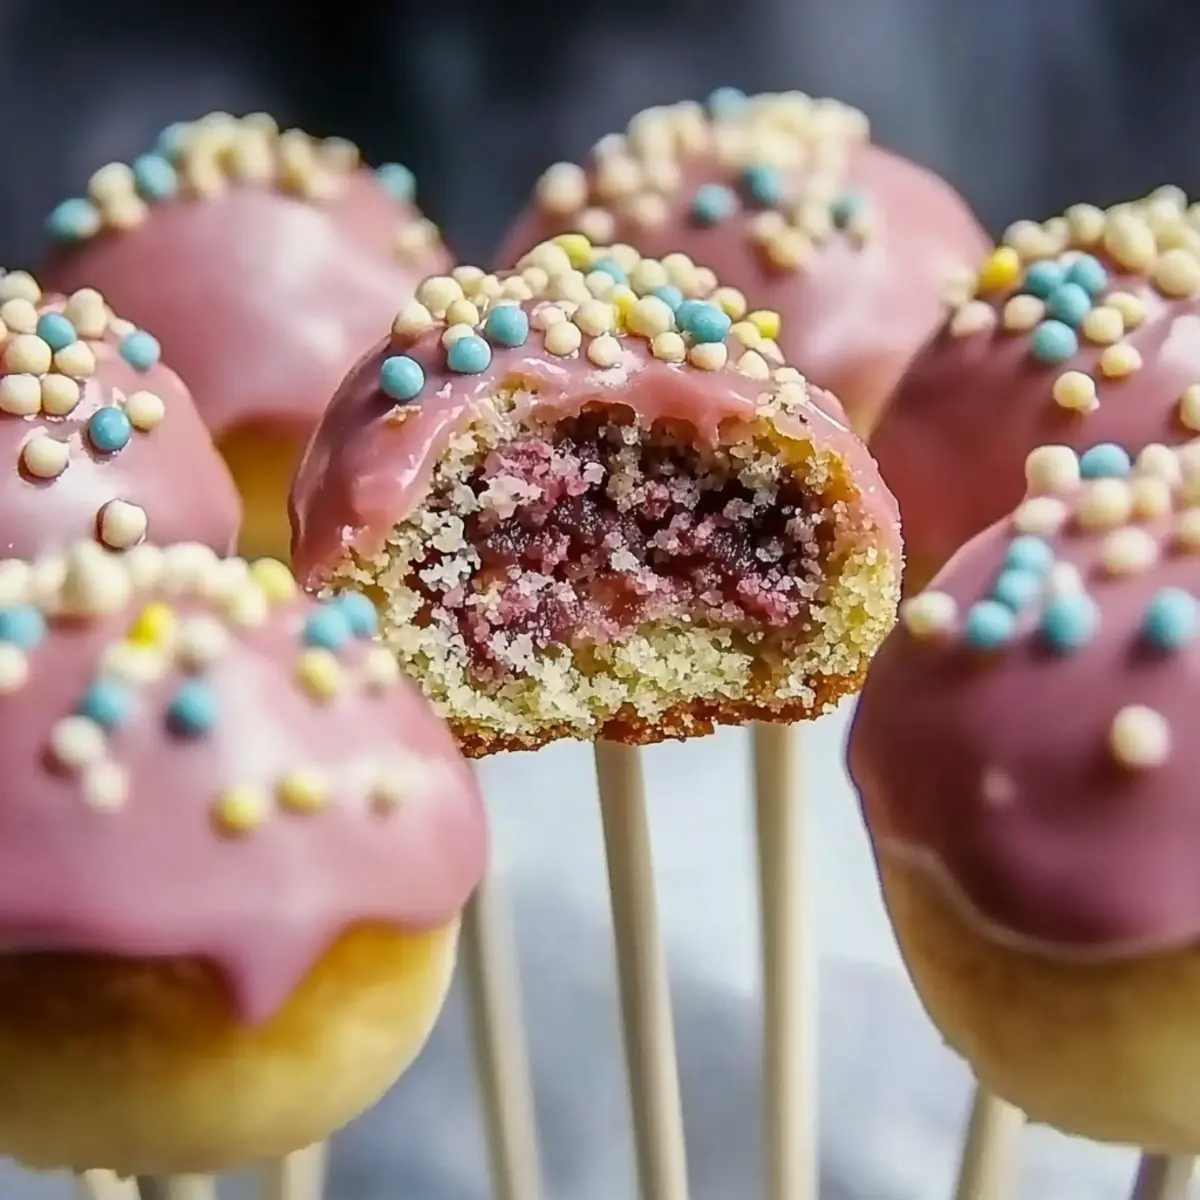
A sweet aroma wafted through the kitchen as I began my mission: recreating those delightful cake pops I couldn’t resist from my favorite coffee shop. With this Starbucks Cake Pop Recipe, you can transform leftover cake crumbs into little bites of happiness that are perfect for any occasion. What I love most about these cake pops is how quickly they come together—just 15 minutes of prep time—and they’re a hit with both kids and adults alike! Plus, you can customize them with fun decorations or flavors, making them ideal for parties or cozy family gatherings. Ready to indulge in some homemade magic? Let’s dive into this fun and rewarding recipe that will have everyone asking for more!
Why Are Cake Pops So Irresistible?
Decadent Delight: Each bite is a perfect mini treat, combining cake and frosting into a blissful experience.
Fun to Make: The process is simple and enjoyable, making it a great activity for kids or a fun project for kitchen enthusiasts.
Customizable Creations: You can easily tweak flavors and decorations to match any occasion or personal taste—think sprinkles for birthdays or seasonal colors for holidays!
Impressive Presentation: Serve them on a decorative stand, and watch as they steal the spotlight at gatherings. Don’t forget to check out our tips on how to decorate and present your cake pops for that extra wow factor!
Crowd Pleaser: They’re loved by both kids and adults, making them a must-have at parties or family get-togethers!
Cake Pop Ingredients
For the Cake Mixture
- Cake crumbs – 1 cup is perfect for creating that dense yet fluffy texture for your cake pops.
- Frosting – ½ cup helps bind the crumbs together while adding sweetness; feel free to use any flavor you love!
For the Coating
- Candy melts – Choose your favorite color or flavor; they're the key to achieving a glossy, professional finish for your cake pops.
For Assembly
- Lollipop sticks – These are essential for the signature treat look; you can also use pretzel sticks if you want a fun twist!
Let’s get your homemade cake pops rolling! They’re a delightful blend of flavors and a creative outlet rolled into one!
Step‑by‑Step Instructions for Starbucks Cake Pops
Step 1: Combine Cake Mixture
In a mixing bowl, mix 1 cup of cake crumbs with ½ cup of frosting. Use a spatula to blend everything until you achieve a consistently smooth mixture that holds together well when pressed. This delightful base will become the heart of your cake pops, so make sure it’s thoroughly combined before moving on.
Step 2: Shape Cake Balls
With clean hands, take portions of the cake mixture and roll them into small balls, about 1 inch in diameter. You should aim for uniform sizes to ensure even coating later. As you work, feel the satisfying texture of the cake mixture coming together, and place each shaped ball on a parchment-lined tray for easy handling.
Step 3: Chill to Firm Up
Place the tray of shaped cake balls into the refrigerator and chill for 15-30 minutes. This step is essential, as it helps the cake pops firm up, making them easier to coat later. Check for a firmer texture before removing them; they should have a slight chill and be easier to handle.
Step 4: Melt Candy Coating
Follow the package instructions to melt your candy melts in a microwave-safe bowl. Heat in short intervals of 30 seconds, stirring in between until the mixture is silky and smooth without any lumps. The bright colors of the melted candy will bring your cake pops to life, so make sure it’s fully melted before dipping.
Step 5: Insert Lollipop Sticks
Dip the tip of each lollipop stick into the melted candy, then gently insert it into the center of each chilled cake ball. This technique helps anchor the stick, making sure it holds well during the coating process. You’ll notice how easily the stick slides into the cake ball—this means you're on the right track!
Step 6: Coat Cake Pops
Carefully dip each cake pop into the melted candy coating, ensuring it’s fully submerged. Use a twisting motion as you pull it out to create an even and smooth finish. Watch for any pooling at the bottom; tap the stick gently against the edge of the bowl to let excess coating drip off for a perfect look.
Step 7: Set Cake Pops to Dry
Once coated, place the cake pops upright in a styrofoam block or a specially designed cake pop stand. Allow the pops to set as the candy coating hardens—this could take about 15-20 minutes. Look for a shiny, solid finish, indicating they’re ready for decoration or serving.
Step 8: Add Finishing Touches
If you want to make your cake pops extra special, drizzle with additional melted chocolate or sprinkle with colorful decorations while the coating is still slightly tacky. Let your creativity shine as you personalize your cake pops—this is where they truly become a unique treat!
Step 9: Cool Completely
Finally, let the cake pops cool completely until the coating is firm and set, which usually takes about 30 minutes. Once they’ve solidified, they’ll be ready to enjoy! You’ll be amazed at how these homemade cake pops can brighten up any gathering with their irresistible charm.
What to Serve with Starbucks Cake Pops
Indulge in a delightful dessert experience by pairing these irresistible treats with complementary flavors and textures.
- Fresh Berries: Their tartness and natural sweetness enhance the cake pops' flavors, creating a balanced plate.
- Milkshake: A rich, creamy milkshake pairs wonderfully, providing a fun, nostalgic treat to enjoy alongside your cake pops.
- Coffee: A warm cup of coffee complements the sweetness of the cake pops, making it an ideal pairing for morning gatherings.
- Ice Cream: The cold creaminess of any flavor of ice cream enhances the dessert experience, adding a delightful contrast in texture.
- Chocolate Dipping Sauce: A drizzle of warm chocolate fondue elevates your cake pops and creates an interactive dessert moment for guests.
- Nutella: For an extra layer of indulgence, serving Nutella as a dip alongside the cake pops will satisfy any sweet tooth.
- Lemonade: The light, refreshing taste of lemonade provides a zesty counterpoint to the sweetness of the cake pops, perfect for summer parties.
- Party Punch: A vibrant, fruity punch adds a celebratory touch, perfectly complementing the fun aesthetic of your homemade cake pops.
- Mini Cheesecakes: These bite-sized desserts add a creamy richness, creating a beautiful dessert spread that guests will love.
Make Ahead Options
These Cake Pops are perfect for busy home cooks looking to save time without sacrificing flavor! You can prepare the cake mixture by mixing 1 cup of cake crumbs with ½ cup of frosting and shape them into balls up to 24 hours in advance. Chill the shaped cake balls in the refrigerator; this will help them maintain their firmness when coated. When you’re ready to enjoy your cake pops, melt the candy melts and proceed with inserting the lollipop sticks and coating. Just a few simple steps will bring your homemade Cake Pops to life, giving you delicious treats with minimal effort!
How to Store and Freeze Cake Pops
Fridge: Store your cake pops in an airtight container in the refrigerator for up to 1 week. This helps maintain their freshness and flavor while preventing them from becoming stale.
Freezer: For longer storage, place cake pops in a single layer on a baking sheet, then freeze until solid. Transfer them to a freezer-safe bag and enjoy them within 2 months for best quality.
Thawing: To thaw frozen cake pops, simply place them in the fridge overnight. Avoid using the microwave, as it can affect the texture and coating.
Reheating: If the candy coating appears dull after freezing, briefly dip the cake pops in melted coating again before serving. This will restore their shine and make them look fresh!
Expert Tips for Perfect Cake Pops
Chill Perfectly: Ensure your cake balls are properly chilled for at least 30 minutes. This prevents them from becoming too soft when coating, ensuring a neater finish.
Dip with Care: When dipping your cake pops, use a gentle twisting motion to achieve an even coat. Avoid dipping too quickly to prevent bubbles and uneven surfaces.
Select Quality Coating: Use high-quality candy melts for a vibrant, smooth finish. Cheaper options may not melt well and can lead to clumping or dull colors.
Avoid Overcoating: After dipping, allow excess coating to drip off completely. This prevents unsightly pooling at the bottom and creates a more polished look for your cake pops.
Experiment with Flavors: Don’t hesitate to mix different flavors of cake and frosting! Your cake pops can become a delightful fusion of tastes, keeping the excitement alive with every bite.
Storage Savvy: Store decorated cake pops in an airtight container in the fridge. This keeps them fresh and delicious, ready to impress whenever you need a sweet treat!
Cake Pops Variations & Substitutions
Customize your cake pops to match your cravings and celebrations—the endless possibilities are just waiting to be explored!
-
Nut-Free: Use sunflower seed butter instead of regular frosting for a nut-free binding agent.
-
Gluten-Free: Substitute cake crumbs with gluten-free cake mix and ensure your frosting is also gluten-free for a tasty alternative.
-
Vegan: Replace frosting with vegan frosting, and make sure to use plant-based candy melts to create a totally plant-friendly treat. Vegan cake pops can still have that decadent taste!
-
Flavor Infusion: Add a teaspoon of vanilla extract or almond extract to the cake mixture for an extra kick of flavor. You’ll love the aromatic layers this brings to the pops!
-
Chocolate Lovers: For a more indulgent twist, use chocolate cake crumbs combined with chocolate frosting. The double chocolate flavor will satisfy the sweetest cravings!
-
Coconut Surprise: Mix in shredded coconut into the cake crumb mixture or sprinkle on top for a tropical touch that adds delightful texture and flavor.
-
Spicy Kick: To give your cake pops a thrilling twist, add a pinch of cinnamon or cayenne pepper to the cake mix—this unexpected heat is sure to surprise and delight!
-
Colorful Coating: Use different colors and flavored candy melts to match specific themes, like red and green for Christmas or pastel shades for baby showers. Each pop can be a feast for the eyes and the taste buds!
Embrace your creativity as you craft these delightful cake pops, and if you need inspiration for presentations, don’t miss our serving suggestions to make them a showstopper!
Starbucks Cake Pop Recipe FAQs
What kind of cake should I use for the cake pops?
You can use any flavor of cake crumbs—chocolate, vanilla, or even red velvet works wonderfully! Just make sure the cake is fully cooled and crumbled to ensure a smooth mixing process with the frosting.
How should I store leftover cake pops?
Absolutely! Store your cake pops in an airtight container in the refrigerator for up to 1 week. This keeps them fresh and prevents them from drying out, ensuring you have delicious treats ready to enjoy any time!
Can I freeze cake pops for later?
Yes, you can! To freeze your cake pops, place them in a single layer on a baking sheet and freeze until solid—about 1-2 hours. Then, transfer them to a freezer-safe bag or container and store for up to 3 months. When you're ready to enjoy, thaw them in the fridge overnight.
What if my cake pops start to crumble during the coating process?
If your cake pops are crumbling, they might be too soft or not chilled enough. Ensure you chill them for at least 30 minutes before coating to help them hold their shape. If they continue to crumble after adding coating, make sure your cake pops are rolled tightly and compactly during shaping.
Are cake pops safe for pets?
No, cake pops should not be shared with pets. The ingredients used, such as chocolate or certain types of frosting, can be harmful to them. Always keep your sweet creations safely away from your furry friends.
Delicious Cake Pops You Can Make in Just 15 Minutes
Equipment
- Mixing bowl
- Parchment Paper
- Styrofoam Block or Cake Pop Stand
- microwave-safe bowl
Ingredients
For the Cake Mixture
- 1 cup cake crumbs creates dense yet fluffy texture
- ½ cup frosting any flavor
For the Coating
- 1 package candy melts choose your favorite color or flavor
For Assembly
- 12 pieces lollipop sticks or pretzel sticks for a fun twist
Instructions
Step-by-Step Instructions for Starbucks Cake Pops
- In a mixing bowl, mix 1 cup of cake crumbs with ½ cup of frosting until smooth.
- Roll portions of the mixture into small balls, about 1 inch in diameter, and place on a parchment-lined tray.
- Chill the shaped cake balls in the refrigerator for 15-30 minutes to firm up.
- Melt the candy melts in a microwave-safe bowl, stirring every 30 seconds until smooth.
- Dip the tip of each lollipop stick into the melted candy, then insert into the center of each cake ball.
- Coat each cake pop in the melted candy, ensuring it’s fully submerged, and let excess coating drip off.
- Place the coated cake pops upright in a block or stand to set for 15-20 minutes.
- Drizzle with chocolate or sprinkle decorations while the coating is slightly tacky.
- Let the cake pops cool completely until the coating is firm and set, about 30 minutes.