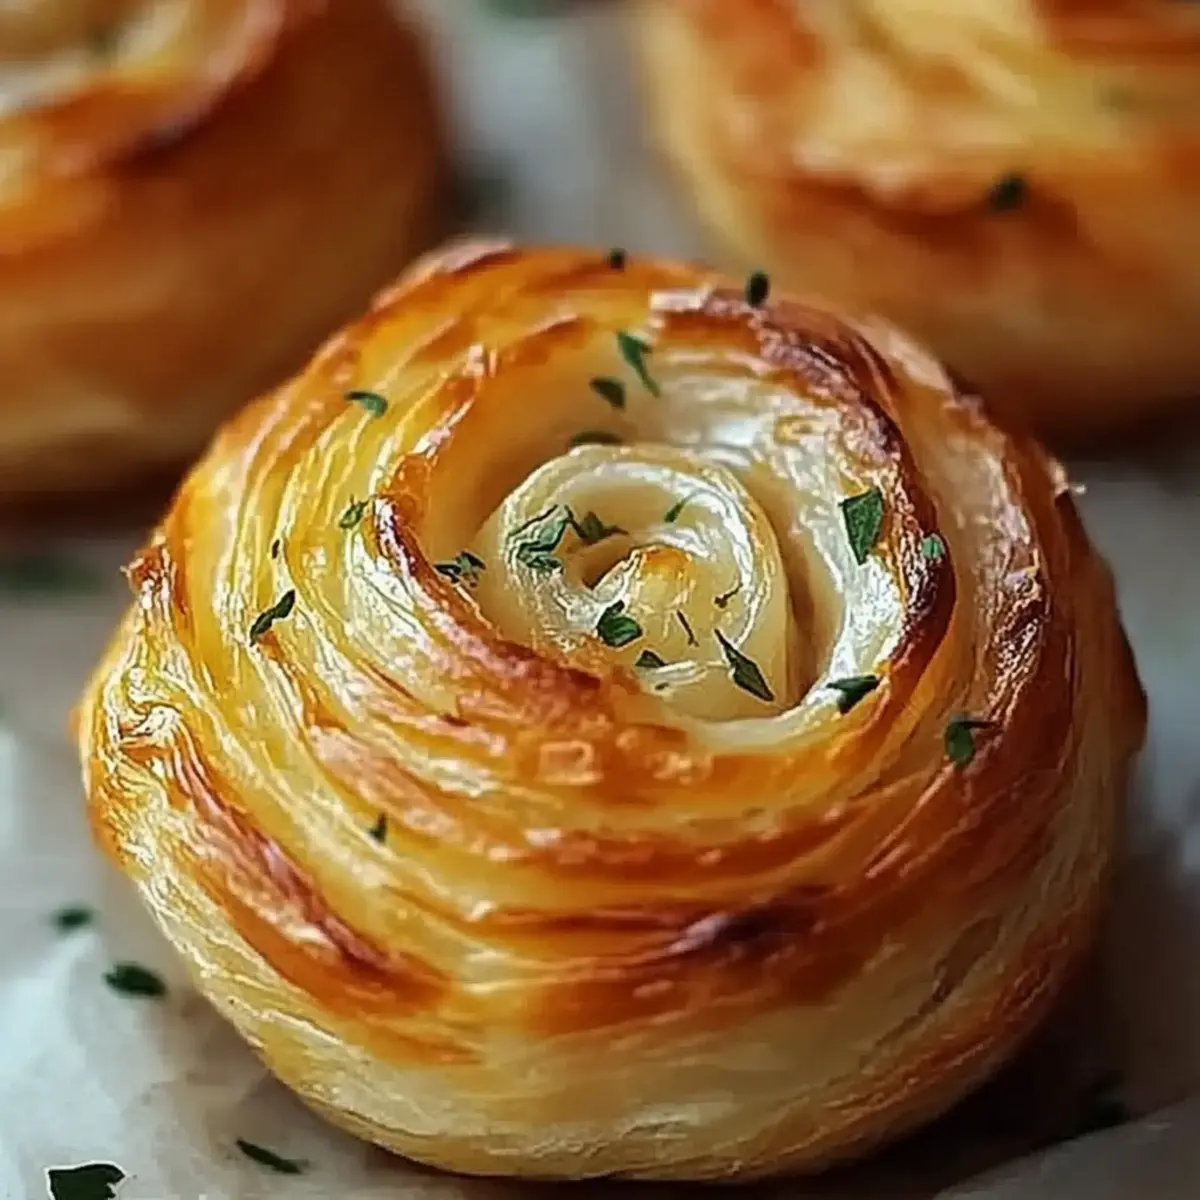
On a chilly evening, with the aroma of garlic wafting through my kitchen, I stumbled upon a delightful creation: Cheesy Garlic Cruffins. These golden beauties are the perfect blend of flaky pastry and melty cheese that will have your taste buds dancing. Not only are they simple to whip up, taking just 45 minutes from start to finish, but they also offer a wonderful way to impress friends or family without breaking a sweat. Packed with flavor and great for any occasion—from brunch to a cozy dinner—they’re sure to be a comforting addition to your recipe repertoire. Curious how to elevate your next meal with this cheesy goodness? Let’s dive in!
Why Are Cheesy Garlic Cruffins a Must-Try?
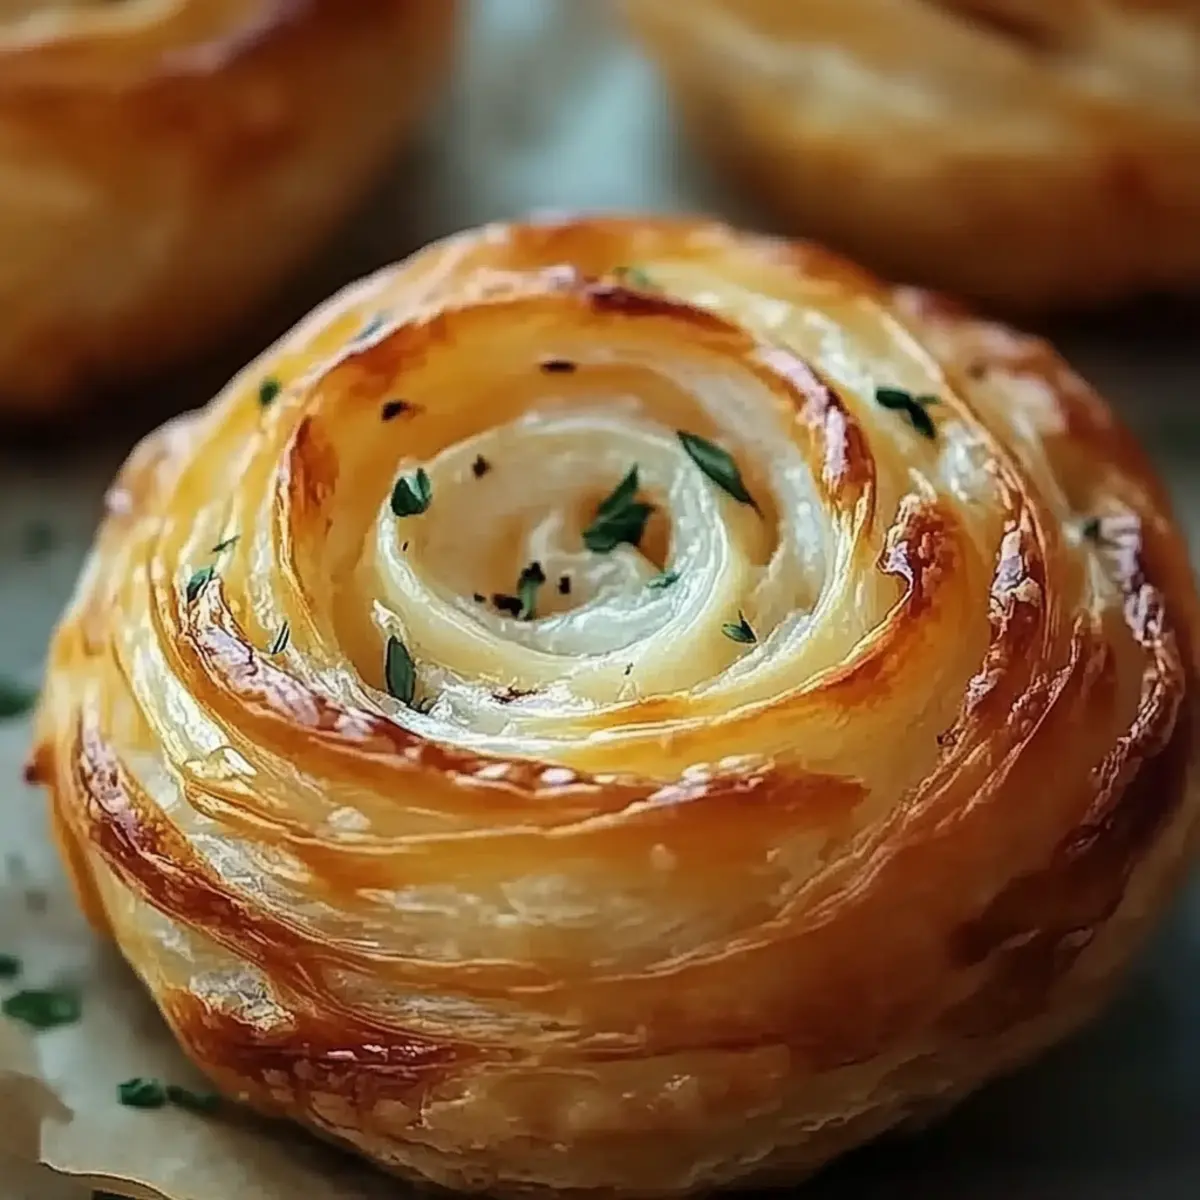
Irresistible flavor combinations make these cruffins a standout. The flaky texture complements the gooey, melted cheese, creating a bite you won't forget! Quick prep time means you can whip these up in just 45 minutes. Perfect for brunch or a cozy dinner with friends, this recipe offers comfort food vibes everyone will love. Versatile enough to experiment with your favorite cheese, these Cheesy Garlic Cruffins are sure to impress!
Cheesy Garlic Cruffins Ingredients
Ready to make these melt-in-your-mouth cruffins? Here’s everything you'll need!
For the Dough
- All-purpose flour – Provides the base for that flaky texture you crave.
- Baking powder – Ensures your cruffins rise perfectly for a light, airy bite.
- Salt – Enhances flavor and balances the richness of the cheese.
- Garlic powder – Adds an aromatic kick that complements the fresh garlic beautifully.
- Unsalted butter, melted – Brings richness and moisture to the dough.
- Milk – Helps bind the ingredients, resulting in a tender crumb.
- Large egg – Acts as a binder, making your cruffins sturdy yet soft.
For the Filling
- Shredded cheese – Your choice of cheddar, mozzarella, or others for that gooey, cheesy goodness!
- Minced garlic – Fresh garlic elevates the flavor, giving a delightful burst in each bite.
- Chopped parsley – Adds a touch of color and a fresh, herbal note to balance the richness.
For Brushing
- Melted butter – A buttery brush before serving adds shine and enhances flavor for an irresistible finish.
Now, gather these ingredients, and let's bring comfort food right to your kitchen with these enchanting Cheesy Garlic Cruffins!
Step‑by‑Step Instructions for Cheesy Garlic Cruffins
Step 1: Preheat the Oven and Prepare Muffin Tin
Begin by preheating your oven to 375°F (190°C). While it warms up, grease a muffin tin with non-stick spray or butter to ensure your Cheesy Garlic Cruffins easily release after baking. Set the prepared tin aside as you get ready to mix the dry ingredients.
Step 2: Combine Dry Ingredients
In a large mixing bowl, whisk together 2 cups of all-purpose flour, 1 tablespoon of baking powder, ½ teaspoon of salt, and ½ teaspoon of garlic powder. This mixture will serve as the base for your cruffins. Make sure there are no lumps left, as a well-mixed dry blend promises perfectly baked Cheesy Garlic Cruffins!
Step 3: Mix Wet Ingredients
In another bowl, combine ½ cup of melted unsalted butter, ¾ cup of milk, and 1 large egg. Whisk until the mixture is smooth and creamy. This will add moisture and richness to your dough. Once well combined, you’re ready to bring the wet ingredients into the dry blend.
Step 4: Combine Wet and Dry Mixtures
Pour the wet mixture into the bowl containing the dry ingredients. Gently fold the two together with a spatula until just combined; be careful not to overmix. The batter should be slightly lumpy. This delicate folding is key for achieving that delightful texture in your Cheesy Garlic Cruffins.
Step 5: Add Cheese and Flavorings
Now, gently fold in 1 cup of shredded cheese, 2 tablespoons of minced garlic, and 2 tablespoons of chopped parsley into the batter. The gooey cheese and aromatic garlic will elevate the flavors of your Cheesy Garlic Cruffins. Make sure the extras are evenly distributed throughout the batter for a deliciously cheesy experience!
Step 6: Fill the Muffin Cups
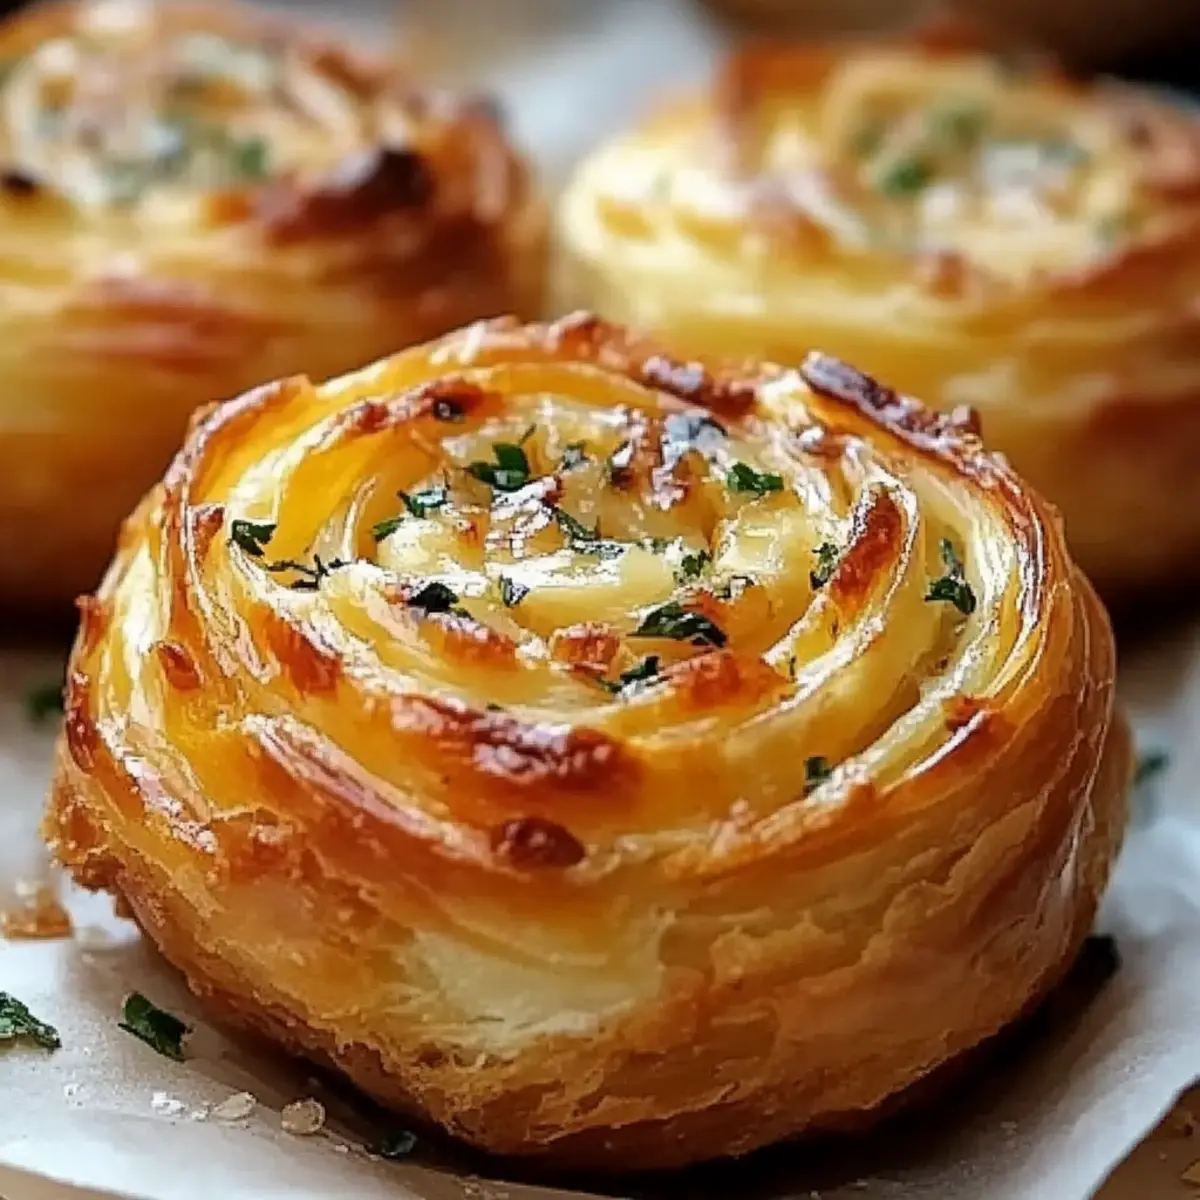
Spoon the dough mixture into the prepared muffin tin, filling each cup about ¾ full. This allows enough space for the cruffins to rise beautifully without spilling over. As you fill them, take a moment to admire the colorful mix of cheese and herbs peeking through!
Step 7: Bake to Perfection
Slide the filled muffin tin into your preheated oven and bake for 20-25 minutes. Watch for a lovely golden brown top and insert a toothpick into the center; it should come out clean when your Cheesy Garlic Cruffins are ready. The irresistible aroma will fill your kitchen—get ready for some compliments!
Step 8: Brush and Cool
Once baked, remove the muffin tin from the oven and brush the tops with 1 tablespoon of melted butter for an extra touch of flavor and shine. Allow the Cheesy Garlic Cruffins to cool slightly in the tin for about 5 minutes before gently removing them. Serve warm, and enjoy the deliciousness!

How to Store and Freeze Cheesy Garlic Cruffins
Room Temperature: Keep your Cheesy Garlic Cruffins in an airtight container at room temperature for up to 2 days. This will help maintain their delightful texture and flavor.
Fridge: If you wish to keep them longer, store cruffins in the fridge for up to 5 days. Wrap them tightly with plastic wrap or place them in an airtight container to prevent them from drying out.
Freezer: To freeze, allow the cruffins to cool completely and then wrap each one in plastic wrap and place them in a freezer bag. They can be stored for up to 3 months.
Reheating: Reheat in the oven at 350°F (175°C) for about 10-15 minutes or until warmed through for that fresh-out-of-the-oven taste.
Cheesy Garlic Cruffins: Variations & Substitutions
Feel free to personalize these cruffins with some fun twists and substitutions that will make your taste buds sing!
- Gluten-Free: Substitute all-purpose flour with a gluten-free blend for delicious cruffins that everyone can enjoy.
- Cheese Swap: Instead of cheddar, try feta or pepper jack for a zesty kick that's sure to surprise.
- Herb Infusion: Add fresh rosemary or thyme in place of parsley for an aromatic edge that elevates the whole dish.
- Spicy Kick: Mix in a pinch of red pepper flakes for a warm, spicy note that will make your cruffins sizzle with flavor!
- Dairy-Free: Use almond milk and a dairy-free butter substitute for a friendly twist that doesn’t compromise on taste.
- Veggie Boost: Fold in some finely chopped spinach or sun-dried tomatoes for added nutrition and vibrant color.
- Onion Flavor: Consider adding caramelized onions to the batter for a sweet, savory depth that compliments the garlic beautifully.
- Cheesy Topping: Sprinkle some extra cheese on top of the cruffins before baking for an irresistible, cheesy crust that everyone will love.
With these variations, your Cheesy Garlic Cruffins can be as unique as your taste! If you're feeling adventurous, consider trying them alongside some Roasted Tomato Soup for a comforting meal, or with a side of Simple Green Salad to lighten things up. Enjoy!
Expert Tips for Cheesy Garlic Cruffins
Perfect Texture: Ensure a gentle hand when combining wet and dry ingredients. Overmixing can lead to dense cruffins instead of the light, flaky texture you desire.
Cheese Choices: Experiment with different cheeses! Cheddar, mozzarella, or a blend can all create delicious variations of Cheesy Garlic Cruffins—mix and match to find your favorite!
Garlic Balance: If you're a garlic lover, consider adding roasted garlic for a sweeter, milder flavor that won't overpower the cruffins.
Watch the Time: Keep an eye on the oven as baking times can vary. Your cruffins should be golden brown—check for doneness with a toothpick!
Cooling Period: Allow your Cheesy Garlic Cruffins to cool in the tin for a few minutes. This helps set their shape and makes them easier to remove without falling apart.
Serving Suggestions: These cruffins are best enjoyed warm but can also be reheated. Pair them with a side salad or soup for a cozy meal!
What to Serve with Cheesy Garlic Cruffins
Elevate your cozy meal with these delicious accompaniments that complement the rich, cheesy flavors of the cruffins!
-
Fresh Green Salad: A crisp salad with mixed greens provides a refreshing contrast to the rich, buttery cruffins. Top it with a tangy vinaigrette for a vibrant kick.
-
Savory Tomato Soup: The warm, velvety texture of tomato soup creates a comforting dip for your cruffins. Together, they bring nostalgia of cozy family dinners.
-
Herbed Quinoa: Light and fluffy, quinoa tossed with fresh herbs offers a nutritious balance to the cheesy flavors. This wholesome side keeps the meal light yet satisfying.
-
Roasted Vegetables: Sweet and caramelized vegetables add a beautiful array of colors and flavors. Their slight smokiness pairs perfectly with the intense cheese and garlic.
-
Creamy Spinach Dip: Served warm, the smooth texture and rich flavors of spinach dip create a delightful pairing with Cheesy Garlic Cruffins for a satisfying snack.
-
Chilled White Wine: A glass of crisp, chilled white wine complements the buttery richness of the cruffins. Look for a Sauvignon Blanc or Pinot Grigio for a refreshing sip.
-
Greek Yogurt Dipping Sauce: A zesty yogurt sauce with herbs offers a cool, tangy contrast that’ll tease your taste buds. Perfect for adding an unexpected twist to your meal!
-
Fruit Salad: A light, sweet fruit salad brings a refreshing and natural sweetness to your plate, balancing the savory richness of the cruffins beautifully.
These pairings will not only enhance your Cheesy Garlic Cruffins but also create a delightful dining experience that’s perfect for any occasion. Enjoy!
Make Ahead Options
These Cheesy Garlic Cruffins are a fantastic choice for meal prep! You can prepare the dough up to 24 hours in advance by mixing the dry ingredients and refrigerating them separately from the wet ingredients (this prevents the baking powder from losing its potency). Additionally, you can also mix your filling (cheese, garlic, and parsley) and store it in an airtight container in the fridge for the same duration. When you're ready to bake, simply combine the wet and dry mixes and fold in your filling. Bake as directed, and you’ll have fresh, delicious Cheesy Garlic Cruffins with minimal effort, perfect for busy weeknights!
Cheesy Garlic Cruffins Recipe FAQs
What type of cheese works best in Cheesy Garlic Cruffins?
Absolutely! Cheddar and mozzarella are classic choices for melting, but feel free to experiment. A blend of cheeses can create a deliciously rich flavor profile, so go ahead and mix in your favorites like pepper jack for a spicy kick!
How should I store leftover Cheesy Garlic Cruffins?
The best way to store these delightful cruffins is in an airtight container at room temperature for up to 2 days. If you'd like to keep them longer, wrap them tightly and refrigerate for up to 5 days. This will help maintain their scrumptious texture and flavor!
Can I freeze Cheesy Garlic Cruffins? What’s the method?
Very! To freeze, first allow your Cheesy Garlic Cruffins to cool completely. Wrap each one in plastic wrap and place them in a freezer-safe bag or container. They can be kept in the freezer for up to 3 months. When you're ready to enjoy them, thaw in the fridge overnight and reheat in the oven at 350°F (175°C) for about 10-15 minutes.
Why are my Cheesy Garlic Cruffins dense?
If your cruffins turn out dense, it could be due to overmixing the batter. Combining the wet and dry ingredients until just combined—leaving a few lumps—is the key to a light, flaky texture. Be gentle when folding in cheese and other ingredients as well.
Can I make Cheesy Garlic Cruffins gluten-free?
Definitely! Substitute all-purpose flour with a gluten-free flour blend that measures cup-for-cup, along with adding a bit of xanthan gum if it’s not included in your mix. This adjustment allows those with gluten sensitivities to still enjoy these flavor-packed treats!
Do I need to use fresh garlic?
While fresh garlic gives a lovely flavor to your Cheesy Garlic Cruffins, you can also use garlic powder if needed. If you're a garlic enthusiast, consider roasting the garlic first for a sweeter, milder taste that blends beautifully with the cheese!
Irresistibly Cheesy Garlic Cruffins for Cozy Nights
Equipment
- Muffin tin
- Mixing bowls
- Whisk
- spatula
Ingredients
Dough Ingredients
- 2 cups All-purpose flour
- 1 tablespoon Baking powder
- 0.5 teaspoon Salt
- 0.5 teaspoon Garlic powder
- 0.5 cups Unsalted butter, melted
- 0.75 cups Milk
- 1 large Large egg
Filling Ingredients
- 1 cup Shredded cheese Cheddar, mozzarella, or your choice
- 2 tablespoon Minced garlic Fresh
- 2 tablespoon Chopped parsley
Brushing Ingredients
- 1 tablespoon Melted butter For brushing before serving
Instructions
Cooking Instructions
- Preheat your oven to 375°F (190°C) and grease a muffin tin.
- Whisk together all-purpose flour, baking powder, salt, and garlic powder.
- In another bowl, mix together melted butter, milk, and egg.
- Fold wet ingredients into the dry ingredients until just combined.
- Gently fold in shredded cheese, minced garlic, and parsley.
- Fill muffin cups about ¾ full with the mixture.
- Bake for 20-25 minutes until golden brown; a toothpick should come out clean.
- Brush tops with melted butter and cool in the tin for 5 minutes before removing.