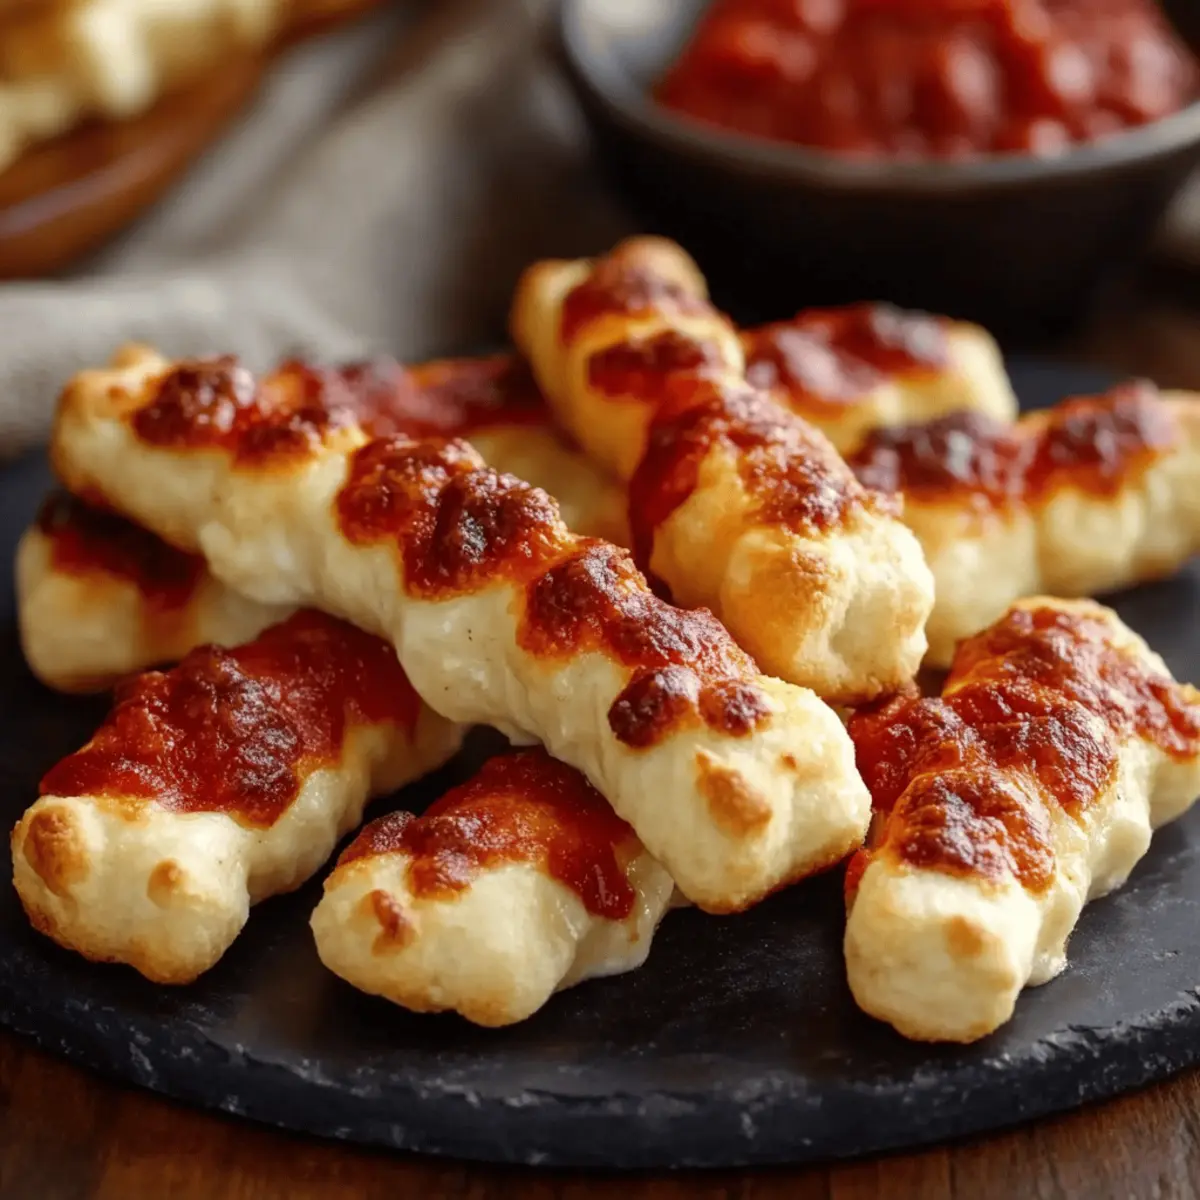
As I pulled a batch of Cheesy Halloween Breadstick Bones from the oven, the delightful aroma enveloped my kitchen, sparking nostalgia for long-forgotten childhood Halloweens. These easy-to-make breadsticks are not just fun—channeling holiday spirit—they also add a playful twist to any gathering. With just 35 minutes of prep and baking, you'll have a crowd-pleaser that is not only kid-friendly but also perfect for impressing any adult who loves a cheesy delight. Plus, they are ideal for dipping into marinara sauce, turning snacking into a whimsical experience. Could there be a better way to elevate your Halloween festivities than with these fun, spooky treats? Let’s carve our way into the recipe!

Why are These Breadsticks a Spooky Hit?
Easy to Make: These Cheesy Halloween Breadstick Bones require minimal effort, perfect for both newbie cooks and experienced chefs alike.
Fun Presentation: Shaped like spooky bones, they're visually striking and spark conversations, making them ideal for Halloween gatherings or casual get-togethers.
Crowd Pleaser: With gooey mozzarella and tangy Parmesan, these breadsticks cater to all cheese lovers, ensuring no one can resist.
Versatile Dipping: Pair them with marinara sauce or your favorite dips like ranch or pesto to elevate flavor and variety.
Time-Saving Treat: Ready in just 35 minutes, you’ll love how quickly these come together, allowing you more time to enjoy the party!
Impress your guests this Halloween with these playful breadsticks, perfect for indulging in a delicious snack that transforms your gathering into a festive feast!
Cheesy Halloween Breadstick Bones Ingredients
• Cooking up these fun, spooky treats is a breeze with the right ingredients!
For the Breadsticks
- 1 pound pizza dough – Helps create the perfect, chewy texture for your breadstick bones.
- 2 tablespoons unsalted butter (melted) – Adds a rich flavor and golden color to the breadsticks.
- ½ cup grated Parmesan cheese – Enhances the savory profile of the Cheesy Halloween Breadstick Bones.
- 1 cup shredded mozzarella cheese – Guarantees a gooey, cheesy experience that everyone will love.
- All-purpose flour (for dusting) – Prevents the dough from sticking while shaping those spooky bones.
For Dipping
- Marinara sauce – The classic dipping companion that complements the cheesy goodness perfectly.
Step‑by‑Step Instructions for Cheesy Halloween Breadstick Bones
Step 1: Preheat and Prepare
Begin by preheating your oven to 375°F (190°C). While the oven warms up, line two baking sheets with parchment paper to prevent sticking. This will help ensure your Cheesy Halloween Breadstick Bones come out crispy and golden without making a mess in the process.
Step 2: Prepare the Dough
Let the pizza dough sit at room temperature for about 10 minutes to rise slightly, making it easier to work with. Lightly dust your clean surface with all-purpose flour to prevent sticking, then divide the dough into 10 equal pieces using a bench scraper or knife for even portions.
Step 3: Shape the Bones
Take each piece of dough and roll it into an 8-inch long rope, focusing on making the ends slightly thicker to resemble bone shapes. As you shape them, snip each end about 1 inch deep with kitchen scissors, then gently pull apart the ends. This fun technique will create a playful look for your Cheesy Halloween Breadstick Bones.
Step 4: Place on Baking Sheets
Arrange the shaped breadsticks on the lined baking sheets, ensuring to leave space between each one to allow for expansion during baking. Your oven will soon fill with the delightful aroma of warm, cheesy goodness, so make sure they’re evenly spaced for optimal baking.
Step 5: Butter and Cheese
Brush the melted unsalted butter generously over each breadstick, giving them a deliciously glossy finish. Next, sprinkle the grated Parmesan cheese evenly over the top, adding a touch of rich flavor that complements the mozzarella your Cheesy Halloween Breadstick Bones will soon feature.
Step 6: Bake the Breadsticks
Place the baking sheets in the preheated oven and bake for 15 minutes. Keep an eye on them; they should start to puff up and turn light golden. When they reach that beautiful golden hue, it's time to add the next layer of cheesy goodness!
Step 7: Add the Gooey Topping
Remove the breadsticks from the oven and sprinkle the shredded mozzarella cheese on top of each one. Return the breadsticks to the oven for an additional 5-7 minutes. Watch closely as the cheese melts and begins to bubble, creating an irresistible layer of ooey-gooeyness.
Step 8: Cool and Serve
Once the cheese is melted and bubbly, take the Cheesy Halloween Breadstick Bones out of the oven and let them cool slightly on the baking sheets. Serve them warm with marinara sauce for dipping, and watch your guests delight in these playful, cheesy treats!
Expert Tips for Cheesy Halloween Breadstick Bones
-
Perfect Dough Temperature: Let the pizza dough sit at room temperature for at least 10 minutes before shaping; this makes it easier to roll and shape into bone-like forms without tearing.
-
Cheese Choices: While mozzarella and Parmesan are fantastic, feel free to experiment with other cheeses like cheddar or gouda for different flavors in your Cheesy Halloween Breadstick Bones.
-
Avoid Overbaking: Keep a close eye during the last few minutes in the oven; overbaking can lead to tough breadsticks. They should be golden and slightly puffed before adding more cheese.
-
Boost Flavor: For an extra kick, try mixing garlic powder or Italian herbs into the melted butter before brushing it on the breadsticks—this enhances their taste significantly.
-
Presentation Matters: Arrange your breadsticks on a spooky-themed platter for added flair; presenting them well makes the Cheesy Halloween Breadstick Bones irresistible!
-
Dipping Delights: While marinara is classic, consider setting out a variety of dips like homemade ranch or a spicy sriracha mayo to cater to different palate preferences.
Storage Tips for Cheesy Halloween Breadstick Bones
-
Room Temperature: Store leftover Cheesy Halloween Breadstick Bones in an airtight container at room temperature for up to 1 day to maintain their freshness.
-
Fridge: If you want to keep them longer, place the breadsticks in the refrigerator for up to 3 days. Be sure to use an airtight container to keep them from drying out.
-
Freezer: For longer storage, these delightful treats can be frozen individually. Just wrap them tightly in plastic wrap and store in a freezer-safe bag for up to 2 months.
-
Reheating: To enjoy later, reheat breadsticks in a preheated oven at 350°F for about 5-7 minutes until warmed through. Avoid the microwave to prevent them from becoming rubbery.
What to Serve with Cheesy Halloween Breadstick Bones
These delightful, cheesy creations make for a perfect addition to any festive gathering, creating not just a snack but an experience.
-
Crispy Salad: A fresh green salad with a tangy vinaigrette adds a bright, crisp contrast, balancing the richness of the cheesy breadsticks.
-
Garlic Parmesan Knots: For an extra dose of flavor, serve garlic knots alongside. Their buttery, garlicky goodness pairs beautifully with the breadsticks.
-
Spooky Veggie Platter: Brightly colored veggies like carrots and bell peppers add a crunchy texture and dip perfectly into marinara sauce, enhancing the playful theme.
-
Halloween Punch: A refreshing drink with hints of citrus and cranberry not only quenches thirst but adds a festive flair to your spooky spread.
-
Cheesy Dip: A warm, gooey cheese dip invites dipping and sharing, complementing the cheesy goodness of the breadsticks while keeping the party alive.
-
Chocolate-Covered Treats: Sweet chocolate-covered pretzels or fruit add a rich finish to the meal, satisfying that sweet tooth and providing a fun contrast to the savory bites.
Embrace creativity and serve these delightful pairings to ensure your Halloween gathering is both spooky and scrumptious!
Make Ahead Options
These Cheesy Halloween Breadstick Bones are perfect for meal prep enthusiasts! You can prepare the dough up to 24 hours ahead; simply roll and shape the breadsticks, place them on the baking sheets, and cover them tightly with plastic wrap. Refrigerating them will keep the dough fresh and prevent browning. When ready to bake, just remove them from the refrigerator and let them sit at room temperature for about 10-15 minutes before brushing with butter and sprinkling with cheese. This ensures they will rise beautifully during baking, giving you delicious, fresh breadsticks that save you time on busy weeknights!
Cheesy Halloween Breadstick Bones Variations
Feel free to get creative with these Cheesy Halloween Breadstick Bones, transforming them into a personalized delight that tantalizes the taste buds!
-
Gluten-Free: Substitute regular pizza dough with gluten-free pizza dough for a tasty alternative that everyone can enjoy.
-
Herbed Delight: Mix in dried Italian herbs like oregano or basil into the dough for an aromatic twist that enhances each bite. The smell will just beckon your guests closer!
-
Spicy Kick: Add a sprinkle of red pepper flakes to the melted butter before brushing it on for a spicy sensation that adds some heat to your Halloween spread. It'll keep everyone guessing!
-
Stuffed Bones: For an extra cheesy experience, stuff the dough with string cheese or cream cheese before shaping into bones. Watch as the cheese oozes out when cooked! Your guests will love this gooey surprise.
-
Vegetable Boost: Incorporate finely chopped spinach or sautéed mushrooms into your dough for an earthy flavor and lovely green specks that make your breadsticks pop with color.
-
Sweet Variation: Switch out the marinara sauce for a spooky pumpkin or sweet potato dip, making these breadsticks fit for a fall-themed treat that charms everyone.
-
Cheese Fantasy: Experiment with various cheeses like cheddar, pepper jack, or even blue cheese to create enticing combinations that will captivate your guests’ palates.
-
Savory Bacon: Mix in crumbled bacon for an irresistible smoky flavor that’s sure to be a hit at any gathering. The crispy bits of bacon will bring everything together in a delicious way!
With these variations, you can truly make your Cheesy Halloween Breadstick Bones your own, ensuring each batch brings a unique twist to your celebrations!

Cheesy Halloween Breadstick Bones Recipe FAQs
What type of pizza dough should I use for the Cheesy Halloween Breadstick Bones?
Absolutely! You can use store-bought pizza dough or homemade dough. If you're looking for convenience, I recommend a pre-made option from the grocery store, usually found in the refrigerated section. However, if you're up for it, making dough from scratch using flour, yeast, water, and a pinch of salt can really elevate the flavor.
How should I store leftover Cheesy Halloween Breadstick Bones?
To keep your tasty treats fresh, store leftover Cheesy Halloween Breadstick Bones in an airtight container at room temperature for up to 1 day. For longer storage, place them in the refrigerator for up to 3 days. If you’re like me and love snacking, you might find they disappear quickly!
Can I freeze the Cheesy Halloween Breadstick Bones?
Certainly! For freezing, wrap each breadstick individually in plastic wrap and place them in a freezer-safe bag. They can be stored this way for up to 2 months. When you're ready to indulge, simply reheat them directly from frozen in a preheated oven at 350°F for about 10-12 minutes until warmed through.
What can I do if my dough is tough to shape?
If your dough feels tough or isn’t rolling easily, make sure it’s at room temperature; letting it sit for about 10-15 minutes before handling can help. If it still resists, don’t worry! Gently knead it with floured hands for a minute or two and try again. This should make it more pliable.
Are there any dietary considerations with this recipe?
Very! If you have dietary restrictions, consider using gluten-free pizza dough as a substitute. Additionally, for those allergic to dairy, plant-based cheese can be used for a tasty alternative. Just keep an eye on the melting properties if you choose non-dairy options; not all melt the same way as traditional cheeses.
How long do the Cheesy Halloween Breadstick Bones last in the freezer?
These delightful breadsticks can be kept in the freezer for up to 2 months without losing their flavor! Just ensure they're well-wrapped and stored in a freezer-safe bag to protect them from freezer burn. When you're ready to enjoy them again, remember to reheat directly from frozen for the best texture!

Cheesy Halloween Breadstick Bones That Wow Your Guests
Equipment
- Oven
- Baking sheets
- Parchment Paper
- Bench scraper
- Kitchen scissors
Ingredients
For the Breadsticks
- 1 pound pizza dough Helps create the perfect, chewy texture
- 2 tablespoons unsalted butter Melted, adds rich flavor and golden color
- ½ cup grated Parmesan cheese Enhances the savory profile
- 1 cup shredded mozzarella cheese Guarantees a gooey experience
- all-purpose flour For dusting to prevent sticking
For Dipping
- Marinara sauce Classic dipping companion
Instructions
Step-by-Step Instructions
- Preheat your oven to 375°F (190°C) and line two baking sheets with parchment paper.
- Let the pizza dough sit at room temperature for about 10 minutes to rise slightly.
- Lightly dust your surface with all-purpose flour and divide the dough into 10 equal pieces.
- Roll each piece into an 8-inch long rope and snip each end about 1 inch deep.
- Arrange the shaped breadsticks on the lined baking sheets, leaving space for expansion.
- Brush the melted butter over each breadstick and sprinkle with grated Parmesan cheese.
- Bake for 15 minutes until puffed and lightly golden.
- Remove and sprinkle shredded mozzarella cheese on top, then bake for an additional 5-7 minutes.
- Let cool slightly before serving warm with marinara sauce.