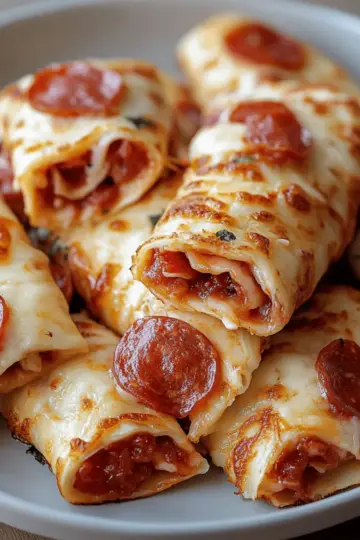
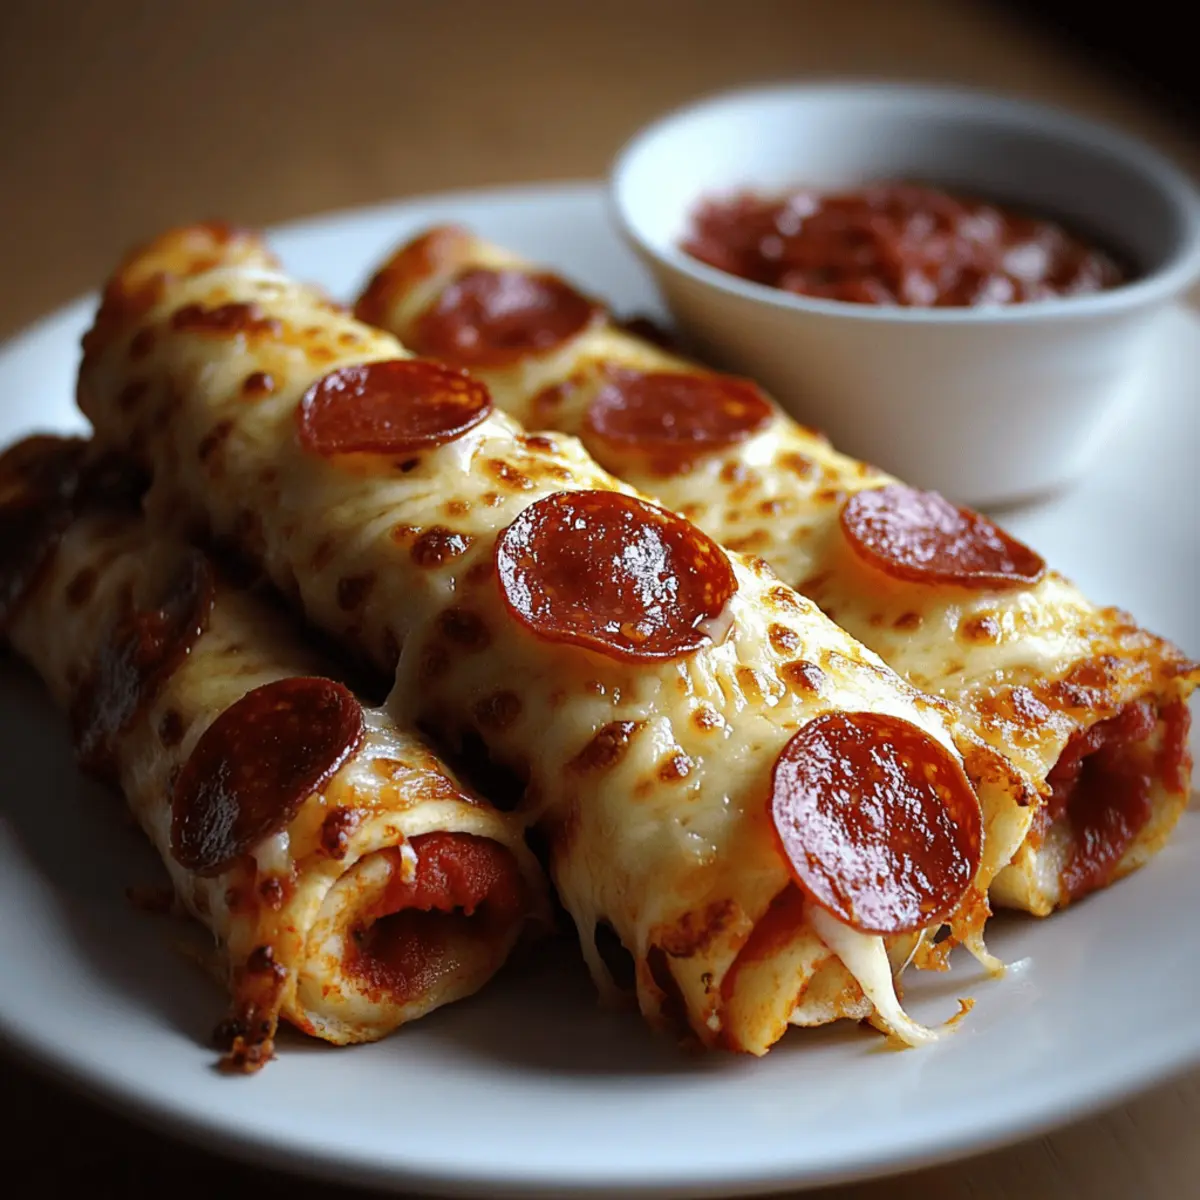
As I was flipping through an old cookbook, I stumbled upon a crispy, cheesy delight that took me straight back to my childhood—Cheesy Pepperoni Pizza Roll Ups. These little bundles of joy are not only a fun twist on classic pizza but also come together in just 17 minutes, making them perfect for busy weeknights or impromptu gatherings. With each bite, you'll enjoy melty mozzarella and zesty pepperoni, all nestled in a low-carb tortilla. They’re a crowd-pleaser that won’t leave you feeling sluggish, plus they're a fantastic way to satisfy those pizza cravings without the drive-thru. Curious about how to roll these up in your kitchen? Let’s dive in!
Why are Cheesy Pepperoni Pizza Roll Ups irresistible?
Quick and Easy: This delicious recipe takes just 17 minutes from start to finish, perfect for busy chefs and home cooks.
Melty Goodness: Each roll-up is packed with rich mozzarella and flavorful pepperoni, creating a cheesy explosion with every bite.
Low-Carb Delight: Enjoy all the taste without the guilt, thanks to low-carb tortillas that keep the dish light and satisfying.
Versatile Snack: Great as an appetizer, party food, or after-school snack, they’ll appeal to everyone—kids and adults alike!
Customizable: Feel free to modify the fillings; you can add veggies or switch the cheese for different flavor profiles.
Indulging in these Cheesy Potato Bake roll-ups is not only quick but also truly gratifying!
Cheesy Pepperoni Pizza Roll Ups Ingredients
Get ready to create a cheesy masterpiece!
For the Filling
• Mozzarella cheese – this creamy delight ensures each roll-up is melting with cheesy goodness.
• Marinara sauce – adds a zesty kick that ties all the flavors together seamlessly.
• Pepperoni slices – a classic topping that brings that authentic pizza flavor right into the roll-up!
For the Wrap
• Low-carb tortillas – a fantastic choice for a lighter dish that doesn’t compromise on taste.
For Finishing Touch
• Olive oil – brushing the outside gives a wonderful golden crispiness and enhances flavor.
These Cheesy Pepperoni Pizza Roll Ups are not just a quick snack; they’re a delightful way to satisfy your cravings while keeping it homemade!
Step‑by‑Step Instructions for Cheesy Pepperoni Pizza Roll Ups
Step 1: Preheat the Oven
Begin by preheating your oven to 375°F (190°C). This ensures that your Cheesy Pepperoni Pizza Roll Ups get perfectly crispy and golden brown when baked. Use this time to gather all your ingredients and prepare your workspace for a smooth cooking experience.
Step 2: Prepare the Tortillas
Lay the two low-carb tortillas flat on a clean surface, ensuring they are smooth and ready for filling. Take a moment to admire their flexibility, as this will help you roll them neatly. This step sets the foundation for the deliciousness to come!
Step 3: Spread the Marinara Sauce
Using a spoon or a spatula, spread 2 tablespoons of marinara sauce evenly onto each tortilla, carefully leaving a ½-inch border around the edges. The bright, vibrant red of the sauce adds visual appeal and flavor to your pizza roll ups, preparing them for the cheesy goodness ahead.
Step 4: Add the Cheese
Sprinkle the mozzarella cheese evenly over the sauce, allowing it to melt beautifully during baking. The creamy, luscious texture of the cheese will blend perfectly with the zesty flavors of the marinara and pepperoni to create that ultimate cheesy experience in every bite.
Step 5: Place the Pepperoni
Gently arrange your pepperoni slices on top of the cheese, slightly overlapping them near the edges for maximum flavor. Visualize those delightful layers as they meld together during baking, enhancing your Cheesy Pepperoni Pizza Roll Ups with classic pizza goodness.
Step 6: Roll Up the Tortillas
Starting at one end, carefully roll each tortilla tightly without tearing it. Make sure to keep the fillings snug inside, creating a compact and inviting shape. This technique will ensure your roll ups hold together perfectly as they bake.
Step 7: Brush with Olive Oil
Brush the outside of each rolled tortilla generously with olive oil, giving them a beautiful sheen and enhancing their crispy texture. The golden finish is not only appetizing but also adds a rich flavor to your delightful Cheesy Pepperoni Pizza Roll Ups.
Step 8: Arrange on a Baking Sheet
Place the roll-ups seam-side down on a baking sheet lined with parchment paper. Arranging them seam-side down helps keep the filling securely inside and prevents them from unrolling, guaranteeing a satisfying bite each time.
Step 9: Bake to Perfection
Bake in your preheated oven for 10-12 minutes, or until the roll ups are golden brown and the cheese is bubbling enticingly out the ends. This visual cue of bubbling cheese indicates that your Cheesy Pepperoni Pizza Roll Ups are ready to enjoy!
Step 10: Cool and Slice
Once baked, allow the roll ups to cool slightly for about 2-3 minutes on the baking sheet. This brief resting period makes slicing easier and prevents burning your fingers on that delicious melted cheese as you dive into your savory snack!
Cheesy Pepperoni Pizza Roll Ups Variations
Feel free to get creative and make these roll-ups your own with these delightful twists!
-
Veggie Boost: Add chopped bell peppers or spinach for a fresh crunch and a boost of nutrients. Incorporating veggies into your roll-ups not only enhances flavor but also adds color and texture!
-
Spicy Kick: Incorporate sliced jalapeños or crushed red pepper flakes for a fiery punch. You'll love how the heat elevates every gooey bite, making the roll-ups a bit more thrilling!
-
Herb-Infused: Mix in Italian herbs like oregano or basil with the cheese for an aromatic touch. These fragrant herbs infuse the roll-ups with earthy flavor and make them smell irresistible as they bake!
-
Cheesy Swaps: Substitute mozzarella for cheddar or pepper jack cheese for a different flavor profile. Each variety brings its own unique taste, allowing you to explore new cheesy realms!
-
Sweet Twist: Try adding a layer of sweet barbecue sauce instead of marinara for a barbecue-inspired roll-up. The blend of savory pepperoni with a hint of sweetness creates an unforgettable flavor harmony!
-
Crunchy Add-ins: Toss in some finely chopped pepperoncini or olives for an extra texture twist. These briny flavors will surprise your palate, turning your roll-ups into a savory snack extravaganza!
-
Low-Fat Version: Use low-fat cheese or turkey pepperoni to reduce calories without sacrificing flavor. Enjoy your favorite taste while still keeping it light and balanced!
-
Breakfast Style: Swap the pepperoni for scrambled eggs and sautéed veggies for a fun breakfast version. It’s a delightful way to shake up your morning routine with a familiar twist that’s sure to brighten your day!
No matter how you choose to customize your Cheesy Pepperoni Pizza Roll Ups, they’ll always serve delightful nostalgia, much like those Muffin Tin Pizza pockets or the crispy layers of Cinnamon Roll Cupcakes. Enjoy making them unique to your taste!
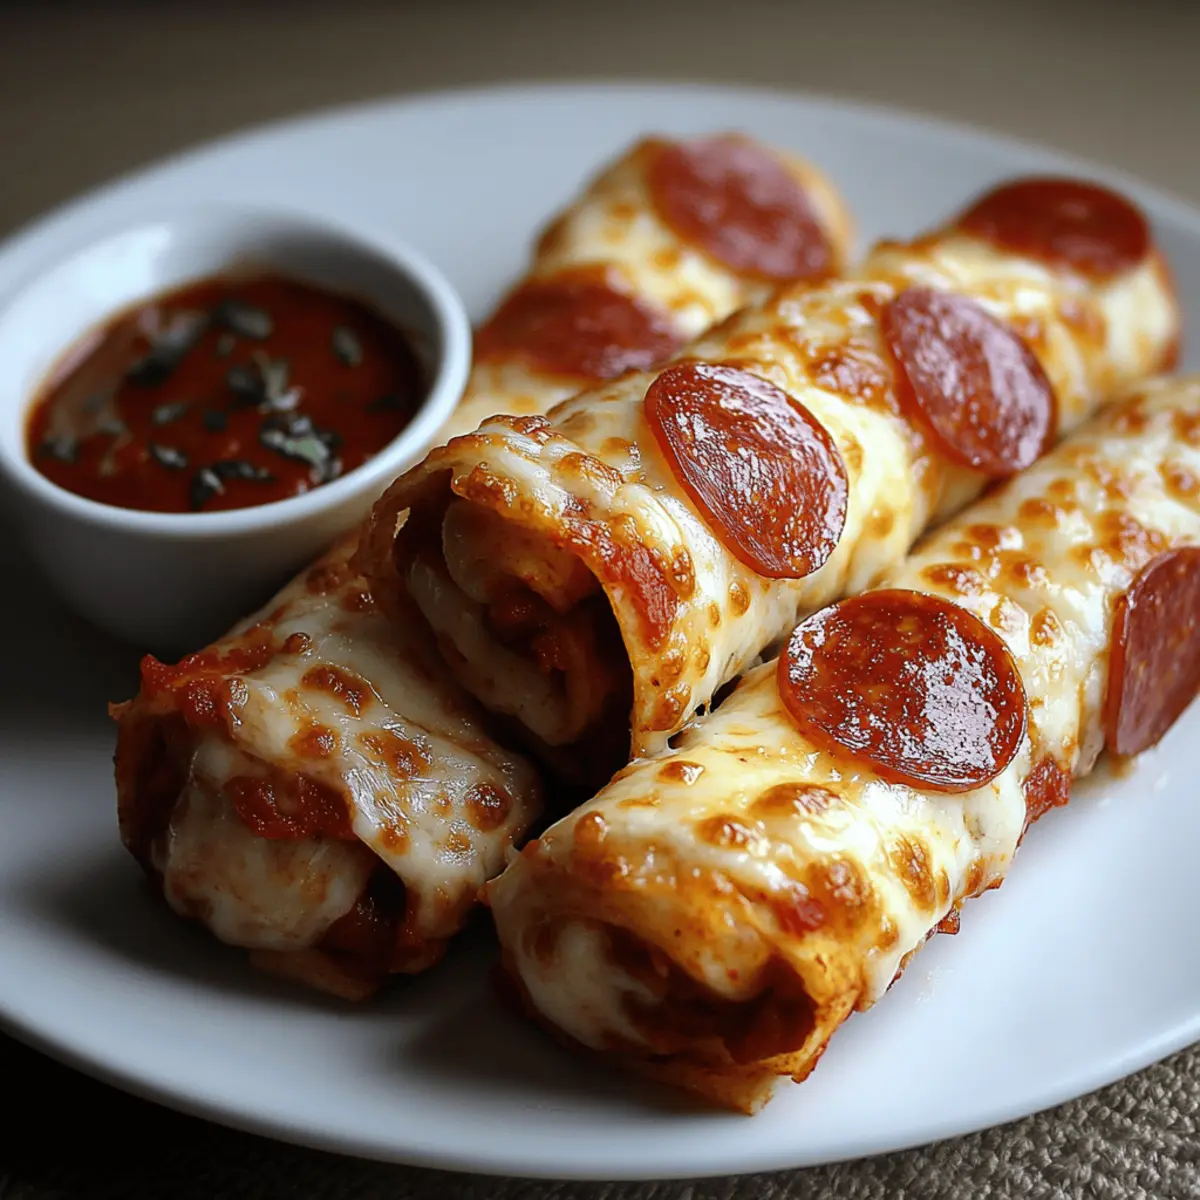
What to Serve with Cheesy Pepperoni Pizza Roll Ups
Treat your family and friends to a delightful meal that balances textures and flavors beautifully!
-
Garlicky Breadsticks: These chewy, buttery breadsticks offer the perfect vehicle for your marinara sauce, enhancing the overall pizza experience. The garlic sings with each bite, complementing the rich flavors of the roll-ups.
-
Crisp Caesar Salad: A refreshing Caesar salad, with crisp romaine and creamy dressing, brings a lightness to your meal, balancing the hearty cheese and pepperoni. Toss in some crunchy croutons for an extra satisfying texture!
-
Roasted Vegetables: Seasonal veggies roasted to perfection provide a colorful and nutritious side. The slight caramelization adds sweetness that pairs wonderfully with the savory roll-ups.
-
Zesty Coleslaw: Bright and tangy coleslaw adds a crunchy contrast to the cheesy softness of the roll-ups. With a bite of vinegar, it refreshes the palate between bites, keeping your taste buds dancing!
-
Pesto Dipping Sauce: Whip up a quick pesto for a herby, nutty dip that pairs beautifully with the roll-ups. Its vibrant flavor accentuates the cheesy goodness, making every bite a delicious adventure.
-
Sparkling Lemonade: Sip on a refreshing glass of sparkling lemonade, its citrus notes cleansing the palate and cutting through the richness. It’s a perfect thirst-quencher to elevate your casual dining!
Indulge in these simple yet delicious pairings that take your Cheesy Pepperoni Pizza Roll Ups to the next level!
Expert Tips for Cheesy Pepperoni Pizza Roll Ups
-
Use Fresh Ingredients: Always opt for fresh mozzarella and quality pepperoni to enhance the flavors of your Cheesy Pepperoni Pizza Roll Ups.
-
Don’t Overfill: Be careful not to overload your tortillas with filling; this can cause them to burst while baking. Keep all ingredients within the borders for a perfect roll-up!
-
Watch the Baking Time: Ovens can vary; keep an eye on your roll-ups as they bake. Aim for golden brown with bubbling cheese for that perfect texture.
-
Experiment with Flavors: Feel free to customize by adding vegetables like bell peppers or mushrooms, or swap cheeses to create your own unique Cheesy Pepperoni Pizza Roll Ups!
-
Cool Before Slicing: Allowing your roll-ups to cool for a few minutes after baking makes them easier to slice and helps prevent the molten cheese from escaping hot!
Make Ahead Options
These Cheesy Pepperoni Pizza Roll Ups are perfect for meal prep enthusiasts! You can assemble the roll ups up to 24 hours in advance, just be sure to tightly wrap them in plastic wrap and refrigerate to keep them fresh. For even quicker snacking, prepare the filling ingredients (mozzarella, marinara, and pepperoni) and store them in an airtight container in the fridge for up to 3 days. When you’re ready to serve, simply preheat the oven, brush the rolled tortillas with olive oil, and bake for 10-12 minutes until golden brown and crispy. This way, you still enjoy that delicious homemade taste with minimal effort on busy weeknights!
How to Store and Freeze Cheesy Pepperoni Pizza Roll Ups
Fridge: Store leftovers in an airtight container for up to 3 days to maintain freshness. Reheat in the oven for crispy results or microwave for a quick fix.
Freezer: Wrap each roll-up tightly in plastic wrap and then place in a freezer bag for up to 3 months. This ensures they keep their delicious flavor when frozen.
Reheating: For best quality, reheat thawed roll-ups in a 375°F oven for about 10 minutes to restore crispness, allowing the cheese to melt again.
Room Temperature: If serving at a gathering, keep them out for no more than 2 hours to ensure safety and maintain flavor integrity.
Cheesy Pepperoni Pizza Roll Ups Recipe FAQs
How do I choose the best mozzarella cheese for my roll-ups?
Absolutely! Always opt for fresh mozzarella cheese if possible; it will melt perfectly and give you that gooey texture. Look for mozzarella balls or slices that are firm but slightly soft when pressed. Avoid pre-shredded varieties as they often contain additives that can prevent melting.
How should I store leftover Cheesy Pepperoni Pizza Roll Ups?
After enjoying your delicious roll-ups, store any leftovers in an airtight container in the fridge for up to 3 days. To reheat, pop them in the oven at 375°F for about 8-10 minutes for that crispy texture, or use the microwave for a quicker solution, though they may not be as crispy.
Can I freeze Cheesy Pepperoni Pizza Roll Ups?
Yes, you can! For freezing, wrap each roll-up individually in plastic wrap, and then place them in a freezer bag to protect against freezer burn. These can be stored for up to 3 months. When you're ready to enjoy, let them thaw in the fridge overnight and then reheat in the oven at 375°F for about 10 minutes to regain that crispy exterior.
What can I do if my tortillas are tearing while rolling?
Very! If your tortillas are tearing, it could be due to them being too cold or not pliable enough. Try warming them briefly in the microwave for about 10-15 seconds to soften them up. Additionally, be gentle while rolling; start slowly and keep the filling snug inside to avoid any mishaps.
Are Cheesy Pepperoni Pizza Roll Ups safe for pets?
It's best to keep these roll-ups away from your furry friends. Mozzarella cheese and pepperoni can be high in sodium and fat, which isn't ideal for pets. Always consult with your vet before sharing human food with your animals.
Can I customize the ingredients for dietary needs?
Absolutely! These roll-ups are incredibly versatile. If you're looking to make them gluten-free, just swap out the low-carb tortillas for gluten-free alternatives. You can even replace mozzarella with dairy-free cheese for lactose intolerance, or include additional vegetables like spinach or mushrooms for added nutrients!
Delicious Cheesy Pepperoni Pizza Roll Ups for Quick Snacking
Equipment
- Oven
- Baking Sheet
- Parchment Paper
- Spoon or spatula
Ingredients
For the Filling
- 1 cup Mozzarella cheese shredded
- 4 tablespoons Marinara sauce divided, for spreading on tortillas
- 12 slices Pepperoni
For the Wrap
- 2 pieces Low-carb tortillas
For Finishing Touch
- 2 tablespoons Olive oil for brushing
Instructions
Preparation Steps
- Preheat your oven to 375°F (190°C).
- Lay the two low-carb tortillas flat on a clean surface.
- Spread 2 tablespoons of marinara sauce evenly onto each tortilla, leaving a ½-inch border.
- Sprinkle the mozzarella cheese evenly over the sauce.
- Gently arrange the pepperoni slices on top of the cheese.
- Starting at one end, carefully roll each tortilla tightly without tearing it.
- Brush the outside of each rolled tortilla generously with olive oil.
- Place the roll-ups seam-side down on a baking sheet lined with parchment paper.
- Bake in your preheated oven for 10-12 minutes, or until golden brown and bubbling.
- Allow the roll ups to cool slightly for about 2-3 minutes before slicing.