Recently, as I was tidying up my kitchen, a half-forgotten carton of mushrooms caught my eye, sparking a flavorful idea that whisked me back to blissful moments spent in bustling diners. It hit me: why not elevate those humble ingredients into a delicious plate of Fried Sliced Mushrooms? This recipe not only fulfills that craving for something crunchy and satisfying but also transforms mushrooms into a crowd-pleasing treat that pairs perfectly with creamy ranch dressing. Whether you’re entertaining guests or simply treating yourself, these crispy mushroom slices are a delightful escape from the monotony of takeout. Plus, they come together in just about 30 minutes, making them the perfect quick snack or appetizer. Curious about how to whip up this deliciousness? Let’s get frying!
Why Are Fried Sliced Mushrooms a Must-Try?
Versatile Delight: These fried sliced mushrooms are perfect as an appetizer, snack, or even a side dish, accommodating any occasion!
Crispy Texture: The panko breadcrumbs deliver an extra crunch, elevating your snacking experience beyond the usual chips.
Satisfyingly Easy: With a mere 30 minutes from start to finish, you can easily whip these up any time the craving strikes.
Flavor Boost: A delicious blend of garlic, onion, and paprika makes each bite burst with enticing flavors that will keep you coming back for more.
Crowd-Pleaser: Whether you’re having friends over or just enjoying a cozy night in, they are sure to impress—even those who say they don’t like mushrooms!
For more ideas on how to enjoy mushrooms in unique ways, check out our creamy mushroom pasta for a hearty main course. Enjoy the burst of flavor and texture with each bite as you dive into this tasty recipe!
Fried Sliced Mushrooms Ingredients
For the Coating
• Fresh mushrooms (button or cremini) – 1 pound, they add an earthy flavor and juicy texture in every crunchy bite.
• All-purpose flour – 1 cup, this is essential for creating a dry layer that helps the egg adhere.
• Breadcrumbs (preferably panko) – 1 cup, panko offers an extra crispy texture that’s hard to resist.
• Large eggs – 2, they serve as the perfect binding agent for the delicious coatings.
• Garlic powder – 1 teaspoon, this adds a subtle yet delightful depth of flavor to every slice.
• Onion powder – 1 teaspoon, enhancing the umami taste that compliments the mushrooms beautifully.
• Paprika – 1 teaspoon, this gives a lovely hint of warmth and color to your fried mushrooms.
• Salt and pepper – to taste, season to elevate the flavors of your crispy treat.
For Frying
• Oil (vegetable or canola) – Use enough to fully submerge the mushrooms, ensuring they get golden and crispy for that perfect frying experience.
For Serving
• Ranch dressing – A delightful dip that provides a creamy contrast, enhancing the flavors of your Fried Sliced Mushrooms.
Step‑by‑Step Instructions for Fried Sliced Mushrooms
Step 1: Prepare the Mushrooms
Start by cleaning 1 pound of fresh mushrooms, preferably button or cremini, with a damp cloth to remove dirt. Slice them evenly into ¼-inch thick pieces, arranging the slices on a plate or cutting board. This step is crucial for ensuring that the Fried Sliced Mushrooms cook evenly and get that lovely crispy texture.
Step 2: Set Up the Dredging Station
Create a dredging station by placing 1 cup of all-purpose flour in one bowl, and in a second bowl, beat 2 large eggs until smooth. In a third bowl, combine 1 cup of breadcrumbs (preferably panko), 1 teaspoon of garlic powder, 1 teaspoon of onion powder, and 1 teaspoon of paprika. This station will make the coating process easy and efficient as you get ready to fry those delicious mushroom slices.
Step 3: Coat the Mushroom Slices
Take each mushroom slice and dip it into the flour, shaking off the excess. Then, immerse it in the beaten eggs, allowing the excess egg to drip off. Next, press the coated mushroom into the breadcrumb mixture, ensuring it's evenly covered with the flavorful coating. Repeat this for all mushroom slices, preparing them for frying.
Step 4: Heat the Oil
In a large frying pan or deep fryer, heat enough vegetable or canola oil to fully submerge the mushroom slices. Aim for a temperature of about 350°F (175°C), which is ideal for achieving that golden, crispy finish. You can test the oil by dropping in a small piece of bread; if it bubbles up and browns quickly, the oil is ready for frying.
Step 5: Fry the Mushrooms
Carefully place the coated mushroom slices into the hot oil, working in batches to avoid overcrowding. Fry for about 3-4 minutes or until they turn golden brown and crispy. Keep an eye on them to ensure they don't burn, and use a slotted spoon to gently turn them as needed for even cooking.
Step 6: Drain Excess Oil
Once the Fried Sliced Mushrooms are beautifully golden, use a slotted spoon to transfer them to a plate lined with paper towels. This allows any excess oil to drain off, ensuring your fried mushrooms remain crispy. Repeat the frying process until all the mushroom slices are cooked, savoring the aroma wafting through your kitchen.
Step 7: Serve Immediately
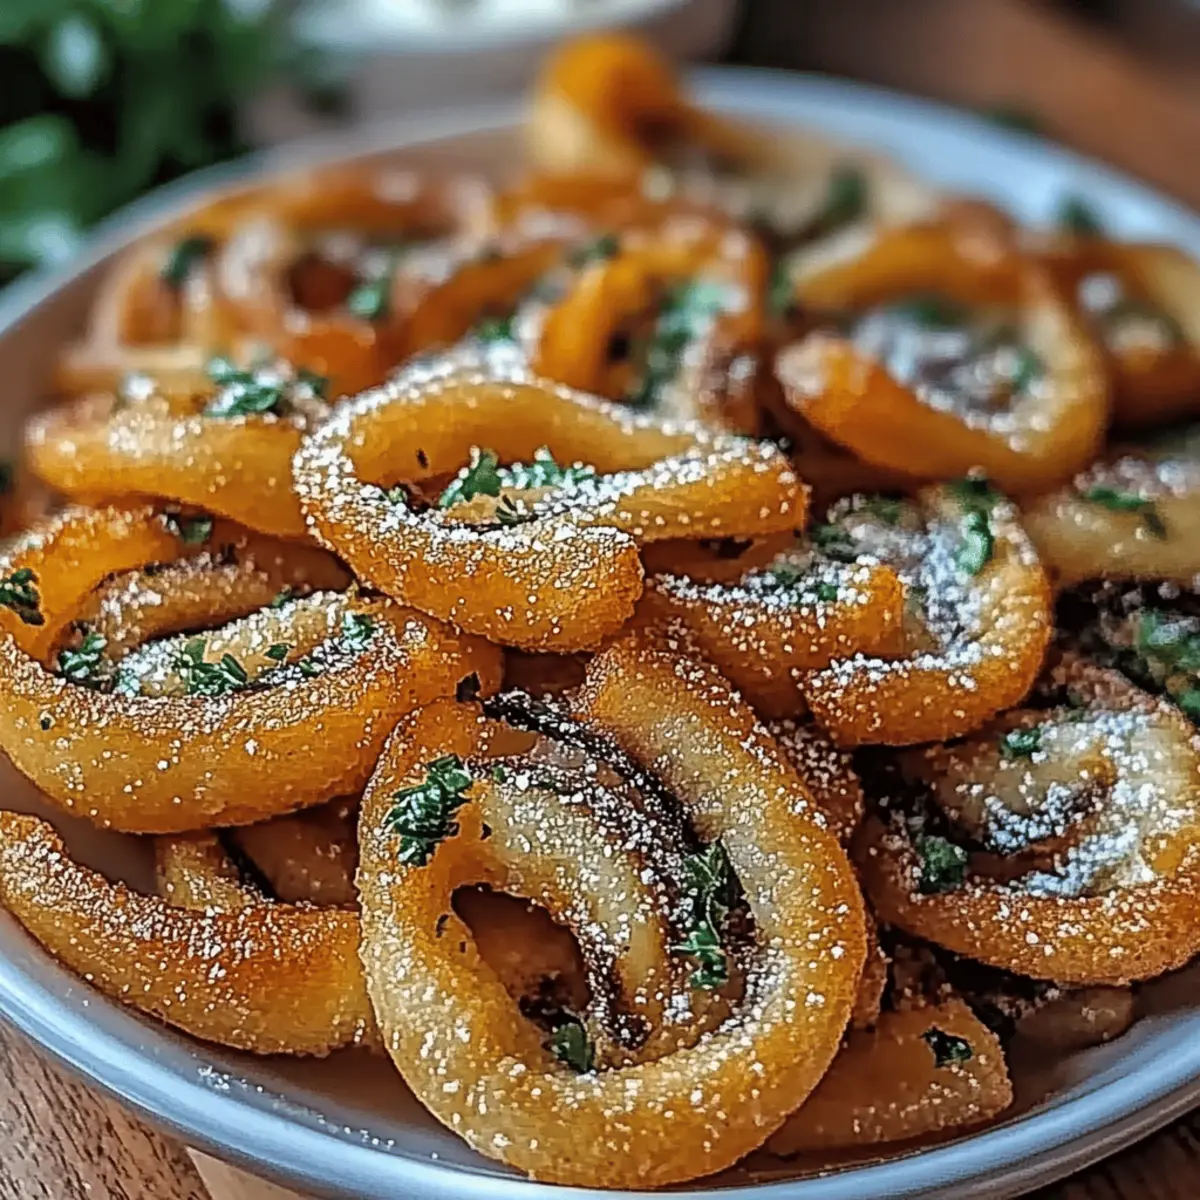
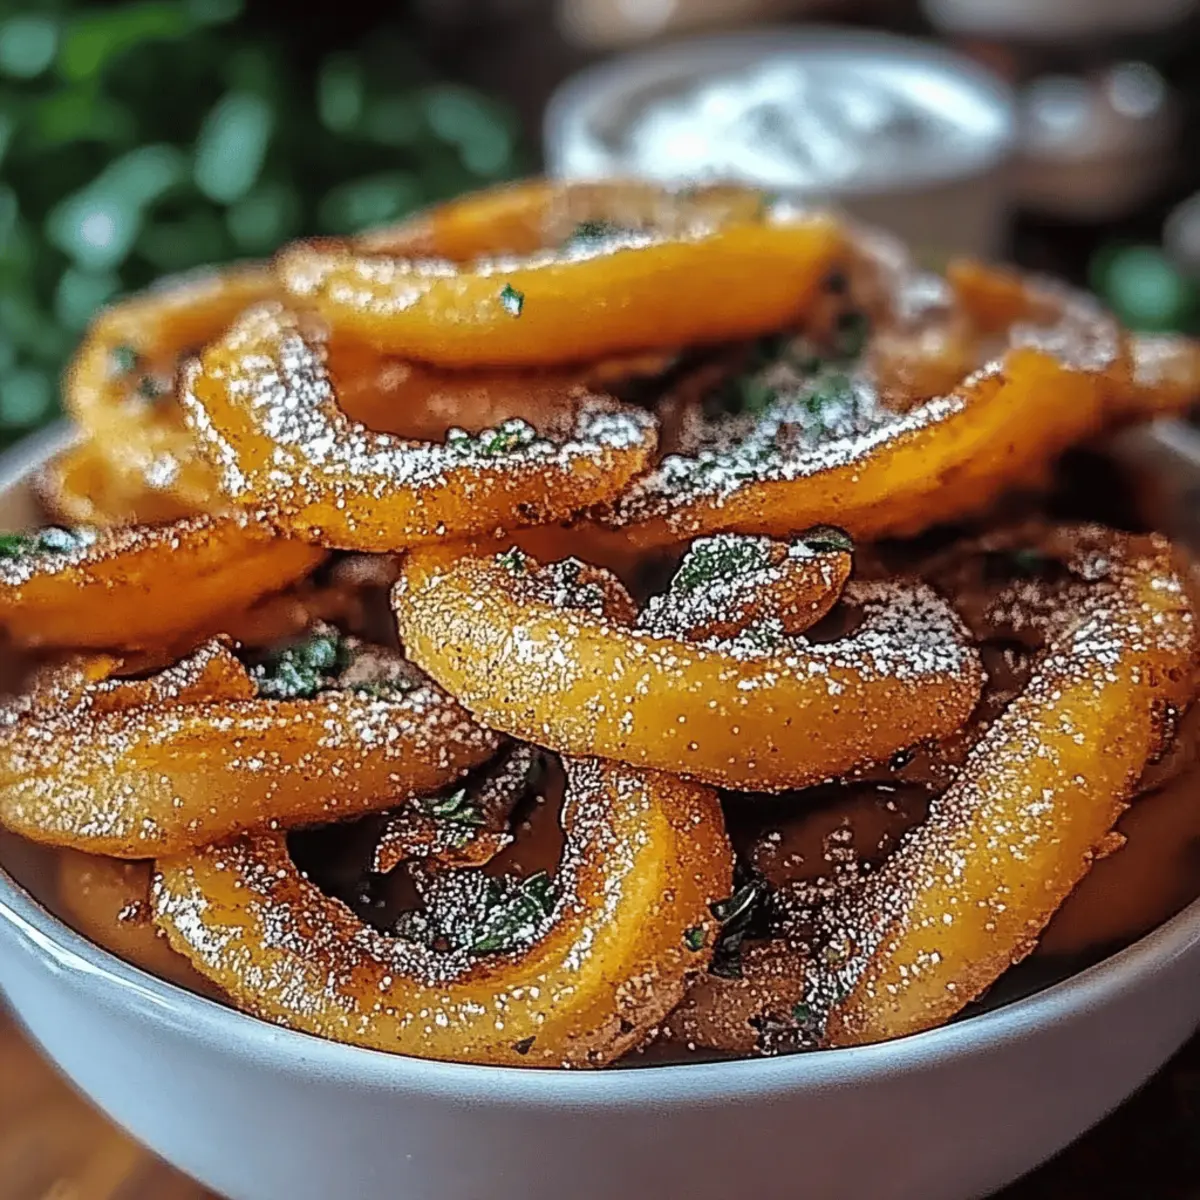
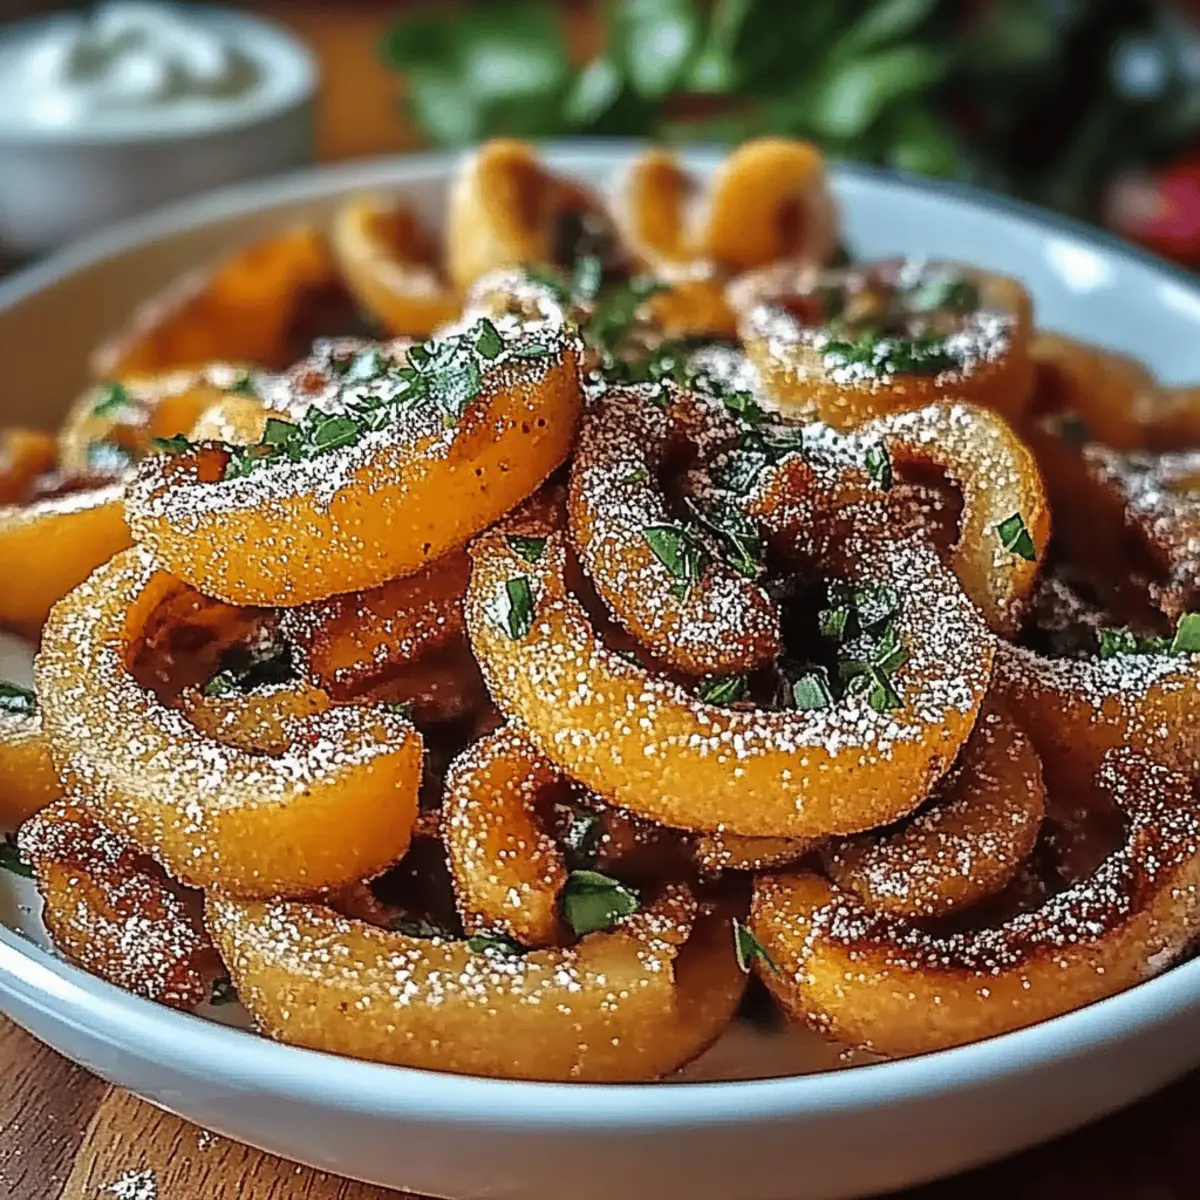
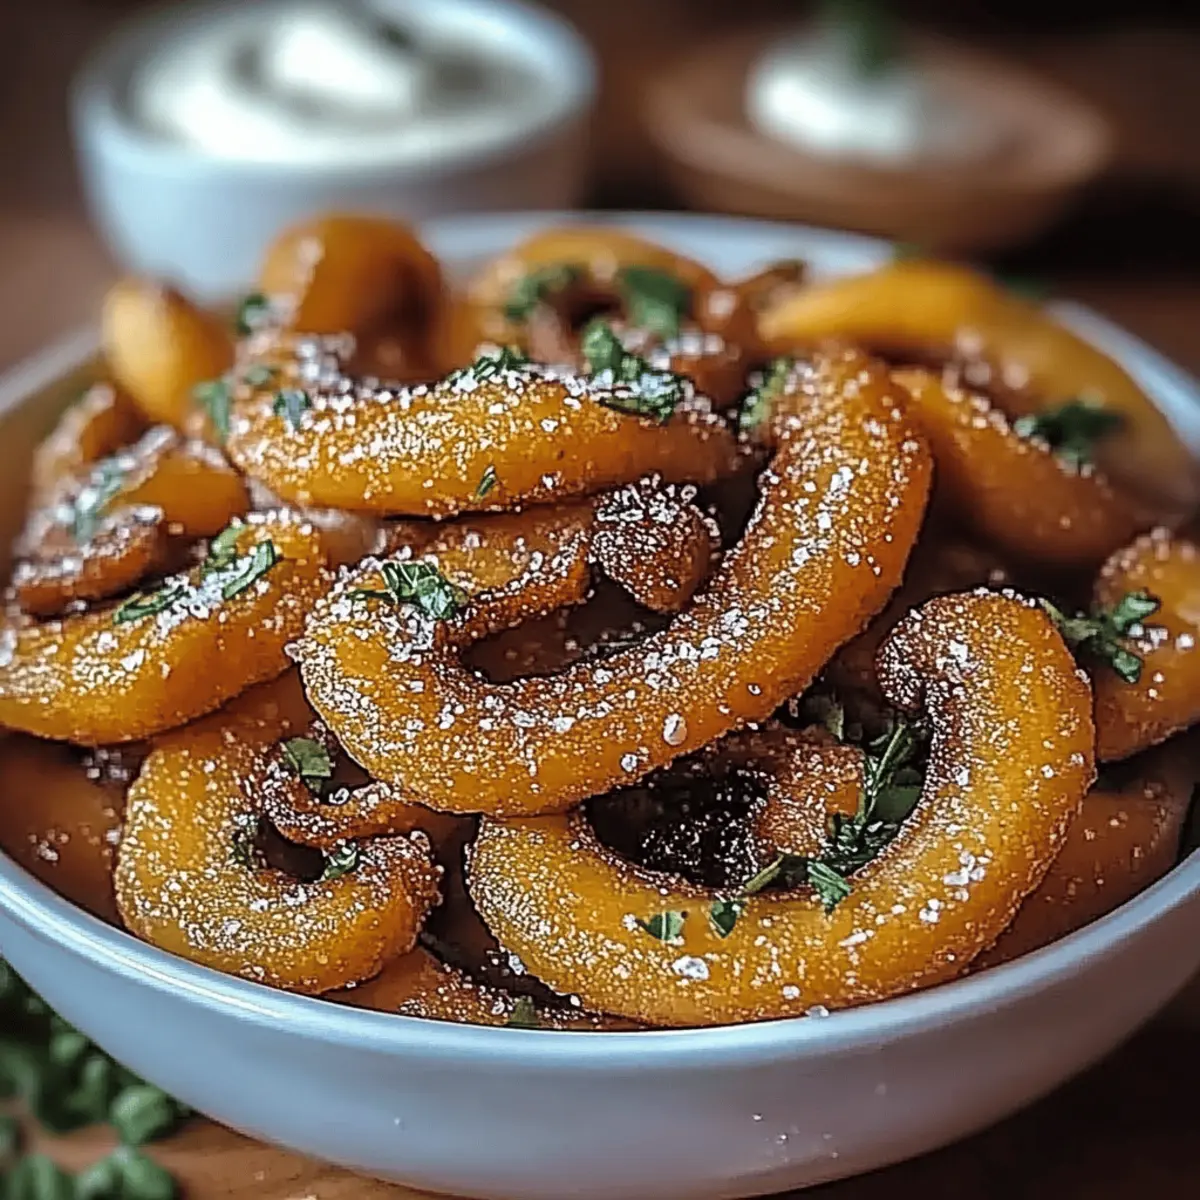
Serve your Fried Sliced Mushrooms while they're hot and crispy, pairing them with creamy ranch dressing for dipping. Arrange them on a beautiful platter, garnishing with fresh parsley for an added touch. Enjoy this delightful treat as an appetizer or snack, perfect for impressing family and friends!
Fried Sliced Mushrooms Variations & Substitutions
Feel free to get creative with this recipe and customize it to match your tastes and dietary needs!
- Gluten-Free: Substitute all-purpose flour with a gluten-free flour blend and use gluten-free breadcrumbs for a deliciously crispy option.
- Dairy-Free: Use plant-based milk instead of eggs for coating and enjoy with a dairy-free ranch dressing. You'll still satisfy that creamy craving!
- Spicy Kick: Add cayenne pepper to the breadcrumb mixture for an extra layer of heat or serve with a spicy dipping sauce to awaken your taste buds.
- Herb-Infused: Mix in dried herbs like thyme or oregano into your breadcrumbs for a fragrant flavor twist that elevates the mushrooms.
- Cheesy Flavor: Incorporate grated Parmesan cheese into the breadcrumb mixture, adding a savory nutty flavor that complements the mushrooms beautifully.
- Baked Version: For a healthier twist, bake the coated mushrooms at 400°F (200°C) until golden brown, flipping halfway through for an equally delightful crunch without the frying!
- Seasonal Twist: Experiment with seasonal spices like pumpkin spice in autumn or lemon zest in spring to give your fried mushrooms a festive flavor boost, perfect for seasonal gatherings.
These variations will not only enhance the flavors but also cater to various dining preferences. For more tasty ideas that incorporate mushrooms, check out our creamy mushroom pasta or try out some delicious mushroom risotto. Enjoy crafting your perfect plate!
Make Ahead Options
These Fried Sliced Mushrooms are perfect for meal prep enthusiasts looking to save time during busy weeknights! You can slice the mushrooms and set up your dredging station (flour, eggs, breadcrumb mixture) up to 24 hours in advance, refrigerating the sliced mushrooms in an airtight container to keep them fresh. This way, when you're ready to whip them up, simply coat the mushrooms and fry them according to the recipe directions. For the best flavor and texture, serve them immediately after frying, ensuring that they remain just as delicious and crispy as when freshly made. By preparing ahead, you’ll enjoy this delightful treat without the last-minute rush!
Expert Tips for Fried Sliced Mushrooms
Uniform Slices: Make sure to slice mushrooms evenly; this helps them cook uniformly and achieve that perfect crispy texture.
Dredging Order: Always follow the flour, egg, and breadcrumb order to get an optimal coating. Skipping steps can lead to soggy mushrooms!
Oil Temperature: Keep the oil at 350°F (175°C). Too hot can burn the coating before the mushrooms cook, while too cool can result in greasy fries.
Batch Frying: Fry in small batches to avoid overcrowding. This ensures crispy Fried Sliced Mushrooms and prevents temperature drops in the oil.
Draining Properly: After frying, place mushrooms on paper towels immediately to absorb any excess oil, maintaining their delightful crunchiness.
Storage Tips for Fried Sliced Mushrooms
Fridge: Store leftovers in an airtight container for up to 2-3 days, ensuring they maintain their flavor while in the refrigerator.
Freezer: For longer storage, freeze the fried mushrooms in a single layer on a baking sheet before transferring them to a freezer-safe bag. They’ll keep for up to 3 months.
Reheating: Reheat in a preheated oven at 375°F (190°C) for about 10-15 minutes to restore their crispy texture, avoiding sogginess.
Serving Up: Enjoy your fried sliced mushrooms fresh, but know that with these storage tips, you can savor them later, too!
What to Serve with Fried Sliced Mushrooms
Incorporating delightful pairings can transform crispy treats into a memorable meal experience.
-
Creamy Mashed Potatoes: This comfort food provides a rich and smooth contrast to the crunchy mushrooms, enhancing the overall dish.
-
Garlic Butter Pasta: The savory flavors of garlic butter pasta complement the crispy mushrooms beautifully, uniting textures in every bite. Try serving them together for a filling meal.
-
Fresh Salad: A light salad with mixed greens, cherry tomatoes, and a tangy vinaigrette adds a refreshing balance to the fried mushrooms, brightening up your plate.
-
Coleslaw: The crunchy, tangy elements of coleslaw provide a nice contrast to the fried slices and can add an exciting flavor kick.
-
Spicy Dipping Sauce: Try a spicy sriracha mayo or hot sauce to elevate the taste of your crispy mushrooms, adding a bold zing that tantalizes your taste buds.
-
Craft Beer: A light, citrusy craft beer pairs excellently with the earthiness of the mushrooms, enhancing their flavors and providing a refreshing drink option.
These pairings not only enhance the flavors of the Fried Sliced Mushrooms, but they also elevate your meal to a whole new level of deliciousness!
Fried Sliced Mushrooms Recipe FAQs
How do I choose the right mushrooms?
Absolutely! When selecting mushrooms for frying, look for fresh, firm specimens without dark spots or blemishes. Button and cremini mushrooms are excellent choices because they have a mild flavor and hold up well during frying. If possible, choose mushrooms that are heavy for their size, which indicates freshness and moisture.
How should I store leftovers?
To keep your Fried Sliced Mushrooms fresh, store any leftovers in an airtight container in the refrigerator for about 2-3 days. Make sure they cool completely before sealing to prevent moisture buildup, which can lead to sogginess.
Can I freeze Fried Sliced Mushrooms?
Very! To freeze your fried mushrooms, first, lay them out in a single layer on a baking sheet and freeze until solid—about 1-2 hours. Once frozen, transfer them to a freezer-safe bag. They can be stored for up to 3 months. When you're ready to enjoy them, simply reheat in a preheated oven at 375°F (190°C) for about 10-15 minutes to restore that delectable crisp.
What can I do if my coating doesn’t stick properly?
It’s not uncommon to encounter this! If your coating isn’t adhering well, make sure you’re following the correct dredging order: flour, egg, and then breadcrumbs. Ensure your mushrooms are dry before coating, as excess moisture can hinder the binding. If needed, you can add a little more egg to create a better adhesive or gently press the mushrooms into the breadcrumb mixture for better coverage.
Are Fried Sliced Mushrooms suitable for people with dietary restrictions?
While they’re generally safe for many diets, here’s what to consider: the traditional recipe contains eggs and flour, making it unsuitable for vegans or those with egg allergies. For a vegan version, you could use a flaxseed mixture as a binding agent instead of eggs and substitute the all-purpose flour with a gluten-free flour blend if gluten is a concern. Always check your ingredients for allergens, especially if serving to guests.
Crispy Fried Sliced Mushrooms That'll Wow Your Taste Buds
Equipment
- Frying pan
- Bowls for dredging
- Slotted spoon
- paper towels
Ingredients
For the Coating
- 1 pound Fresh mushrooms (button or cremini) they add an earthy flavor and juicy texture in every crunchy bite
- 1 cup All-purpose flour essential for creating a dry layer that helps the egg adhere
- 1 cup Breadcrumbs (preferably panko) offers an extra crispy texture that’s hard to resist
- 2 large Eggs serve as the perfect binding agent
- 1 teaspoon Garlic powder adds a subtle yet delightful depth of flavor
- 1 teaspoon Onion powder enhances the umami taste
- 1 teaspoon Paprika gives a lovely hint of warmth and color
- Salt and pepper to taste
For Frying
- Oil (vegetable or canola) Use enough to fully submerge the mushrooms
For Serving
- Ranch dressing a creamy contrast for the fried mushrooms
Instructions
Step-by-Step Instructions
- Start by cleaning 1 pound of fresh mushrooms and slice them evenly into ¼-inch thick pieces.
- Create a dredging station with all-purpose flour in one bowl, beaten eggs in another, and a mixture of breadcrumbs, garlic powder, onion powder, and paprika in a third bowl.
- Dip each mushroom slice into the flour, then the beaten eggs, and finally into the breadcrumb mixture.
- Heat enough oil in a large frying pan to fully submerge the mushroom slices to about 350°F (175°C).
- Carefully place the coated mushroom slices into the hot oil and fry for about 3-4 minutes until golden brown.
- Transfer the fried mushrooms to a plate lined with paper towels to drain excess oil.
- Serve immediately with creamy ranch dressing for dipping.