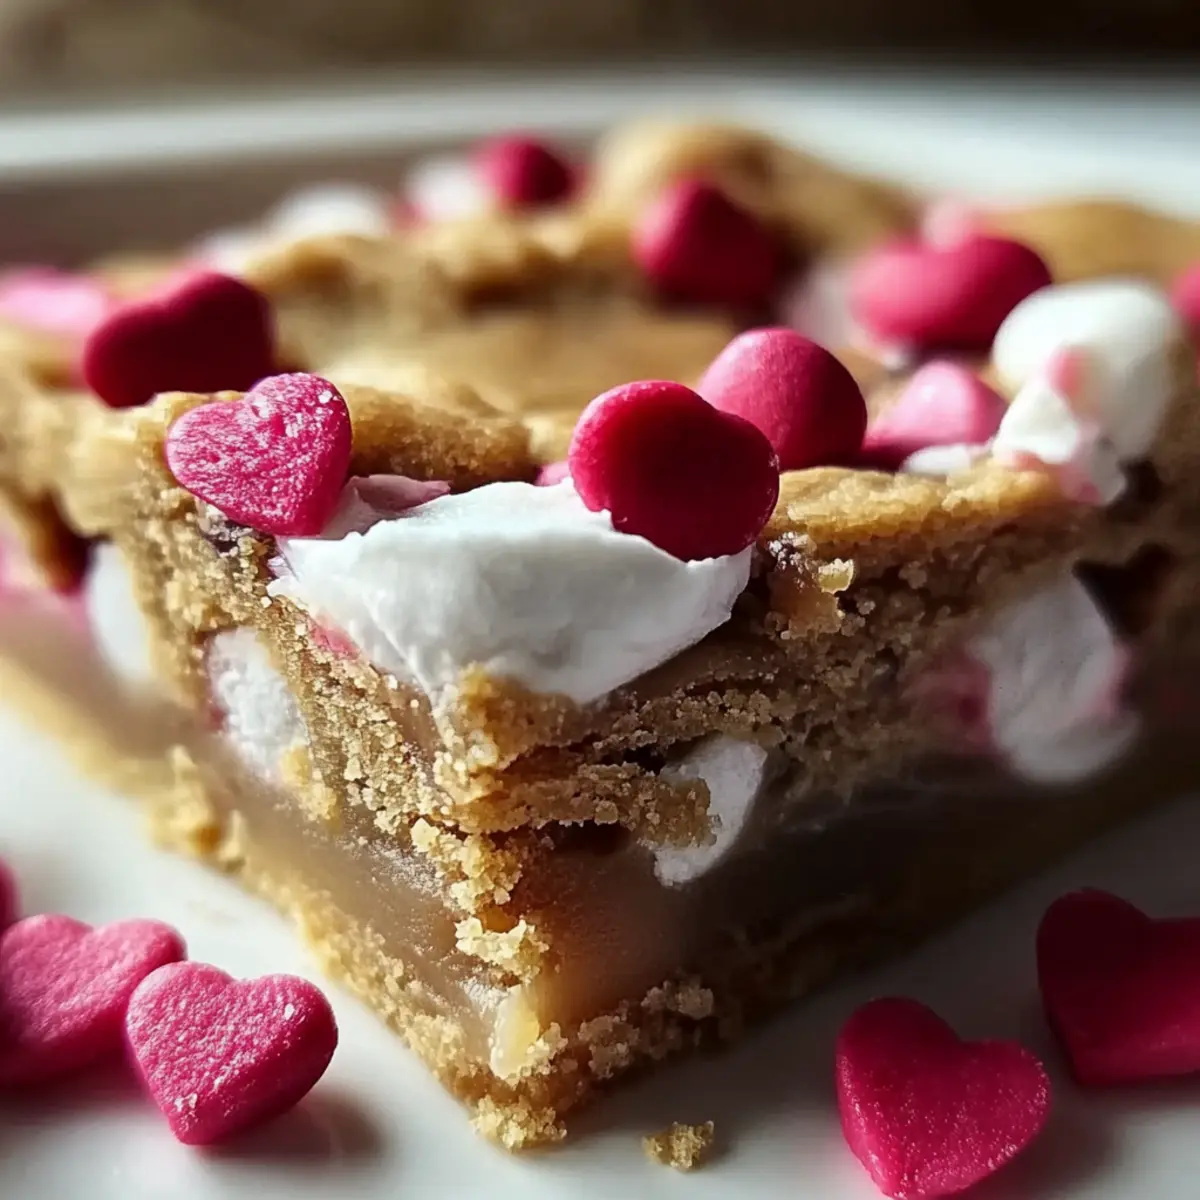
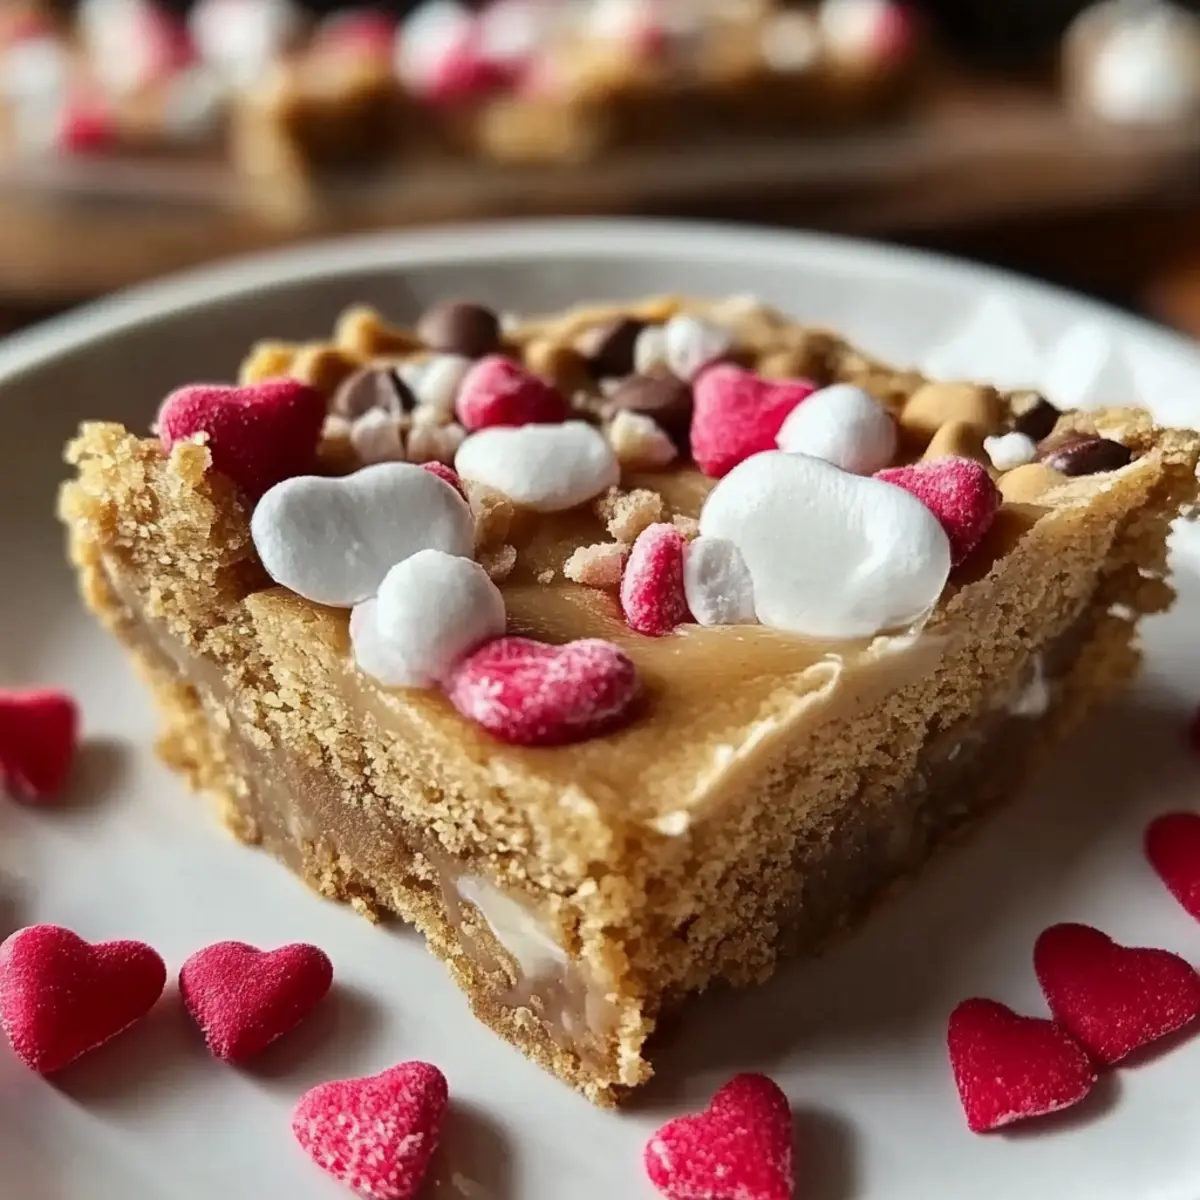
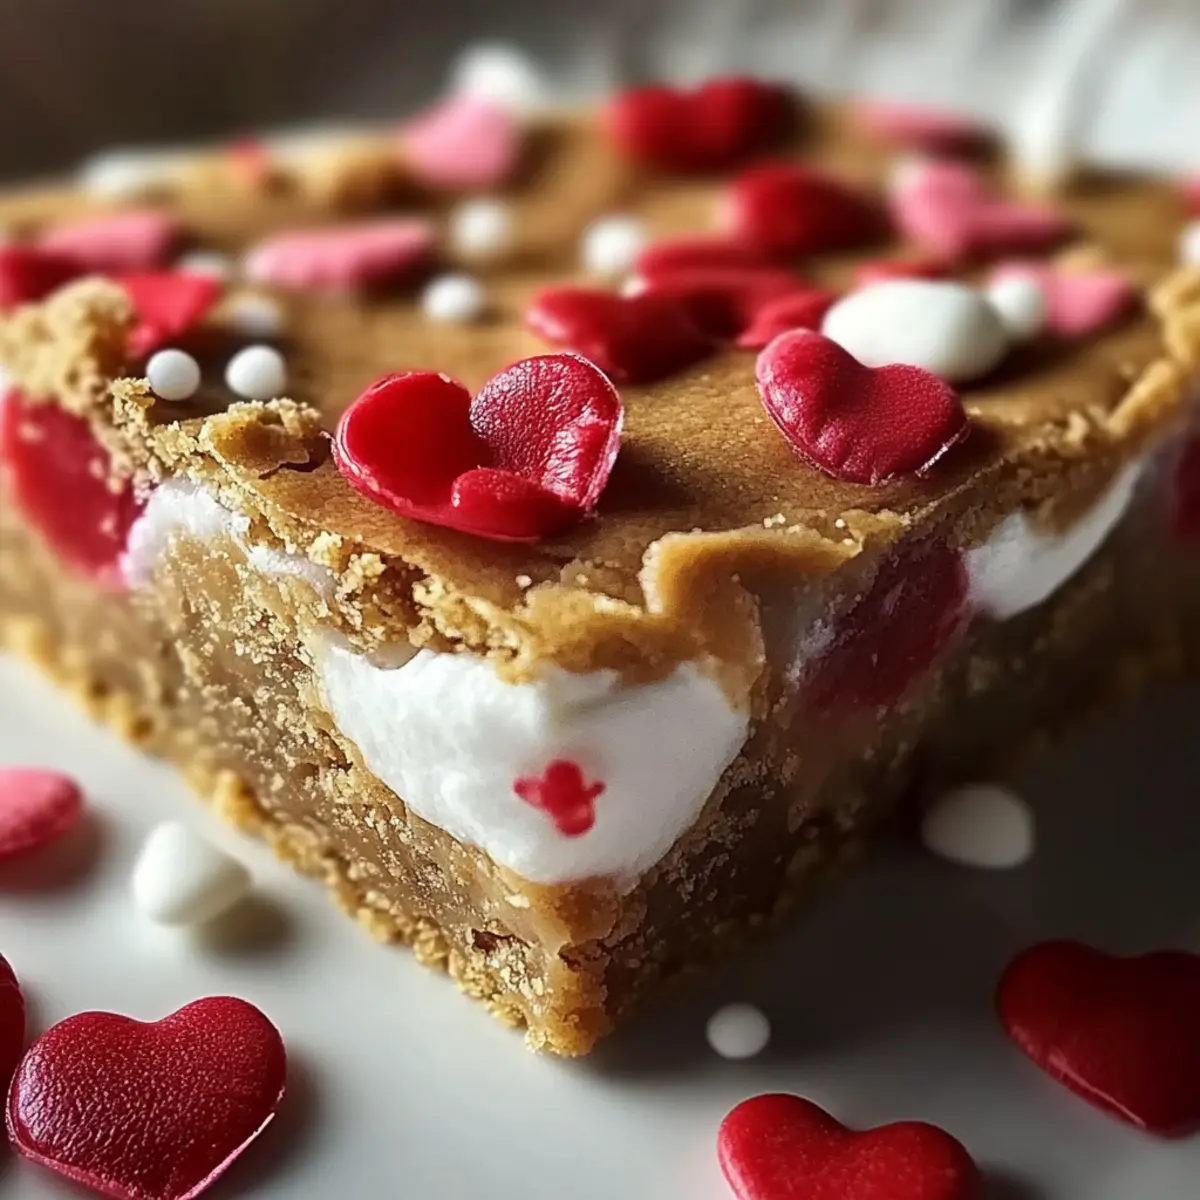
As I walked through the aisles adorned with pinks and reds, I stumbled upon a treasure trove of Valentine-themed treats and trinkets that instantly sparked my creativity in the kitchen. That's when the idea for these delightful Valentine Peanut Butter Cookie Bars came to life! Imagine impressing friends and family with a dessert that's not just quick to whip up but a guaranteed crowd-pleaser. These bars combine the rich, nutty flavor of creamy peanut butter with gooey chocolate and festive M&M’s, making them the perfect addition to any celebration or simply a cozy night in. Plus, they’re easy to make ahead and store—ideal for when that sweet craving strikes or when you need a last-minute treat for a gathering. Are you ready to sweeten your day with these irresistible bars that are sure to steal hearts?
Why are Peanut Butter Cookie Bars a Must-Try?
Decadently Delicious: These bars are a fusion of creamy peanut butter, rich chocolate, and colorful M&M’s, ensuring every bite is a treat for the taste buds.
Quick and Easy: With a prep time of only 20 minutes, these bars are perfect for busy cooks wanting something scrumptious without the fuss.
Versatile Treat: Great for Valentine’s Day, parties, or just because—you'll find any excuse to whip up these delightful bars!
Crowd-Pleaser: Share them at gatherings and watch them disappear; their vibrant colors and mouth-watering aroma are hard to resist!
Make-Ahead Convenience: Bake and store these treats for days of happiness—or whip some up just in time for an impromptu get-together. You might also enjoy trying out these easy homemade treats for even more delicious options!
Peanut Butter Cookie Bars Ingredients
Discover all the delightful components that make these Peanut Butter Cookie Bars the perfect treat!
For the Base
• Unsalted butter – ½ cup melted adds richness.
• Creamy peanut butter – ¾ cup ensures a smooth texture; avoid natural for best results.
• Light brown sugar – 1 cup packed offers depth and moisture.
• Granulated sugar – ¼ cup adds sweetness and lightness.
• Large eggs – 2 at room temperature help bind and create a tender crumb.
• Pure vanilla extract – 1 ½ teaspoons enhances the overall flavor.
For the Dry Mix
• All-purpose flour – 1 ¼ cups, spooned and leveled, is essential for structure.
• Baking powder – ½ teaspoon gives a light lift to the bars.
• Baking soda – ¼ teaspoon helps them rise perfectly.
• Fine sea salt – ½ teaspoon balances sweetness and enhances flavors.
For the Chocolatey Goodness
• Semi-sweet chocolate chips – 1 cup provides rich chocolatey chunks.
• White chocolate chips – ½ cup adds sweetness and creaminess.
For the Festive Touch
• Valentine-colored M&M’s – ¾ to 1 cup are a playful and colorful addition.
• Valentine sprinkles – 2 tablespoons make these treats extra special (optional).
• Flaky sea salt – for sprinkling on top enhances every sweet bite (optional).
For the Drizzle
• White chocolate chips – ½ cup for optional drizzling adds a creamy finish.
• Neutral oil – 1 teaspoon keeps the drizzle smooth and glossy.
With these ingredients, you’re on your way to creating a smooth, luscious batch of Peanut Butter Cookie Bars that will melt hearts and create memories!
Step‑by‑Step Instructions for Peanut Butter Cookie Bars
Step 1: Prepare the Pan
Start by lightly greasing a 9 x 13 inch baking pan with butter or nonstick spray. Then, line the bottom and long sides of the pan with parchment paper, allowing some overhang; this will make lifting out the Peanut Butter Cookie Bars much easier later.
Step 2: Preheat the Oven
Preheat your oven to 350°F (175°C) and position the rack in the center. This temperature is perfect for baking your bars evenly, giving them that delightful golden edge while keeping the center soft.
Step 3: Combine the Wet Ingredients
In a large mixing bowl, whisk together the melted butter and creamy peanut butter until the mixture is smooth and well combined. Next, add both sugars, continuing to whisk until the mixture becomes glossy. Incorporate the eggs one at a time, whisking after each addition, then stir in the vanilla extract for that extra layer of flavor.
Step 4: Mix the Dry Ingredients
In a separate bowl, whisk together the all-purpose flour, baking powder, baking soda, and salt. This step is crucial for ensuring all the dry ingredients are evenly distributed and ready to create the perfect texture in your Peanut Butter Cookie Bars.
Step 5: Combine Wet and Dry
Gently add the dry mixture to the wet mixture and fold until just combined, taking care not to overmix. The goal is to create a thick batter that combines all the flavors while retaining a little texture, so you’re just one step closer to those delicious Peanut Butter Cookie Bars.
Step 6: Fold in the Chocolate
Add both the semi-sweet and white chocolate chips to the batter, folding them in until they are evenly distributed throughout. This will infuse your bars with delightful pockets of gooey chocolate goodness, making every bite a treat to remember.
Step 7: Press the Dough into the Pan
Scoop the dough into the prepared baking pan and press it firmly into the corners using a spatula or your hands. Make sure the surface is flat and even, which will help your Peanut Butter Cookie Bars bake uniformly.
Step 8: Add the Valentine Candies and Sprinkles
Take about half to two-thirds of the Valentine-colored M&M’s and gently press them into the surface of the dough. For an extra festive touch, sprinkle with Valentine sprinkles to make these treats even more inviting and vibrant.
Step 9: Bake
Place the pan in the preheated oven and bake for 18 to 24 minutes. Start checking at the 18-minute mark; the edges should look golden, while the center may still jiggle slightly. This ensures a perfectly chewy texture once cooled.
Step 10: Add Remaining Candies
Immediately after removing the pan from the oven, press any reserved M&M’s into the bare spots. This will ensure those colorful treats are front and center, making your Peanut Butter Cookie Bars both charming and delicious.
Step 11: Cool Completely
Allow the bars to cool in the pan for at least 1 to 1½ hours. This step is essential for the bars to firm up; once cooled, use the parchment overhang to lift them out of the pan for easy slicing.
Step 12: Optional White Chocolate Drizzle
For an elegant finish, melt the additional white chocolate chips with the neutral oil in the microwave until smooth. Drizzle this mixture over the cooled bars, adding extra sprinkles while the chocolate is still warm to create a beautiful presentation.
Step 13: Slice and Serve
Once your Peanut Butter Cookie Bars are completely cool, slice them into squares or rectangles, wiping the knife between cuts for clean edges. This will keep them looking as delightful as they taste.
Step 14: Storage
Store any leftovers in an airtight container at room temperature for up to 3–4 days, or refrigerate for up to a week. For longer storage, freeze them for up to 2 months—perfect for when a craving strikes!
What to Serve with Valentine Peanut Butter Cookie Bars
Satisfy your sweet tooth and elevate your dessert table with these delightful pairings that bring out the best in every bite.
- Fresh Berries: Juicy strawberries or raspberries add a refreshing contrast to the rich, nutty sweetness of the bars.
- Vanilla Ice Cream: A scoop of velvety vanilla ice cream pairs beautifully, melting into the warm, gooey cookie bars for every sweet tooth.
- Chocolate Milkshake: Creamy and chocolatey, this indulgent drink is a fun, nostalgic complement to the bars that'll take you back to childhood memories.
- Coffee: A strong cup of brewed coffee balances the sweetness, enhancing the flavors while adding a sophisticated touch to your dessert experience.
- Peanut Butter Cup Parfaits: Layered with whipped cream and crushed peanut butter cups, these desserts echo the bars’ flavor, forging a delicious harmony.
- Milk: Classic and comforting, a glass of cold milk is the perfect companion, cutting through the richness and keeping it all wonderfully simple.
- Whipped Cream: Light and airy, a dollop of homemade whipped cream adds a luscious texture that complements the dense bars seamlessly.
- Sea Salt Caramel Sauce: Drizzle this over the bars for an extra hit of flavor and a sweet-salty contrast that will make hearts race.
Expert Tips for Peanut Butter Cookie Bars
Perfect Consistency: Make sure your butter is slightly cooled before mixing; hot butter can alter the texture and make your bars oily.
Room Temperature Eggs: Always use eggs at room temperature; they incorporate better for a smoother batter, ensuring consistent baking.
Don’t Overmix: Gently fold dry ingredients into the wet for just the right texture—overmixing can lead to dense bars instead of soft, chewy Peanut Butter Cookie Bars.
Check for Doneness: Keep an eye on your bars while baking; a slight jiggle in the center indicates they’re perfectly baked. Overbaking can result in dry bars.
Creative Toppings: Feel free to get creative with mix-ins like nuts or cookies pieces for some added crunch and flavor variation!
Peanut Butter Cookie Bars Variations
Feel free to get creative and customize your Peanut Butter Cookie Bars with these fun twists that will elevate the flavors and textures!
-
Nutty Addition: Toss in ½ cup of chopped walnuts or pecans for a delightful crunch. The combination of creamy peanut butter and crunchy nuts is simply heavenly!
-
Chocolate Lovers: Swap out semi-sweet chocolate chips for dark chocolate chips. This deeper chocolate flavor pairs perfectly with the sweetness of the bars and creates an indulgent treat.
-
Dairy-Free: Use a dairy-free butter substitute and enjoy your bars without dairy. You won’t lose the rich flavor, and they’ll still be incredibly tasty!
-
Sugar-Free: Replace the sugars with your favorite sugar substitute while keeping the same ratios. Enjoy the deliciousness guilt-free and share with friends who might be watching their sugar intake!
-
Spicy Kick: Add ½ teaspoon of cinnamon or a pinch of cayenne pepper to the batter for a warm spice or heat. It adds an unexpected yet delightful layer to your cookie bars!
-
Fruity Twist: Stir in ½ cup of mini marshmallows or dried cranberries for a fruity surprise in every bite. The chewy texture complements the creamy peanut butter beautifully.
-
Holiday Flair: Change the M&M’s for seasonal candy like pastel candies for Easter or white and blue candies for a winter treat. It’s a lovely way to celebrate year-round!
-
Gluten-Free Option: Substitute all-purpose flour with a 1:1 gluten-free flour mix. It ensures everyone can enjoy these sweet delights, regardless of their dietary needs!
Feel free to explore these variations and make these Peanut Butter Cookie Bars your own! You may also love trying out these easy homemade treats for even more scrumptious options!
Make Ahead Options
These Peanut Butter Cookie Bars are perfect for meal prep enthusiasts! You can prepare the dough up to 24 hours in advance by mixing all the wet and dry ingredients together, then refrigerating the combined mixture in an airtight container. This helps maintain the bars' texture and flavor. When you're ready to bake, simply press the chilled dough into the prepared pan, add the M&M’s, and bake as directed. For optimal freshness, you can store the baked bars in an airtight container at room temperature for up to 3-4 days or refrigerate them for even longer-lasting enjoyment. This way, you’ll have a delicious treat ready to serve at a moment's notice, making busy weeknights a little sweeter!
Storage Tips for Peanut Butter Cookie Bars
Room Temperature: Store your Peanut Butter Cookie Bars in an airtight container at room temperature for up to 3–4 days to keep them soft and fresh.
Fridge: For longer freshness, refrigerate the bars for up to a week; simply bring them back to room temperature before serving for the best taste.
Freezer: To freeze, wrap the bars tightly in plastic wrap and place them in a freezer-safe container for up to 2 months. Thaw in the fridge before enjoying.
Reheating: If you like them warm, pop the bars in the microwave for a few seconds to bring back their gooey goodness!

Peanut Butter Cookie Bars Recipe FAQs
How do I choose the right peanut butter for this recipe?
Absolutely! For the best results, go for creamy peanut butter that is not labeled as "natural." Natural peanut butter tends to separate and can affect the texture of your bars, making them less creamy. Look for a brand where the oils are mixed in well, as this will provide a smooth and consistent batter.
What is the best way to store leftover Peanut Butter Cookie Bars?
To keep your Peanut Butter Cookie Bars fresh and delicious, store them in an airtight container at room temperature for up to 3–4 days. If you'd like to preserve them for longer, stick them in the fridge where they'll stay tasty for up to a week. Just remember to allow them to come back to room temperature before digging in for the best experience!
Can I freeze Peanut Butter Cookie Bars?
Of course! Freezing these bars is super easy. First, wrap each bar tightly in plastic wrap and then place them in a freezer-safe container or resealable bag. They can be frozen for up to 2 months. When you're ready to indulge, simply thaw them in the fridge overnight before enjoying. For a quick fix, a few seconds in the microwave can make them gooey and delightful again!
What if my Peanut Butter Cookie Bars turn out too dry?
Very! If you find that your bars are dry, it could be due to overbaking. Aim for that slight jiggle in the middle when baking; this ensures a soft texture. If they are already baked, try warming them slightly in the microwave with a damp paper towel for added moisture. Next time, keep a close eye on the timer—every oven is different!
Are Peanut Butter Cookie Bars safe for dog consumption?
It's best to avoid giving your beloved pooch any Peanut Butter Cookie Bars. While peanut butter itself is safe in small amounts for dogs, the added sugars, chocolate, and candies can be harmful. Instead, consider dog-friendly treats you can whip up for your furry friend, ensuring they get their own special snack without the risks!
Can I substitute ingredients for dietary restrictions?
Absolutely! If you need a gluten-free option, you can substitute all-purpose flour with a 1:1 gluten-free flour blend. For a dairy-free version, use a plant-based butter and swap out the chocolate chips for dairy-free varieties. Plus, if you're looking to reduce sugar, you might try lighter sweeteners like maple syrup, but adjust the wet ingredients accordingly. The more the merrier when it comes to making these Peanut Butter Cookie Bars suitable for everyone!
Deliciously Decadent Peanut Butter Cookie Bars to Love
Equipment
- 9 x 13 inch baking pan
- Mixing bowl
- Whisk
- spatula
Ingredients
For the Base
- ½ cup unsalted butter melted adds richness.
- ¾ cup creamy peanut butter ensures a smooth texture; avoid natural for best results.
- 1 cup light brown sugar packed offers depth and moisture.
- ¼ cup granulated sugar adds sweetness and lightness.
- 2 large eggs at room temperature help bind and create a tender crumb.
- 1 ½ teaspoons pure vanilla extract enhances the overall flavor.
For the Dry Mix
- 1 ¼ cups all-purpose flour spooned and leveled, essential for structure.
- ½ teaspoon baking powder gives a light lift to the bars.
- ¼ teaspoon baking soda helps them rise perfectly.
- ½ teaspoon fine sea salt balances sweetness and enhances flavors.
For the Chocolatey Goodness
- 1 cup semi-sweet chocolate chips provides rich chocolatey chunks.
- ½ cup white chocolate chips adds sweetness and creaminess.
For the Festive Touch
- ¾ to 1 cup Valentine-colored M&M’s a playful and colorful addition.
- 2 tablespoons Valentine sprinkles optional to make these treats extra special.
- Flaky sea salt for sprinkling on top enhances every sweet bite (optional).
For the Drizzle
- ½ cup white chocolate chips for optional drizzling adds a creamy finish.
- 1 teaspoon neutral oil keeps the drizzle smooth and glossy.
Instructions
Step-by-Step Instructions
- Start by lightly greasing a 9 x 13 inch baking pan with butter or nonstick spray. Then, line the bottom and long sides of the pan with parchment paper, allowing some overhang; this will make lifting out the Peanut Butter Cookie Bars much easier later.
- Preheat your oven to 350°F (175°C) and position the rack in the center.
- In a large mixing bowl, whisk together the melted butter and creamy peanut butter until the mixture is smooth and well combined. Add both sugars and whisk until glossy. Incorporate the eggs one at a time, then stir in the vanilla extract.
- In a separate bowl, whisk together the all-purpose flour, baking powder, baking soda, and salt.
- Gently add the dry mixture to the wet mixture and fold until just combined.
- Add both semi-sweet and white chocolate chips to the batter, folding until evenly distributed.
- Scoop the dough into the prepared baking pan and press it firmly into the corners.
- Gently press half to two-thirds of the Valentine-colored M&M’s into the surface of the dough and sprinkle with Valentine sprinkles.
- Place the pan in the preheated oven and bake for 18 to 24 minutes.
- Immediately after removing the pan from the oven, press any reserved M&M’s into the bare spots.
- Allow the bars to cool in the pan for at least 1 to 1½ hours.
- For an elegant finish, melt additional white chocolate chips with neutral oil, then drizzle over the cooled bars.
- Once the bars are completely cool, slice them into squares or rectangles.
- Store any leftovers in an airtight container at room temperature for up to 3–4 days, or refrigerate for up to a week.