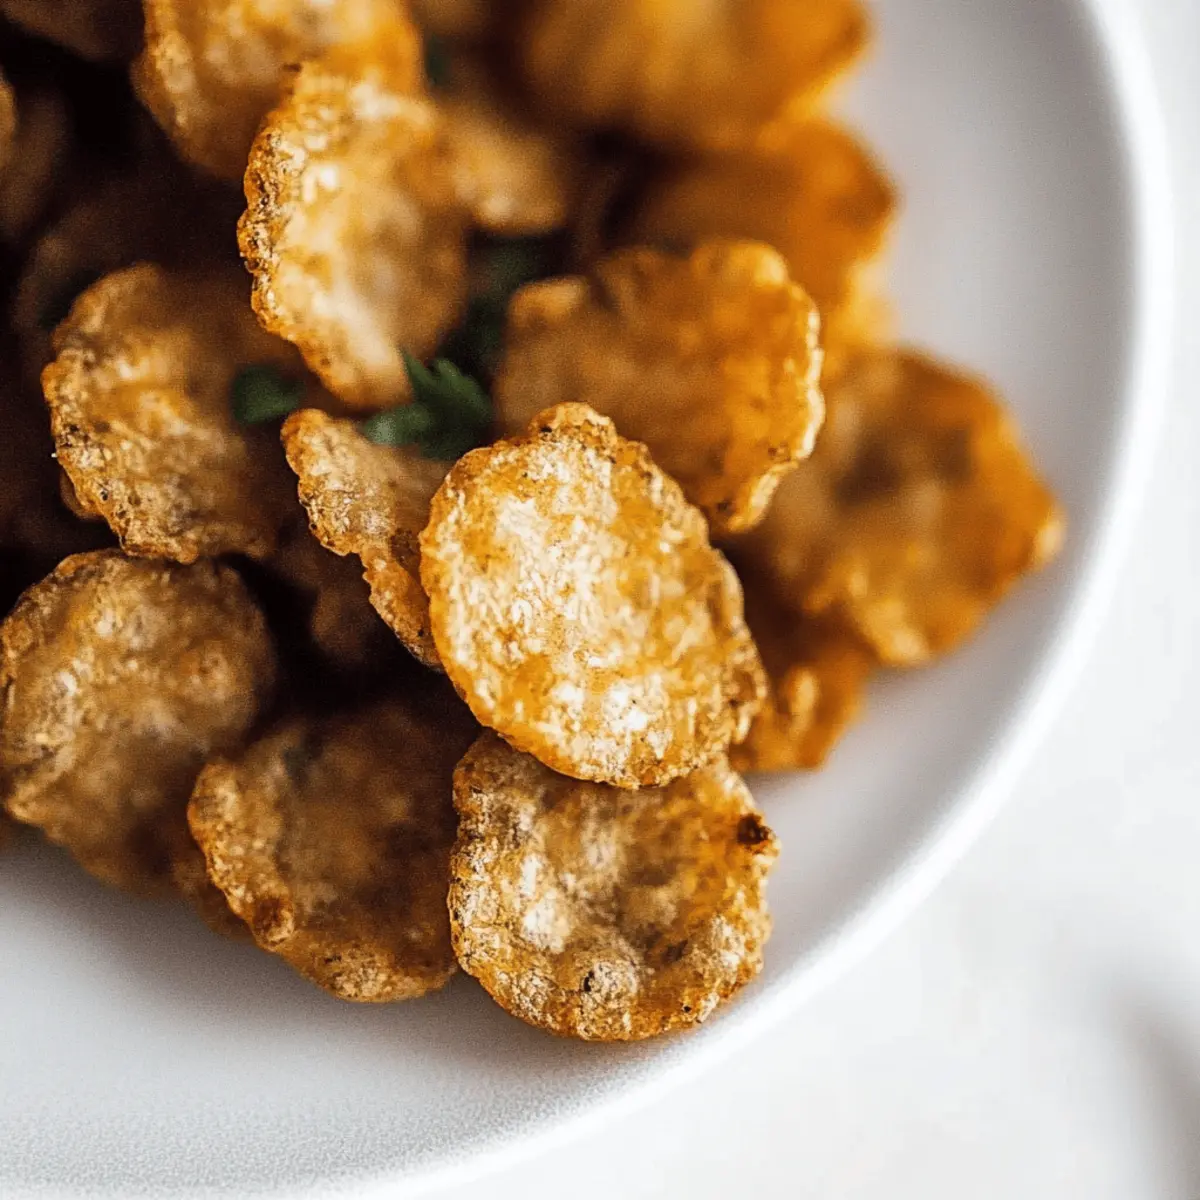
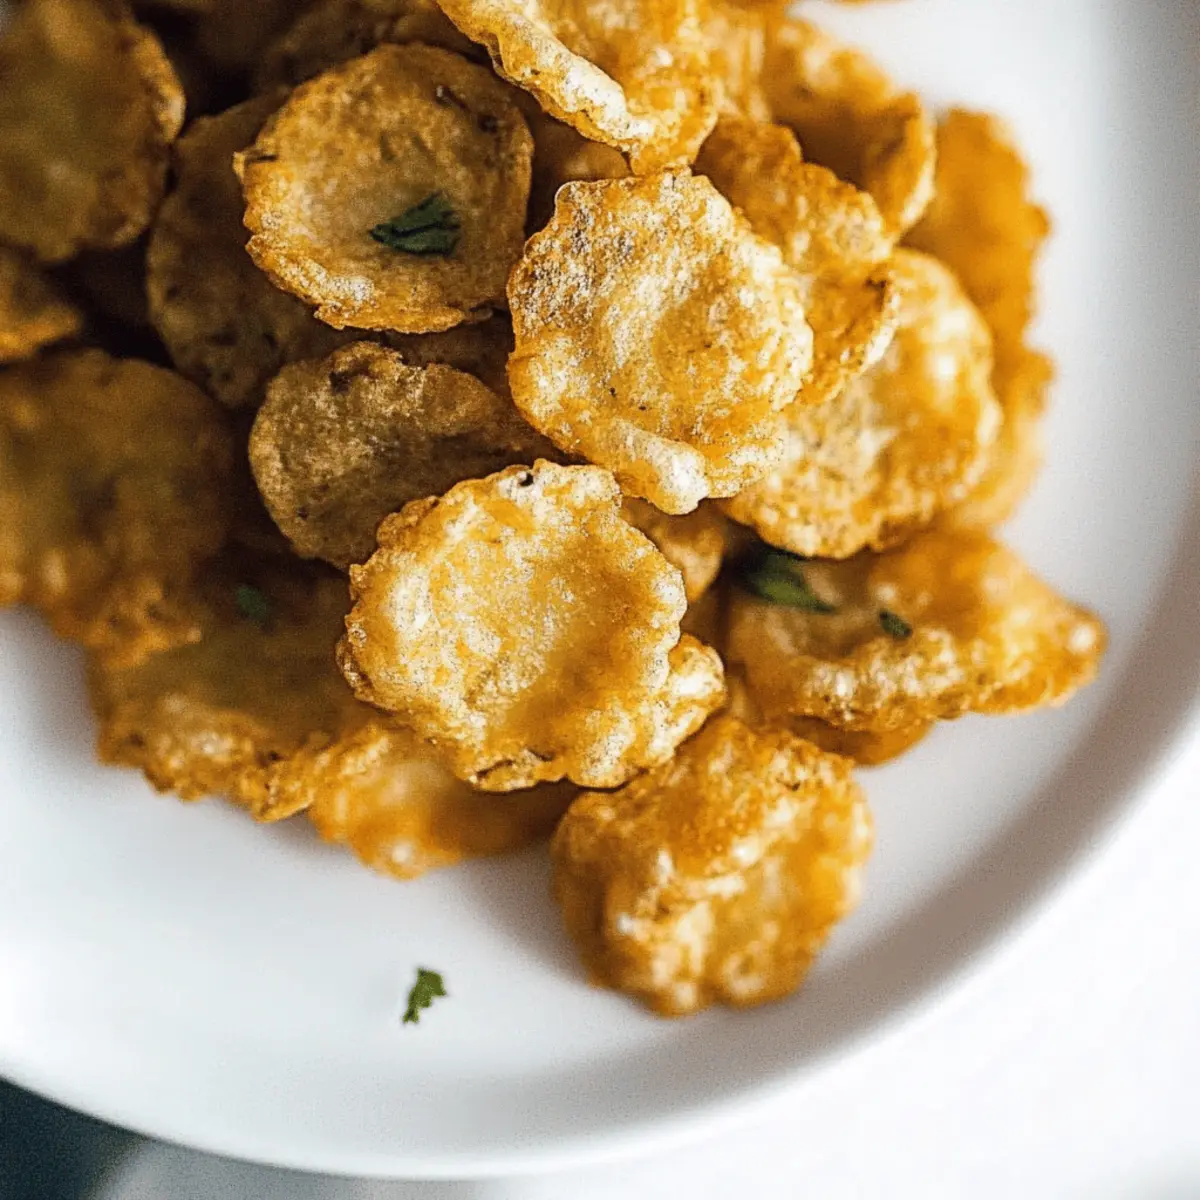
You won’t believe how a simple jar of pickles can transform into a crispy, addictive snack that everyone will love! Welcome to my Fried Pickles recipe, where the savory crunch meets that tangy burst of flavor in every bite. What’s even better is that this dish is not only a fantastic crowd-pleaser but also incredibly easy to whip up—perfect for those cozy evenings when you want to treat yourself without the fuss. Just imagine sinking your teeth into hot, golden-brown pickles paired with tangy ranch dressing. Ready to impress your friends and family? Let’s dive into the irresistible world of homemade fried pickles and see just how quick and rewarding this delectable journey can be!
Why are Fried Pickles a Must-Try?
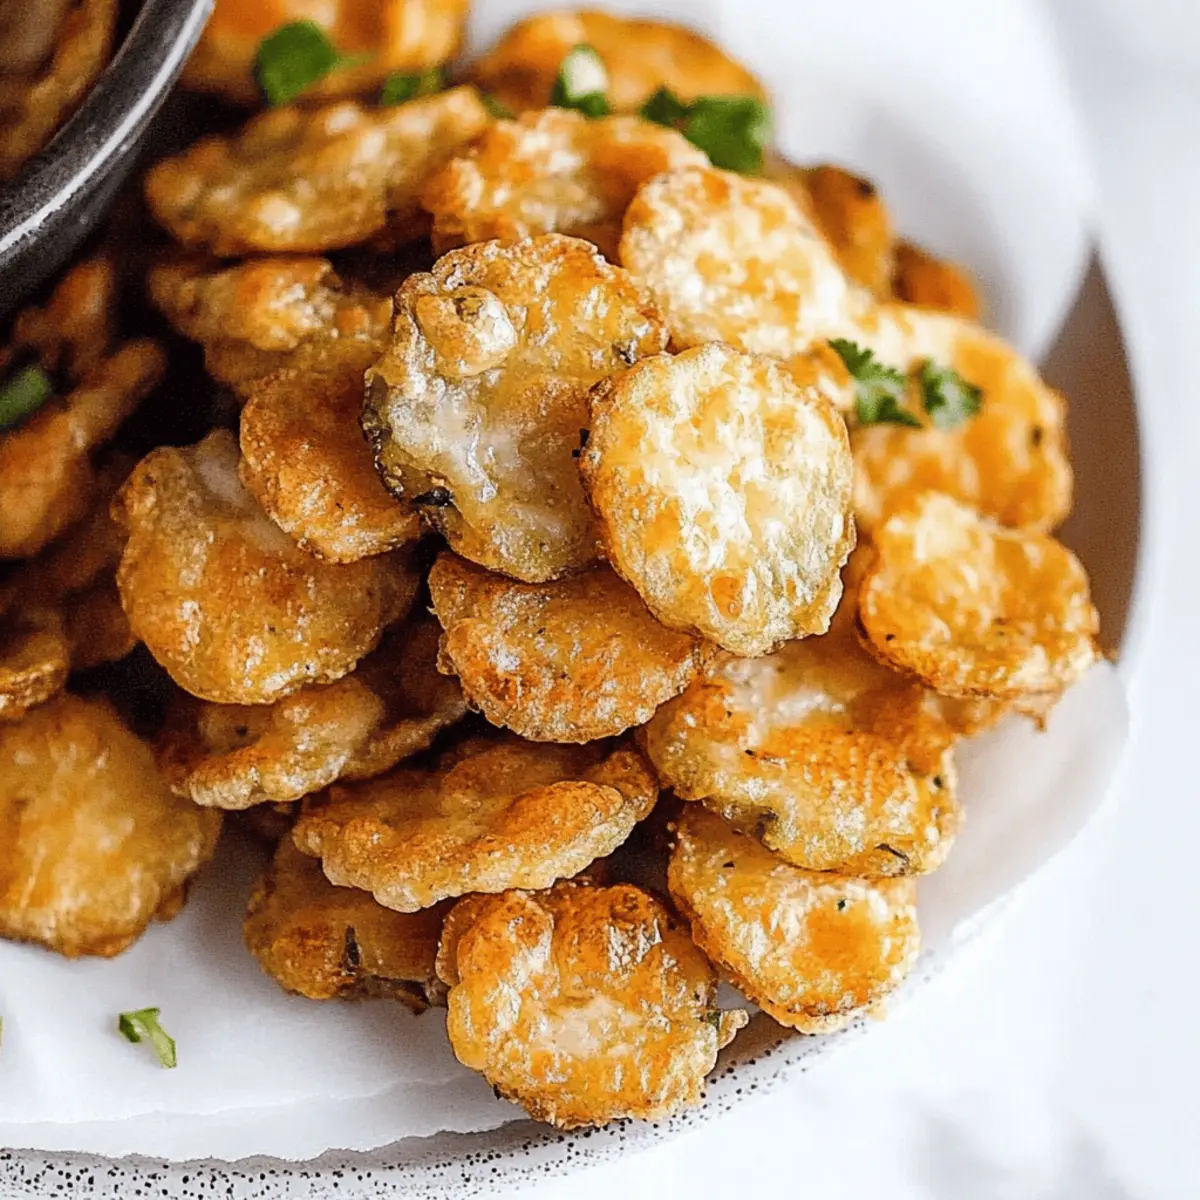
Crispy Crunchiness: The golden-brown coating gives each pickle a satisfying crunch that’s hard to resist.
Flavor Explosion: Coated with a blend of spices, these pickles deliver a zesty flavor that tantalizes your taste buds!
Quick and Easy: With just 35 minutes from start to finish, you can have a delicious snack ready in no time.
Perfect for Sharing: Serve these tasty bites at parties or casual gatherings, and watch them vanish in seconds! Plus, if you’re a fan of homemade side dishes, you might want to check out my killer Homemade Ranch Dressing.
Versatile Snacking: Pair them with your favorite dips or enjoy them plain; they’re versatile enough for every occasion. Make these crispy fried pickles your go-to snack today!
Fried Pickles Ingredients
For the Batter
- All-purpose flour – This forms the crispy coating that makes the fried pickles irresistibly crunchy.
- Salt – Enhances the overall flavor, making each bite delectable.
- Ground black pepper – Adds a subtle heat that balances the pickle's tanginess.
- Garlic powder – Brings a savory depth to the batter, elevating your fried pickles.
- Onion powder – Complements the garlic for a rounder flavor profile.
- Paprika powder – Offers a hint of sweetness and vibrant color to the batter.
- Baking powder – Helps the coating puff up beautifully when fried.
For the Wet Mixture
- Milk – Creates a moist base for the batter, allowing it to cling well to the pickles.
- Large eggs – Bind the ingredients together and contribute to a richer flavor.
For Frying
- Vegetable oil – Essential for frying, it provides the right temperature and flavor to achieve those crispy fried pickles.
With these fried pickles ingredients, you’re just moments away from creating an addictive snack that will surely please your palate!
Step‑by‑Step Instructions for Fried Pickles
Step 1: Heat the Oil
Begin by heating vegetable oil in a deep fryer or large pot to 350°F (175°C). Use a thermometer for accuracy, ensuring the oil is hot enough for frying. This preheating step is crucial for achieving crispy fried pickles. You’ll know the oil is ready when it shimmers slightly and a drop of batter sizzles upon contact.
Step 2: Prepare the Dry Mix
In a mixing bowl, combine the all-purpose flour, salt, black pepper, garlic powder, onion powder, paprika powder, and baking powder. Whisk these dry ingredients thoroughly until well blended. This flavorful flour mix will create the irresistible coating for your fried pickles, enhancing their taste with every crunchy bite.
Step 3: Create the Wet Mixture
In a separate bowl, whisk together the milk and eggs until smooth. This mixture serves as the soaking solution that helps the batter stick to the pickles. Ensure it’s combined well—this creamy base will make your fried pickles delightfully tender inside while maintaining a crispy exterior.
Step 4: Coat the Pickles
Take each pickle slice and dip it first into the milk mixture, ensuring it’s well-coated before transferring it to the flour mixture. Gently shake off any excess flour as you coat each pickle slice to create a thick, delicious batter around them. This dual-dipping method guarantees a mouthwatering crunch for your fried pickles.
Step 5: Fry the Pickles
Carefully place the coated pickles into the hot oil using tongs or a slotted spoon. Fry them in batches, ensuring not to overcrowd the pot. Cook for 3-4 minutes, or until they turn golden brown and crispy. Watch the pickles closely so you can enjoy that perfect crunchy exterior without burning.
Step 6: Drain and Serve
Once your fried pickles achieve a delightful golden color, carefully remove them from the oil and place them on paper towels to drain excess grease. This will help keep them crispy. Serve your tasty fried pickles hot, accompanied by ranch dressing for dipping. They'll be a hit with family and friends!

What to Serve with Fried Pickles?
Elevate your snacking experience with these delightful pairings that complement the crispy perfection of fried pickles.
-
Creamy Ranch Dressing: The classic dip for fried pickles, ranch dressing adds a cool, creamy element that balances the crunch perfectly.
-
Spicy Jalapeño Poppers: For a flavor kick, these cheesy, spicy bites are a fun contrast to the tangy pickles.
-
Southern Coleslaw: The refreshing crunch and tanginess of coleslaw provide a delightful balance to the fried pickles, enhancing textures.
-
BBQ Chicken Sliders: Tender, smoky chicken served on mini buns pairs well with the zesty flavors of fried pickles, making a hearty treat.
-
Crispy Sweet Potato Fries: Sweet yet savory, these fries create a wonderful contrast with the tangy fried pickles, making each bite a celebration.
-
Cucumber Salad: Light and refreshing, a simple cucumber salad brightens up your plate with freshness that offsets the richness of the pickles.
-
Iced Tea or Lemonade: Pair these with a glass of sweetened iced tea or sparkling lemonade for a refreshing beverage that complements all the flavors.
Treat your friends and family to a delightful spread that takes fried pickles from snack to feast!
Fried Pickles: Fun Twists Await!
Feel free to get creative and turn these fried pickles into your own culinary masterpiece!
- Gluten-Free: Substitute the all-purpose flour with a gluten-free flour blend for a crunchy, gluten-free version.
- Spicy Kick: Add cayenne pepper to the dry mixture for a fiery twist that brings heat to each bite.
- Herb-Infused: Mix in some freshly chopped herbs like dill or parsley for a refreshing flavor boost.
- Cheesy Goodness: Incorporate grated Parmesan or cheddar cheese into the dry batter for an extra cheesy crunch.
- Pickle Variety: Try using different types of pickles, such as dill, bread and butter, or spicy pickles, for a unique taste experience.
- Air Fryer Option: Prepare these in an air fryer by misting them with oil and cooking at 400°F (200°C) for about 10-12 minutes for a healthier version.
- Baked Alternative: For a lighter option, brush the coated pickles with oil and bake at 425°F (220°C) until golden and crispy, about 15-20 minutes.
- Dipping Delights: Swap ranch dressing for spicy mayo or creamy blue cheese for a delightful change in flavor for dipping.
These variations can turn your fried pickles into a personalized treat that’s sure to impress! And speaking of dips, don’t forget to pair them with my favorite Homemade Ranch Dressing for a classic combo!
Expert Tips for the Best Fried Pickles
• Pickle Selection: Use firm, thick pickle slices for better crunchiness. This ensures they hold their shape and provide that satisfying bite.
• Oil Temperature: Always preheat oil to 350°F (175°C) before frying. If the oil is too cool, your fried pickles will absorb excess grease and become soggy.
• Double Dipping: For an extra crispy coating, consider double-dipping the pickles in the wet and dry mixtures. This adds an irresistible layer of crunch to your fried pickles.
• Batch Frying: Fry pickles in small batches to avoid overcrowding the pot. This allows each fried pickle to cook evenly and become perfectly crispy.
• Drain Properly: Place fried pickles on paper towels immediately after frying to remove excess oil. This step is key to maintaining their tempting crispness.
• Serve Fresh: Fried pickles taste best when served immediately. Reheating may compromise their crispy texture, so enjoy them fresh from the fryer!
How to Store and Freeze Fried Pickles
Room Temperature: Fried pickles are best enjoyed fresh, but can be left at room temperature for up to 2 hours if needed for serving.
Fridge: Store leftover fried pickles in an airtight container in the fridge for up to 3 days. To keep them crispier, place paper towels at the bottom of the container to absorb moisture.
Freezer: For longer storage, freeze fried pickles in a single layer on a baking sheet before transferring to a freezer-safe bag or container. They can be frozen for up to 2 months.
Reheating: When ready to enjoy frozen fried pickles, bake them at 400°F (200°C) for 10-15 minutes or until crispy again. Avoid microwaving, as it can make them soggy.
Make Ahead Options
These fried pickles are perfect for meal prep enthusiasts! You can prepare the coating mix and soak the pickles in the milk and egg mixture up to 24 hours in advance. Simply store the coated pickles in an airtight container in the refrigerator to keep them fresh and crunchy. When you're ready to serve, heat the oil and fry the pickles for about 3-4 minutes until golden brown and crispy. This way, you can enjoy delicious homemade fried pickles without the last-minute rush, ensuring they're just as delightful as if you made them fresh!
Fried Pickles Recipe FAQs
How do I choose the right pickles for frying?
Absolutely! When selecting pickles for frying, I recommend using firm, thick slices. They hold their shape better during cooking and provide that satisfying crunch you crave. Look for pickles without too many dark spots and ensure they’re fresh and crisp—this will elevate your fried pickles experience!
What’s the best way to store leftover fried pickles?
Very important! Store leftover fried pickles in an airtight container in the fridge for up to 3 days. To maintain their crispy texture, place paper towels at the bottom of the container. This will absorb excess moisture and help keep those tasty bites crunchy for as long as possible.
Can I freeze fried pickles? If so, how?
Absolutely! Freezing fried pickles is a great way to enjoy them later. First, allow them to cool completely. Then, lay them out in a single layer on a baking sheet and freeze for about 1-2 hours. Once frozen, transfer them into a freezer-safe bag or container, where they can last up to 2 months. When you're ready to indulge, just bake them at 400°F (200°C) for 10-15 minutes to restore their crispiness.
What should I do if my fried pickles turn out soggy?
Oh no! If your fried pickles come out soggy, there could be a few reasons. First, ensure the oil is hot enough (350°F) before frying—if it's too cool, the pickles soak up oil instead of frying properly. Additionally, avoid overcrowding the pot; frying in small batches allows for even cooking. To revive soggy pickles, bake them at a higher temperature to crisp them up before serving.
Are fried pickles suitable for pets?
Definitely something to consider! While pickles themselves aren’t toxic to pets, fried foods aren't the best choice for them. The oil, salt, and batter can lead to upset stomachs or other health issues. It’s best to keep fried pickles as a treat for yourself and stick to fresh, unseasoned veggies if you want to share with your furry friends!
Can I make fried pickles gluten-free?
Yes, you can! To make gluten-free fried pickles, simply substitute all-purpose flour with a gluten-free flour blend. Ensure all other ingredients, such as baking powder and seasonings, are also gluten-free. This way, you can enjoy crispy fried pickles that cater to gluten sensitivities while still being delicious!
Crispy Fried Pickles: Your New Favorite Snack Delight
Equipment
- Deep fryer or large pot
- Mixing bowls
- Whisk
- Thermometer
- Tongs or slotted spoon
Ingredients
For the Batter
- 1 cup All-purpose flour This forms the crispy coating.
- 1 teaspoon Salt Enhances the flavor.
- 1 teaspoon Ground black pepper Adds subtle heat.
- 1 teaspoon Garlic powder Brings savory depth.
- 1 teaspoon Onion powder Complements garlic flavor.
- 1 teaspoon Paprika powder Offers sweetness and color.
- 1 teaspoon Baking powder Helps the coating puff.
For the Wet Mixture
- 1 cup Milk Creates a moist base.
- 2 large Eggs Binds the ingredients.
For Frying
- 2 cups Vegetable oil Essential for frying.
Instructions
Instructions
- Begin by heating vegetable oil in a deep fryer or large pot to 350°F (175°C).
- In a mixing bowl, combine the all-purpose flour, salt, black pepper, garlic powder, onion powder, paprika powder, and baking powder. Whisk until well blended.
- In a separate bowl, whisk together the milk and eggs until smooth.
- Dip each pickle slice into the milk mixture, then transfer to the flour mixture, shaking off excess.
- Fry the coated pickles in hot oil for 3-4 minutes until golden brown and crispy.
- Remove from oil, place on paper towels to drain excess grease, and serve hot.