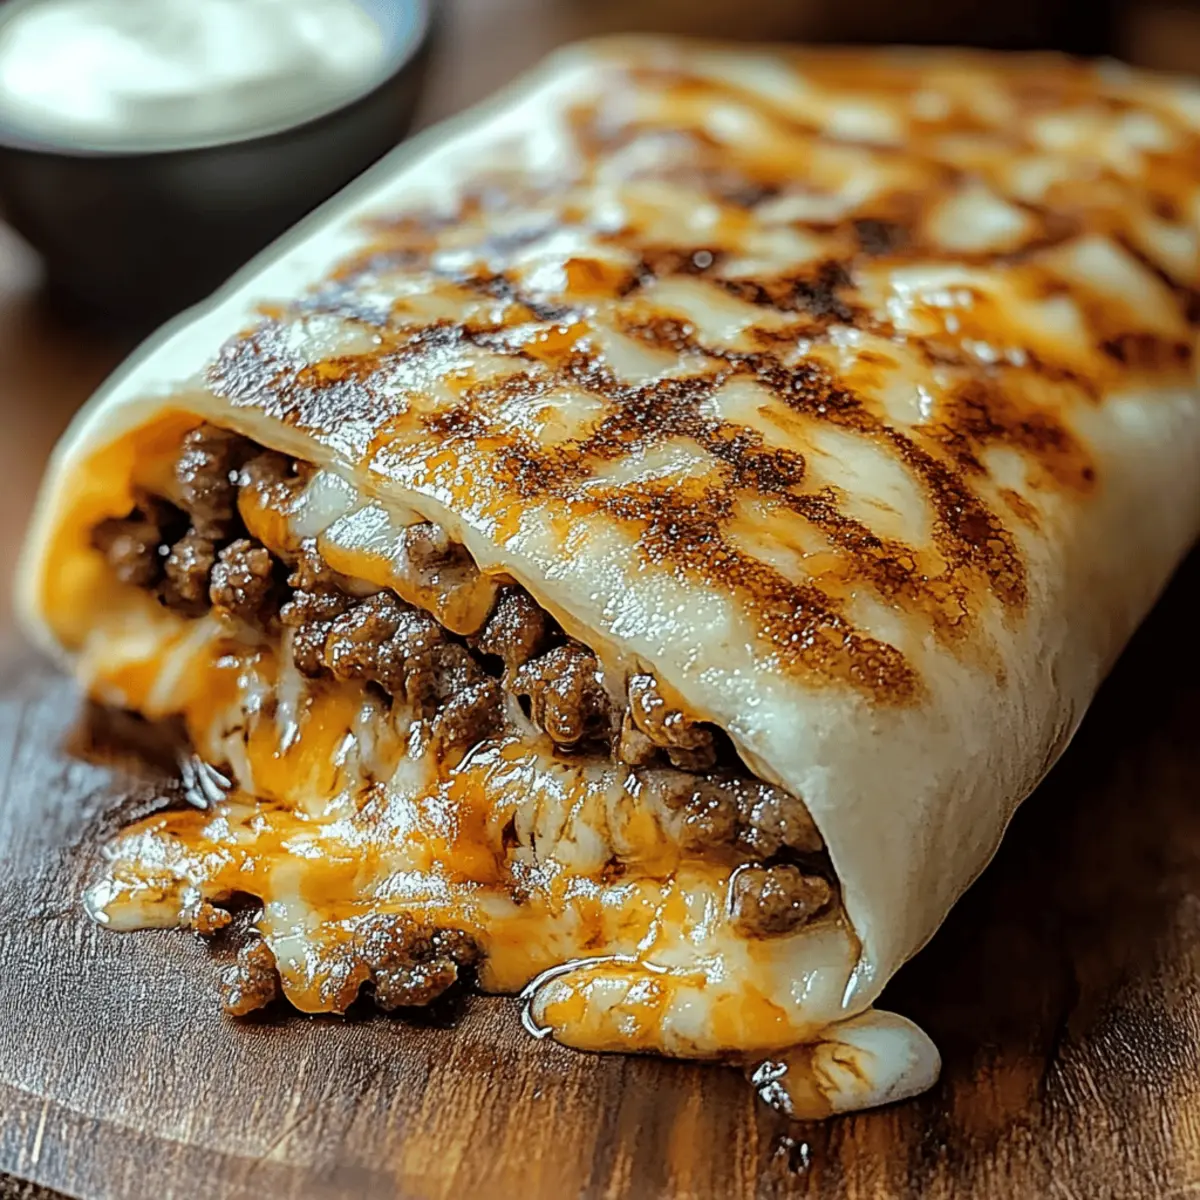
It was one of those evenings when I felt utterly uninspired, staring blankly at my fridge. But then, a light bulb moment struck: why not combine two favorite comfort foods into one delicious twist? Enter the Grilled Cheese Burrito, a dish that brings the gooey goodness of grilled cheese together with the robust flavors of a burrito, all wrapped neatly in a tortilla. This recipe is a game changer, offering a quick prep and a crowd-pleasing meal that’s perfect for any weeknight. With just a handful of ingredients and a mere 25 minutes of your time, you’ll have a satisfying dinner that feels indulgent yet easy to whip up. Intrigued? Let’s dive into this cheesy delight together!
Why will you crave this burrito?
Uniqueness: This Grilled Cheese Burrito combines the best of both worlds—who wouldn't love a fusion of cheesy warmth and spicy burrito flavors?
Time-Saving: Ready in just 25 minutes, this recipe is perfect for busy weeknights when you want something quick yet satisfying.
Crowd-Pleasing: It’s bound to impress family and friends, making it ideal for gatherings or a cozy dinner at home.
Customization: Tailor it to your taste! Add black beans, jalapeños, or switch to dairy-free cheese for a vegan alternative.
Comforting & Hearty: With layers of seasoned beef, sour cream, and ooey-gooey cheese, each bite promises comforting satisfaction.
So, gather your ingredients and enjoy this delicious twist on comfort food that will leave everyone asking for seconds!
Grilled Cheese Burrito Ingredients
For the Filling
- Ground beef – adds a savory and hearty base to your burrito.
- Taco seasoning – infuses the beef with zesty flavors, making it irresistible.
- Cooked white rice – provides a delightful extra layer and helps bulk up the filling.
- Sour cream – contributes a creamy tang that balances the spices beautifully.
- Nacho cheese sauce – gives an extra cheesy element, perfect for the quesadilla vibe.
- Chipotle sauce – adds a smoky kick for those who love a bit of heat.
For the Cheesy Layers
- Shredded cheddar cheese – melted, it creates a rich, sharp flavor that’s hard to resist.
- Shredded mozzarella – adds creaminess and stretch for that perfect cheesy pull.
For the Wrap
- Large flour tortillas – soft and pliable, they hold everything together beautifully.
- Butter or oil – for grilling, giving that lovely crispy texture to the outside of the burrito.
With these Grilled Cheese Burrito ingredients, you’re well on your way to creating a dish that’s not only delicious but also comforting and satisfying. Enjoy the magic of cooking!
Step‑by‑Step Instructions for Grilled Cheese Burrito
Step 1: Cook the Beef
In a skillet over medium heat, brown 1 pound of ground beef for about 5–7 minutes until it's no longer pink. Drain any excess grease, then add 1 packet of taco seasoning along with ¼ cup of water. Let it simmer for 5 minutes until the flavors meld and the mixture thickens slightly, creating a savory filling for your Grilled Cheese Burrito.
Step 2: Prepare the Tortillas
While the beef simmers, heat 4 large flour tortillas on a dry skillet over low heat, about 30 seconds per side, or wrap them in a damp paper towel and microwave for 15 seconds. This gentle warming process makes the tortillas pliable and easy to roll, ensuring they will hold all the delicious fillings of your Grilled Cheese Burrito without tearing.
Step 3: Assemble the Burrito
On each warmed tortilla, layer a generous amount of cooked white rice, followed by the seasoned beef, ½ cup of nacho cheese sauce, ¼ cup of chipotle sauce, and ½ cup of sour cream. Finish by topping with a blend of 1 cup shredded cheddar cheese and 1 cup shredded mozzarella, allowing each bite of your Grilled Cheese Burrito to be full of flavor and texture.
Step 4: Grill the Burrito
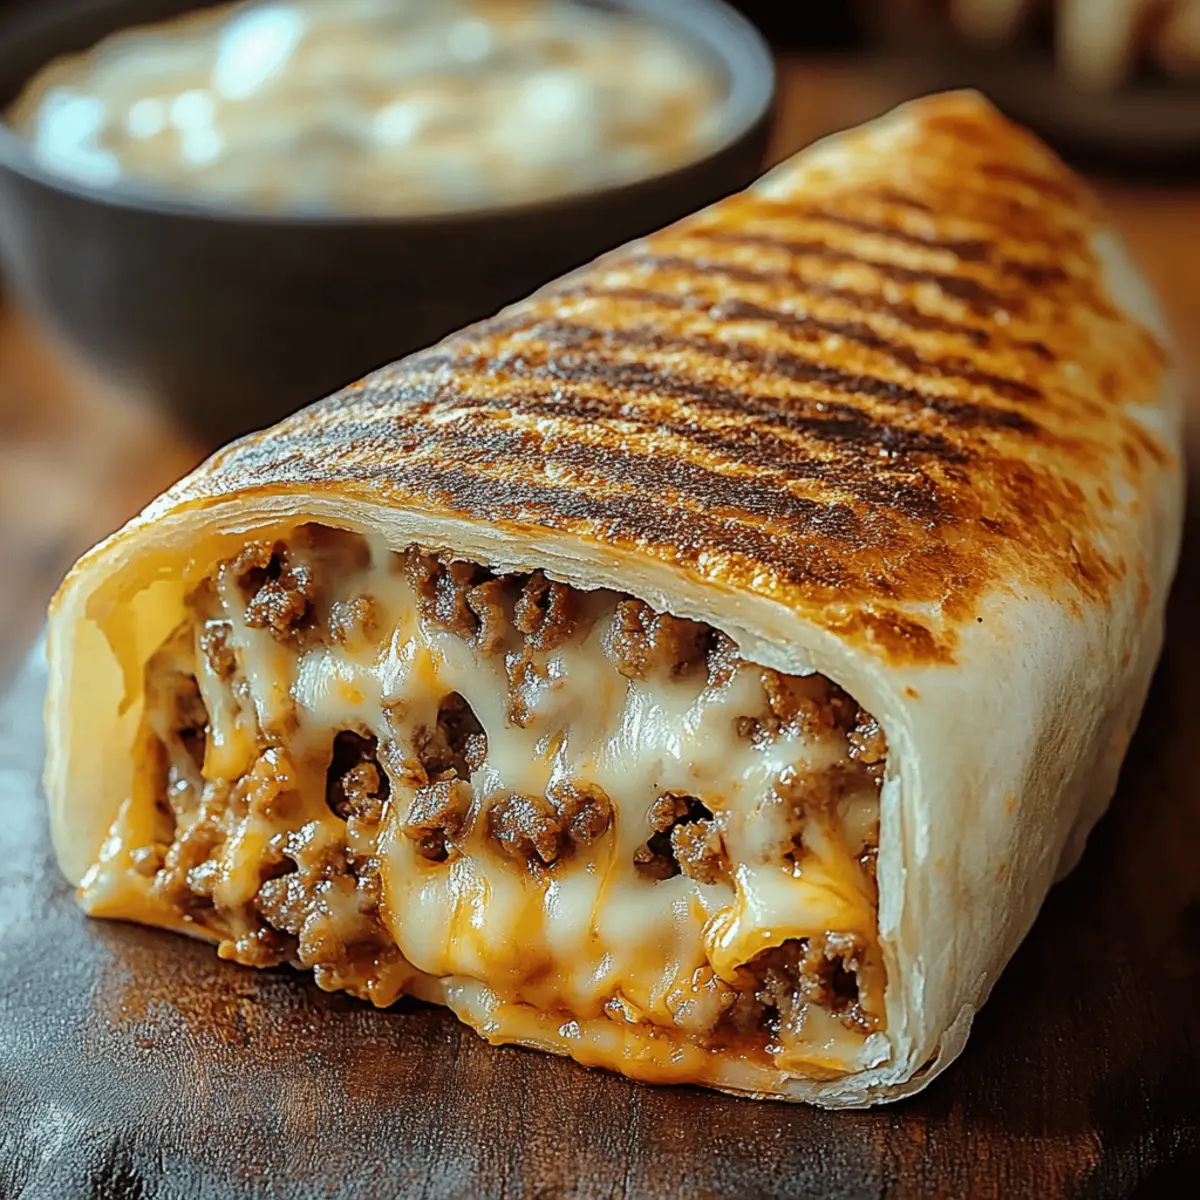
Heat a clean skillet over medium heat and sprinkle 2 tablespoons of shredded cheese onto the hot surface. Place one burrito seam-side down and grill for 2–3 minutes until the cheese melts and forms a crispy crust. Carefully flip the burrito and cook for another 2–3 minutes, ensuring both sides are golden brown and crispy, giving your Grilled Cheese Burrito that irresistible crunch.
Step 5: Serve and Enjoy
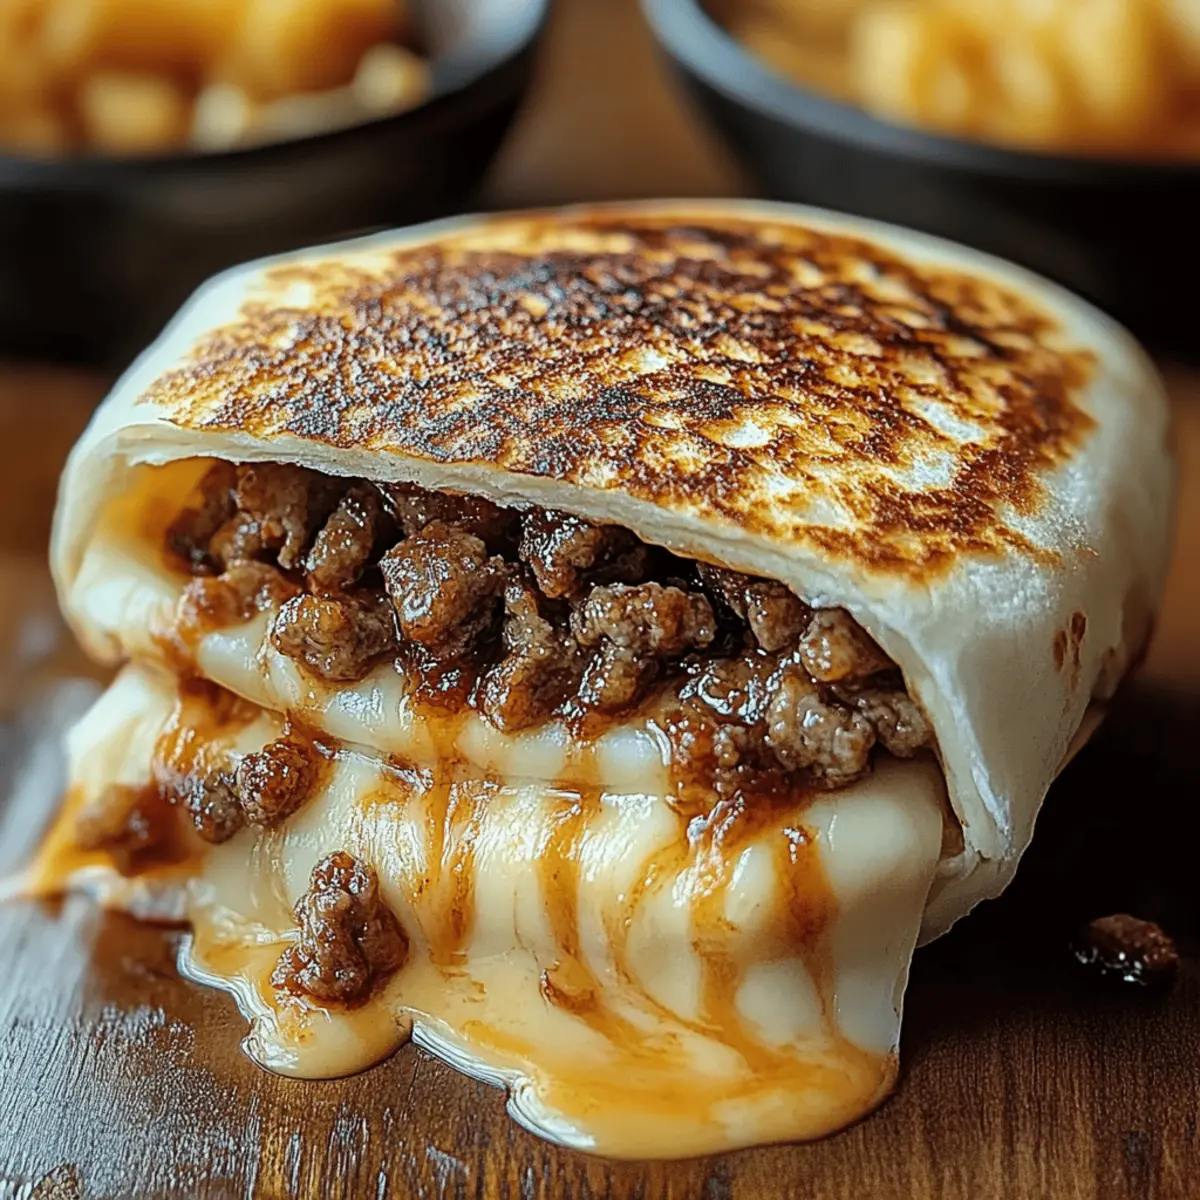
Once all burritos are grilled to perfection, slice them in half to reveal the gooey, cheesy interior. Arrange them on a serving platter and enjoy your delicious Grilled Cheese Burrito while hot. Each bite is a delightful fusion of cheesy goodness and flavorful fillings that will surely please everyone at your table!

Make Ahead Options
These Grilled Cheese Burritos are a fantastic option for meal prep! You can prepare the seasoned ground beef and store it in the refrigerator for up to 3 days; just reheat when you're ready to assemble. Additionally, you can layer tortillas with all the fillings (rice, beef, sauces, and cheese), wrap them tightly in plastic wrap, and refrigerate overnight. When you're set to enjoy your burritos, simply grill them in a skillet for 3-5 minutes until the cheese is melting and the tortillas are crispy. This way, you'll savor the same deliciousness as if they were freshly made, saving you precious time on busy weeknights!
Grilled Cheese Burrito Variations
Feel free to get creative with your Grilled Cheese Burrito—there’s no limit to how you can customize this dish!
-
Vegetarian: Swap out ground beef for black beans or lentils, maintaining a hearty texture and protein boost.
-
Spicy Kick: Add sliced jalapeños or a drizzle of your favorite hot sauce for an extra layer of heat. This will transform your burrito into a spicy fiesta!
-
Creamy Addition: Mix in avocado or guacamole for a rich, creamy texture that perfectly complements the other ingredients. Every bite will be a delightful explosion of flavors and creaminess.
-
Dairy-Free: Use dairy-free cheese and sour cream to create a vegan version without compromising on taste. It’s perfect for those on a plant-based journey!
-
Breakfast Twist: Fill the burrito with scrambled eggs or breakfast sausage in place of ground beef for a fun brunch option. This gives a whole new meaning to breakfast burritos!
-
Reloaded Flavors: Stir in some diced tomatoes and onions with the beef while cooking, adding freshness and extra flavor to your filling. Every bite will be bursting with bright, delicious tastes!
-
Cheesy on Cheesy: Incorporate cream cheese into your filling for an indulgent, gooey center that amps up the creaminess! It’s a wonderful surprise when you take that first bite.
-
Extra Crunch: Add some crushed tortilla chips inside for a delightful crunch and texture contrast. You’ll love how they add that satisfying crunch amidst the cheesy goodness.
Remember, the beauty of this Grilled Cheese Burrito lies in its customization. As you experiment with flavors, you might find a winning combination that becomes a new family favorite! If you enjoy this recipe, consider pairing it with a refreshing side of homemade corn salad or a light avocado dip for a complete meal experience; you won’t be disappointed!
Storage Tips for Grilled Cheese Burrito
Fridge: Store any leftover Grilled Cheese Burrito in an airtight container for up to 3 days to maintain freshness and flavor.
Freezer: If you want to save them for later, place wrapped burritos in a freezer-safe container and enjoy within 2 months.
Reheating: For the best results, reheat on the stovetop over medium heat to preserve the crispy cheese crust, or microwave for 60–90 seconds until heated through.
Wrapping: If freezing, wrap each burrito tightly in plastic wrap or foil to prevent freezer burn and keep them delicious!
Tips for the Best Grilled Cheese Burrito
Perfectly Browned Beef: Ensure your beef is fully browned before adding seasoning. This step enhances the flavor and gives your filling a hearty texture.
Warming Tortillas: Warm tortillas just enough to make them pliable. Overheating can make them too soft or lead to tearing when you roll your Grilled Cheese Burrito.
Layering Ingredients: Layer your ingredients thoughtfully to prevent spillage. Starting with rice helps absorb moisture and keeps the burrito intact.
Crispy Cheese Crust: Use enough cheese in the skillet while grilling to create that perfect crispy crust. Don't rush; let it develop, as this adds a delightful texture.
Wrapped Securely: Make sure you roll your burrito tightly, keeping all the fillings snug inside. A well-wrapped burrito will hold together better during cooking and serving.
Serving Fresh: Serve your Grilled Cheese Burrito immediately for the best experience. The cheese is at its gooey best, making each bite truly indulgent!
What to Serve with Grilled Cheese Burrito
Ready to elevate your dining experience with delightful accompaniments that complement the bold flavors of your grilled cheese burrito?
-
Creamy Guacamole: This buttery spread adds a smooth texture and brings a refreshing taste to balance the warming burrito. A dollop over each serving creates a beautiful contrast in both flavor and presentation.
-
Zesty Corn Salsa: Bursting with fresh ingredients, this salsa introduces a sweet crunch that melds wonderfully with the richness of the burrito. Those vibrant flavors can awaken the palate, making every bite more exciting.
-
Crispy Sweet Potato Fries: These sweet, crunchy bites add a playful twist to your meal, with their natural sweetness paired excellently to the spiciness of the burrito. This unexpected combination will have everyone coming back for a little more.
-
Chilled Mexican Street Corn Salad: The creamy, tangy taste of this salad complements the grilled cheese burrito, providing a bright and citrusy flavor. Its crunchy texture contrasts beautifully with the soft burrito, making it an irresistible side.
-
Spicy Black Bean Soup: This hearty, warming soup is perfectly spiced to accompany the burrito, offering a savory depth to the meal. Plus, it’s another fantastic way to keep the comfort food theme going strong.
-
Sour Cream and Chive Dip: A cool dip is an ideal partner for the crispy burrito. Each scoop adds a burst of flavor while the chives provide a lovely fresh note that rounds out the meal beautifully.
-
Chilled Lemonade: Refreshing and tart, a glass of lemonade brings a bright, citrusy pop that can balance the richness of the burrito. It’s a delightful pairing for a summery feel, keeping the energy light and fun as you dine.
Embrace these sides and drinks to create a full meal that leaves everyone feeling satisfied and smiling!
Grilled Cheese Burrito Recipe FAQs
How do I choose the best ground beef for this recipe?
When selecting ground beef, look for 80/20 lean-to-fat ratio which provides a juicy flavor without being overly greasy. Choose meat that’s bright red in color, and avoid any packages with dark spots. Freshness is key, so opt for ground beef with a sell-by date that is at least a few days away.
What’s the best way to store leftover Grilled Cheese Burritos?
Absolutely! After letting your burritos cool to room temperature, store them in an airtight container in the fridge for up to 3 days. This storage method maintains their delicious flavors. For reheating, I recommend using a stovetop skillet at medium heat to retain the crispy cheese crust that we all love!
Can I freeze Grilled Cheese Burritos? What’s the process?
Yes, you can freeze them! To do this, wrap each burrito tightly in plastic wrap or aluminum foil to prevent freezer burn. Place the wrapped burritos in a freezer-safe zip-top bag, making sure to squeeze out excess air. They’ll stay fresh for up to 3 months. When you're ready to eat, thaw in the refrigerator overnight, then reheat on the stovetop or in the microwave.
What should I do if the burrito ingredients start spilling out while grilling?
No worries, it happens! If your burritos are spilling, try a tighter roll to start. If they still leak, reduce the heat slightly; this way, the cheese can help seal the edges without burning. Using a little extra cheese on the grill to create a crispy crust can also help hold everything tightly together.
Can I adapt this recipe for dietary restrictions, like vegan or gluten-free?
Certainly! For a vegan version, replace the ground beef with cooked lentils or black beans, use dairy-free cheese alternatives, and opt for gluten-free tortillas. If you have lactose intolerance, both sour cream and cheese can be substituted with dairy-free options available in most grocery stores. The beauty of the Grilled Cheese Burrito is its versatility!
What are some additional ingredients I can add to enhance flavor?
The more the merrier! Consider adding black beans or a sprinkle of jalapeños for an extra kick. You can also include sautéed onions and bell peppers for a delicious veggie crunch. Don’t forget, fresh avocado or spicy salsa can elevate your burrito game even further!
Irresistible Grilled Cheese Burrito: A Crispy Delight!
Equipment
- Skillet
- Microwave
Ingredients
For the Filling
- 1 pound ground beef adds a savory and hearty base
- 1 packet taco seasoning infuses the beef with zesty flavors
- ¼ cup water to add with taco seasoning
- 1 cup cooked white rice provides bulk to the filling
- ½ cup sour cream contributes a creamy tang
- ½ cup nacho cheese sauce gives an extra cheesy element
- ¼ cup chipotle sauce adds a smoky kick
For the Cheesy Layers
- 1 cup shredded cheddar cheese creates a rich flavor
- 1 cup shredded mozzarella adds creaminess and stretch
For the Wrap
- 4 large flour tortillas holds everything together
- 2 tablespoons butter or oil for grilling
Instructions
Step-by-Step Instructions
- In a skillet over medium heat, brown the ground beef for about 5–7 minutes until it's no longer pink. Drain excess grease, add taco seasoning and water, and simmer for 5 minutes.
- While the beef simmers, heat the tortillas on a dry skillet over low heat for about 30 seconds per side, or wrap in a damp paper towel and microwave for 15 seconds.
- On each warmed tortilla, layer the cooked white rice, seasoned beef, nacho cheese sauce, chipotle sauce, sour cream, shredded cheddar cheese, and shredded mozzarella.
- Heat a clean skillet over medium heat, sprinkle shredded cheese onto the hot surface, place one burrito seam-side down, and grill for 2–3 minutes until the cheese melts.
- Flip the burrito and cook for another 2–3 minutes until both sides are golden brown and crispy. Slice in half to serve your delicious burrito hot.