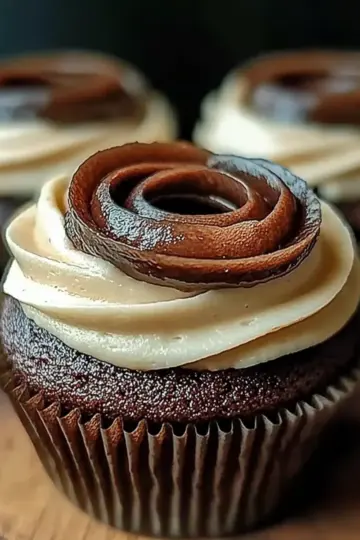
As I stood in my kitchen, the rich aroma of chocolate wafted through the air, instantly transporting me back to carefree childhood afternoons spent baking with my mom. Today, I'm excited to share my spin on that nostalgic experience with a delightful Chocolate Peanut Butter Poke Cake. This recipe is not only a treat for the taste buds; it requires minimal prep time, making it the perfect solution for those busy days when a store-bought dessert just won't cut it. Plus, the glorious combination of chocolate and creamy peanut butter means you'll have no trouble impressing friends and family, turning any gathering into a celebration. Ready to indulge in a cake that's as easy to make as it is to devour? Let’s dive into this delightful and decadent creation together!
Why is this cake a must-try?
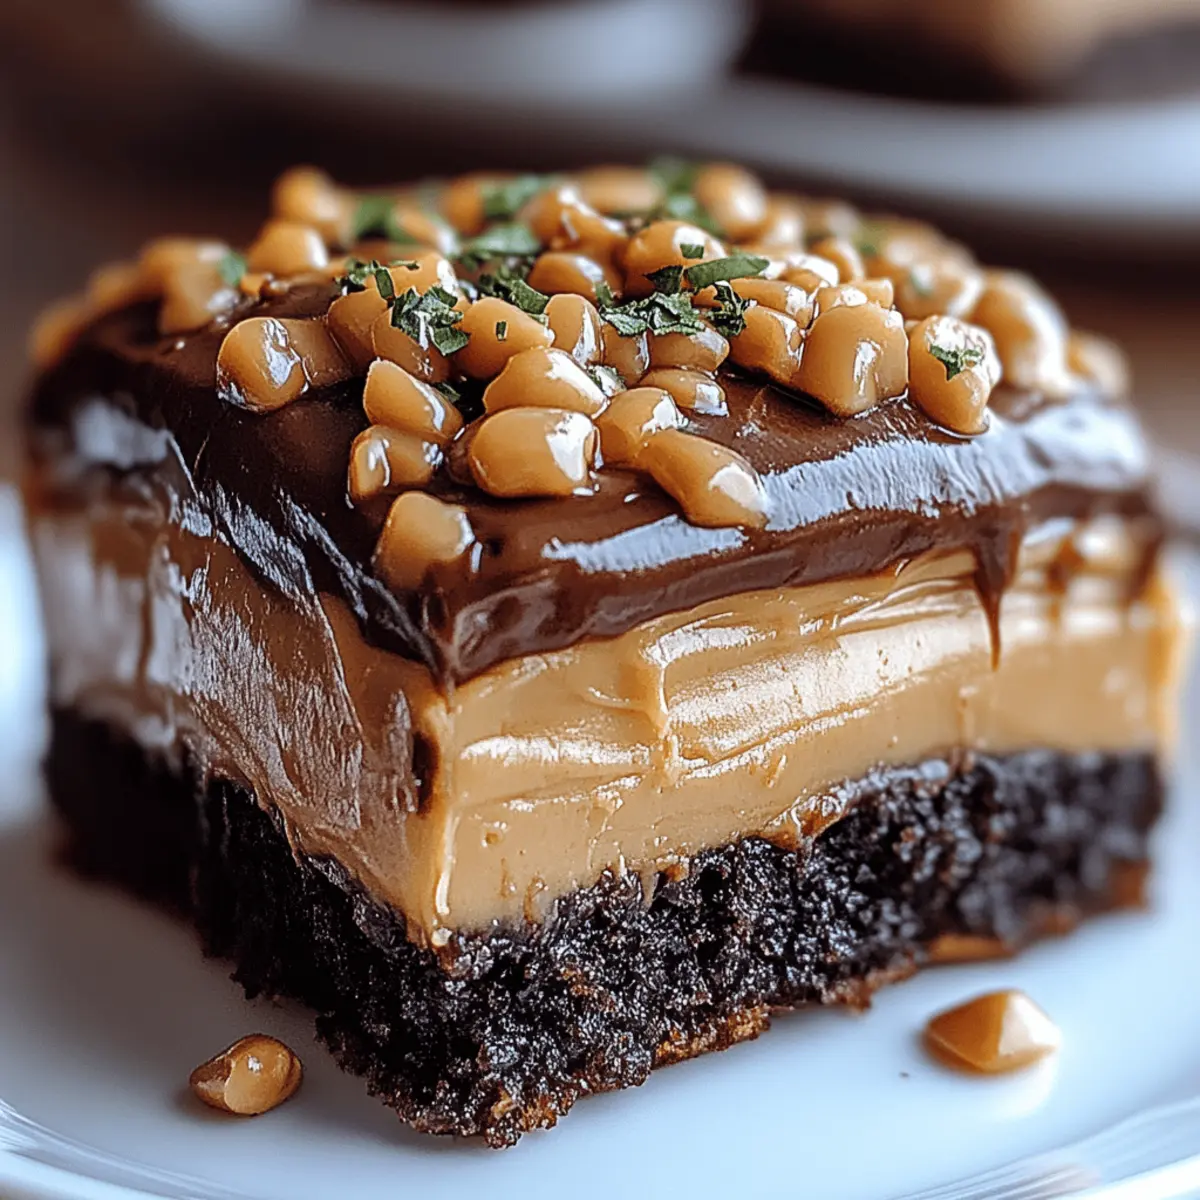
Indulgent flavor: The Chocolate Peanut Butter Poke Cake combines rich chocolate with creamy peanut butter for an unforgettable taste.
Easy preparation: With just a few simple steps and minimal ingredients, you’re guaranteed success, even if you're a novice baker.
Crowd pleaser: This cake is perfect for parties or family gatherings, drawing compliments and smiles from everyone who tries it.
Perfectly moist: The gooey peanut butter filling seeps into the cake, creating a moist texture that’s simply irresistible.
Versatile treat: You can easily customize the toppings, using your favorite candies or even serving with a scoop of vanilla ice cream for extra flair.
Dive into your kitchen and make something that’s sure to impress! If you're looking for more delicious cake ideas, check out our Top 10 Decadent Dessert Recipes.
Chocolate Peanut Butter Poke Cake Ingredients
Dive into the deliciousness of this easy-to-make treat!
For the Cake
- Chocolate cake mix – the base for this sumptuous dessert, making it quick and easy.
- Vanilla extract (optional) – enhances the flavor of the chocolate cake for an extra depth.
For the Filling
- Peanut butter – provides that rich, creamy goodness that pairs perfectly with chocolate.
- Sweetened condensed milk – creates a luscious, sweet filling that soaks into the cake.
- Whole milk – helps create a smooth and creamy consistency in the filling.
For the Topping
- Heavy cream – essential for making the light and fluffy whipped topping.
- Powdered sugar – adds sweetness to the whipped cream and balances the flavors.
- Chopped Reese's cups – bring a fun crunch and additional peanut butter flavor as a topping.
- Crushed peanuts – adds texture and nutty flavor, perfect for peanut butter lovers.
- Melted chocolate – finish off your cake with a rich drizzle for ultimate indulgence.
- Melted peanut butter – a delightful addition that amplifies the poke cake's flavor.
Gather these ingredients and get ready to bring smiles to your table with this delightful Chocolate Peanut Butter Poke Cake!
Step‑by‑Step Instructions for Chocolate Peanut Butter Poke Cake
Step 1: Preheat the Oven
Begin by preheating your oven to 350°F (175°C). This ensures an evenly baked cake with a lovely texture. While the oven warms up, gather your baking equipment, including a 9×13-inch baking dish, mixing bowls, and a whisk. Grease the baking dish to prevent the cake from sticking once baked.
Step 2: Prepare the Cake Batter
In a large mixing bowl, follow the package directions to prepare the chocolate cake mix. If you choose, add 1 teaspoon of vanilla extract for an extra layer of flavor. Mix vigorously until the batter is smooth, ensuring there are no lumps. This Chocolate Peanut Butter Poke Cake starts with a delicious chocolate foundation.
Step 3: Bake the Cake
Pour the prepared cake batter into your greased baking dish. Spread it evenly with a spatula to ensure consistent baking. Place it in the preheated oven for 25–30 minutes. Check for doneness by inserting a toothpick in the center; it should come out clean when the cake is ready.
Step 4: Cool the Cake
Once baked, remove the chocolate cake from the oven and allow it to cool for about 10 minutes. This cooling process helps the cake set well and prepares it for the next crucial steps. As it cools, you can begin preparing the peanut butter filling for your Chocolate Peanut Butter Poke Cake.
Step 5: Make the Peanut Butter Filling
In a separate bowl, whisk together 1 cup of peanut butter, 1 can of sweetened condensed milk, and 1 cup of whole milk until the mixture is smooth and well combined. The creamy filling is key to ensuring every bite of the Chocolate Peanut Butter Poke Cake is packed with flavor and moisture.
Step 6: Poke Holes in the Cake
Using the handle of a wooden spoon, gently poke holes evenly across the surface of the warm cake. Space them about 1 inch apart to allow for even soaking. You want to create pockets for the peanut butter filling to seep into, enhancing the moistness of your Chocolate Peanut Butter Poke Cake.
Step 7: Add the Peanut Butter Filling
Slowly pour the creamy peanut butter filling over the poked cake, allowing it to soak into the holes. Make sure every section gets a generous drizzle of this delicious mixture. As the filling seeps in, the rich flavor will meld beautifully with the chocolate, enhancing the cake's overall taste.
Step 8: Whip the Cream
In a chilled mixing bowl, combine 1 cup of heavy cream with ½ cup powdered sugar. Beat with an electric mixer until soft peaks form. The whipped cream should be light and airy, serving as a fluffy topping for your Chocolate Peanut Butter Poke Cake, adding an irresistible texture and taste.
Step 9: Add Peanut Butter to the Whipped Cream
Once soft peaks have formed, gently fold in the remaining peanut butter into the whipped cream mixture. Continue beating until the mixture is smooth and fluffy. This luscious peanut butter whipped topping will crown your cake, making each slice extra special.
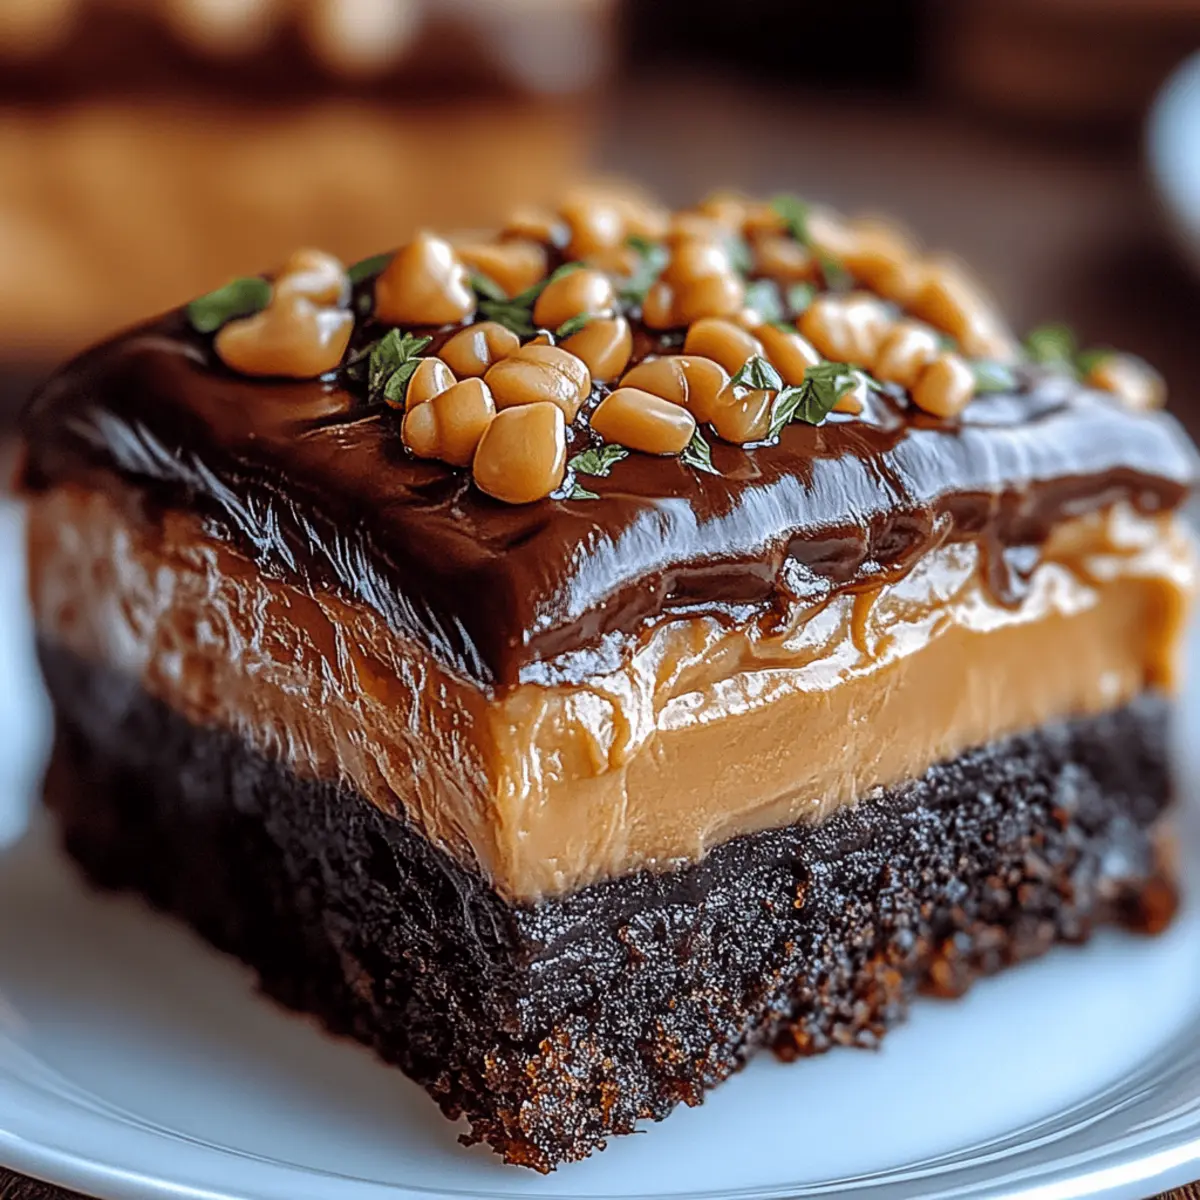
Step 10: Top the Cake
After the cake has completely cooled, spread the peanut butter whipped topping evenly over the chocolate surface. Use a spatula for a smooth finish. This adds a creamy layer to your Chocolate Peanut Butter Poke Cake, elevating its presentation and making it even more inviting.
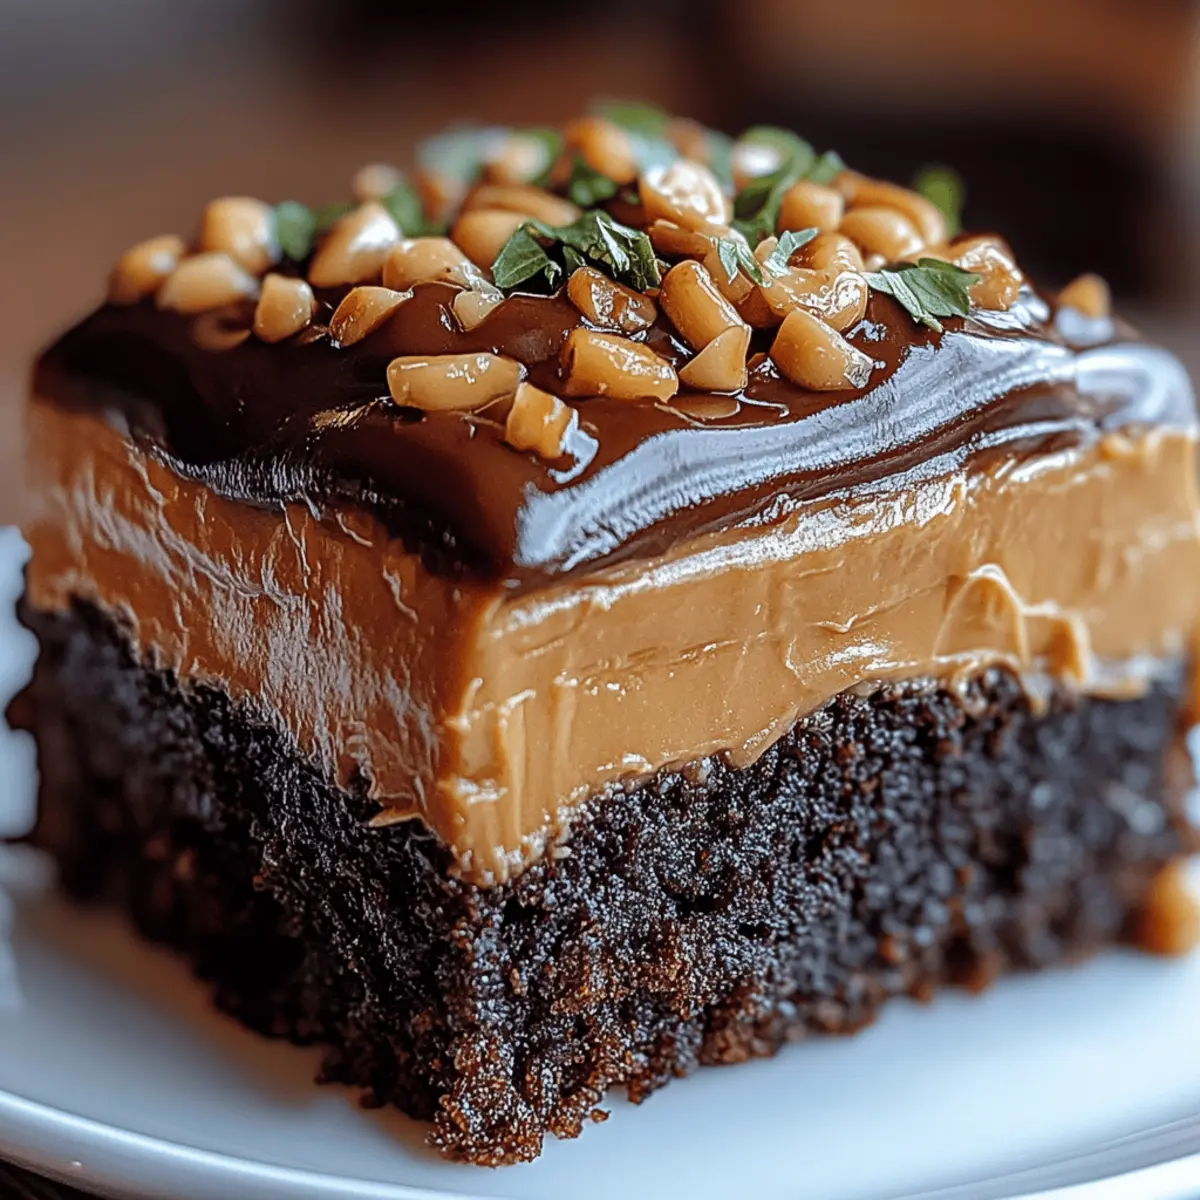
Step 11: Add Toppings
Sprinkle the chopped Reese's cups and crushed peanuts generously over the whipped cream topping. These additions will not only enhance the flavor but also provide a delightful crunch and visual appeal to your delicious creation.
Step 12: Drizzle with Chocolate and Peanut Butter
To finish, take some melted chocolate and melted peanut butter, and drizzle them artfully over the top of your cake. This adds a beautiful decorative touch and an extra layer of indulgence to your Chocolate Peanut Butter Poke Cake.
Step 13: Chill the Cake
Place the cake in the refrigerator for at least 1 hour before serving. This chilling time allows the flavors to meld together beautifully and lets the filling set. You'll be rewarded with a decadent dessert that's perfectly refreshing and tempting.
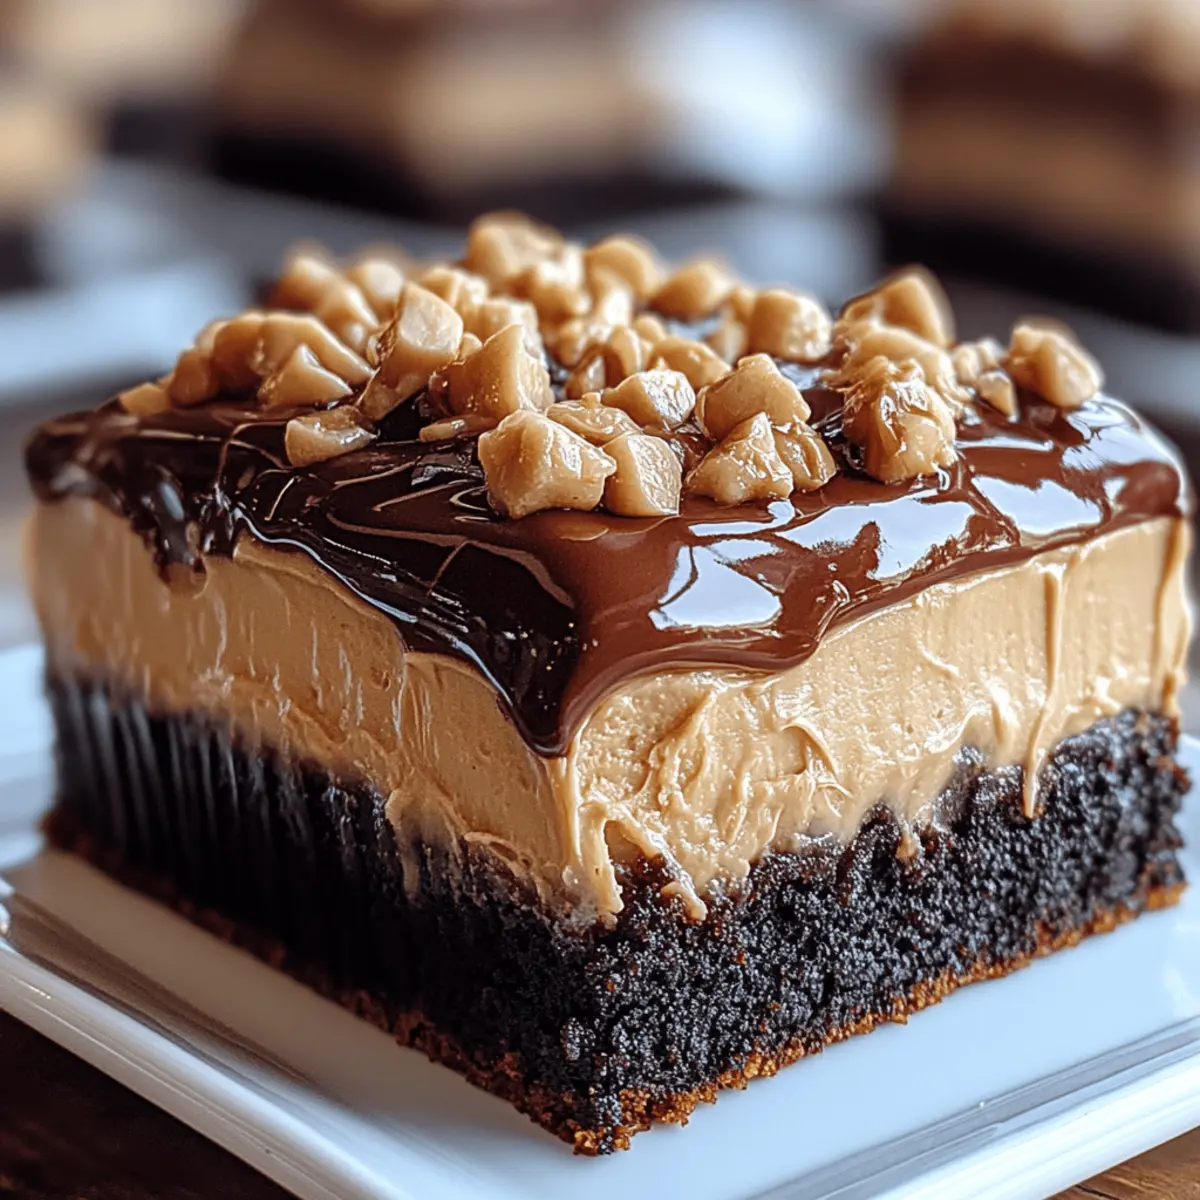
Step 14: Slice and Serve
Once chilled, slice your Chocolate Peanut Butter Poke Cake into squares and serve. The delicious layers of chocolate, peanut butter, and cream will delight everyone at your table, making it the perfect treat for any occasion!
Expert Tips for Chocolate Peanut Butter Poke Cake
-
Use Quality Ingredients: Opt for high-quality chocolate cake mix and peanut butter for a rich flavor. Remember, the better the ingredients, the more decadent your Chocolate Peanut Butter Poke Cake will be!
-
Poke Holes Carefully: When creating holes, be gentle to prevent tearing the cake apart. Evenly spaced holes allow the filling to soak in perfectly, ensuring every bite is moist.
-
Chill Thoroughly: Allow the cake to chill in the refrigerator for at least one hour before serving. This cooling time helps the flavors meld and enhances the overall texture of the Chocolate Peanut Butter Poke Cake.
-
Customize Toppings: Get creative with your toppings! Besides Reese’s cups and crushed peanuts, you can try crushed Oreos or drizzled caramel for a unique twist.
-
Check for Doneness: Always test the cake by inserting a toothpick in the center. If it comes out clean, your cake is done. Under-baking can lead to sinking, ruining the poke cake’s structure!
How to Store and Freeze Chocolate Peanut Butter Poke Cake
Fridge: Store any leftover Chocolate Peanut Butter Poke Cake in an airtight container in the refrigerator for up to 3 days. Keep it covered to maintain its moisture.
Freezer: For longer storage, freeze slices wrapped tightly in plastic wrap and aluminum foil for up to 3 months. This way, you can enjoy the deliciousness at a later time!
Thawing: To enjoy thawed cake, move it to the refrigerator overnight. Allow it to come to room temperature before serving for the best flavor and texture.
Reheating: If you prefer your cake warm, gently heat individual slices in the microwave for about 10–15 seconds. Avoid overheating to prevent the cream topping from melting away.
Chocolate Peanut Butter Poke Cake Variations
Feel free to let your creativity shine and customize this cake to match your tastes!
-
Gluten-Free: Substitute gluten-free chocolate cake mix for the regular mix to make this dessert friendly for those with gluten sensitivities.
-
Nut-Free: Swap out the peanut butter for sunbutter or almond butter if you’re seeking a nut-free twist without compromising on flavor.
-
Vegan Delight: Use a vegan chocolate cake mix, almond milk, and a dairy-free whipped cream alternative to create a deliciously vegan version of this poke cake.
-
Decadent Layer: Add a layer of ganache between the cake and topping for a rich, chocolaty surprise in the middle.
-
Banana Bliss: Incorporate mashed ripe bananas into the cake batter for a fruity twist that pairs wonderfully with chocolate and peanut butter.
-
Minty Fresh: Mix in a few drops of peppermint extract into the whipped cream for a refreshing chocolate-peppermint flavor that will wow your guests.
-
Spicy Kick: Add a pinch of cayenne or chili powder to the peanut butter filling for an unexpected yet delightful heat that contrasts with the sweetness.
-
Berry Burst: Top your cake with fresh berries like strawberries or raspberries to cut through the richness and add a pop of color and flavor.
For more exciting dessert ideas, dive into our Decadent Dessert Recipes or try the unforgettable flavors of our Chocolate Cake Recipes that are sure to impress!
What to Serve With Chocolate Peanut Butter Poke Cake
Indulging in a slice of this rich cake is a delight, and pairing it with the right accompaniments enhances the experience even more.
- Vanilla Ice Cream: The creamy, cold texture of vanilla ice cream balances the rich chocolate and peanut butter flavors perfectly.
- Fresh Berries: Tart raspberries or strawberries provide a refreshing contrast that cuts through the sweetness, brightening each bite.
Imagine enjoying this decadent cake topped with a scoop of vanilla ice cream, melting ever so slightly into the moist layers — it’s a match made in heaven.
- Coffee or Espresso: A strong cup of coffee or a shot of espresso complements the dessert's sweetness, bringing out the chocolate notes beautifully.
- Chocolate Sauce: For true chocolate lovers, an extra drizzle of chocolate sauce adds richness and makes each slice even more irresistible.
- Crushed Oreos: Sprinkle crushed Oreos on top for an added layer of texture and a delightful cookie crunch that every dessert needs.
You could even layer this chocolatey delight with fresh fruits, balancing out the richness with a sweet and refreshing bite!
Make Ahead Options
The Chocolate Peanut Butter Poke Cake is perfect for busy home cooks who want to save time without sacrificing flavor! You can prepare the chocolate cake itself up to 24 hours in advance, allowing it to cool completely and then refrigerate it wrapped tightly to maintain its moistness. Additionally, the peanut butter filling can be made up to 3 days ahead; just store it in an airtight container in the fridge until you’re ready to use it. When it's time to serve, simply poke holes in the cake, add the filling, prepare the whipped topping, and finish with your favorite toppings. This approach ensures your cake is just as delicious while maximizing your meal prep efforts!
Chocolate Peanut Butter Poke Cake Recipe FAQs
How do I know if my chocolate cake mix is fresh?
Absolutely! The best way to determine if your chocolate cake mix is still good is to check the expiration date on the box. If it’s past that date, it’s a good idea to do a sight and smell test; if it smells off or has clumps, toss it. Fresh ingredients yield the best flavors in your Chocolate Peanut Butter Poke Cake!
How should I store leftover Chocolate Peanut Butter Poke Cake?
You can store any leftover cake in an airtight container in the refrigerator for up to 3 days. Make sure to cover it well to keep the moisture intact, which is essential for retaining that decadent texture. If you find yourself with more cake than you can handle, don't fret; there are freezing options too.
Can I freeze Chocolate Peanut Butter Poke Cake?
Yes, you can! For freezing, slice the cake into portions and wrap each slice tightly in plastic wrap, followed by aluminum foil. This method protects it from freezer burn and allows you to enjoy the poke cake later. It will stay fresh for up to 3 months. To thaw, simply place the slices in the refrigerator overnight, and they'll be ready to devour!
What should I do if my cake is too dry after baking?
Very! If your cake turns out dry, there are a few tricks. First, ensure you don't overbake the cake; using a toothpick to check for doneness is key. If you ever end up with a dry cake, adding an extra creamy topping like more peanut butter or whipped cream can help. If you've already made the Chocolate Peanut Butter Poke Cake, consider drizzling some chocolate syrup over it to add moisture back in – it’s delicious and saves the day!
Can I make this cake gluten-free?
Absolutely! If you or someone you love is gluten-sensitive, there are fantastic gluten-free chocolate cake mixes available. Just make sure to double-check the packaging for any potential allergens. You can still enjoy this yummy Chocolate Peanut Butter Poke Cake without worry!
Indulge in Decadent Chocolate Peanut Butter Poke Cake
Equipment
- 9x13 inch baking dish
- Mixing bowls
- Whisk
- spatula
- Electric mixer
Ingredients
For the Cake
- 1 box chocolate cake mix the base for this sumptuous dessert, making it quick and easy
- 1 teaspoon vanilla extract optional, enhances the flavor of the chocolate cake
For the Filling
- 1 cup peanut butter provides that rich, creamy goodness
- 1 can sweetened condensed milk creates a luscious filling
- 1 cup whole milk helps create a smooth consistency
For the Topping
- 1 cup heavy cream for the light and fluffy whipped topping
- ½ cup powdered sugar adds sweetness to the whipped cream
- 1 cup chopped Reese's cups bring a fun crunch and additional flavor
- ½ cup crushed peanuts adds texture and nutty flavor
- ½ cup melted chocolate for drizzling
- ½ cup melted peanut butter to enhance flavor
Instructions
Step-by-Step Instructions
- Preheat your oven to 350°F (175°C). Gather your baking equipment, grease the baking dish.
- In a large mixing bowl, prepare the chocolate cake mix according to package directions. Add vanilla extract if desired.
- Pour the prepared cake batter into your greased baking dish and bake for 25–30 minutes.
- Allow the cake to cool for about 10 minutes after baking.
- In a separate bowl, whisk together peanut butter, sweetened condensed milk, and whole milk until smooth.
- Using the handle of a wooden spoon, poke holes evenly across the surface of the warm cake.
- Slowly pour the creamy peanut butter filling over the poked cake, allowing it to soak in.
- In a chilled mixing bowl, beat heavy cream with powdered sugar until soft peaks form.
- Gently fold in the remaining peanut butter into the whipped cream mixture until smooth.
- Spread the peanut butter whipped topping evenly over the cooled cake.
- Sprinkle chopped Reese's cups and crushed peanuts over the whipped cream topping.
- Drizzle melted chocolate and melted peanut butter over the top of the cake.
- Place the cake in the refrigerator for at least 1 hour before serving.
- Once chilled, slice the cake into squares and serve.