As I rummaged through my pantry, a clever idea struck me: why not turn classic brownies into something fun and festive? That’s when I decided to whip up these playful Mummy Brownies, perfect for Halloween gatherings or a creative family baking day. This recipe is not just an eye-catching treat; it’s a time-saver too! With just 45 minutes from prep to bake, these fudgy delights come together quickly, allowing you to enjoy more time with loved ones. Plus, there’s an option for gluten-free goodness that ensures everyone can indulge in this spooky dessert! Are you ready to channel your inner baking ghost and impress your friends and family? Let’s dive into this fun and delicious adventure together!
Why Are Mummy Brownies So Irresistible?
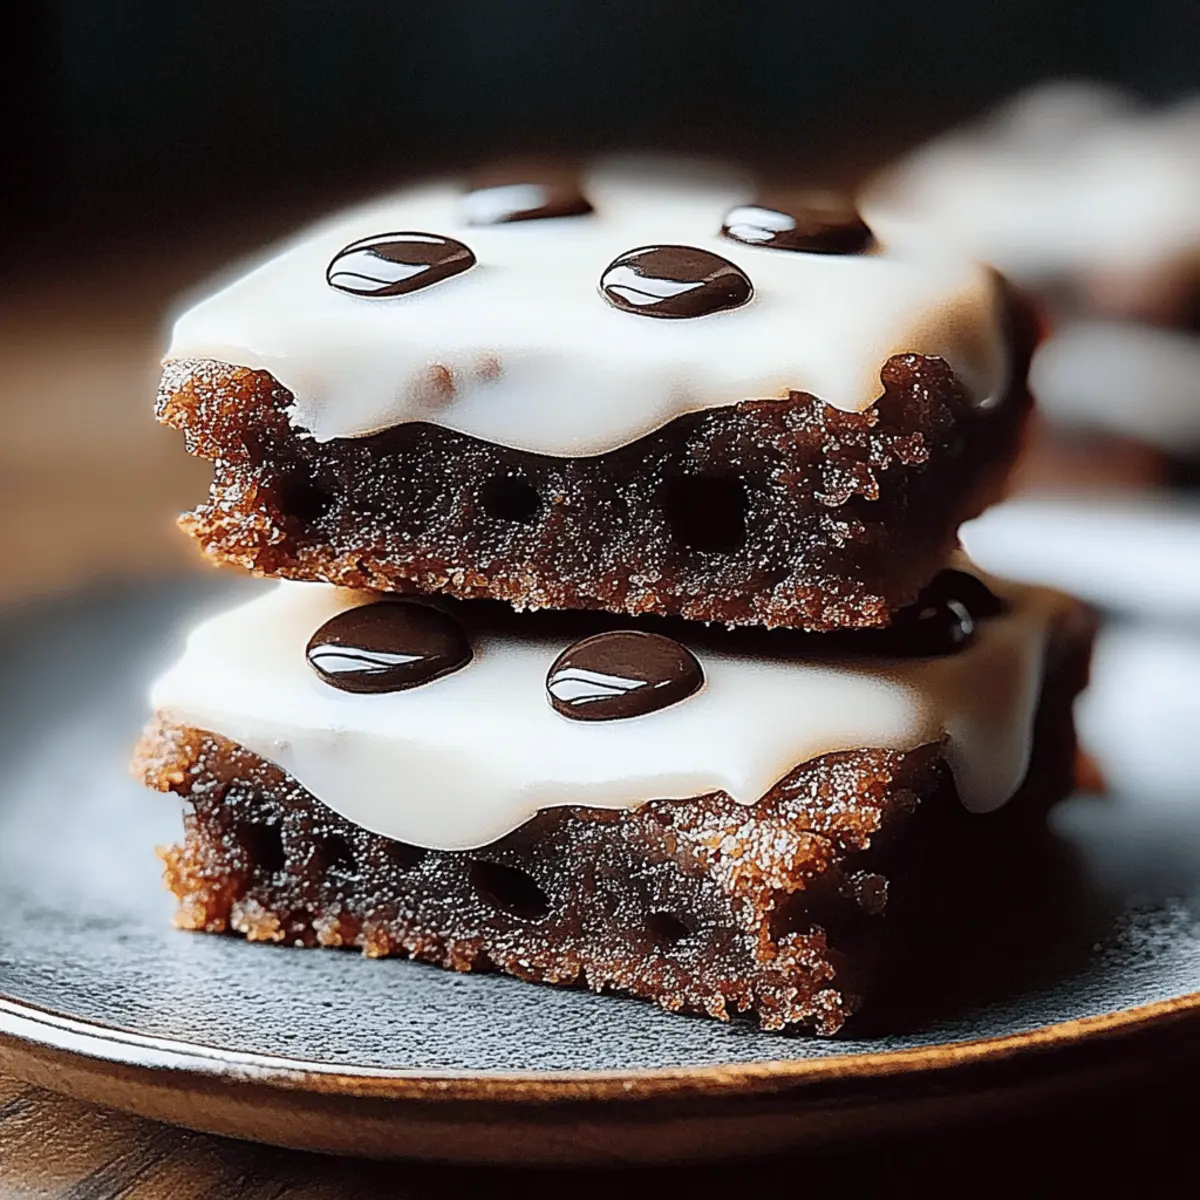
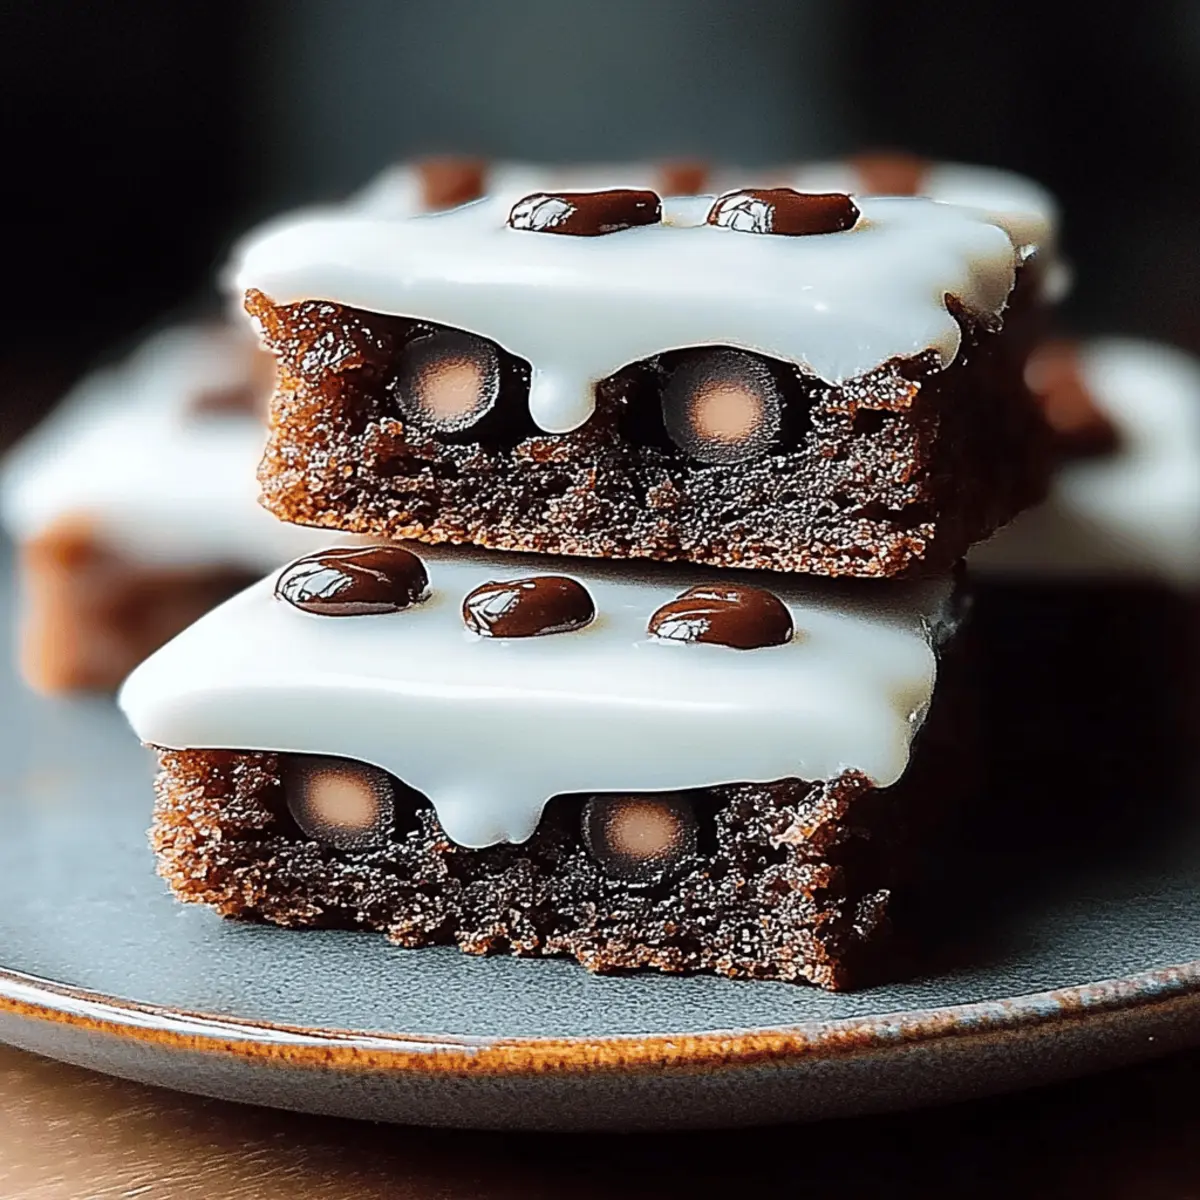
Fudgy, these brownies boast a rich texture that melts in your mouth, making them a true chocolate lover’s delight. Festive and fun, their playful mummy design brings an element of excitement to any gathering. Time-saving, with just 45 minutes from start to finish, you’ll have a delectable dessert ready in no time! Gluten-free option available means that everyone can indulge in this spooky treat. Perfect for Halloween or any occasion, these Mummy Brownies are sure to be a hit with friends and family alike!
Ingredients
Mummy Brownies Ingredients
For the Brownie Batter
• Unsweetened cocoa powder – adds depth and a rich chocolate flavor to your brownies.
• Granulated sugar – ensures the brownies are sweet and perfectly balanced.
• All-purpose flour – gives structure; can be swapped for a gluten-free blend for a delightful gluten-free experience.
• Large eggs – binds the ingredients together and contributes to the fudgy texture.
• Unsalted butter (melted) – enhances the richness and moisture, making these brownies extra delicious.
For the Decoration
• White icing – used to create the spooky mummy wrappings; you can use store-bought or homemade for ease.
Step‑by‑Step Instructions for Mummy Brownies
Step 1: Preheat and Prepare the Pan
Preheat your oven to 350°F (175°C) and prepare your baking pan by greasing it lightly or lining with parchment paper. This ensures that your delicious Mummy Brownies lift smoothly after baking. While the oven heats up, gather your ingredients to make the process easier and more enjoyable.
Step 2: Mix Dry Ingredients
In a large mixing bowl, combine 1 cup of unsweetened cocoa powder, 1 cup of granulated sugar, 1 cup of all-purpose flour, and a pinch of salt. Whisk the dry ingredients well until they are evenly blended, creating a rich chocolatey base for your brownies. Be sure there are no lumps for the best texture.
Step 3: Combine Wet Ingredients
In a separate bowl, melt ½ cup of unsalted butter and allow it to cool slightly. Once cooled, add 2 large eggs and mix until silky smooth. This wet mixture will give your Mummy Brownies that fudgy consistency that everyone loves. Stir until thoroughly combined, ensuring no egg streaks remain.
Step 4: Combine Wet and Dry Mixtures
Pour the wet mixture into the bowl of dry ingredients and gently stir together until just combined. Be careful not to overmix, as maintaining a fudgy texture is key to delicious Mummy Brownies. The batter should be thick and glossy, signaling that it’s ready for the next step.
Step 5: Bake the Brownies
Spread the brownie batter evenly into your prepared pan, smoothing the top for a uniform bake. Place it in the preheated oven and bake for 25–30 minutes. Keep an eye out for done-ness; when a toothpick inserted comes out with a few moist crumbs, your brownies are ready to be taken out of the oven.
Step 6: Cool and Cut
Once removed from the oven, allow the brownies to cool in the pan for about 10 minutes before transferring them to a wire rack. This cooling period makes cutting easier. Once they’ve cooled completely, slice them into squares, setting the stage for a creative decorating session.
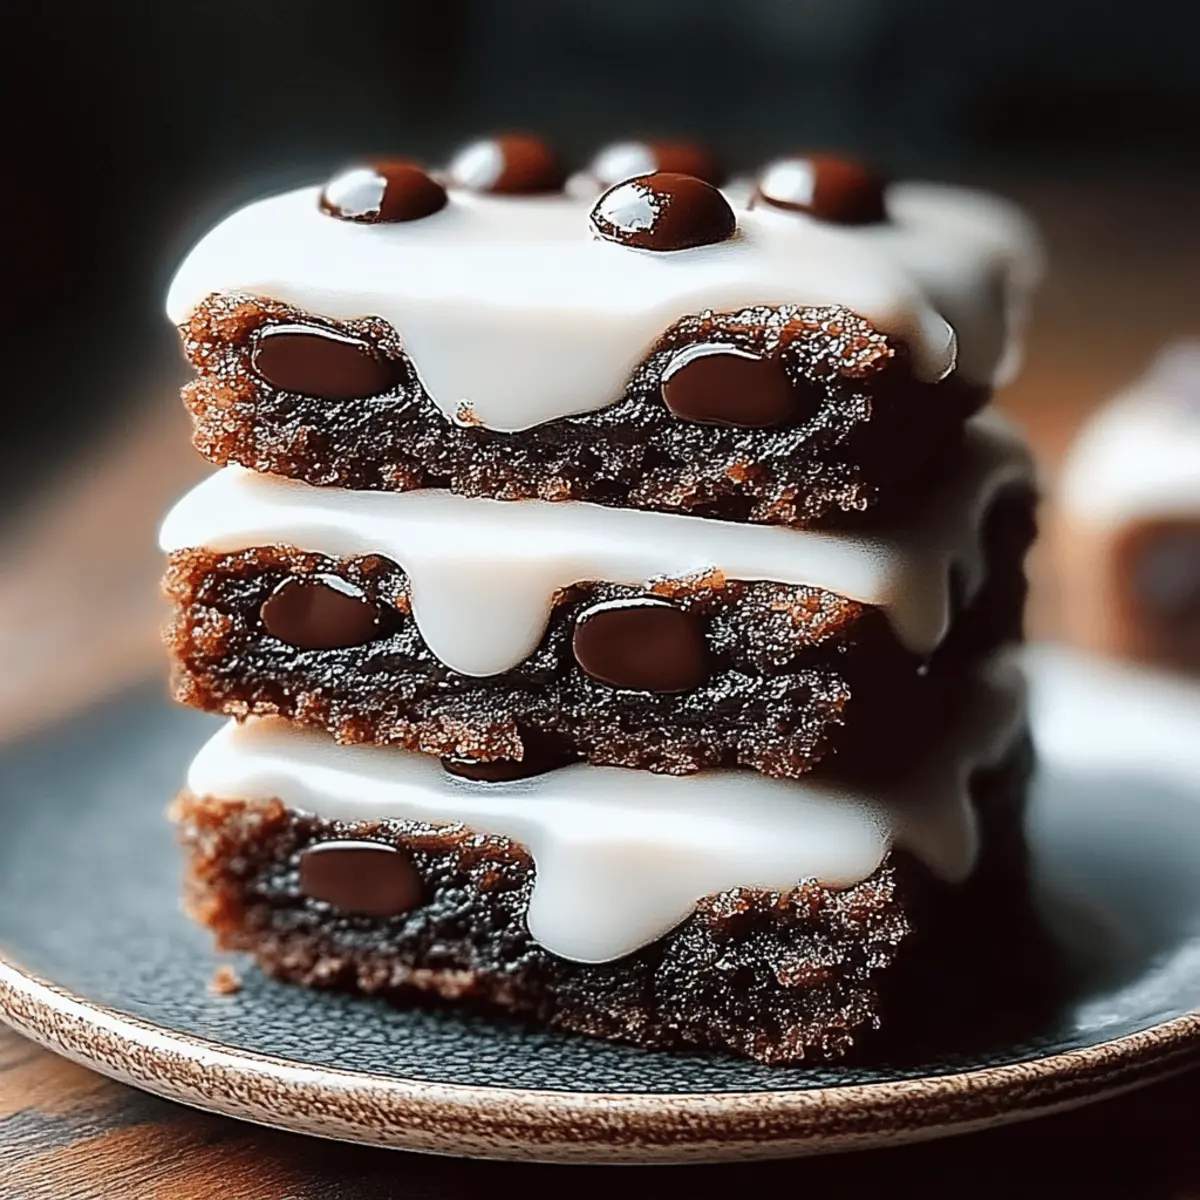
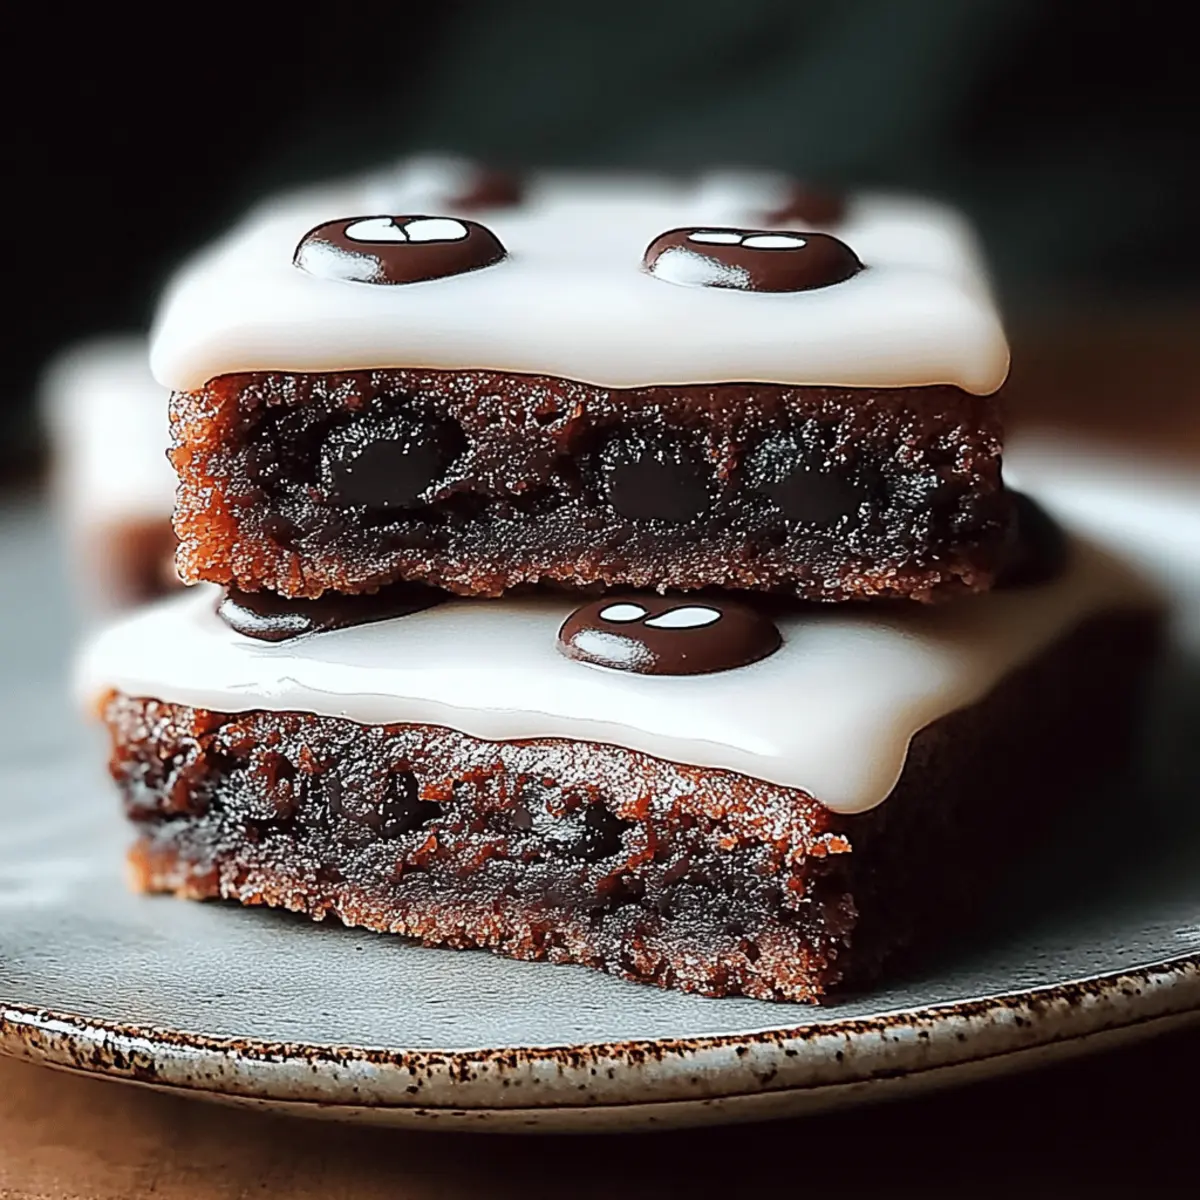
Step 7: Decorate as Mummies
Using white icing, drizzle zigzag patterns across each brownie square to create spooky mummy wrappings. For extra fun, place small candies on top as eyes. Get creative and have fun with it! Your Mummy Brownies are now not only a delight to eat but also a festive treat that everyone will adore.
Make Ahead Options
These Mummy Brownies are perfect for busy home cooks looking to save time while still delivering a delightful treat! You can prepare the brownie batter up to 24 hours in advance; simply cover it tightly with plastic wrap and refrigerate. For even more convenience, bake the brownies ahead of time and store them in an airtight container for up to 3 days at room temperature. Just make sure to cool them completely before storing to maintain their fudginess. When you’re ready to serve, decorate them with white icing and candies to create the fun mummy look. This way, you’ll have an exciting dessert ready to impress with minimal effort!
Expert Tips for Mummy Brownies
- Fudginess Factor: Avoid overmixing the batter to keep your Mummy Brownies delightfully fudgy. Just mix until combined for the best texture!
- Cooling Time: Let the brownies cool before cutting; this will make them less crumbly and easier to decorate.
- Icing Techniques: Use a piping bag for more precise mummy wrappings with white icing, making your decorations extra fun!
- Gluten-Free Swap: If using a gluten-free flour blend, check that it includes xanthan gum for structure and texture.
- Storage Secrets: For maximum freshness, store brownies in an airtight container; they stay tasty for up to three days!
What to Serve with Mummy Brownies?
Transform your spooky sweet creations into a delightful spread that satisfies all cravings!
- Vanilla Ice Cream: A scoop of creamy vanilla ice cream complements the fudgy brownies, creating a delightful contrast in temperature and texture.
- Fresh Berries: Tart raspberries or strawberries add a burst of fresh fruitiness that balances the rich chocolate and makes for a beautiful presentation.
- Whipped Cream: A dollop of light, fluffy whipped cream atop your Mummy Brownies enhances their indulgence and adds a touch of elegance.
- Espresso or Coffee: A strong cup of coffee or espresso pairs wonderfully with brownies, cutting through the sweetness while enhancing their chocolate flavor.
- Pumpkin Spice Latte: Embrace the fall vibes by serving these brownies with a cozy pumpkin spice latte, creating a comforting seasonal treat!
- Chocolate Sauce Drizzle: For the true chocolate enthusiasts, a warm drizzle of chocolate sauce over each brownie takes this dessert to the next level of decadence.
- Nutty Flavors: Pair your brownies with salted nuts or nut butter for a satisfying crunch and added depth of flavor that complements the chocolate.
- Caramel Sauce: Drizzling warm caramel sauce over the brownies provides a luscious sweetness that elevates the overall treat.
- Spiced Apple Cider: A glass of warm, spiced apple cider serves as a cozy drink option that goes wonderfully with fudgy brownies, perfect for autumn gatherings.
Storage Tips for Mummy Brownies
Room Temperature: Store any leftover Mummy Brownies in an airtight container at room temperature for up to 3 days to maintain their fudgy texture.
Freezer: For longer storage, freeze Mummy Brownies in a tightly sealed container or wrapped in plastic wrap for up to 2 months.
Thawing: When ready to enjoy, thaw the brownies at room temperature, or for a quick treat, warm them in the microwave for a few seconds.
Reheating: If you'd like to enjoy a warm brownie, simply microwave a square for about 10-15 seconds for the ultimate fudgy experience.
Mummy Brownies Variations & Substitutions
Feel free to unleash your creativity with these Mummy Brownies and take them to new flavor heights!
- Gluten-Free: Substitute all-purpose flour with a gluten-free flour blend for delicious brownies everyone can enjoy.
- Nutty Twist: Add ½ cup of chopped nuts, like walnuts or pecans, for an added crunch and richness. It gives a nutty layer to the fudgy delight!
- Minty Freshness: Mix in ½ teaspoon of peppermint extract for a refreshing mint flavor that pairs beautifully with chocolate.
- Spicy Kick: Add a pinch of cayenne pepper or chili powder for a surprising heat that contrasts the sweetness beautifully. It’ll thrill the taste buds!
- Caramel Drizzle: Before icing, drizzle some melted caramel sauce on top for an extra sweet touch. It’s a decadent addition that complements the chocolate so well.
- Mini Marshmallows: Mix in mini marshmallows to the batter for a gooey, delightful surprise in every bite. They’ll add a fun texture balance!
- Superfood Boost: Add ¼ cup of finely chopped spinach or beetroot for a hidden health boost that doesn’t compromise on flavor. Colorful and healthy!
- Different Icing: Swap the white icing for chocolate icing or even a cream cheese frosting for a delightful twist on presentation and flavor. Each variation brings its own charm!
Dive into your pantry and let the fun begin! Enjoy making these Mummy Brownies uniquely yours.
Mummy Brownies Recipe FAQs
How do I select the right cocoa powder for my Mummy Brownies?
When choosing cocoa powder, opt for high-quality unsweetened cocoa, as it will dramatically enhance the chocolate flavor of your Mummy Brownies. Look for a cocoa that's rich in color and flavor, ideally labeled as Dutch-processed, for a smoother, more decadent result. You can also taste a bit of it before mixing to ensure it meets your standards!
What’s the best way to store leftover Mummy Brownies for freshness?
Absolutely! Store any leftover brownies in an airtight container at room temperature for up to 3 days. If you want to enjoy them for a longer period, you can freeze them instead. Just wrap each brownie in plastic wrap, then place them in a zip-top bag, and they’ll stay fresh for up to 2 months. When you’re ready to enjoy, you can either thaw them at room temperature or warm them in the microwave for about 10-15 seconds.
Can I freeze Mummy Brownies, and how should I do it?
Of course! To freeze your Mummy Brownies, first ensure they are completely cool. Wrap each brownie tightly in plastic wrap, then place them in a freezer-safe bag or container. They can be kept like this for up to 2 months. When you're ready to savor your spooky treats, simply thaw them at room temperature or warm them in the microwave for a delightful cozy dessert.
What if my brownies don't seem fudgy when I bake them?
Very good question! If your brownies turn out cakey instead of fudgy, it usually means they were overmixed or overbaked. To avoid this, mix the wet and dry ingredients until just combined—no more! Also, keep an eye on them during baking; they should have a few moist crumbs on the toothpick when tested, which indicates they're done without being overly dry.
Can I make the Mummy Brownies gluten-free?
Absolutely! To make your Mummy Brownies gluten-free, simply swap the all-purpose flour with a gluten-free flour blend. Ensure the blend contains xanthan gum or another binding agent to help with texture. This way, everyone can enjoy these tasty treats without worry!
Are there any specific dietary considerations for pets regarding the ingredients used?
Yes, it’s essential to note that brownies and other baked goods often contain ingredients that aren't safe for pets, such as chocolate and sugar. If you’re baking around your furry friends, keep them away from these treats. Always consult with your veterinarian if you're uncertain about specific ingredients and their effects on your pets.
Mummy Brownies: Fudgy Treats for a Spooky Sweet Night!
Equipment
- Baking Pan
- Mixing bowls
- Whisk
- Piping bag
Ingredients
Brownie Batter
- 1 cup unsweetened cocoa powder adds depth and a rich chocolate flavor
- 1 cup granulated sugar ensures sweetness and balance
- 1 cup all-purpose flour can be substituted with gluten-free blend
- 2 large eggs binds ingredients together
- 0.5 cup unsalted butter melted for richness and moisture
Decoration
- 1 cup white icing for mummy wrappings
Instructions
Preparation Steps
- Preheat your oven to 350°F (175°C) and prepare your baking pan by greasing it lightly or lining with parchment paper.
- In a large mixing bowl, combine the cocoa powder, granulated sugar, all-purpose flour, and a pinch of salt. Whisk until blended.
- In another bowl, melt the butter and cool slightly. Stir in the eggs until smooth.
- Pour the wet mixture into the dry ingredients and stir gently until just combined.
- Spread the batter in the prepared pan and bake for 25-30 minutes, checking for doneness with a toothpick.
- Allow the brownies to cool in the pan for about 10 minutes before transferring them to a wire rack to cool completely.
- Drizzle white icing over each brownie to create mummy wrappings and add candies for eyes.