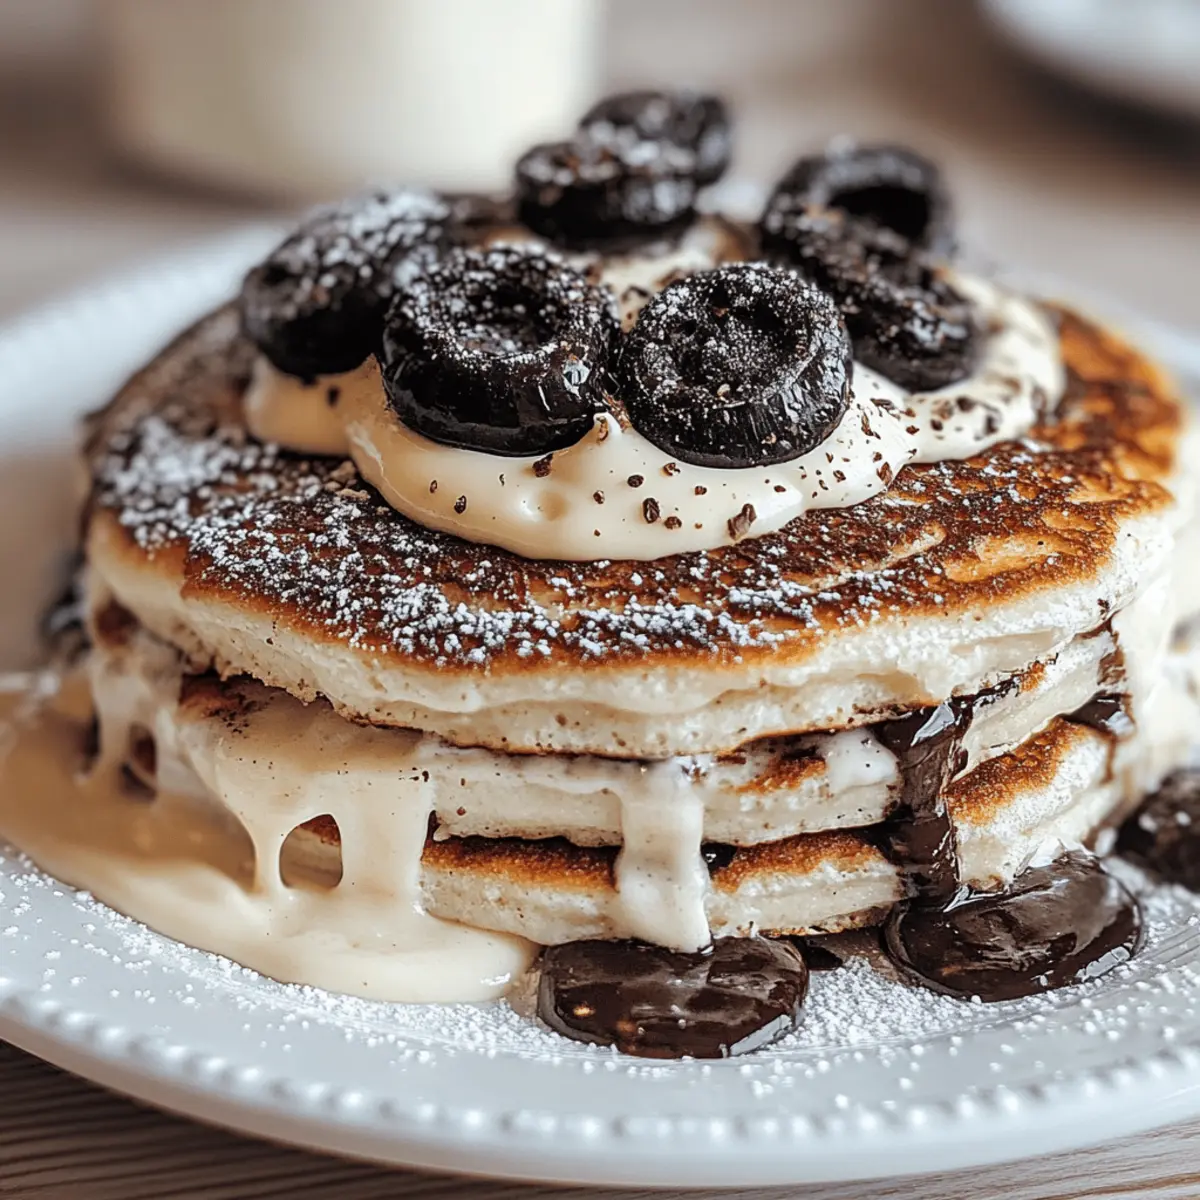
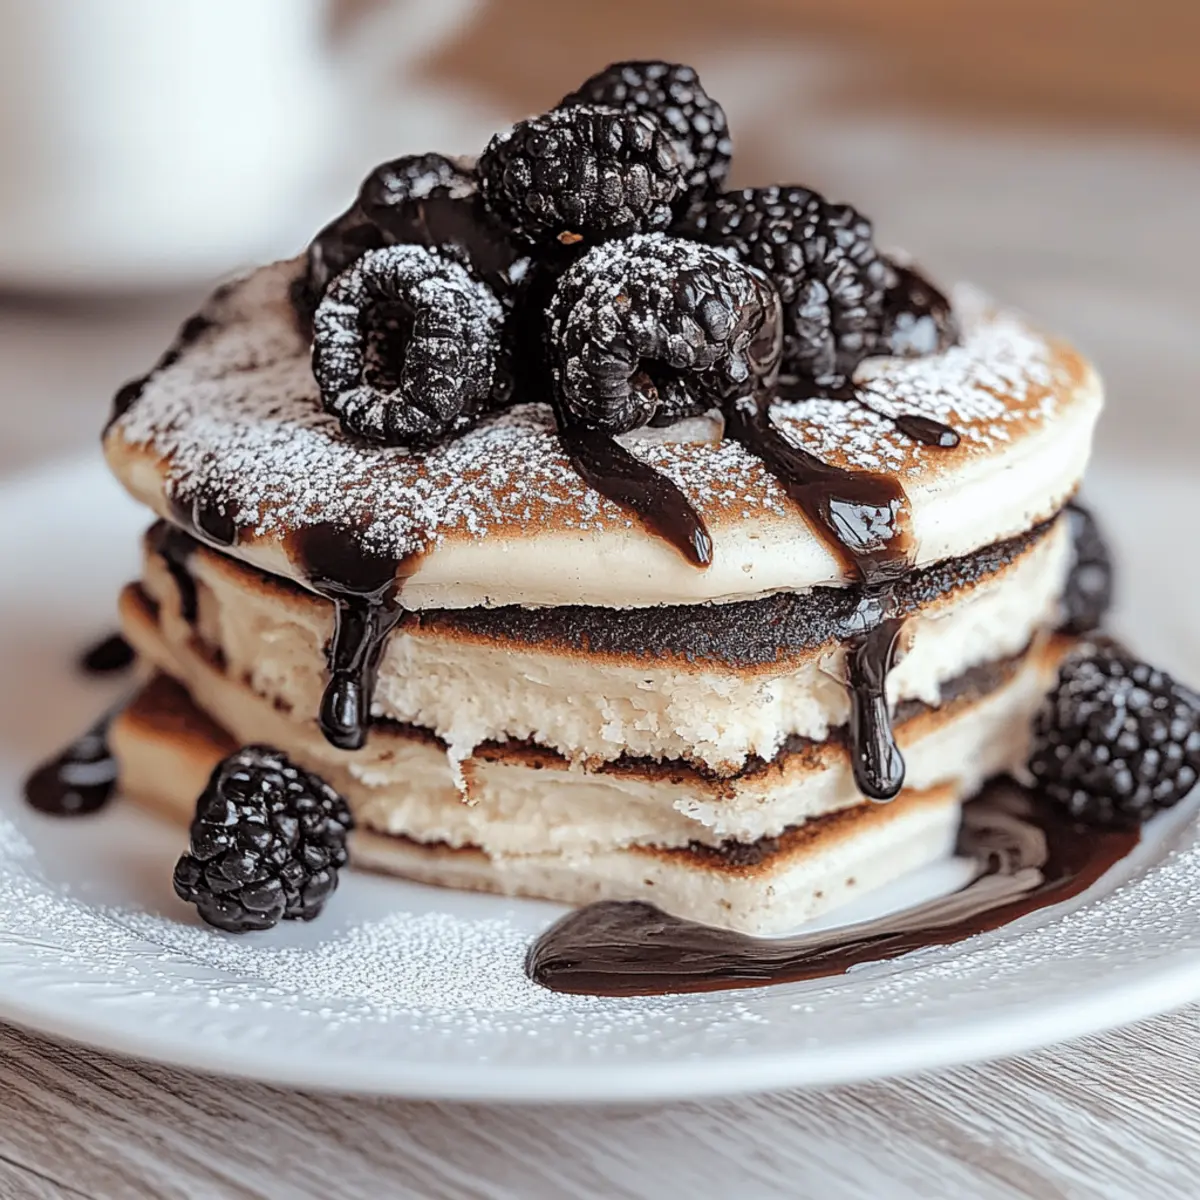
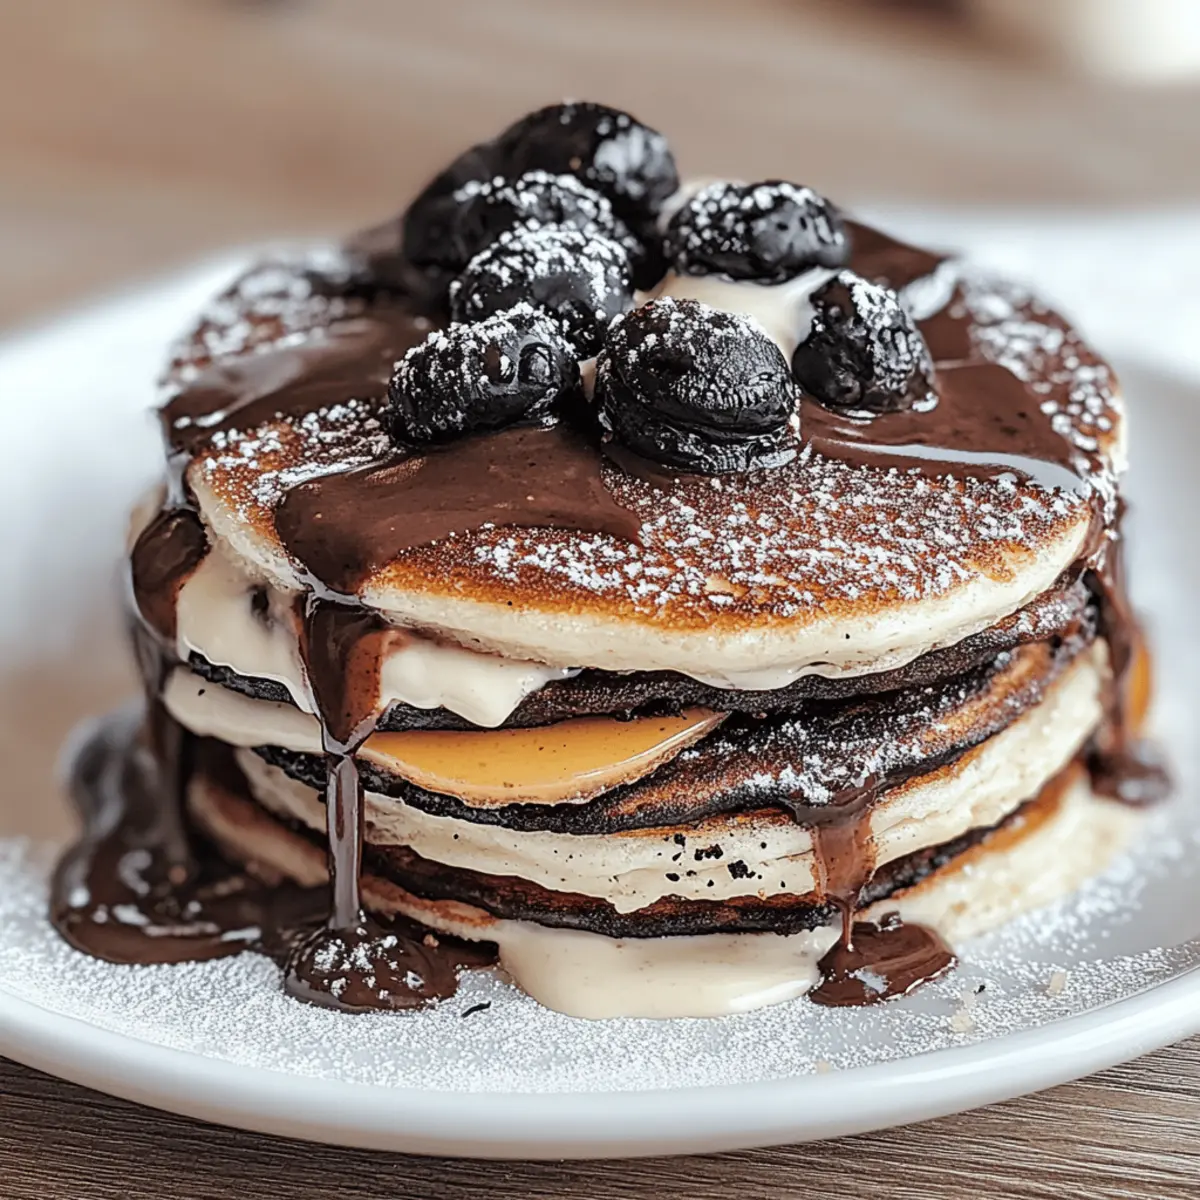
You won’t believe how easy it is to turn your favorite cookie into a delightful breakfast! These Oreo Pancakes are a game-changer for brunch lovers and dessert enthusiasts alike. Just imagine fluffy stacks infused with those iconic chocolatey crumbs, making mornings feel a little sweeter. What I adore about these pancakes is not only how quickly they come together—under 20 minutes from start to finish—but also how they transform an ordinary breakfast into a fun, crowd-pleasing event. Whether you’re treating your family or indulging yourself, this recipe is sure to bring smiles all around. So, who’s ready to dive into these deliciously fun pancakes?
Why Are Oreo Pancakes So Irresistible?
Decadent Delight: These pancakes offer a thrilling twist on breakfast, with Oreo pieces elevating the flavor to new heights.
Quick and Easy: In just 20 minutes, you can whip up this fun recipe, perfect for those busy mornings.
Kid-Friendly Fun: The colorful sprinkles or whipped cream as toppings make these pancakes a super hit with children and adults alike!
Versatile Topping Options: Serve with maple syrup, fresh fruit, or even a scoop of ice cream for a breakfast dessert combination you’ll love.
Crowd-Pleasing Appeal: Whether it's for brunch or a special occasion, these pancakes are sure to impress your family and friends. Enjoy discovering more indulgent breakfast ideas or variations with pancake recipes that leave everyone wanting more!
Oreo Pancakes Ingredients
Get ready to create a mouthwatering breakfast with these standout ingredients!
For the Batter
- 1 cup all-purpose flour – A great base for fluffy pancakes; make sure to sift for an even lighter texture.
- 2 teaspoon baking powder – Provides the perfect lift to make your pancakes sky-high and airy.
- 2 tablespoon granulated sugar – Sweetens the batter, enhancing that delightful cookie flavor from the Oreos.
- ¼ teaspoon salt – Balances the sweetness and helps bring out all the flavors in your Oreo pancakes.
- 1 cup whole milk – Ensures a rich, creamy batter that keeps everything moist and delicious.
- 1 large egg – Adds structure and richness to your pancakes—heavy on the love!
- 2 tablespoon melted butter – Infuses a lovely, buttery flavor into each fluffy bite.
- 6 crushed Oreos – Transform this pancake recipe into a delightful dessert morning feast.
For Topping (Optional)
- Maple syrup – Drizzle this golden goodness for that classic sweet breakfast experience.
- Whipped cream – Light and fluffy, it adds elegance and extra sweetness!
- Fresh fruit – Strawberries, bananas, or blueberries can bring a refreshing contrast to the rich Oreos.
- Choco-chip sprinkles – For the ultimate chocolate lover experience; these sprinkles add a festive touch!
Step‑by‑Step Instructions for Oreo Pancakes
Step 1: Whisk the Dry Ingredients
In a large mixing bowl, combine 1 cup of all-purpose flour, 2 teaspoons of baking powder, 2 tablespoons of granulated sugar, and ¼ teaspoon of salt. Use a whisk to blend these ingredients until well combined, creating a light and airy texture. This will form the perfect base for your Oreo Pancakes!
Step 2: Mix the Wet Ingredients
In a separate bowl, add 1 cup of whole milk, 1 large egg, and 2 tablespoons of melted butter. Whisk these ingredients together until they are thoroughly blended, ensuring a rich and creamy mixture. This wet blend will add moisture and richness to your Oreo Pancakes, setting them up for delightful fluffiness!
Step 3: Combine Mixtures
Gradually pour the wet ingredients into the bowl with the dry mixture. Gently stir the batter to combine, being mindful not to overmix—it's okay to leave a few lumps for the ultimate fluffy texture. The batter will start to form, infused with a subtle sweetness from the previous ingredients, setting the stage for those beloved Oreo flavors.
Step 4: Add the Crushed Oreos
Carefully fold in 6 crushed Oreos into the pancake batter, ensuring they are evenly distributed throughout. Their delicious chocolate cookie bits will transform your pancake mix, promising each bite to be an indulgent experience. The allure of Oreo Pancakes is tantalizing, with chunks ready to create magnificent flavor bursts!
Step 5: Heat the Skillet
Preheat a non-stick skillet over medium heat for a few minutes; you want it hot enough for pancakes to sizzle upon contact. Once ready, lightly grease the skillet with cooking spray or a touch of butter. This step ensures non-stick perfection, leading to beautifully golden brown pancakes every time!
Step 6: Cook the Pancakes
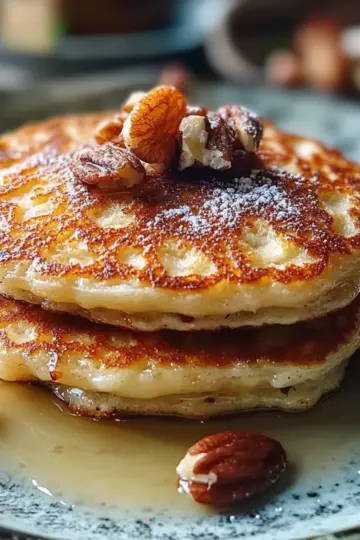
Pour half a cup of the batter onto the skillet for each pancake. Cook for about 2 minutes, or until you see bubbles start to form on the surface, indicating they're ready to flip. Carefully turn them over and cook for an additional 1-2 minutes until golden brown and fluffy. Gaze at those perfect Oreo Pancakes coming to life!
Step 7: Serve and Enjoy
Once cooked, transfer the pancakes to a warm plate. Stack them high and serve warm with maple syrup drizzled over the top, choosing any additional toppings you desire, like whipped cream or fresh fruit. Your Oreo Pancakes are ready to delight your taste buds—it's time to dig in!
What to Serve with Oreo Pancakes
Indulge in a delightful breakfast adventure that elevates your pancake experience to new heights!
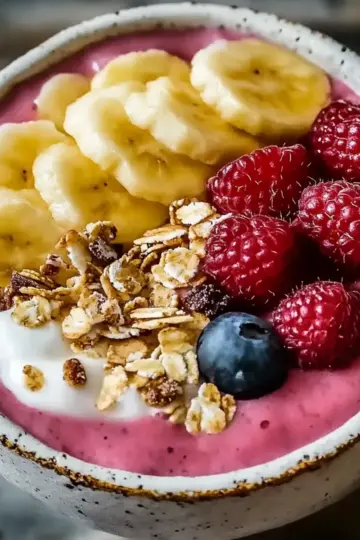
- Fresh Berries: Juicy strawberries, blueberries, or raspberries add a burst of freshness that beautifully balances the rich Oreo flavors.
- Whipped Cream: Light and airy, whipped cream drizzled over pancakes enhances sweetness and elevates visual appeal with a cloud-like topping.
- Crispy Bacon: The savory crunch of bacon pairs perfectly with the sweet Oreo pancakes, creating a balanced sweet and salty breakfast.
- Maple Syrup: This classic topping is a must-have; a drizzle of warm syrup provides a delightful sweetness that complements every bite.
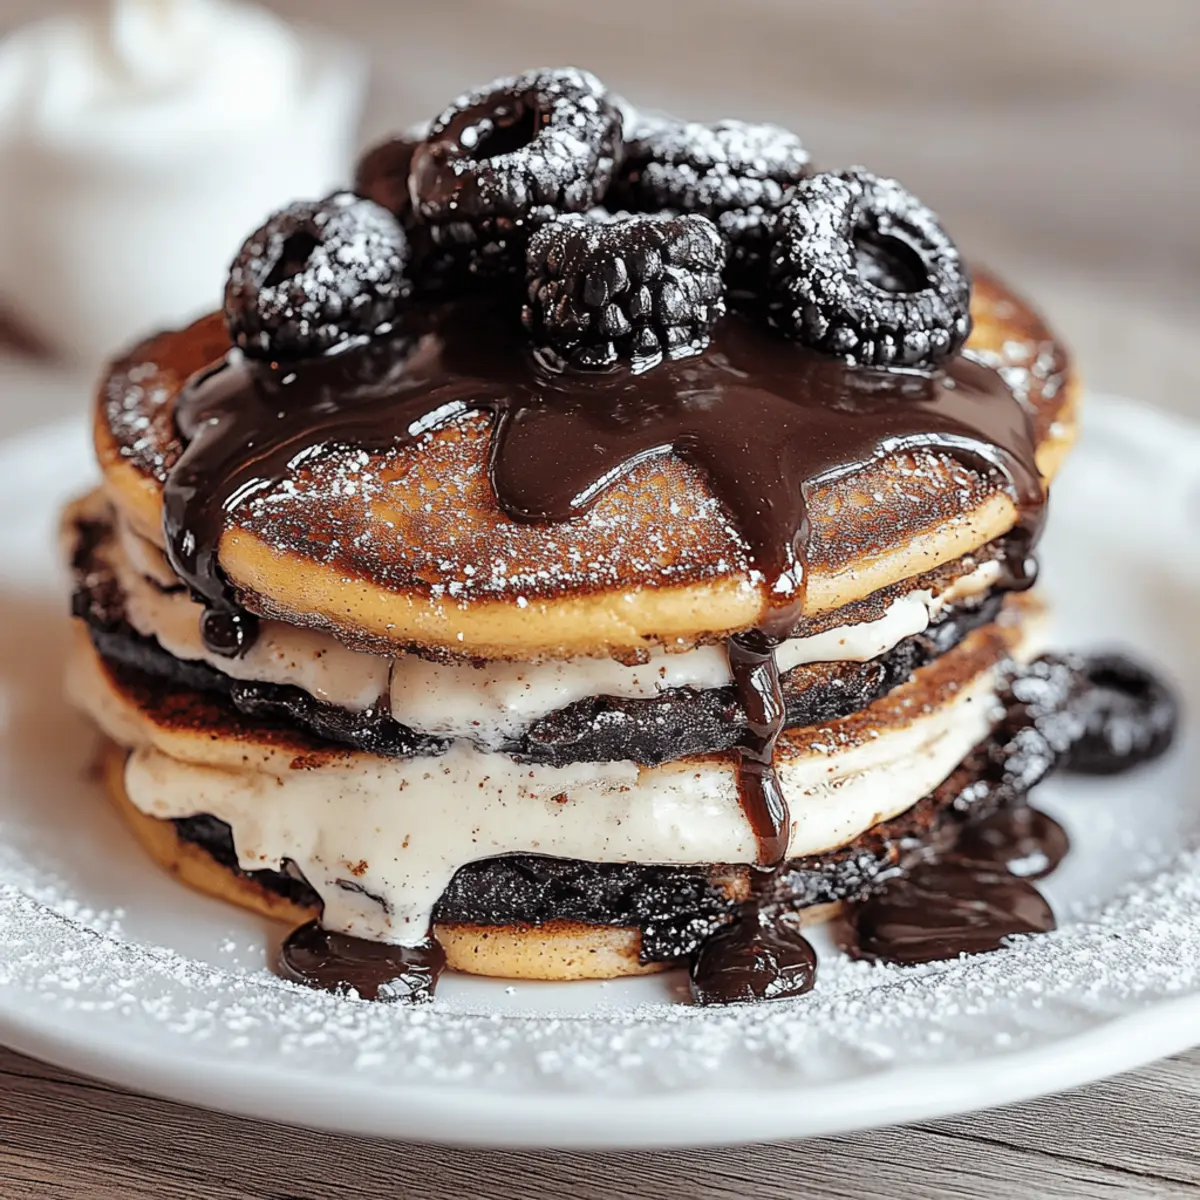
- Chocolate Sauce: For a decadent touch, drizzle chocolate sauce over your pancakes, transforming them into a rich dessert-like experience!
- Ice Cream: Serve a scoop of vanilla or cookies and cream ice cream alongside your pancakes for a breakfast that feels indulgently like dessert!
- Coconut Flakes: Add toasted coconut flakes for a chewy texture and tropical flair that enhances your dish’s flavor complexity.
- Coffee or Milk: Pairing your pancakes with a steaming cup of coffee or a cold glass of milk completes this culinary experience. Enjoy!
Make Ahead Options
These Oreo Pancakes are perfect for meal prep enthusiasts looking to save time on busy mornings! You can prepare the pancake batter up to 24 hours in advance. Simply follow the instructions up to the point of cooking, then store the mixed batter in an airtight container in the refrigerator to keep it fresh and prevent browning. If you're feeling ahead of the game, you can also crush the Oreos up to 3 days in advance and keep them in a resealable bag—just give them a quick shake before folding them into the batter. When you're ready to enjoy these delightful pancakes, simply heat your skillet and cook the batter as directed for just as delicious results!
Tips for the Best Oreo Pancakes
- Use Room Temperature Ingredients: Ensure your milk and egg are at room temperature, as this helps create a smoother batter and fluffier pancakes.
- Don’t Overmix: Gently combine wet and dry ingredients; overmixing can lead to dense pancakes instead of the light, airy Oreo Pancakes you crave.
- Perfect Cooking Temperature: Keep your skillet at medium heat so the pancakes cook evenly without burning. Adjust as needed for perfect results!
- Fresh Oreos, Better Flavor: Use fresh Oreos for the best flavor and texture; stale cookies can affect the taste and crunch in your pancakes.
- Experiment with Toppings: Don’t hesitate to try different toppings like Nutella, berries, or even crushed candies to elevate your Oreo Pancakes into a new realm of delight!
Oreo Pancakes Variations & Substitutions
Feel free to mix things up and make this recipe your own with these fun twists!
- Whole Wheat: Swap out all-purpose flour with whole wheat flour for a nutty flavor and added fiber.
- Gluten-Free: Use a gluten-free flour blend to make these delightful pancakes suitable for those with dietary restrictions. The taste and texture remain just as fabulous!
- Vegan: Replace the egg with a flax egg (1 tablespoon flaxseed meal + 3 tablespoon water) and use almond or coconut milk, plus a vegan butter alternative. It’s a deliciously plant-based indulgence!
- Cheesecake Filling: Stir in ¼ cup of cream cheese for a cheesecake-inspired pancake that pairs wonderfully with fresh berries and syrup. You'll fall in love with this creamy twist!
- Mint Chocolate: Add ½ teaspoon of peppermint extract to the batter for an unexpectedly refreshing flavor, perfect for the mint chocolate lovers out there.
- Spicy Kick: Incorporate a pinch of cayenne pepper or chili powder to add an adventurous spicy note that pairs well with rich toppings.
- Extra Oreos: For a truly indulgent experience, sprinkle more crushed Oreos on top of the pancakes while they are still in the skillet. You’ll get a delightful crunch!
With these creative options, your pancakes can become anything from a wholesome breakfast to a decadent dessert. For other delicious morning inspirations, don't miss out on exploring pancake recipes that are equally tempting!
How to Store and Freeze Oreo Pancakes
Room Temperature: Enjoy your Oreo pancakes fresh! If you have leftovers, store them at room temperature for up to 2 hours—perfect for any immediate cravings.
Fridge: Place cooled pancakes in an airtight container to keep them fresh for up to 3 days. Reheat in the microwave or on a skillet to bring back that fluffy texture.
Freezer: For longer storage, freeze individual pancakes by wrapping each tightly in plastic wrap, then place them in a freezer-safe bag. They’ll stay good for up to 2 months, ready for a quick breakfast!
Reheating: To reheat frozen Oreo pancakes, simply microwave for 30-60 seconds, or toast them in a toaster oven until warm and delightful.
Oreo Pancakes Recipe FAQs
How do I know if my Oreos are fresh enough to use?
Absolutely! Fresh Oreos make a significant difference in flavor and texture. Look for Oreos that have no dark spots or crumbling; they should be intact and crispy. If they feel soft or stale, it’s best to grab a new pack for those delicious Oreo Pancakes!
What’s the best way to store leftover Oreo pancakes?
I recommend placing your cooled Oreo pancakes in an airtight container in the fridge. They can last for up to 3 days. If you want a quicker option, enjoy them at room temperature for up to 2 hours. Just make sure to reheat them gently in the microwave or on a skillet for that fluffy feel!
Can I freeze Oreo pancakes?
Yes, you can! For successful freezing, wrap each pancake tightly in plastic wrap and then place them in a freezer-safe bag. They will remain delicious for up to 2 months. When you’re ready, just microwave them for 30-60 seconds to enjoy a warm breakfast treat!
What should I do if my pancake batter is too thick?
Very! If you find your pancake batter is thicker than desired, simply add a splash of milk, a tablespoon at a time, until it reaches your desired consistency. Remember, it’s perfectly okay for the batter to be a little lumpy for fluffy results—don’t overmix!
Are these pancakes suitable for people with gluten allergies?
No problem! To make gluten-free Oreo Pancakes, substitute the all-purpose flour with a gluten-free flour blend. Just ensure your Oreos are gluten-free, as the standard version contains gluten. Enjoy them worry-free and indulge in sweetness!
Can my pets eat Oreos or Oreo pancakes?
It's not advisable to share Oreos or these pancakes with your pets. Oreos contain chocolate and other ingredients that may not be safe for animals. Always keep your delicious breakfast just for yourself and your loved ones—pets shouldn’t miss out on other yummy treats!
Indulge in Fluffy Oreo Pancakes for a Sweet Morning Treat
Equipment
- Mixing bowl
- Whisk
- non-stick skillet
Ingredients
For the Batter
- 1 cup all-purpose flour Sift for an even lighter texture.
- 2 teaspoon baking powder Provides lift to the pancakes.
- 2 tablespoon granulated sugar Sweetens the batter.
- ¼ teaspoon salt Balances sweetness.
- 1 cup whole milk Keeps everything moist.
- 1 large egg Adds structure and richness.
- 2 tablespoon melted butter Infuses buttery flavor.
- 6 pieces crushed Oreos Adds cookie flavor.
For Topping (Optional)
- maple syrup Classic sweet breakfast experience.
- whipped cream Adds extra sweetness.
- fresh fruit Strawberries or bananas as contrasts.
- choco-chip sprinkles For extra chocolate flavor.
Instructions
Step-by-Step Instructions for Oreo Pancakes
- Whisk the dry ingredients: Combine flour, baking powder, sugar, and salt in a large bowl.
- Mix the wet ingredients: In another bowl, blend milk, egg, and melted butter.
- Combine mixtures: Gradually add wet ingredients to dry and stir gently.
- Add the crushed Oreos: Fold in Oreos into the batter.
- Heat the skillet: Preheat a non-stick skillet and grease lightly.
- Cook the pancakes: Pour batter and cook until bubbles form, then flip.
- Serve and enjoy: Transfer pancakes to a plate, stack, and top as desired.