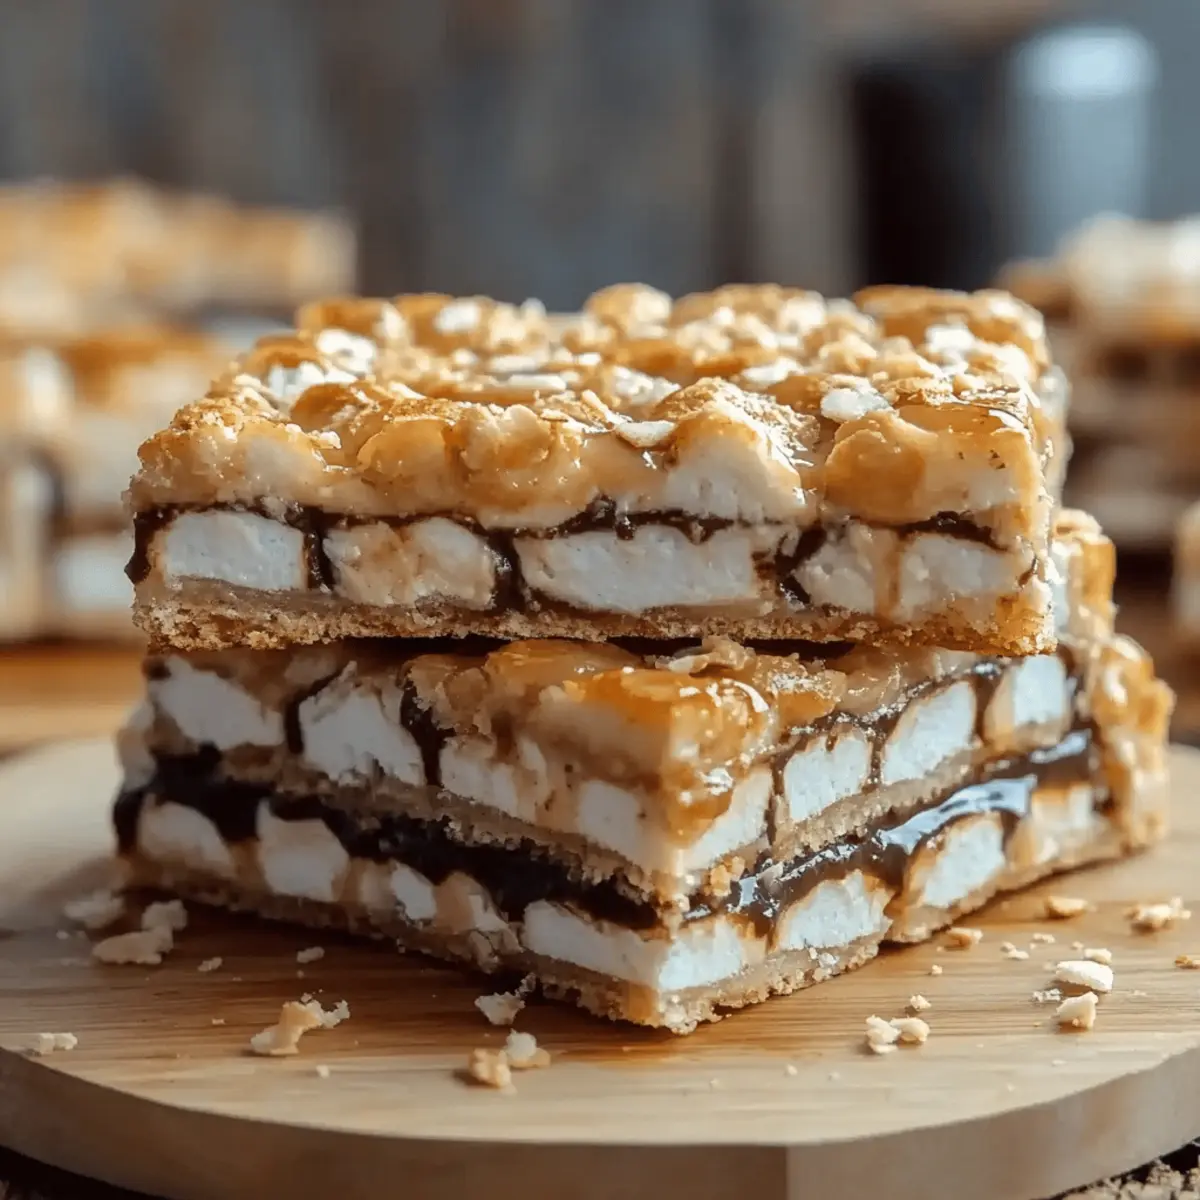
The sweet aroma of melting chocolate and toasted marshmallows has a magical way of pulling me back to cozy summer nights spent around a campfire. Today, I’m sharing my interpretation of that blissful nostalgia with these easy-to-make S’mores Bars. Packed with all the classic flavors of the beloved treat, these bars come together in just 15 minutes, making them the perfect indulgence for busy days or spontaneous get-togethers. Not only are they a guaranteed crowd-pleaser, but they also offer a fun twist on traditional s’mores, allowing you to satisfy your cravings any time of the year. Curious about how simple ingredients can transform into a delightful dessert? Let’s dive in!
How can S’mores Bars impress everyone?
Irresistible taste: The classic combination of graham crackers, chocolate, and marshmallows creates a nostalgic flavor that transports you straight to summer campfires.
Effortless preparation: With just a few simple steps, these S’mores Bars come together in no time, letting you whip up a delightful dessert without the fuss.
Crowd favorite: Perfect for gatherings, parties, or even a quiet night in, these bars are sure to please both kids and adults alike.
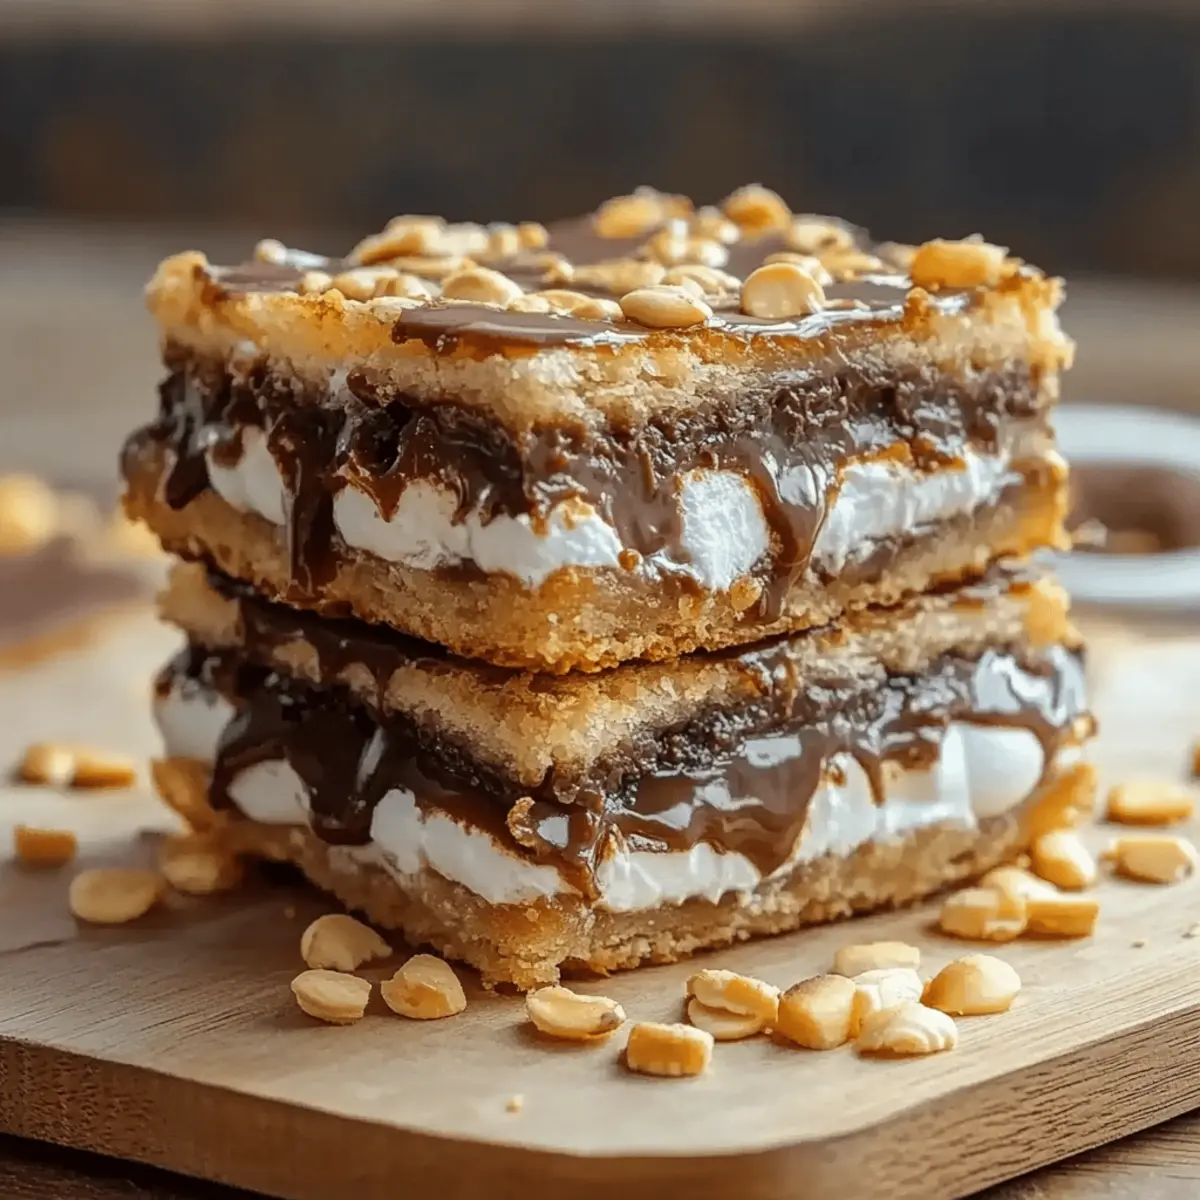
Versatile enjoyment: Swap out ingredients like adding nuts or different chocolate bars to customize these treats for any occasion.
No camping required: Enjoy the magic of s’mores all year round, right from your kitchen! Need some other quick dessert ideas? Check out my delicious Brownie Recipe or scrumptious Chocolate Chip Cookies to keep you inspired!
S’mores Bars Ingredients
For the Crust
• Graham cracker crumbs – provide a sweet, crumbly base that captures the essence of s’mores.
• Powdered sugar – adds sweetness and helps bind the crust together for that perfect texture.
• Butter – acts as a binding agent, giving the crust its rich flavor and slight melt-in-your-mouth quality.
For the Filling
• Hershey bars – the classic choice for a smooth, melty chocolate layer that transforms your s’mores into blissful bars.
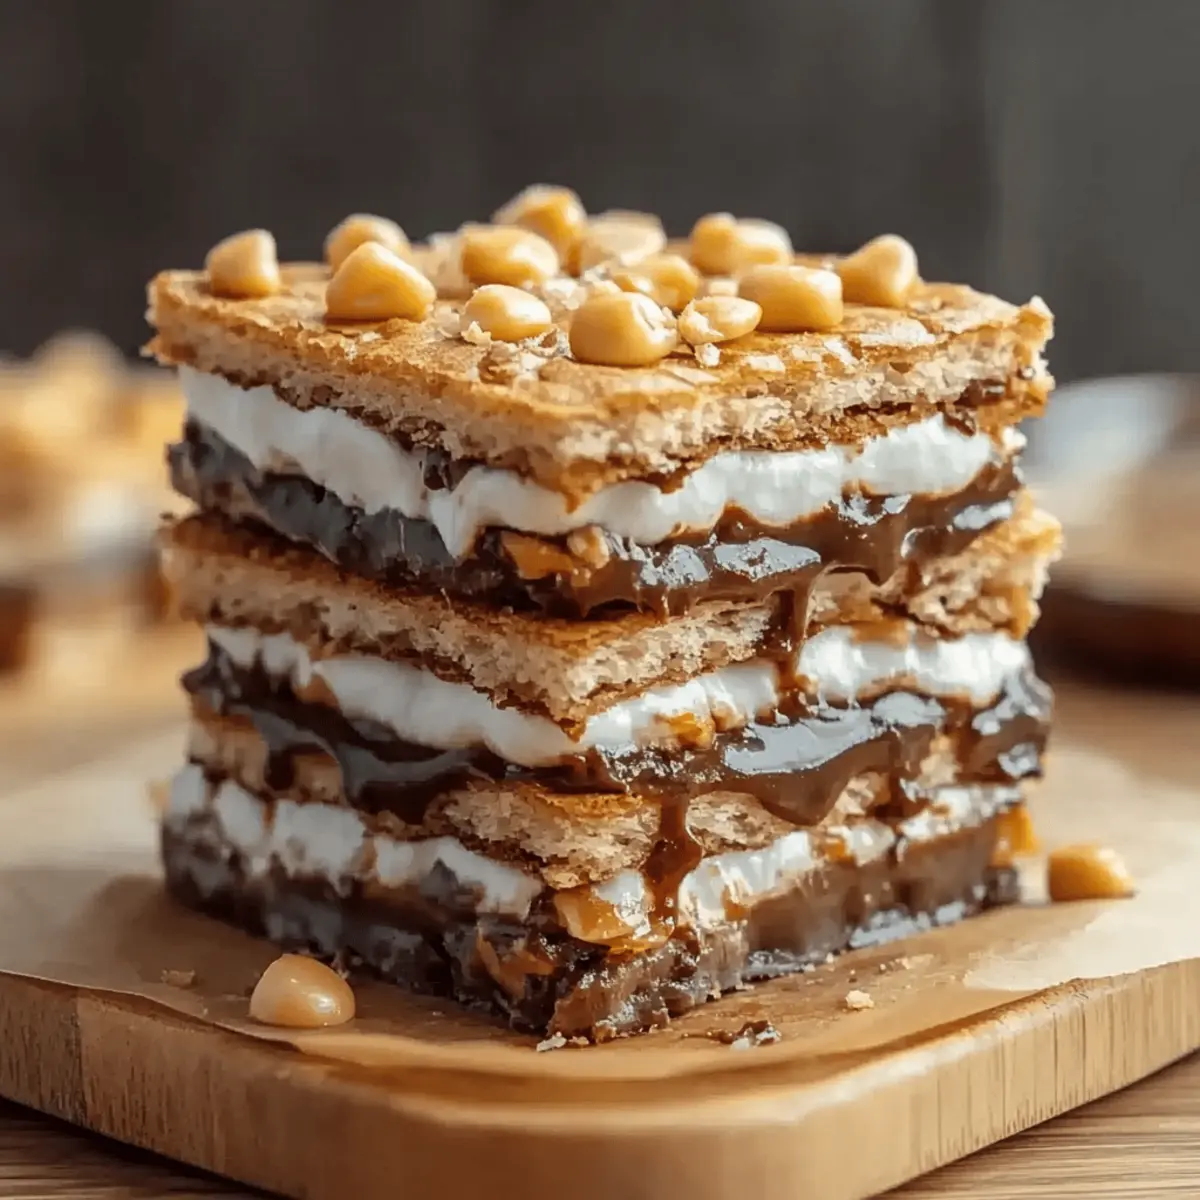
• Mini marshmallows – they toast beautifully, adding that gooey marshmallow flavor everyone loves in traditional s’mores.
Dive into these S’mores Bars, and let the delightful combination of flavors rekindle your fondest memories!
Step‑by‑Step Instructions for S’mores Bars
Step 1: Preheat the Oven
Begin by preheating your oven to 350°F (175°C). This ensures that your S’mores Bars will bake evenly. As the oven heats up, gather all your ingredients, including graham cracker crumbs, powdered sugar, and melted butter, to streamline your prep process and make the following steps a breeze.
Step 2: Prepare the Crust Mixture
In a large mixing bowl, combine 2 cups of graham cracker crumbs, 1 cup of powdered sugar, and ½ cup of melted butter. Stir the mixture vigorously until all ingredients are thoroughly mixed, and the texture resembles wet sand. This combination will form the delicious base of your S’mores Bars and should be moist but not overly saturated.
Step 3: Form the Crust
Grease a 9×13-inch baking pan with butter or cooking spray to prevent sticking. Using your hands or the back of a measuring cup, firmly press the graham cracker mixture into an even layer at the bottom of the pan. Ensure that the crust is packed tightly, as a sturdy base helps support the melted chocolate and marshmallows that will soon follow.
Step 4: Bake the Crust
Place the pressed crust in the preheated oven and bake for 5–8 minutes, or until the edges begin to turn golden brown. This step is crucial for achieving a flavorful and firm crust to hold your S’mores Bars together. Keep an eye on it to ensure the crust doesn’t overbake.
Step 5: Add the Chocolate
Once the crust is baked, remove it from the oven and immediately lay 4 Hershey bars evenly over the warm crust. The heat will soften the chocolate, allowing it to melt slightly. Return the pan to the oven for another 3 minutes, watching closely until the chocolate is glossy and begins to soften beautifully.
Step 6: Top with Marshmallows
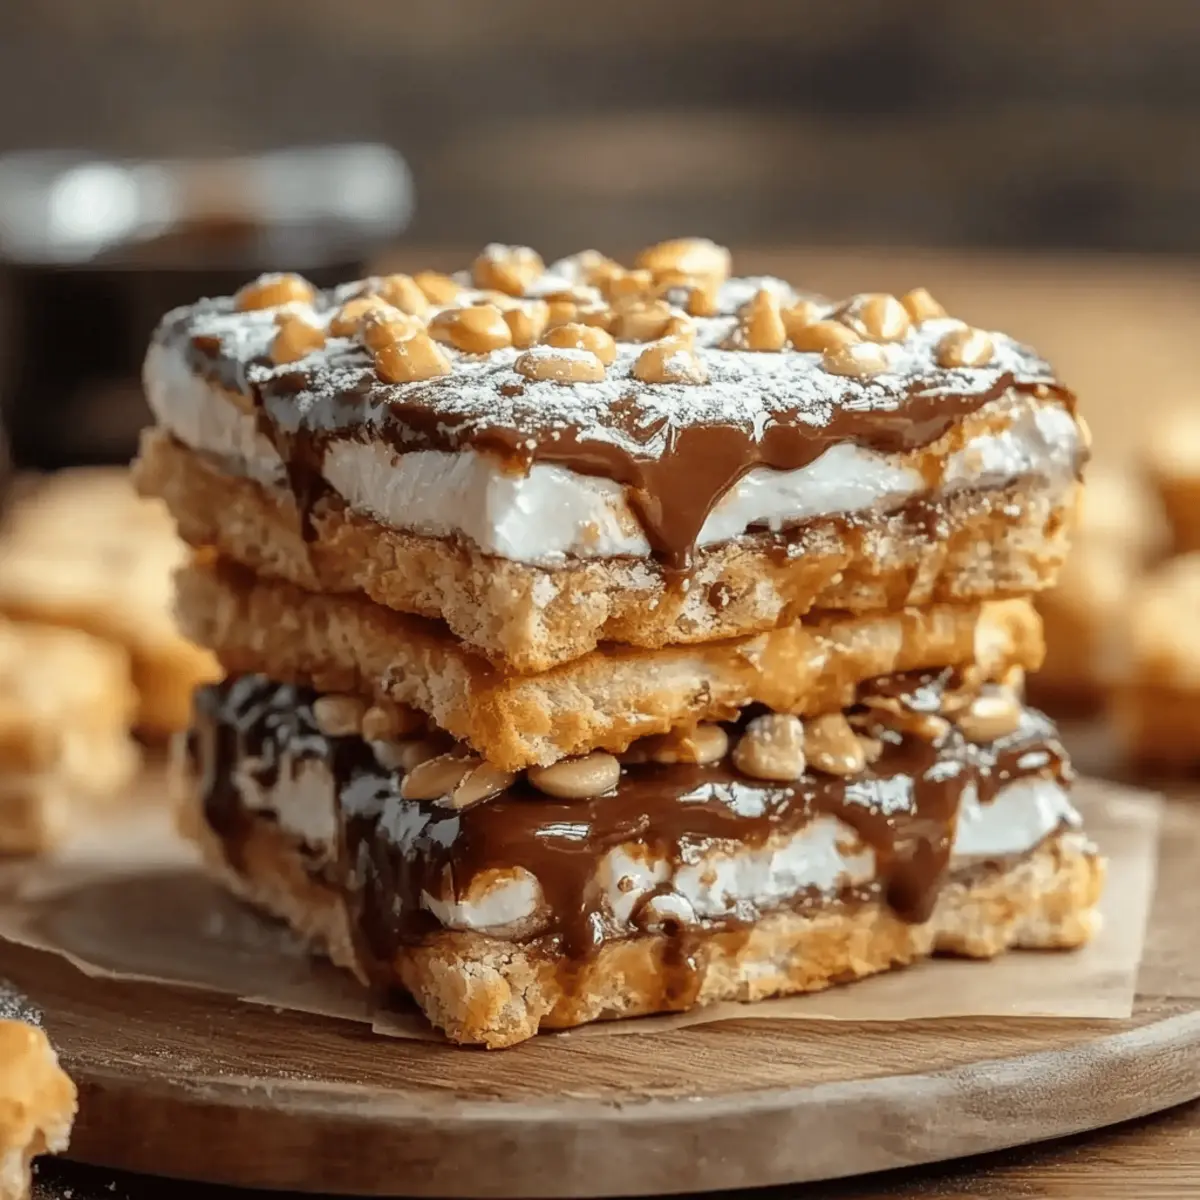
Allow the chocolate to sit for 1–2 minutes after removing from the oven, which makes it easier to press in the marshmallows. Evenly distribute 2 cups of mini marshmallows across the melted chocolate layer, covering it completely. This step is vital for achieving that classic gooey texture that makes S’mores so delightful.
Step 7: Broil the Marshmallows
Switch your oven to the broil setting and place the pan back in the oven for 1–2 minutes. Keep a vigilant watch, as the marshmallows can brown quickly! You'll know they’re ready when they turn a lovely golden brown, adding both flavor and a visually appealing finish to your S’mores Bars.
Step 8: Cool and Slice
Remove the pan from the oven and allow the S’mores Bars to cool completely at room temperature. For easier slicing, refrigerate the bars for about 30 minutes. When ready to cut, run a sharp knife under hot water and dry it off to ensure clean cuts through the gooey marshmallows and chocolate layers.
What to Serve with S’mores Bars
Cozy up your dessert table with delightful pairings that enhance the charm of S’mores Bars!
- Vanilla Ice Cream: Adds a creamy, cool contrast to the warm bars, perfectly balancing the sweet, gooey goodness.
- Fresh Strawberries: Their juicy freshness harmonizes beautifully with the rich chocolate and marshmallow, providing a burst of flavor in each bite.
- Chocolate Milk: A nostalgic drink that pairs wonderfully with the S’mores Bars, echoing the decadent chocolate flavors.
- Peanut Butter Sauce: Drizzling this over the bars brings a nutty twist that enhances the overall experience with each indulgent bite.
- Caramel Sauce: Its rich, buttery sweetness complements the chocolate and marshmallows, creating an irresistible flavor combination.
- S’mores-inspired Milkshake: Blend together chocolate ice cream and some marshmallow fluff for a creamy drink that echoes the bars deliciously.
- Coffee: Whether hot or cold, its rich bitterness contrasts nicely with the sweet bars, creating a delightful after-dinner treat.
Gather your favorite pairings and celebrate the sweet simplicity of these S’mores Bars with delightful accompaniments!
Make Ahead Options
These S’mores Bars are a fantastic choice for meal prep enthusiasts looking to save time! You can prepare the crust mixture (2 cups of graham cracker crumbs, 1 cup of powdered sugar, and ½ cup of melted butter) up to 24 hours in advance. Simply press the prepared mixture into your greased baking pan and store it covered in the refrigerator. Additionally, you can layer the melted chocolate with Hershey bars and mini marshmallows, refrigerating them overnight before broiling. When you're ready to serve, broil the bars for just 1–2 minutes, keeping a close eye to achieve that perfect golden brown marshmallow topping. This simple prep ensures you can whip up a crowd-pleasing dessert any day of the week while maintaining that deliciously gooey texture!
Expert Tips for Perfect S’mores Bars
Prepare Ingredients: Ensure all ingredients are measured and ready before starting to save time and ensure a smooth process without any stress.
Don’t Overmix: When creating the crust, mix just until combined to avoid a dense texture. Aim for a crumbly but moist consistency.
Monitor Browning: While broiling marshmallows, stay close to prevent burning; it only takes a few seconds for them to go from golden to charred.
Cooling Time: Let the S’mores Bars cool completely before slicing to ensure the layers set together perfectly, making for cleaner cuts.
Slice Warm: A warm knife works wonders for a clean cut through the gooey marshmallows, giving your S’mores Bars a picture-perfect presentation.
S’mores Bars Variations & Substitutions
Feel free to explore your creativity and customize these S’mores Bars with delightful twists that will tickle your taste buds!
-
Nutty Delight: Add 1 cup of chopped nuts like pecans or walnuts to the crust for added crunch and flavor. The nuts complement the chocolate perfectly, offering a satisfying contrast in texture.
-
Chocolate Swap: Experiment with milk, dark, or even white chocolate instead of Hershey bars. Each brings a distinct sweetness and richness, creating a unique flavor experience in each bite.
-
Flavor Boost: Stir in a teaspoon of vanilla extract to the crust mixture for a warm, aromatic undertone. It enhances the overall flavor, making your bars even more comforting and inviting.
-
Fruity Twist: Top the melted chocolate layer with fresh fruit such as bananas or strawberries before adding marshmallows. The fruit adds a refreshing burst, combining beautifully with the gooey marshmallow texture.
-
Spicy Kick: Sprinkle a pinch of cayenne pepper or chili powder on the chocolate layer before adding marshmallows for an unexpected heat. The subtle warmth enhances the flavor without overpowering the classic s’mores experience.
-
Cookie Base: Swap out the graham cracker crumbs for crushed Oreo cookies or your favorite cookie for a decadent twist. The chocolatey flavor pairs wonderfully with marshmallows, creating a cookie lover's dream come true.
-
Vegan Version: Use dairy-free chocolate and coconut oil in place of butter to make these bars vegan-friendly. You'll still achieve that rich flavor and chewy texture while honoring dietary preferences.
Feel inspired? Don’t forget to check out my scrumptious Chocolate Chip Cookies or delightful Brownie Recipe for more sweet treats that can easily become family favorites!
How to Store and Freeze S’mores Bars
Room Temperature: S’mores Bars can be stored at room temperature for up to 3 days in an airtight container to maintain their freshness.
Fridge: For longer shelf life, refrigerate them for up to a week. Just place in a tightly sealed container to avoid absorbing odors.
Freezer: If you want to keep S’mores Bars for more extended enjoyment, freeze them for up to 3 months. Wrap individual bars in plastic wrap and place them in a freezer-safe bag.
Reheating: To enjoy them warm, simply microwave a bar for about 10-15 seconds or warm in an oven set at 350°F (175°C) for a few minutes.
S’mores Bars Recipe FAQs
How do I choose the right graham cracker crumbs?
Opt for finely crushed graham cracker crumbs for the best texture in your S’mores Bars. You can use store-bought crumbs or pulse whole crackers in a food processor until they resemble sand. Look for graham crackers without dark spots or visible signs of staleness to ensure the freshest flavor!
How long can I store S’mores Bars, and what’s the best method?
You can store S’mores Bars at room temperature in an airtight container for up to 3 days. To extend their freshness, refrigerate them for up to a week. If you want to keep them longer, they can be frozen for up to 3 months! Just wrap individual bars in plastic wrap and place them in a freezer-safe bag to prevent freezer burn.
Can I freeze S’mores Bars, and how do I do it?
Absolutely! To freeze your delicious S’mores Bars, first, allow them to cool completely at room temperature. Then, wrap each bar tightly in plastic wrap and place them into a freezer-safe bag, pressing out as much air as possible before sealing. Label the bag with the date, and they’ll stay fresh for up to 3 months. When you're ready to enjoy, simply thaw them in the refrigerator overnight.
What should I do if my marshmallows burn while broiling?
If your marshmallows get too brown or burn during broiling, don’t despair! Keep a close watch on them while they’re under the broiler, as it only takes a few seconds for them to go from perfectly toasted to charred. If they do burn, you can scrape off the burnt bits with a knife, or simply embrace the s'mores variation – everyone loves that toasty flavor!
Are S’mores Bars suitable for kids with allergies?
S’mores Bars are a delightful treat but can pose challenges for those with allergies. If making for a child with gluten allergies, use gluten-free graham cracker crumbs. Additionally, be cautious with nut allergies; always check the labels of your ingredients. By making smart substitutions and checking for allergens, you can create a safe version of this sweet treat for everyone to enjoy!
Decadent S’mores Bars That Will Ignite Your Sweet Tooth
Equipment
- Oven
- 9x13-inch baking pan
- Mixing bowl
- Measuring cups
- sharp knife
Ingredients
For the Crust
- 2 cups graham cracker crumbs
- 1 cup powdered sugar
- ½ cup butter melted
For the Filling
- 4 bars Hershey bars broken into pieces
- 2 cups mini marshmallows
Instructions
Step-by-Step Instructions
- Preheat your oven to 350°F (175°C).
- In a large mixing bowl, combine graham cracker crumbs, powdered sugar, and melted butter.
- Press the graham cracker mixture into an even layer in a greased 9x13-inch baking pan.
- Bake for 5–8 minutes, or until the edges turn golden brown.
- Remove the crust from the oven and lay Hershey bars evenly over the warm crust.
- Return to the oven for another 3 minutes until the chocolate is glossy.
- Distribute mini marshmallows evenly across the melted chocolate layer.
- Broil the marshmallows for 1–2 minutes until golden brown, watching closely.
- Cool completely, then refrigerate for about 30 minutes before slicing.