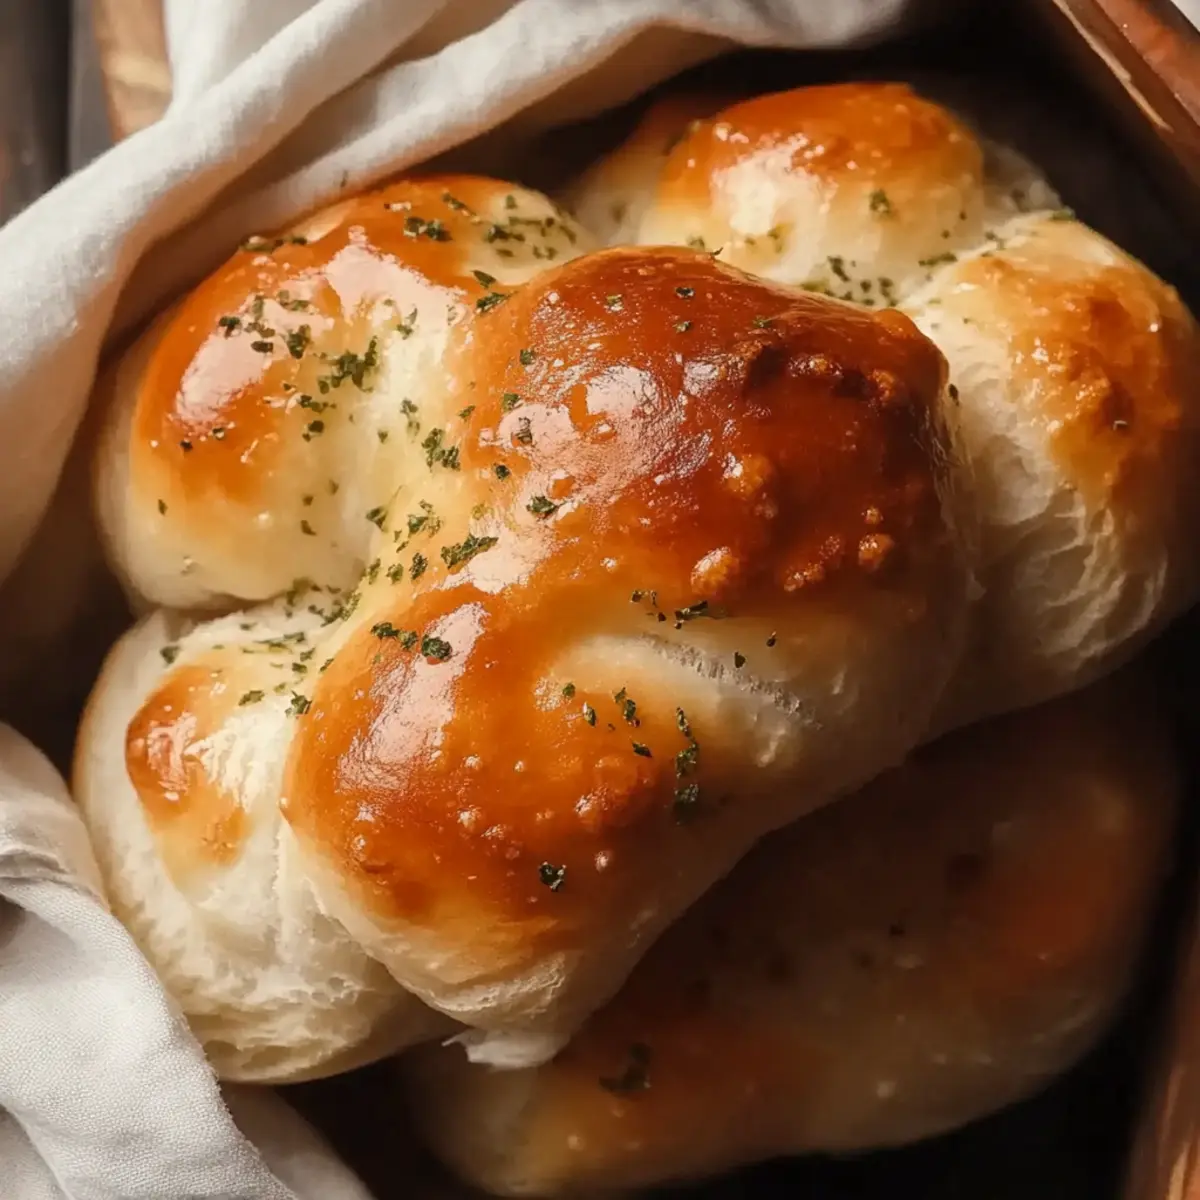
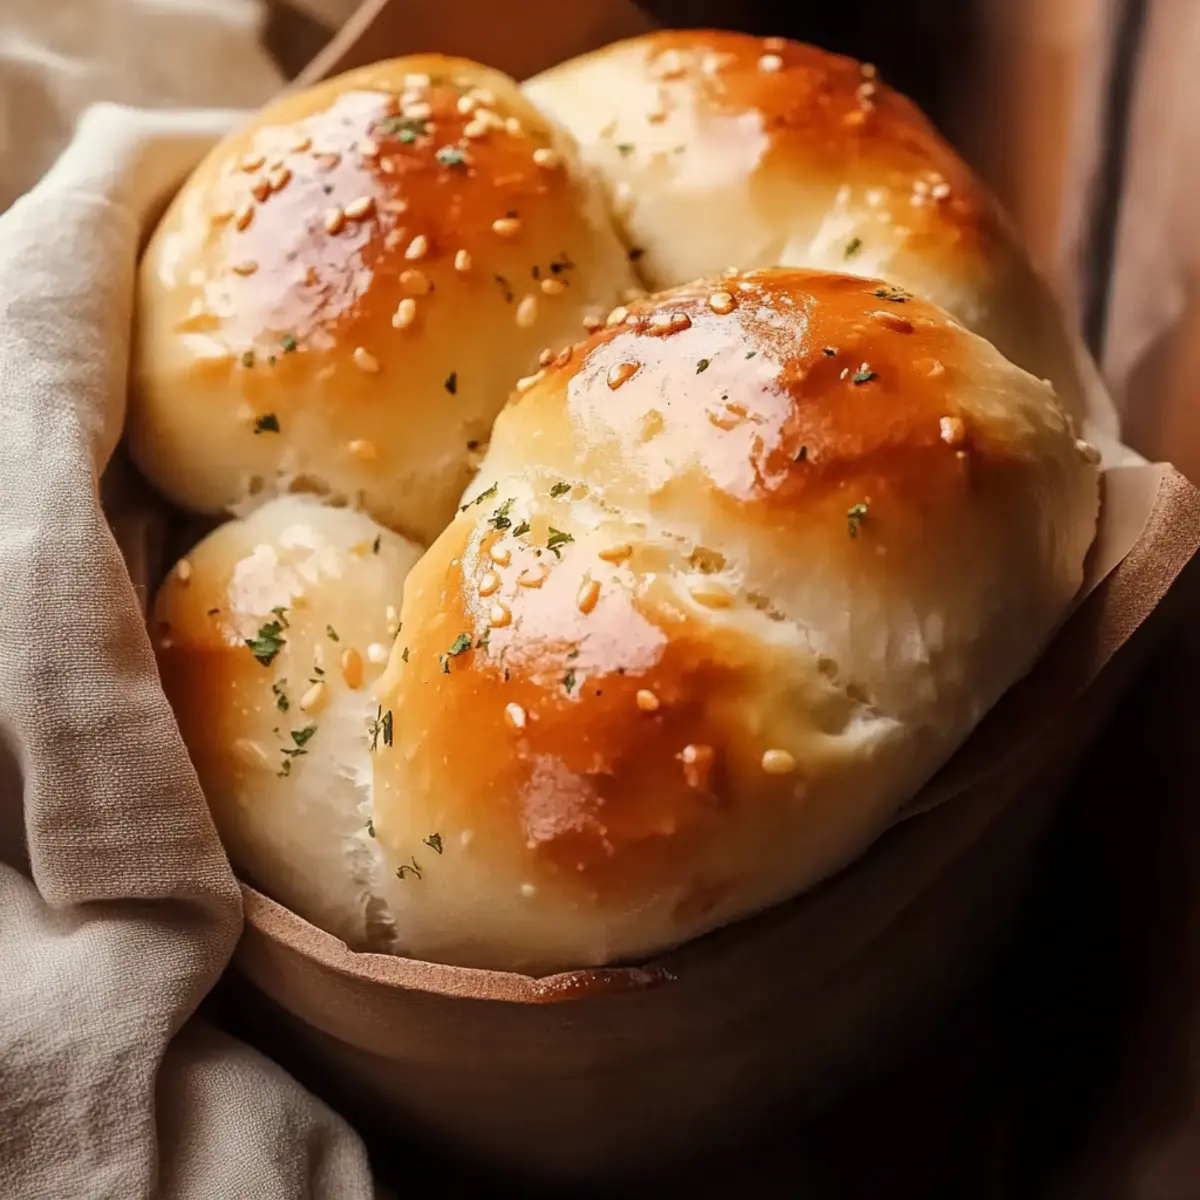
As I stood in my kitchen, the aroma of warm, buttery dough wrapped in the comforting scent of garlic filled the air, making my stomach growl with anticipation. These Cheesy Garlic Dinner Rolls are my go-to recipe for transforming any meal into a cozy feast, bringing warmth to both the table and the heart. What impresses me most is how easy they are to whip up, making them perfect for those busy weeknights or casual gatherings with friends. With gooey cheese melting inside and a golden crust on the outside, they truly are a crowd-pleaser. Plus, you'll love how they are freezer-friendly—prep them ahead, and you’ll always have a delightful side on hand. Curious about how to create this heavenly dish at home? Let’s dive into the recipe together!
Why Are These Dinner Rolls Irresistible?
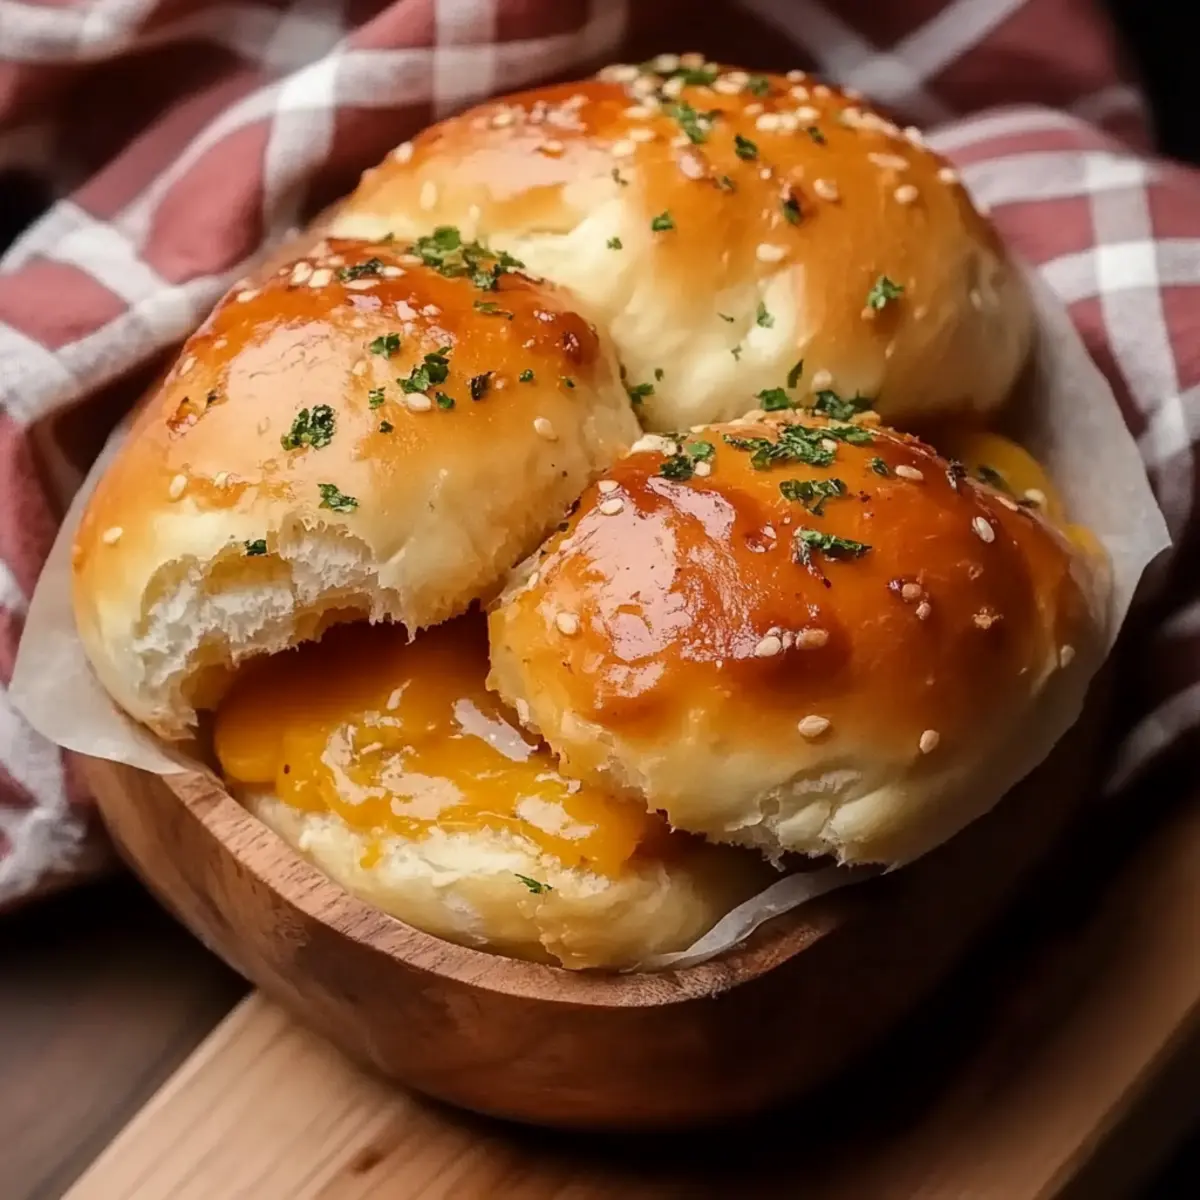
Warm, cheesy goodness: Each bite of these Cheesy Garlic Dinner Rolls offers a delightful burst of flavor, making them the ultimate side dish.
Simple to make: With just a few ingredients and straightforward steps, you'll feel like a pro cook in no time!
Versatile pairing: These rolls are perfect with soups, salads, or as a delightful standalone snack.
Freezer-friendly: Prepare a batch and freeze them for busy days; just bake when the cravings hit!
Crowd-pleaser: Whether it’s a cozy family dinner or a festive gathering, these rolls will be the star of the show!
Cheesy Garlic Dinner Rolls Ingredients
• Get ready to savor every bite!
For the Dough
- Warm milk – This activates the yeast for a fluffy texture.
- Sugar – A touch of sweetness to balance the garlic.
- Yeast – Essential for the perfect rise of your rolls.
- Melted butter – Adds richness and moisture to the dough.
- Large eggs – Enhance the dough's structure and flavor.
- Salt – Balances flavors in these cheesy garlic dinner rolls.
- All-purpose flour – The foundation for your soft and delicious dough.
For the Filling
- Shredded cheese – Use your favorite kind for a melty surprise!
- Minced garlic – Infuses the rolls with a delightful aroma and taste.
For Finishing Touches
- Melted butter (for brushing) – Creates a golden, glossy finish.
- Fresh parsley – A pop of color and freshness for garnishing.
Step‑by‑Step Instructions for Cheesy Garlic Dinner Rolls
Step 1: Activate the Yeast
In a small bowl, mix together 1 cup of warm milk, ¼ cup of sugar, and 2 ¼ teaspoons of yeast. Allow this mixture to sit for about 5-10 minutes until it becomes frothy and bubbly, indicating that the yeast is activated and ready for the dough. This step is crucial for achieving a perfect rise in your Cheesy Garlic Dinner Rolls.
Step 2: Combine Ingredients
In a large mixing bowl, combine the melted butter, teaspoon of salt, and two large eggs. Pour in the frothy yeast mixture and stir until well combined. Gradually add in 3 ½ cups of all-purpose flour, mixing with a wooden spoon until a soft dough begins to form. You’ll know it’s ready when it pulls away from the sides of the bowl effortlessly.
Step 3: Knead the Dough
Lightly dust a clean surface with flour and turn the dough out onto it. Knead the dough for about 5-7 minutes, stretching and folding it until it becomes smooth and elastic. This step is essential to develop the gluten, which gives your Cheesy Garlic Dinner Rolls their lovely texture. To ensure it’s ready, the dough should spring back when gently poked.
Step 4: First Rise
Place the kneaded dough in a greased bowl, covering it with a kitchen towel. Let it rise in a warm area for 1-2 hours, or until it has doubled in size and feels light and airy. During this time, the yeast will work its magic, creating the fluffy base for your delectable rolls.
Step 5: Prepare the Filling
While the dough is rising, mix together 2 tablespoons of minced garlic and 1 cup of shredded cheese in a separate bowl. This flavorful filling will provide that irresistible cheesy goodness inside each of your Cheesy Garlic Dinner Rolls. Set this mixture aside until the dough is ready.
Step 6: Shape the Rolls
Once the dough has risen, gently punch it down to remove excess air. Divide it into 12 equal pieces and flatten each piece slightly. Place about one tablespoon of the garlic-cheese mixture in the center of each piece, then pinch the dough around the filling to seal it tightly, rolling into a smooth ball.
Step 7: Second Rise
Arrange the rolled balls seam-side down in a greased baking dish. Cover them again with a kitchen towel and let them rise for another 30-45 minutes until they appear puffy and increased in size. This final rise will help create a soft, airy texture in your finished Cheesy Garlic Dinner Rolls.
Step 8: Preheat the Oven
Preheat your oven to 375°F (190°C) while the rolls complete their second rise. This ensures that the oven is hot enough to create that golden, crunchy exterior once the rolls go in. Prepare to brush each roll with melted butter right before baking for an extra touch of flavor.
Step 9: Bake the Rolls
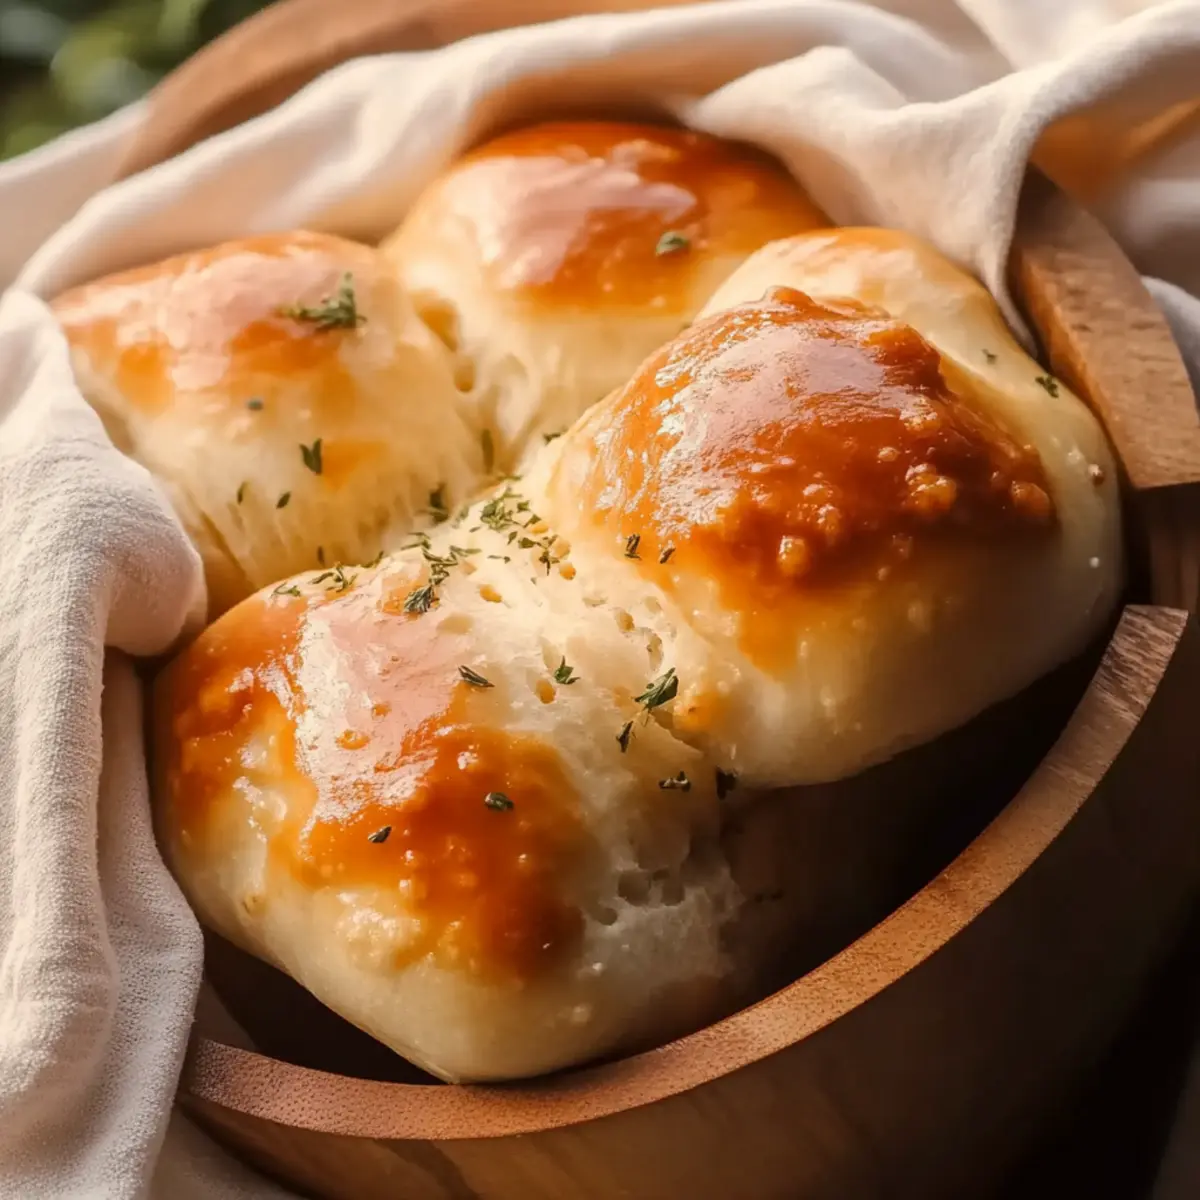
Once the rolls have risen, carefully brush the tops with melted butter for a beautiful golden finish. Bake the rolls in the preheated oven for 20-25 minutes, or until they turn golden brown on top. Keep an eye on them, as the delightful aroma will signal they’re almost ready!
Step 10: Add Final Touches
After baking, remove the rolls from the oven and brush them again with melted butter for extra richness. Sprinkle fresh parsley on top for a pop of color and flavor. Serve these warm Cheesy Garlic Dinner Rolls and enjoy the heartfelt smiles they bring around your table!
Cheesy Garlic Dinner Rolls Variations
Feel free to unleash your creativity and customize these rolls to suit your taste and dietary needs!
-
Dairy-Free: Substitute dairy milk with almond or oat milk and use vegan cheese for a plant-based version.
Enhancing the flavors with non-dairy options can still give you that comforting bite without the dairy. -
Whole Wheat: Use whole wheat flour instead of all-purpose for added nutrition and a nutty flavor.
Your dinner rolls will still be soft, yet they’ll pack a bit more fiber and goodness with each bite. -
Spicy Kick: Add a pinch of red pepper flakes or diced jalapeños to the cheese-garlic filling for extra heat.
This twist will tantalize your taste buds and keep things exciting; a perfect addition for spice lovers! -
Herb Infusion: Mix in fresh chopped herbs such as rosemary or thyme into the dough for an aromatic touch.
Imagine the delightful aroma wafting through your kitchen as the rolls bake, elevating your culinary experience. -
Savory Cheddar & Chive: Swap the cheese for sharp cheddar and fold in finely chopped chives for a burst of flavor.
This combination offers a unique twist that perfectly complements the cheesy, garlicky goodness of the rolls! -
Sweet Twist: Add ¼ cup of chopped sweetened dried fruits like cranberries or apricots to the dough for a sweet surprise.
This playful variant works beautifully as a snack, merging savory and sweet in a delightful way. -
Garlic Lovers: Double the minced garlic for a more intense garlic flavor and aroma in every mouthful.
If you can’t get enough garlic, this variation will ensure your rolls are bursting with garlicky goodness! -
Cheesy Variations: Experiment with different cheeses like mozzarella, pepper jack, or feta to customize the filling's taste.
Each cheese brings its unique flavor profile, creating a new twist that makes these rolls endlessly exciting to enjoy.
Storage Tips for Cheesy Garlic Dinner Rolls
Room Temperature: Store leftover rolls in an airtight container for up to 2 days to keep them soft and fresh. Avoid exposing them to heat or moisture.
Fridge: If you need to keep them longer, refrigerate in an airtight container for up to 5 days; rewarm in the oven for a delightful texture.
Freezer: Freeze the rolls individually wrapped in plastic wrap and then in a freezer bag for up to 3 months. Thaw in the fridge overnight and reheat to enjoy that fresh-baked flavor.
Reheating: To bring back their warm, cheesy goodness, reheat rolls in a preheated oven at 350°F (175°C) for about 10 minutes, achieving that perfect crust again!
Expert Tips for Cheesy Garlic Dinner Rolls
- Yeast Activation: Always check your yeast’s freshness by ensuring it froths in the warm milk mixture; if it doesn't, start over to avoid dense rolls.
- Knead Well: Knead the dough until it's smooth and elastic, about 5-7 minutes, to develop the gluten that creates the light texture in these cheesy garlic dinner rolls.
- Proper Rising: Ensure your rolls rise in a warm spot; high-quality yeast needs warmth to do its job, which is crucial for achieving that fluffy texture.
- Don’t Overstuff: When filling each roll, use just about one tablespoon of the cheese-garlic mixture; overstuffing can cause the rolls to burst open during baking.
- Oven Temperature: Preheat your oven thoroughly before baking; a hot oven helps to achieve a beautifully golden crust on your cheesy garlic dinner rolls.
What to Serve with Cheesy Garlic Dinner Rolls
As you savor these warm, gooey treats, consider the delicious companions that can elevate your meal to the next level.
-
Creamy Tomato Soup: The rich, tangy flavors of this soup create a comforting pairing, perfect for dipping those cheesy rolls.
-
Fresh Garden Salad: A light salad with mixed greens and a zesty vinaigrette adds a refreshing crunch that balances the rolls' richness.
-
Savory Beef Stew: Hearty and fragrant, a bowl of stout beef stew complements the rolls beautifully, providing a fulfilling meal experience.
-
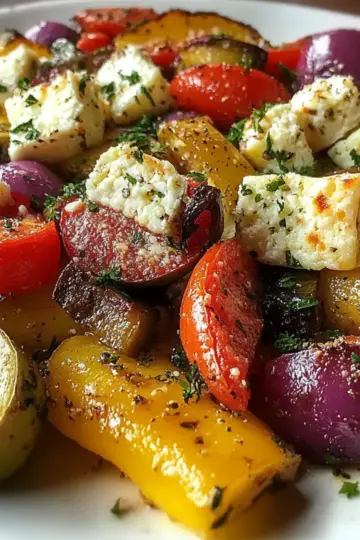
Roasted Vegetables: Seasoned and tender veggies lend a burst of color and health, pairing wonderfully with the buttery, cheesy goodness of the rolls.
-
Garlic Butter Shrimp: These succulent shrimp, cooked in a garlic butter sauce, echo the flavors of the rolls and create a delightful surf and turf experience.
-
Herbed Mashed Potatoes: Silky and fluffy with a hint of herbs, these creamy potatoes will add a comforting touch that complements the flavors of your rolls.
-
Sparkling Lemonade: This citrusy beverage refreshes the palate and balances the savory elements of your meal, making every bite a joy.
-
Chocolate Lava Cake: End your meal on a sweet note with a rich chocolate dessert; the indulgence contrasts nicely with the savory rolls.
Make Ahead Options
These Cheesy Garlic Dinner Rolls are perfect for busy home cooks looking to save time during the week! You can prepare the dough and shape the rolls up to 24 hours in advance. Simply complete steps 1 through 6, cover the shaped rolls tightly with plastic wrap, and refrigerate them. This will keep them fresh and prevent any over-rising. When you’re ready to bake, let them sit at room temperature for about 30 minutes to an hour to allow for a final rise. Then, preheat your oven and brush with melted butter before baking as directed. This way, you can enjoy fresh, homemade rolls with minimal effort and maximum flavor!
Cheesy Garlic Dinner Rolls Recipe FAQs
What type of cheese works best for the filling?
Absolutely! You can use any cheese you desire. I often recommend mozzarella for its melty quality or cheddar for a sharper flavor. If you're feeling adventurous, a blend of cheeses can add a delightful complexity to each roll!
How do I know if my yeast is still good?
To check your yeast's freshness, mix it with warm milk and sugar. If it bubbles and froths within 5-10 minutes, it’s good to use! If it doesn’t, sadly, it means the yeast is inactive, and you’ll need to start over for the best rise.
How should I store leftover rolls?
To keep your Cheesy Garlic Dinner Rolls fresh, store them in an airtight container at room temperature for up to 2 days. If you want to store longer, refrigerate them for up to 5 days, reheating in the oven for 10 minutes at 350°F (175°C) for that fresh, soft texture.
Can I freeze these rolls? If so, how?
Absolutely! Once the rolls have cooled completely, wrap each one individually in plastic wrap and place them in a freezer bag. They can be frozen for up to 3 months. To enjoy, thaw in the fridge overnight and reheat in the oven at 350°F (175°C) for about 10 minutes to bring back their warmth and texture.
Why did my rolls not rise properly?
If your rolls didn’t rise as expected, it could be due to several reasons. Make sure your yeast was fresh and that the warm milk wasn’t too hot, as it can kill the yeast. Additionally, ensure that the dough is kept in a warm, draft-free spot to facilitate rising.
Are these rolls suitable for people with allergies?
These Cheesy Garlic Dinner Rolls contain dairy and gluten, so they aren’t suitable for individuals with lactose intolerance or gluten allergies. However, using dairy-free cheese and gluten-free flour can be great alternatives for creating a version that fits different dietary needs.
Warm, Cheesy Garlic Dinner Rolls That Steal the Show
Equipment
- Mixing bowl
- Baking dish
- Wooden spoon
- Kitchen towel
- Whisk
Ingredients
For the Dough
- 1 cup warm milk activates the yeast
- 0.25 cup sugar balances the garlic
- 2.25 teaspoons yeast essential for rise
- 0.5 cup melted butter adds richness
- 2 large eggs enhance dough structure
- 1 teaspoon salt balances flavor
- 3.5 cups all-purpose flour foundation of dough
For the Filling
- 1 cup shredded cheese use your favorite kind
- 2 tablespoons minced garlic for flavor
For Finishing Touches
- 0.5 cup melted butter (for brushing) to create a golden finish
- 2 tablespoons fresh parsley for garnishing
Instructions
Step-by-Step Instructions
- In a small bowl, mix together 1 cup of warm milk, ¼ cup of sugar, and 2 ¼ teaspoons of yeast. Allow this mixture to sit for about 5-10 minutes until it becomes frothy and bubbly.
- In a large mixing bowl, combine the melted butter, teaspoon of salt, and two large eggs. Pour in the frothy yeast mixture and stir until well combined.
- Gradually add in 3 ½ cups of all-purpose flour, mixing with a wooden spoon until a soft dough begins to form.
- Lightly dust a clean surface with flour and turn the dough out onto it. Knead the dough for about 5-7 minutes, stretching and folding it until it becomes smooth and elastic.
- Place the kneaded dough in a greased bowl, covering it with a kitchen towel. Let it rise in a warm area for 1-2 hours, or until it has doubled in size.
- Mix together 2 tablespoons of minced garlic and 1 cup of shredded cheese in a separate bowl. Set aside.
- Once the dough has risen, gently punch it down to remove excess air. Divide it into 12 pieces and flatten each piece.
- Place about one tablespoon of the garlic-cheese mixture in the center of each piece, then pinch the dough around the filling to seal it tightly.
- Arrange the rolled balls seam-side down in a greased baking dish. Cover with a kitchen towel and let them rise for another 30-45 minutes.
- Preheat your oven to 375°F (190°C) while the rolls complete their second rise.
- Once ready, carefully brush the tops with melted butter and bake for 20-25 minutes, or until golden brown.
- Remove the rolls from the oven and brush them again with melted butter, then sprinkle fresh parsley on top.