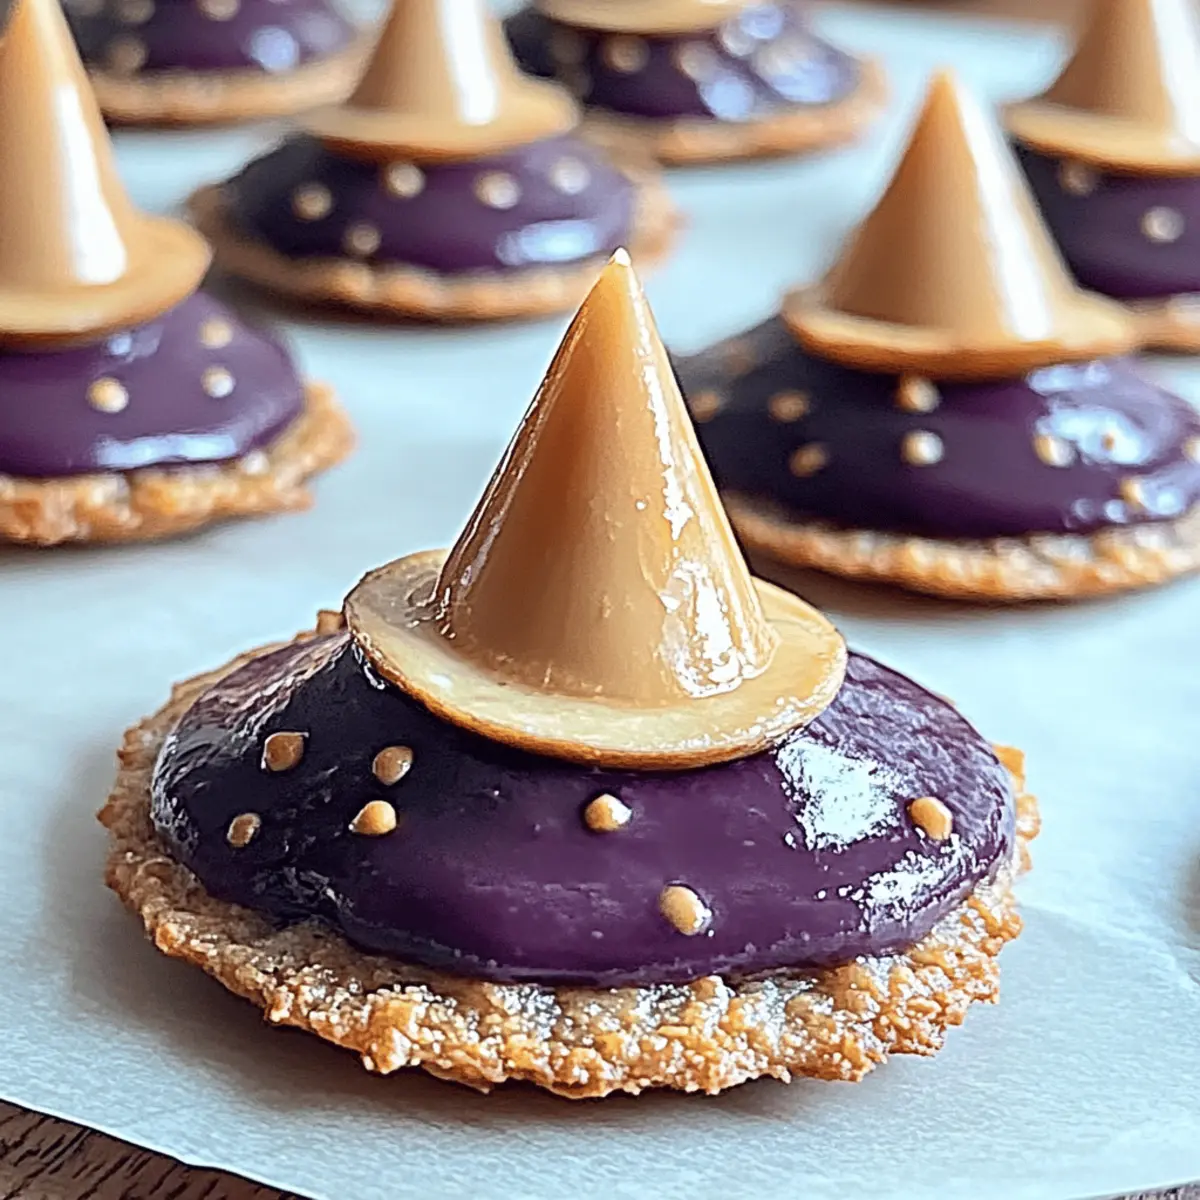
It all started on a crisp fall evening when I decided to conjure up a little magic in the kitchen. The result? My beloved Witchy Cookies, a delightful blend of warm, gooey chocolate and the cozy comforts of homemade baking. These cookies are not only a spellbinding treat that easily transforms any average day into something special, but they also come together in just 27 minutes—perfect for when a sweet craving hits unexpectedly. With an enchanting combination of rich chocolate chips and a buttery base, they’re sure to win over even the most fast-food faithful. Curious to learn how to cast this delicious spell in your own kitchen?

Why Will You Love Witchy Cookies?
Magic in Every Bite: These cookies are an enchanting blend of flavor and nostalgia, bringing a comforting homemade touch that fast food simply can’t match.
Simple Steps: With just a few ingredients and straightforward steps, you'll be a pro in no time—perfect for all skill levels!
Crowd-Pleaser: Whether it's a family gathering or a friendly get-together, these cookies are sure to charm everyone and disappear quickly.
Quick and Easy: In just 27 minutes, you can whip up a batch that's warm, gooey, and utterly irresistible. When the cookie craving strikes, this recipe has you covered!
Versatile Treat: Try adding your favorite nuts or spices to make these cookies your own! Feeling bold? Bake some to share, but don't be surprised if you keep a few for yourself!
Witchy Cookies Ingredients
For the Cookies
• All-purpose flour – 2 ¼ cups to create the perfect structure for your Witchy Cookies.
• Baking soda – 1 teaspoon for that delightful puff and chewiness.
• Sea salt – ½ teaspoon to enhance the sweetness and balance the flavors.
• Unsalted butter – 1 cup (room temperature) provides the rich, creamy base essential for any cookie.
• Granulated sugar – ¾ cup for sweetness and a slight crispiness on the outside.
• Brown sugar – ¾ cup (packed) adds moisture and a touch of caramel flavor.
• Large eggs – 2 for moisture and to bind the ingredients together.
• Vanilla extract – 2 teaspoon for that magical aroma and depth of flavor.
• Chocolate chips – 2 cups (semi-sweet or dark) to bring the gooey delight every cookie lover craves.
Feel free to explore and mix in your favorite additions, transforming these Witchy Cookies into a unique creation just for you!
Step‑by‑Step Instructions for Witchy Cookies
Step 1: Preheat the Oven
Begin by preheating your oven to 350°F (175°C). This is crucial for achieving the perfect bake on your Witchy Cookies. While the oven warms up, grab your baking sheets and line them with parchment paper to prevent sticking and make cleanup a breeze later on.
Step 2: Combine Dry Ingredients
In a medium bowl, whisk together 2 ¼ cups of all-purpose flour, 1 teaspoon of baking soda, and ½ teaspoon of sea salt. Mixing these dry ingredients first ensures even distribution of the leavening agent and salt, which helps your Witchy Cookies puff up nicely. Set this mixture aside for use in the next step.
Step 3: Cream the Butter and Sugars
In a large mixing bowl, beat together 1 cup of room-temperature unsalted butter, ¾ cup of granulated sugar, and ¾ cup of packed brown sugar using a hand mixer or stand mixer. Continue this process for about 3 minutes until the mixture appears creamy and slightly fluffy. The sugars will help create that delightful crispiness on the edges of your cookies.
Step 4: Add Eggs and Vanilla
Now add in 2 large eggs, one at a time, mixing well after each addition. Pour in 2 teaspoons of vanilla extract and mix until fully combined. This step adds richness and a wonderful aroma to your Witchy Cookies, making your kitchen smell truly enchanting.
Step 5: Mix Wet and Dry Ingredients
Gradually incorporate the dry ingredient mixture into your wet mixture. Stir gently until just combined, being cautious not to overmix. The dough should start to form a thick batter, signaling it’s ready for the next delicious addition—chocolate chips!
Step 6: Fold in the Chocolate Chips
Using a spatula, fold in 2 cups of semi-sweet or dark chocolate chips until they are evenly distributed throughout the dough. This step is essential for ensuring every bite of your Witchy Cookies is packed with gooey goodness.
Step 7: Prepare to Bake
Drop spoonfuls of the cookie dough onto the lined baking sheets, spacing them about 2 inches apart to allow for spreading. You can use a cookie scoop for uniformity. Bake in your preheated oven for 10-12 minutes, watching for golden edges while keeping the center soft and slightly underbaked.
Step 8: Cool and Transfer
Once baked, remove the cookie sheets from the oven and allow the Witchy Cookies to cool on the sheets for a few minutes. This helps them firm up. After cooling slightly, transfer them to wire racks to cool completely, ensuring they maintain a lovely chewy texture.

Helpful Tricks for Witchy Cookies
Use Room Temperature Butter: Make sure your butter is at room temperature for a creamier mixture. Cold butter can lead to dense cookies.
Don’t Overmix: Once you add the dry ingredients, stir until just combined. Overmixing can create tough Witchy Cookies instead of the soft, chewy texture we love.
Chill the Dough (Optional): If you have time, chill the dough for 30 minutes before baking. This helps the cookies maintain their shape and enhances the flavors.
Watch the Bake Time: Keep a close eye on the cookies while baking. They should be golden around the edges but still soft in the center for that perfect gooey bite.
Mix Up the Chips: Feel free to swap semi-sweet chocolate chips for dark or even white chocolate. Customize your Witchy Cookies to suit your cravings!
Make Ahead Options
These Witchy Cookies are perfect for meal prep enthusiasts! You can prepare the cookie dough up to 24 hours in advance, allowing you to indulge in freshly baked treats with minimal effort during your busy week. Simply follow the recipe up to the point of baking, then scoop the dough onto lined baking sheets and refrigerate the trays. When you're ready to bake, preheat your oven and cook the chilled cookie dough for a couple of extra minutes (about 2 minutes more) to ensure perfectly baked cookies. They’ll still be just as delicious—golden edges with a soft center, ready to enchant your taste buds!
What to Serve with Witchy Cookies
Indulging in warm, gooey cookies invites a world of delightful pairings to elevate your experience.
- Cold Glass of Milk: A classic choice, it perfectly complements the rich chocolate flavor while enhancing the cookies' chewy texture.
- Vanilla Ice Cream: Placing a scoop on top of a warm cookie creates a heavenly melted mix that is simply irresistible.
- Fresh Berries: The tartness of raspberries or strawberries cuts through the sweetness, adding freshness and balance to your dessert.
- Caramel Sauce: Drizzling warm caramel over your cookies adds an extra layer of indulgence and a touch of elegance.
- Dark Roast Coffee: A cup of freshly brewed coffee offers a bold flavor, beautifully contrasting the sweet, chocolatey goodness of the cookies.
- Chocolate Milkshake: For true chocoloholics, this creamy, rich drink will take your cookie experience to the next level!
- Chai Tea: The warm spices in chai tea create a cozy pairing, enhancing the magic of your baking adventure.
- Salted Pretzels: A crunchy side with a hint of saltiness provides an interesting texture contrast to the soft Witchy Cookies.
Witchy Cookies Variations & Substitutions
Feel free to weave your own magic into these Witchy Cookies and make them uniquely yours!
-
Nutty Delight: Add 1 cup of chopped walnuts or pecans for added crunch and a nutty flavor.
-
Dairy-Free: Substitute the butter with vegan butter and use dairy-free chocolate chips for a deliciously inclusive treat. This option retains all the rich, buttery flavor without the dairy.
-
Spiced Comfort: Mix in 1 teaspoon of cinnamon or a dash of nutmeg to enhance warmth and depth in your cookies.
-
Extra Chewy: Replace half of the all-purpose flour with rolled oats for a heartier texture that gives your cookies a delightful chew.
-
Zesty Twist: Add the zest of one orange or lemon to brighten the flavor profile, making each bite refreshing.
-
Stuffed Surprise: Place a mini chocolate bar or a spoonful of peanut butter in the center of each cookie before baking for a melty surprise.
-
Spicy Kick: Toss in a pinch of cayenne pepper or chili powder to add a surprising kick to your cookies.
-
Caramelized Goodness: Drizzle some caramel sauce over the cookies after baking for an extra sweet and indulgent finish.
Remember, each variation can bring its own charm, so don’t hesitate to create your perfect batch! If you're inspired, why not try pairing these cookies with a glass of milk or even a warm cup of Homemade Hot Cocoa? It's a match made in dessert heaven!
How to Store and Freeze Witchy Cookies
Room Temperature: Store Witchy Cookies in an airtight container at room temperature for up to 3 days to maintain their delightful softness and flavor.
Fridge: For longer freshness, keep your Witchy Cookies in the fridge in an airtight container, where they'll stay good for up to 1 week without losing their charm.
Freezer: You can freeze the cookies for up to 3 months. Place them in a freezer-safe bag, separating layers with parchment paper to prevent sticking.
Reheating: To enjoy warm cookies, reheat them in a preheated oven at 350°F (175°C) for 5-7 minutes, or until warmed through and slightly gooey in the center.

Witchy Cookies Recipe FAQs
What’s the best way to select ripe ingredients for my Witchy Cookies?
Absolutely! For the best results, make sure your eggs are fresh and at room temperature, as this helps with the mixing process. When it comes to butter, choose unsalted and always allow it to soften at room temperature for about 30 minutes before you start. This creamy base is crucial for a texture that’s delightful and soft. Fresh ingredients will greatly enhance the flavor of your cookies!
How should I store my Witchy Cookies to keep them fresh?
You can store Witchy Cookies in an airtight container at room temperature, where they’ll stay delicious for up to 3 days. If you prefer longer storage, pop them in the fridge; they can last up to 1 week while still keeping their magic intact! If you want to store them for even longer, I'll let you in on a little secret: freeze them for up to 3 months. Just make sure to place them in a freezer-safe bag, separated by parchment paper to prevent any freezing mishaps.
Can I freeze my Witchy Cookies, and if so, how?
Yes, you can definitely freeze your Witchy Cookies! To do this, first, let them cool completely. Once cooled, arrange them in a single layer on a baking sheet for 1-2 hours until frozen solid. Then, transfer them to a freezer-safe bag or container, layering with parchment paper to prevent sticking. They will stay fresh for up to 3 months. When you're ready to enjoy, simply thaw them at room temperature or reheat them in a preheated oven at 350°F (175°C) for 5-7 minutes.
What should I do if my cookie dough is too dry or too sticky?
If your Witchy Cookies dough feels too dry, try adding a splash of milk (about 1 tablespoon) to help bring everything together. Mix it in a little at a time until you reach the desired consistency. On the flip side, if the dough is too sticky, you can refrigerate it for about 30 minutes—this makes it easier to handle and will help prevent spreading while baking. Just don’t skip those cooling steps, as they can work wonders for the texture!
Are Witchy Cookies suitable for people with dietary restrictions?
While this Witchy Cookies recipe includes common allergens like butter, eggs, and wheat, you can make adjustments for dietary needs! For a dairy-free version, substitute unsalted butter with a plant-based alternative like coconut oil, and use flax eggs (1 tablespoon of ground flaxseed mixed with 2.5 tablespoons of water) instead of regular eggs. Always check for gluten-free flour options if gluten is a concern, and enjoy the magical cookie experience!
Can I add other ingredients to the Witchy Cookies?
The more the merrier! Feel free to experiment with your favorite mix-ins. Adding chopped nuts like walnuts or pecans will give an excellent crunch. You could also try incorporating spices such as cinnamon or nutmeg for a cozy flavor twist. If you're feeling adventurous, swapping in different types of chocolate chips or adding dried fruits can lead to delightful discoveries!
Bake Enchanting Witchy Cookies for a Magical Treat!
Equipment
- Oven
- Baking sheets
- Parchment Paper
- Mixing bowls
- Hand mixer or stand mixer
- spatula
Ingredients
For the Cookies
- 2 ¼ cups All-purpose flour to create the perfect structure for your Witchy Cookies.
- 1 teaspoon Baking soda for that delightful puff and chewiness.
- ½ teaspoon Sea salt to enhance the sweetness and balance the flavors.
- 1 cup Unsalted butter (room temperature) provides the rich, creamy base essential for any cookie.
- ¾ cup Granulated sugar for sweetness and a slight crispiness on the outside.
- ¾ cup Brown sugar (packed) adds moisture and a touch of caramel flavor.
- 2 large Eggs for moisture and to bind the ingredients together.
- 2 teaspoon Vanilla extract for that magical aroma and depth of flavor.
- 2 cups Chocolate chips (semi-sweet or dark) to bring the gooey delight every cookie lover craves.
Instructions
Step-by-Step Instructions for Witchy Cookies
- Preheat your oven to 350°F (175°C) and line baking sheets with parchment paper.
- In a medium bowl, whisk together the flour, baking soda, and sea salt.
- In a large mixing bowl, beat together the butter, granulated sugar, and brown sugar until creamy.
- Add the eggs one at a time, mixing well after each, then mix in the vanilla extract.
- Gradually incorporate the dry mixture into the wet mixture until just combined.
- Fold in the chocolate chips until evenly distributed throughout the dough.
- Drop spoonfuls of the dough onto the lined baking sheets, spacing them 2 inches apart. Bake for 10-12 minutes.
- Allow the cookies to cool on the sheets for a few minutes before transferring them to wire racks to cool completely.