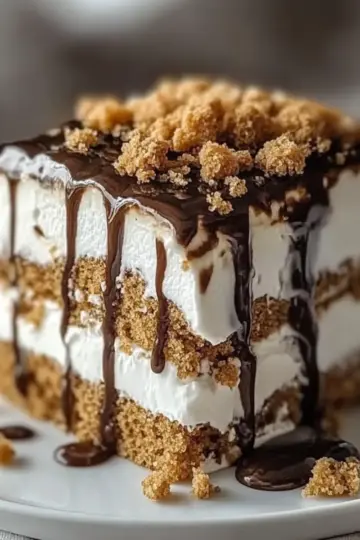
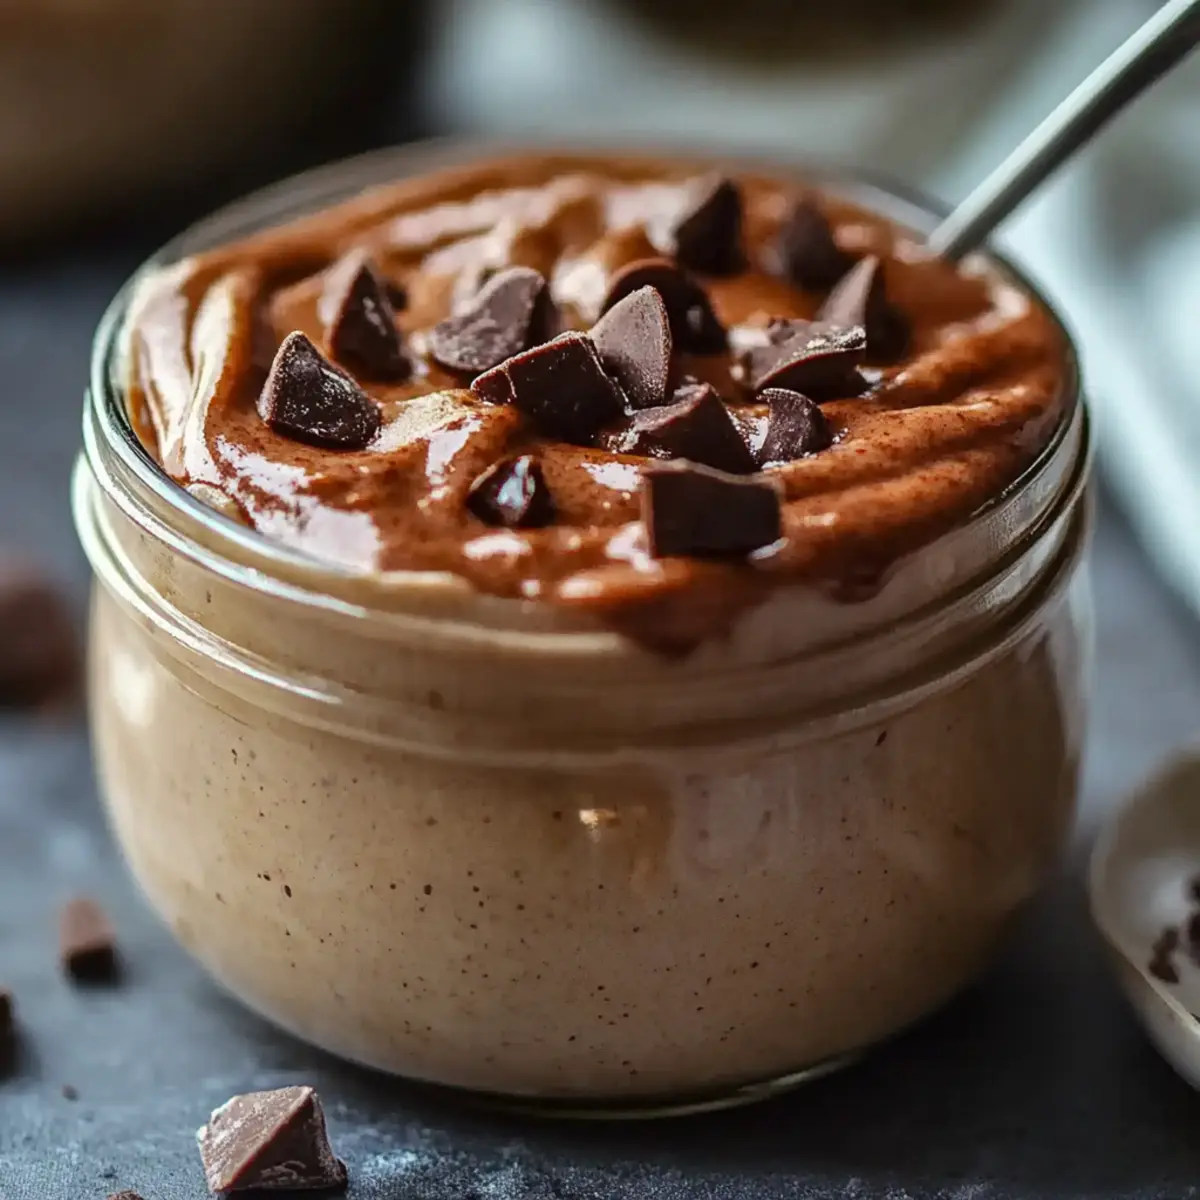
As I stood in my kitchen, the aroma of chocolate began to weave its magic through the air, stirring up a sense of nostalgia for my childhood desserts. Today, I’m whipping up a delightful treat that’s both indulgent and guilt-free: Low Carb Protein Pudding. This recipe is not only a breeze to prepare in just 15 minutes, but it's also packed with a whopping 20 grams of protein per serving—perfect for those of us looking to ditch fast food without sacrificing flavor. Whether you’re fueling your workout or simply craving something sweet, this pudding serves as a wonderful, comforting option that keeps your health goals in check. Curious about how to create this creamy delight? Let’s dive in!
Why Try Low Carb Protein Pudding?
Decadent and indulgent: This pudding satisfies your sweet tooth without guilt.
Quick to prepare: In just 15 minutes, you can create a luscious dessert that’s perfect for any occasion.
High in protein: With 20 grams of protein per serving, it’s an ideal post-workout snack.
Versatile toppings: Customize it with your favorite garnishes like sugar-free whipped cream, berries, or nuts for added flair.
Healthy alternative: Unlike typical desserts, this low-carb option keeps your cravings in check while tasting just as delicious.
Don't miss out on making a tasty treat that's both nourishing and satisfying!
Low Carb Protein Pudding Ingredients
Discover the simple ingredients behind this delightful dessert!
For the Pudding
• Almond milk – A creamy, dairy-free base for a low-carb option.
• Protein powder – Boosts the protein content, making it a satisfying snack.
• Cocoa powder – Adds a rich chocolate flavor while keeping it low in sugar.
• Sweetener – Use your favorite sugar substitute for guilt-free sweetness.
• Vanilla extract – Enhances the flavor profile with a warm, aromatic touch.
• Cornstarch – Helps to thicken the pudding for an indulgent texture.
Embrace the delicious journey of making Low Carb Protein Pudding today!
Step-by-Step Instructions for Low Carb Protein Pudding
Step 1: Combine Ingredients
In a medium saucepan, combine 2 cups of almond milk, 1 cup of protein powder, ¼ cup of cocoa powder, ¼ cup of sweetener, and 1 tablespoon of cornstarch. Use a whisk to blend these ingredients together thoroughly until the mixture is smooth and free of lumps. This initial step ensures a creamy texture for your Low Carb Protein Pudding, so take your time to achieve a homogenous consistency.
Step 2: Heat the Mixture
Place the saucepan over medium heat on the stove. As you stir constantly, pay attention to the mixture; it will start to thicken after about 5–7 minutes of steady stirring. You'll know it's ready when it resembles a custard-like consistency and coats the back of a spoon. This is a crucial moment, so remain attentive to avoid scorching the pudding.
Step 3: Add Vanilla Extract
Once your pudding has thickened beautifully, remove the saucepan from the heat and stir in 1 tablespoon of vanilla extract. This addition will enhance the flavor profile of your Low Carb Protein Pudding, giving it a rich and aromatic essence. Mix well to ensure the vanilla is evenly distributed throughout the pudding.
Step 4: Portion into Dishes
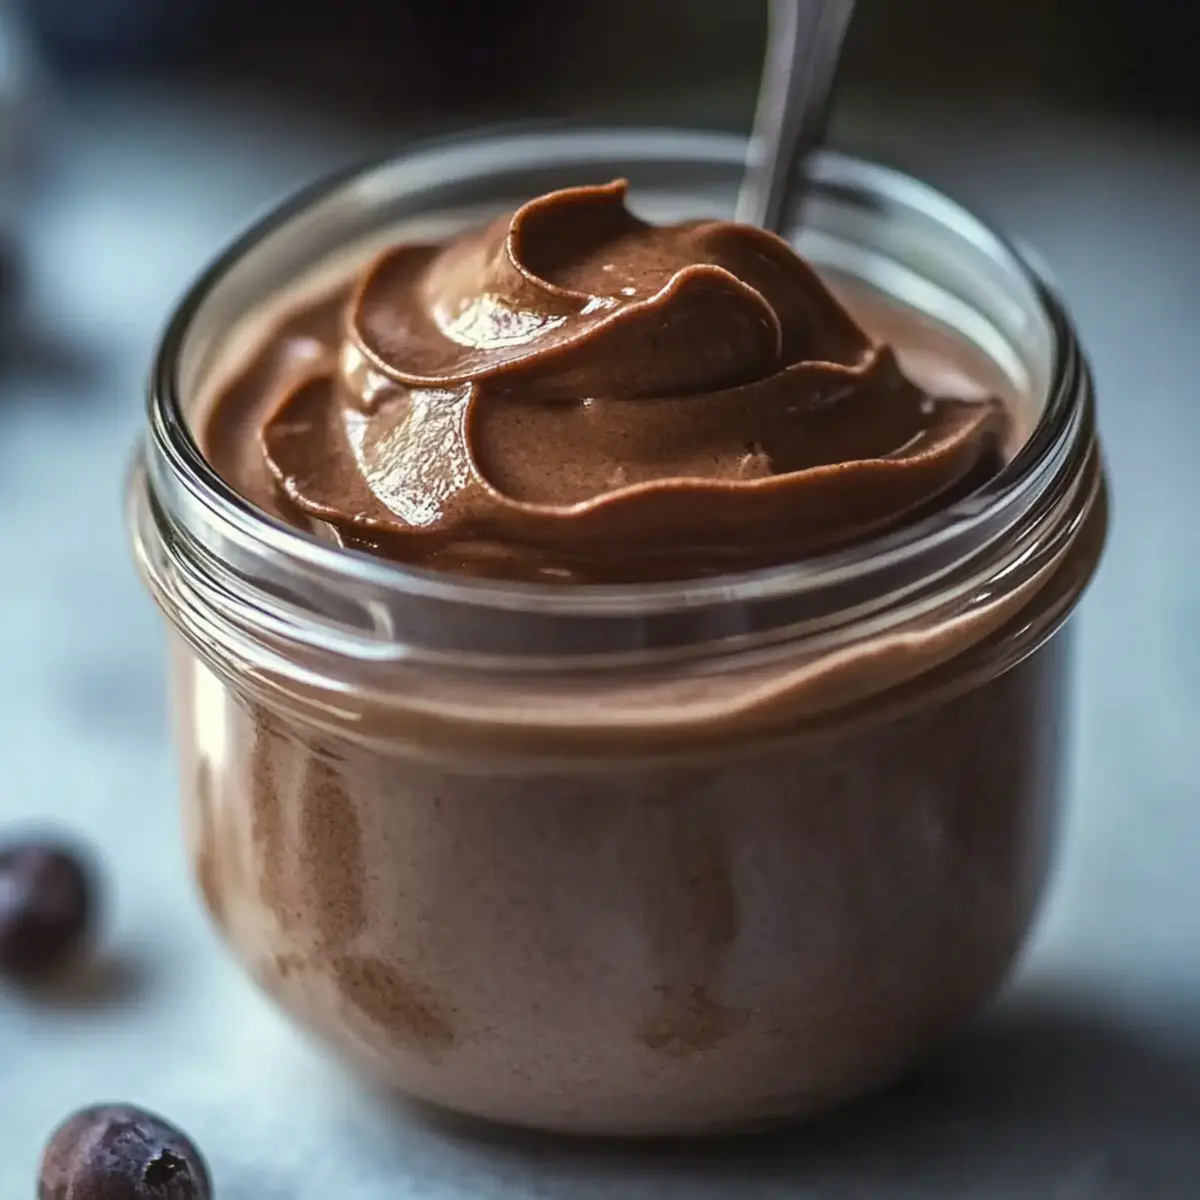
Carefully pour the thickened pudding into your favorite serving dishes or ramekins. This step not only makes for delicious individual servings but also allows the pudding to cool more effectively. As you fill each dish, watch the silky texture flow—it’s a delightful sight that builds anticipation for this indulgent treat.
Step 5: Cool at Room Temperature
Let the filled dishes sit at room temperature for about 10–15 minutes to cool slightly. This will help your Low Carb Protein Pudding establish its structure before chilling. Keep an eye on it, ensuring the surface doesn’t form a skin while it cools.
Step 6: Refrigerate Until Set
After the pudding has cooled, transfer it to the refrigerator and chill for at least 30 minutes. This allows it to set up properly, giving it that satisfying creamy texture. As it chills, focus on how the flavors deepen, making this already delicious dessert even more delightful!
Step 7: Serve with Toppings
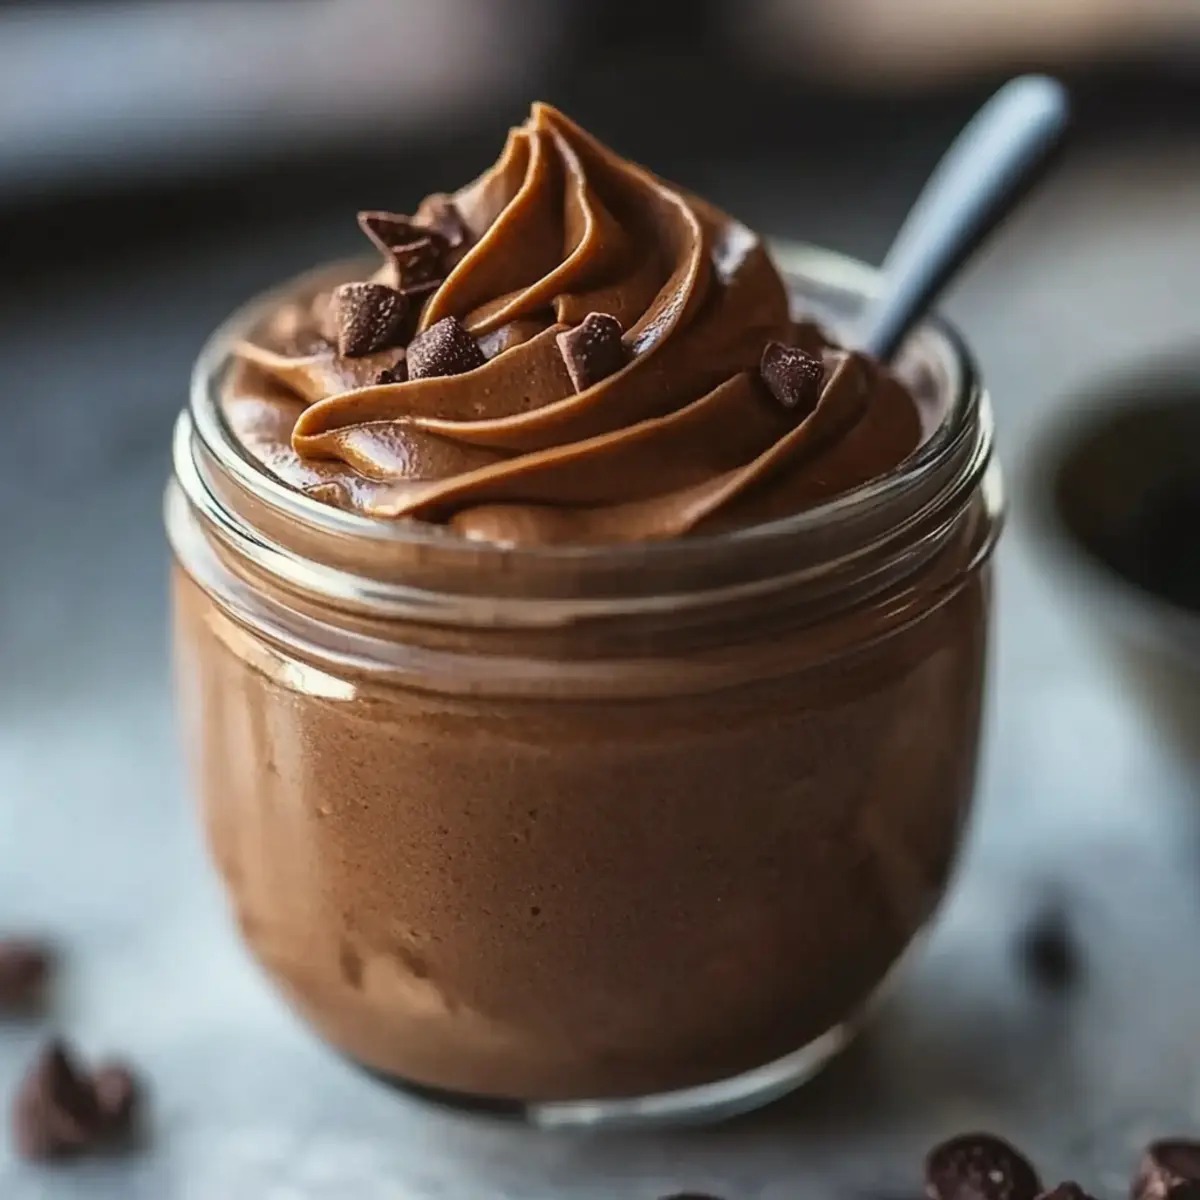
Once the pudding has set, remove it from the refrigerator and prepare to serve. Top your Low Carb Protein Pudding with optional garnishes such as sugar-free whipped cream, fresh berries, or crushed nuts. These toppings not only add visual appeal but also provide delightful textures and flavors that elevate your dessert experience.
What to Serve with Low Carb Protein Pudding?
Indulging in a creamy dessert isn't complete without the perfect accompaniments to elevate your experience.
- Fresh Berries: Nature’s candy, they add a pop of flavor and vibrant color, enhancing the pudding’s richness.
- Sugar-Free Whipped Cream: A light, airy topping that brings extra creaminess and delightful sweetness to each spoonful.
- Crushed Nuts: Their satisfying crunch adds a contrasting texture, making every bite of pudding a delightful experience.
- Mint Leaves: A sprinkle of fresh mint leaves brightens up the dessert, adding a refreshing twist that balances the chocolate richness.
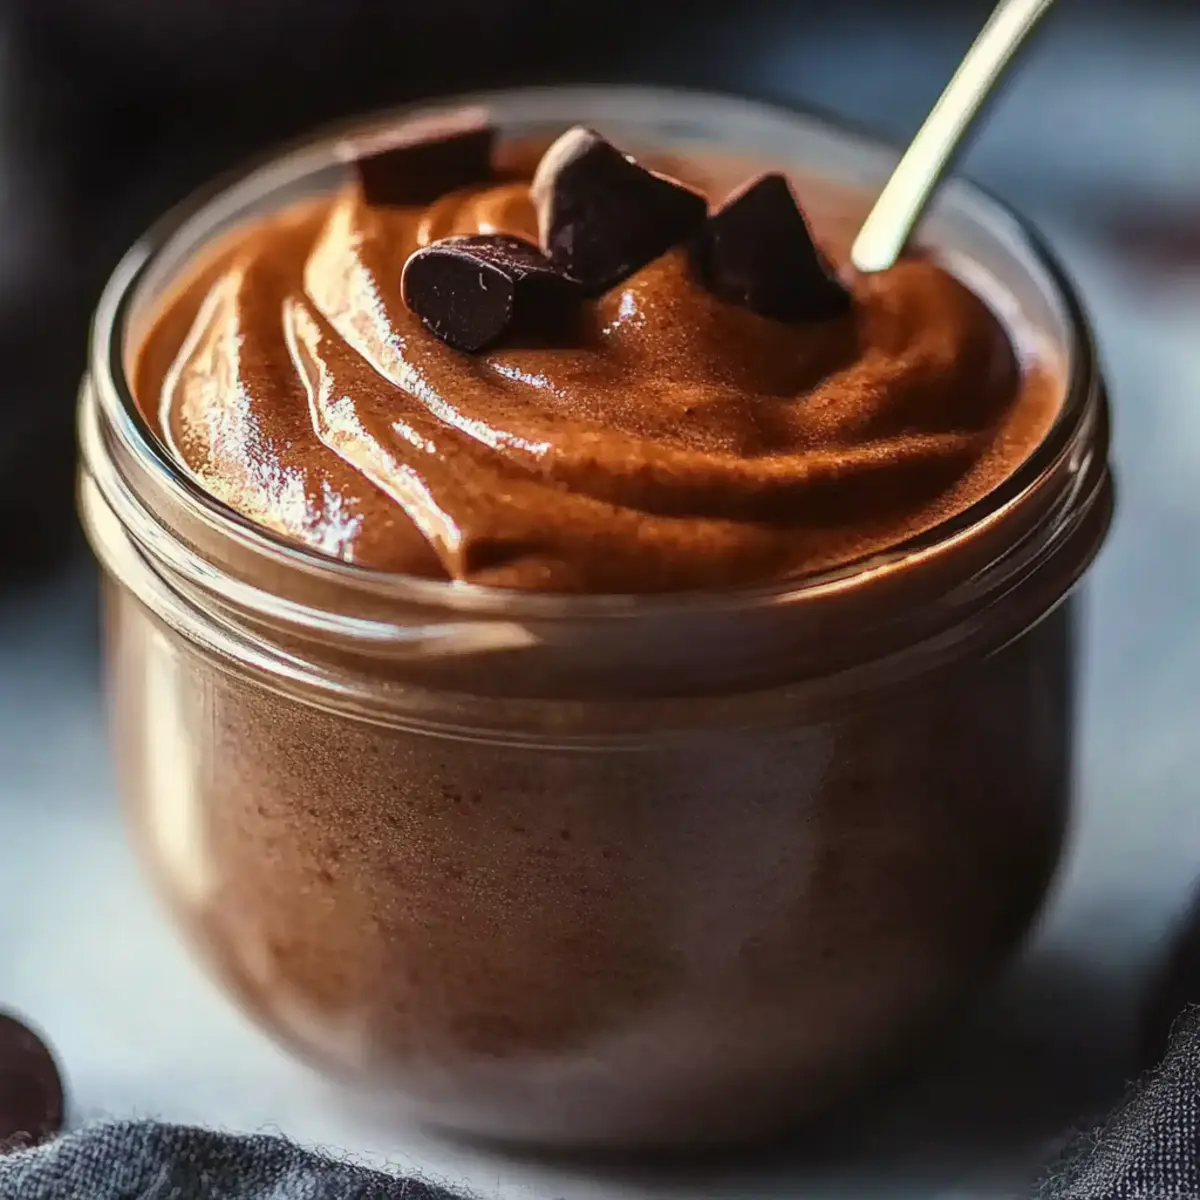
- Dark Chocolate Shavings: For the true chocolate lovers, they introduce an intense flavor that harmonizes beautifully with the pudding.
- Coconut Flakes: Shredded coconut lends a tropical flair and chewy texture, making it a deliciously unique pairing.
Each of these suggestions not only complements the luscious Low Carb Protein Pudding but also transforms it into a memorable, multi-layered dessert experience!
How to Store and Freeze Low Carb Protein Pudding
Fridge: Store leftover pudding in an airtight container in the refrigerator for up to 3 days. Be sure to press plastic wrap directly onto the surface to prevent a skin from forming.
Freezer: If you want to freeze your Low Carb Protein Pudding, pour it into freezer-safe containers. It can last for up to 2 months, but be mindful that the texture may change slightly upon thawing.
Thawing: When ready to enjoy, transfer the pudding to the fridge to thaw overnight. Once thawed, give it a good stir to reintroduce creaminess.
Reheating: If you prefer it warm, reheat gently in the microwave on low power, stirring frequently to avoid hot spots.
Make Ahead Options
These Low Carb Protein Pudding treats are perfect for busy home cooks who want to streamline their meal planning! You can prepare the pudding base up to 24 hours in advance, storing it in an airtight container in the refrigerator to maintain its creamy texture. Once cooled and thickened, simply cover it tightly to prevent any skin from forming. When you’re ready to enjoy, give it a good stir and pour into serving dishes, chilling it for about 30 minutes if you prefer a cooler treat. Topping the pudding with your choice of sugar-free whipped cream or fresh berries right before serving ensures it stays fresh and delightful. Enjoy the ease of having a delicious dessert ready to go!
Low Carb Protein Pudding Variations
Feel free to let your creativity flow as you enhance this pudding and tailor it to your taste!
-
Nut-Free: Substitute almond milk with oat milk or another nut-free alternative for a similar creamy texture.
Replace the almond milk to make it accessible for those with nut allergies, while still delighting in the pudding's rich flavor. -
Vegan Delight: Use plant-based protein powder and substitute cornstarch with tapioca starch for a vegan version.
This swap keeps the integrity of our delicious recipe while ensuring it aligns with vegan diets. -
Chocolate Peanut Butter: Swirl in a couple of tablespoons of natural peanut butter for a decadent flavor boost.
It adds a nutty depth that perfectly complements the chocolate essence—a real treat for peanut butter lovers! -
Coconut Creamy: Top with coconut whipped cream instead of regular whipped cream for a tropical twist.
The lightness of coconut enhances the pudding’s own creaminess, turning each bite into a blissful escape. -
Chocolate Mint: Add a few drops of peppermint extract for a refreshing mint chocolate flavor.
This variation brings a new layer of complexity to your pudding, perfect for those who enjoy a little minty freshness! -
Spicy Kick: Sprinkle in a pinch of cayenne pepper or cinnamon for a surprising warmth.
The subtle heat contrasts beautifully with the sweetness, tantalizing your taste buds in a delightful way. -
Sugar-Free Fruity: Mix in fresh berries or a fruit compote for a fruity flavor explosion without added sugars.
The natural sweetness paired with the creamy pudding creates a wonderfully satisfying dessert experience. -
Mocha Boost: Stir in a teaspoon of instant coffee or espresso powder for that coffee-house indulgence.
It's a wonderful way to enjoy a morning treat while packing in that perfect protein punch.
Feel free to explore these variations as you make this pudding your own. And if you’re interested in adding a nutritious topping, consider a sprinkle of nuts or seeds for that extra crunch! Don’t forget to check out our guide on how to make delicious protein shakes to fuel your workout alongside this dreamy dessert!
Expert Tips for Low Carb Protein Pudding
• Use Fresh Ingredients: Always opt for fresh almond milk and high-quality protein powder for the best flavor and texture in your Low Carb Protein Pudding.
• Prevent Lumps: Make sure to whisk the mixture well until it’s completely smooth before heating; this avoids lumps that can ruin your pudding's silky texture.
• Stir Constantly: Keep the heat at medium and stir constantly while cooking to prevent the pudding from sticking to the pot or burning.
• Cool Completely: Allow the pudding to cool at room temperature before refrigerating; rushing this step can lead to an undesired texture.
• Experiment with Flavors: Don’t hesitate to customize by adding flavors like espresso powder or almond extract to create unique spins on your Low Carb Protein Pudding.
Low Carb Protein Pudding Recipe FAQs
What type of almond milk should I use?
Absolutely! Choose unsweetened almond milk for the best low-carb option. This not only keeps the sugar content down but also ensures that your Low Carb Protein Pudding remains creamy and delicious without unnecessary additives.
How long can I store leftovers?
Your delectable pudding can be stored in an airtight container in the fridge for up to 3 days. To maintain that delightful texture, I recommend pressing plastic wrap directly onto the surface before sealing it to prevent a skin from forming.
Can I freeze Low Carb Protein Pudding?
Yes, you can! Pour the pudding into freezer-safe containers or silicone molds. It can last for up to 2 months in the freezer. Just remember that the texture may change upon thawing. When you're ready to enjoy it, transfer it to the fridge to thaw overnight and stir well to regain creaminess.
What should I do if my pudding doesn't thicken?
If your pudding hasn’t thickened by the time it reaches a custard-like consistency, don't worry! Continue stirring for an additional few minutes over medium heat. If it's still too runny, you can mix a little extra cornstarch with cold water to create a slurry, and then stir it into the warming pudding to help thicken it up. Remember, consistency comes with practice!
Is it safe for those with nut allergies?
That’s a great question! This Low Carb Protein Pudding contains almond milk, so if anyone has nut allergies, you can substitute it with coconut milk or soy milk to create a similar texture while keeping it allergy-friendly. Always double-check the protein powder and sweetener for possible allergens too.
Decadent Low Carb Protein Pudding for Guilt-Free Indulgence
Equipment
- medium saucepan
- Whisk
- serving dishes or ramekins
Ingredients
For the Pudding
- 2 cups almond milk creamy, dairy-free base
- 1 cup protein powder boosts protein content
- ¼ cup cocoa powder adds rich chocolate flavor
- ¼ cup sweetener sugar substitute for sweetness
- 1 tablespoon vanilla extract enhances flavor
- 1 tablespoon cornstarch thickens the pudding
Instructions
Step-by-Step Instructions
- In a medium saucepan, combine 2 cups of almond milk, 1 cup of protein powder, ¼ cup of cocoa powder, ¼ cup of sweetener, and 1 tablespoon of cornstarch. Whisk until smooth.
- Place the saucepan over medium heat, stirring constantly for 5-7 minutes until it thickens to a custard-like consistency.
- Remove from heat and stir in 1 tablespoon of vanilla extract until evenly mixed.
- Pour the mixture into serving dishes or ramekins and allow to cool slightly.
- Let the dishes sit at room temperature for 10-15 minutes to cool.
- Transfer to the refrigerator and chill for at least 30 minutes until set.
- Serve topped with optional garnishes like sugar-free whipped cream, fresh berries, or crushed nuts.