I still remember the first time I uncovered the secret to stabilized whipped cream—it was a game-changer for my baking adventures. Picture this: a warm summer day, and my family gathered to celebrate my sister’s birthday. After frosting her gorgeous cake, I nervously watched as the whipped cream began to droop under the sun’s watchful eye. That’s when I decided enough was enough. I had to find a solution that would keep my desserts looking as beautiful as they tasted.
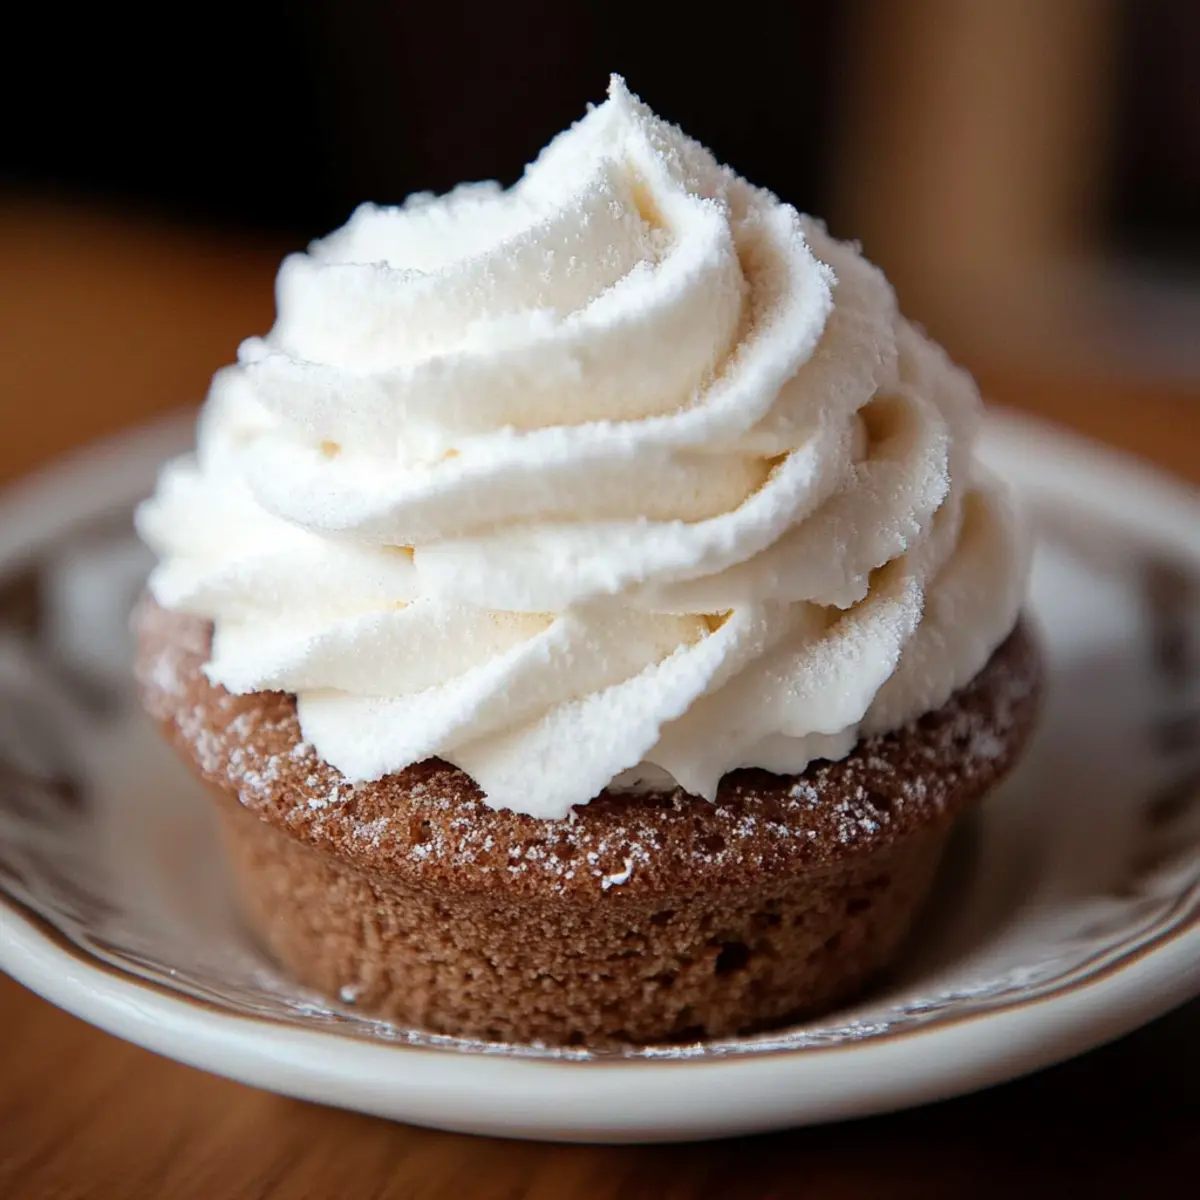
Enter my favorite 5-minute stabilized whipped cream recipe. Not only does it stay perfectly piped and fluffy, but it also uses gelatin to ensure that every dollop holds its shape—even in warm weather. Whether you’re topping a light, no-bake dessert or frosting a celebratory cake, this easy recipe is here to impress. Best of all, it gives you that rich, homemade flavor that store-bought options just can’t match. Get ready to elevate your baking and say goodbye to melting toppings forever!
Why is Stabilized Whipped Cream so popular?
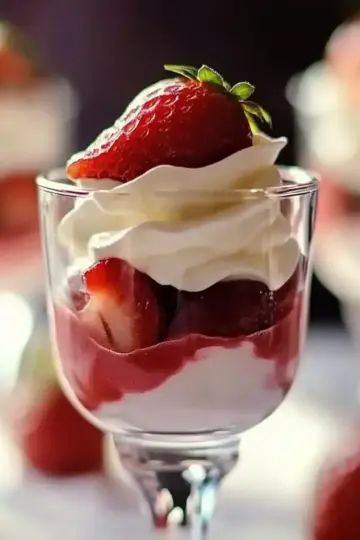
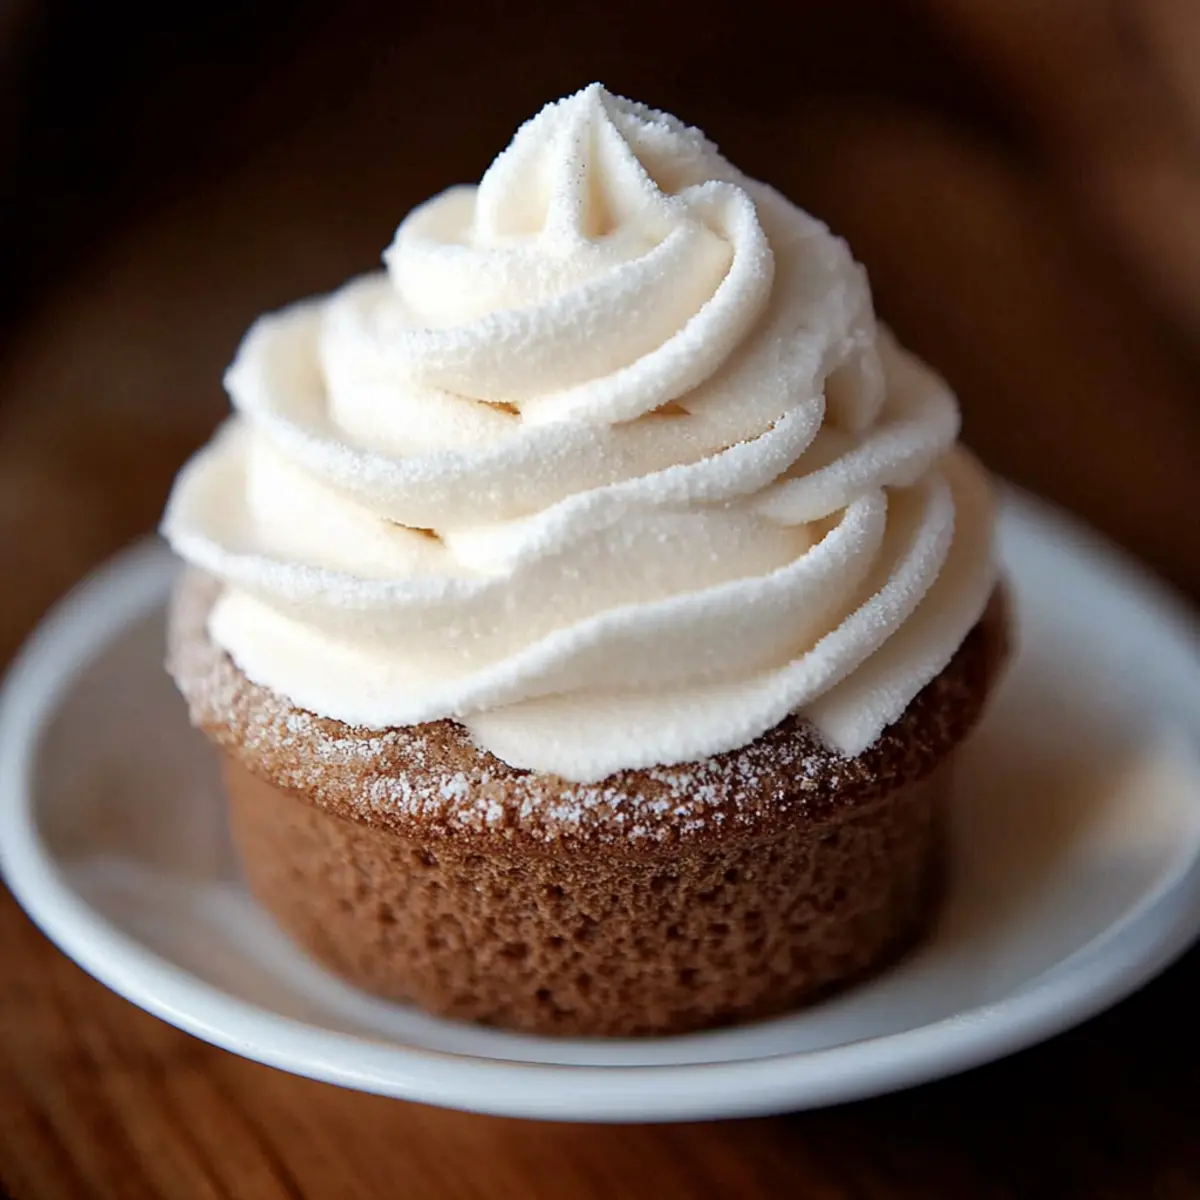
The secret to its soaring popularity? Versatility and flavor! This 5-minute delight can transform your desserts, making it a go-to for cake frostings, pie toppings, and even no-bake treats. With its firm yet fluffy texture, it easily withstands warm weather, allowing you to create beautiful, picture-perfect layers without the worry of melting. Imagine topping a rich chocolate cake or adding a luscious layer to your favorite trifle! Plus, it's easy to whip up, giving you more time to enjoy those sweet moments with family and friends. If you’re looking to impress, this recipe for orange creamsicle cake pairs beautifully with stabilized whipped cream!
Stabilized Whipped Cream Ingredients
• Create a delicious treat with the right ingredients!
For the Whipped Cream
• Heavy Whipping Cream – This is the creamy base that gives your stabilized whipped cream its rich texture and flavor.
• Powdered Sugar – Adds a sweet touch that enhances the overall flavor while helping to stabilize the cream.
• Gelatin (Knox brand) – The magic ingredient that sets the whipped cream, allowing it to hold its shape beautifully, especially in warm weather.
• Cold Water – Essential for blooming the gelatin, ensuring a smooth incorporation into the mixture.
• Vanilla Extract – Imparts a delightful flavor that takes your whipped cream to the next level.
Note: Remember to use this stabilized whipped cream immediately after preparing, as it is designed to hold its shape for a limited time, preserving that perfect, fluffy texture for your desserts!
Step-by-Step Instructions for Stabilized Whipped Cream
- Bloom the Gelatin Sprinkle the gelatin over cold water in a small bowl and let it sit for about 5 minutes. This blooming process hydrates the gelatin, ensuring it dissolves smoothly without any lumps later on.
- Melt the Gelatin Microwave the bloomed gelatin for 5 seconds at a time, stirring in between, until fully melted and transparent. This step activates the gelatin’s gelling properties, making it ready to stabilize your whipped cream.
- Whip the Cream In a large, cold bowl, use a hand mixer on medium speed to whip the heavy cream for about 15 seconds until it starts to foam. Whipping it at the right speed helps incorporate air, which gives your whipped cream its light, fluffy texture.
- Add Sweetness Gradually mix in powdered sugar and vanilla extract, continuing to whip on medium speed until soft peaks form, typically about 1-2 minutes. Soft peaks indicate that the cream is rich in air, enhancing the overall flavor and texture of your stabilized whipped cream.
- Incorporate Gelatin Lower the mixer speed to low and slowly drizzle in the melted gelatin. Mixing at this speed helps ensure an even distribution of the gelatin throughout the cream without compromising the fluffiness you’ve achieved so far.
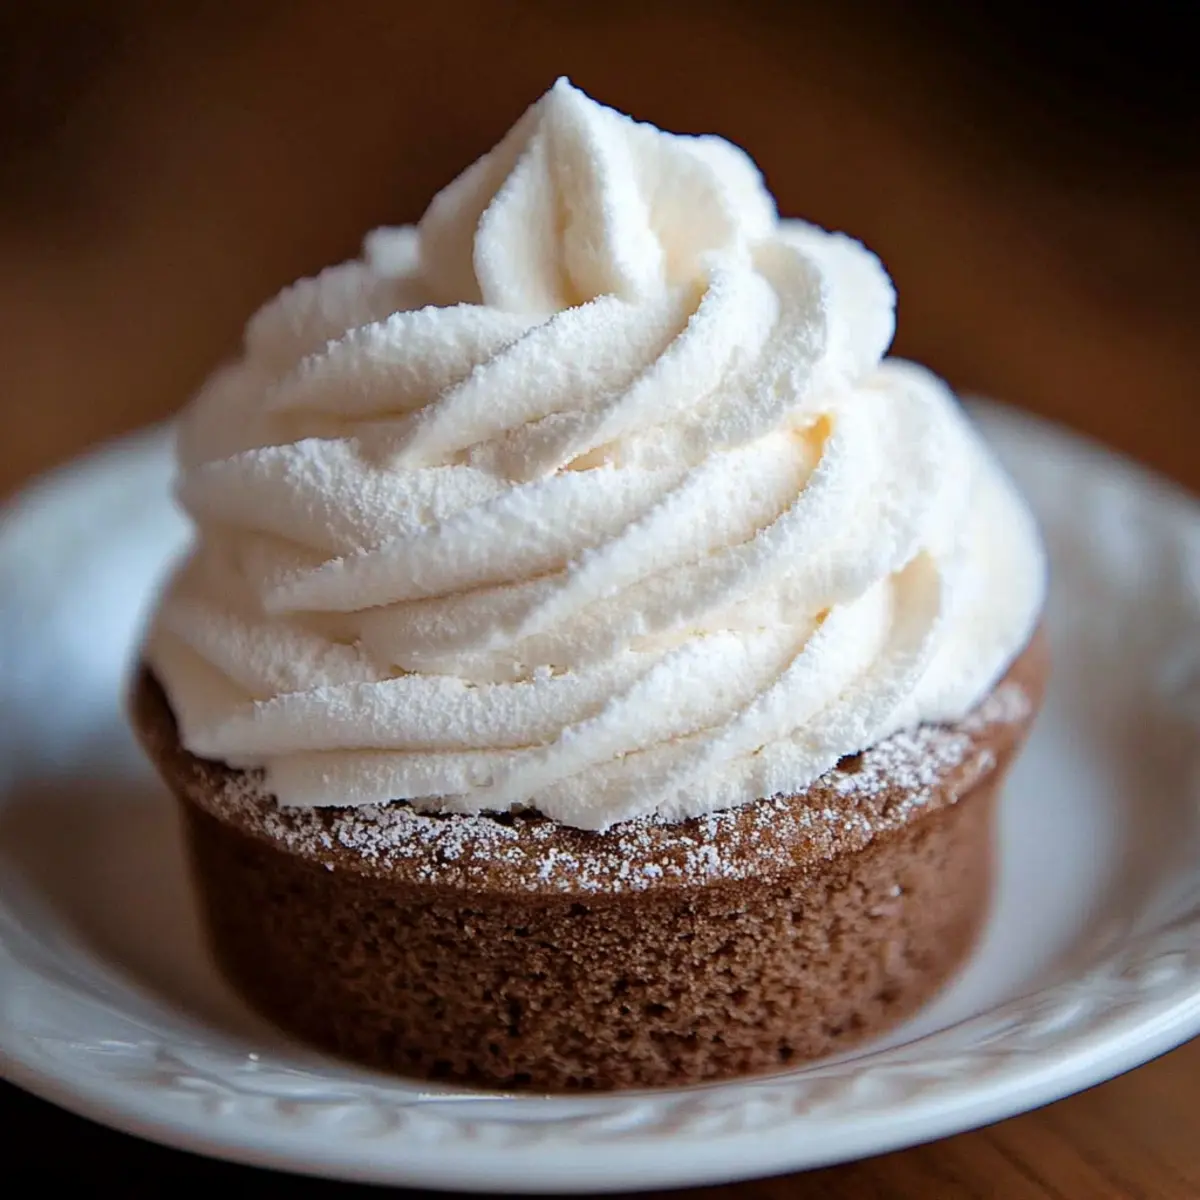
- Whip to Firm Peaks Increase the mixer speed back to medium and whip until firm peaks form, which may take another 1-2 minutes. Firm peaks mean your whipped cream will hold its shape beautifully on cakes and desserts, ensuring a stunning presentation.
Note: Do not over-mix; once firm peaks form, stop immediately to avoid a gritty texture. Enjoy your freshly made stabilized whipped cream right away for the best results!
How to Store and Freeze Stabilized Whipped Cream
Fridge: Keep your stabilized whipped cream in an airtight container in the refrigerator for up to 3 days. Make sure it's well sealed to prevent it from absorbing any odors from your fridge.
Freezer: If you need to freeze it, place the whipped cream in a freezer-safe container with a lid. It can last in the freezer for up to 2 months. Before using, thaw it overnight in the fridge and gently re-whip to restore texture.
Using Immediately: For best results, use the stabilized whipped cream immediately after making it. The gelatin provides stability, but its strength will diminish over time.
Reheating: If your whipped cream has lost its fluffiness during storage, gently mix or re-whip it briefly. Avoid over-mixing to prevent a grainy texture; remember, this creamy delight is best enjoyed when freshly made!
Turn It Into A Party!
When it comes to party desserts, my Stabilized Whipped Cream is an absolute crowd-pleaser! With its rich flavor and perfect texture, it’s the ideal topping for cakes, pies, or even fruit platters (hello, summer parties! 😉). Serve it with crunchy chips or crisp crackers for a fun twist. A few tips if serving for a crowd:
- Prepare in advance! Whip up your stabilized whipped cream just before the party for optimal fluffiness and shape! (While it’s best to serve immediately, you can keep it chilled for 30 minutes if needed!)
- Get creative with variations! Try adding a splash of flavored extracts, or even a hint of strawberry puree to truly delight your guests! (Seasonal flavors can elevate your dessert table!)
- Set up a dessert bar! Allow friends and family to customize their treats by providing an assortment of toppings like fruit, chocolate shavings, and sprinkles alongside your stabilized whipped cream! (Perfect for interactive fun and sweet memories!)
Substitutions
Can't find a few of these ingredients? No problem! They can easily be replaced with the suggestions below:
- Heavy Whipping Cream: Replace it with full-fat coconut cream. This gives a dairy-free option with a creamy texture.
- Gelatin: Replace it with ½ cup vanilla pudding mix. This offers stability and sweetness without the need for blooming.
- Powdered Sugar: Replace it with granulated sugar using 1 cup, blended in a food processor until fine. This works well if you prefer a more natural sweetener.
- Cold Water: Replace it with cold milk using 2 tablespoons. This helps dissolve any alternatives while keeping moisture.
- Vanilla Extract: Replace it with almond extract using 1 teaspoon. This gives a lovely nutty flavor that pairs beautifully with desserts.
What to Serve with Stabilized Whipped Cream?
Whether you're decorating a decadent cake or lightly topping a dessert, the right accompaniments can elevate your sweet experience.
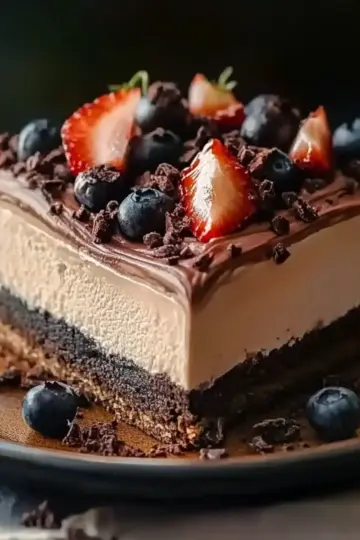
- Fresh Berries: The natural sweetness and tang of strawberries, raspberries, or blueberries brilliantly contrast with the creamy texture, making them a delightful pairing.
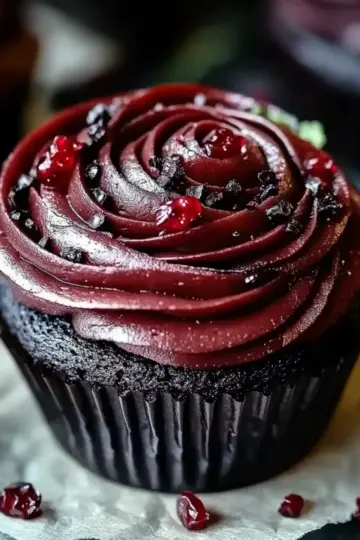
- Chocolate Cake: Rich, moist chocolate cake complements the lightness of stabilized whipped cream, providing a perfect balance of flavors for your indulgent dessert.
- Fruit Tart: A vibrant fruit tart filled with pastry cream benefits from stabilized whipped cream, enhancing its creamy layers while presenting a stunning visual appeal.
- Pudding Parfaits: Layering stabilized whipped cream with chocolate or vanilla pudding creates a delightful texture contrast, making for an indulgent yet light dessert option.
- Lemon Curd: The bright tang of lemon curd combined with the sweetness of whipped cream offers a refreshing contrast, perfect for brightening up any dessert spread.
- Coffee or Espresso: Pair your whipped cream with a rich cup of coffee or espresso. The creaminess adds a smooth finish, making each sip a cozy delight.
- Cake Pops: The lightness of your stabilized whipped cream enhances the indulgence of cake pops, creating a fun, sweet treat that’s perfect for gatherings.
- Chocolate Mousse: The airy texture of stabilized whipped cream beautifully complements the rich density of chocolate mousse, creating an extraordinary dessert experience.
Tips for making the most flavorful Stabilized Whipped Cream
- Start Cold: Make sure your heavy whipping cream and mixing bowl are chilled. Cold temperatures help the cream whip up faster and achieve that light, fluffy texture you crave. I like to pop my bowl in the freezer for about 10 minutes before getting started!
- Perfect Blooming: When sprinkling gelatin over cold water, let it rest for a full 5 minutes. This process, known as blooming, hydrates the gelatin and prevents lumps when you heat it. Trust me, a smooth incorporation makes all the difference in texture!
- Watch the Mixing: Be careful not to over-mix your whipped cream. Firm peaks should form, but if you whip too long, you'll end up with a grainy texture that isn't as delightful. I always stop mixing right when the peaks hold their shape beautifully—it's a game-changer!
- Add Flavor Variations: You can jazz up your stabilized whipped cream by mixing in zest or extracts. Whether it's lemon zest for a tangy twist or almond extract for warmth, these small tweaks can elevate your cream to new heights! Just keep in mind that too much liquid can impact texture.
- Custom Stabilizers: If gelatin isn’t your thing (or you’re looking for alternatives), try swapping it for vanilla pudding mix or cornstarch. Both can stabilize, though cornstarch can sometimes give a slightly grittier texture. It’s all about finding what works best for you!
- Fresh Fruit Tip: Adding fruit? Be sure to drain off excess liquid from fresh berries or other fruits before folding them in. This prevents your whipped cream from becoming too thin and losing that delightful structure. You want it to stay fluffy and gorgeous!
Stabilized Whipped Cream Recipe FAQs
What is the difference between whipped cream and stabilized whipped cream?
The main difference lies in stability. Standard whipped cream is light and fluffy but tends to collapse or weep once made, especially in warm temperatures or over time. Stabilized whipped cream, on the other hand, incorporates a stabilizer like gelatin, which helps it maintain its shape and texture for longer periods, making it perfect for frosting cakes or layering desserts.
How long will stabilized whipped cream hold up?
Absolutely! Stabilized whipped cream typically holds its shape for about 2-3 days when stored properly in the fridge. In ideal conditions, like a cooler room, it might even last up to 3 days without deflating, but for the best taste, it’s recommended to use it within that timeframe.
Does cream of tartar stabilize whipped cream?
Yes, indeed! Cream of tartar can help stabilize whipped cream by adding stiffness and volume. You can incorporate it by mixing about ½ teaspoon with your powdered sugar before adding it to the cream. Just remember that while it adds stabilization, it's not as effective as gelatin, especially in warm weather.
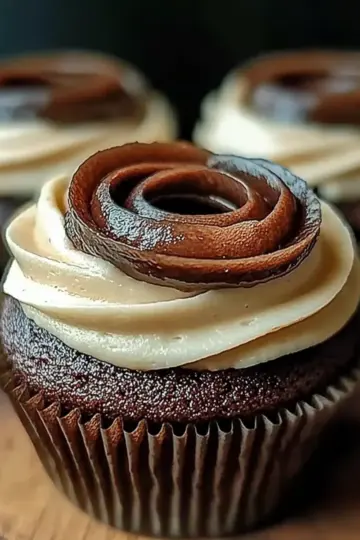
Can stabilized whipped cream be piped?
Very much so! You’ll find that stabilized whipped cream is perfect for piping—its firm structure allows for creating beautiful swirls and designs that hold their shape. Whether you’re decorating cupcakes or layering a trifle, you can trust that your whipped cream will look stunning on any dessert!
What do bakeries use to stabilize whipped cream?
Bakeries often use gelatin as a stabilizer for whipped cream, as it effectively holds the cream's shape while providing a luscious flavor. Some may also use powdered sugar with cornstarch or premade powdered stabilizers available commercially. Each method helps maintain the whipped cream's integrity in the bustling bakery environment!
What is the best stabilizer for whipped cream?
The best stabilizer really depends on what you're looking for! Gelatin is widely regarded as the gold standard for its effectiveness and ease of use, especially in warmer conditions. If you're looking for alternatives, vanilla pudding mix can also work well, providing a delightful flavor while stabilizing the texture. For a more unique option, a small amount of cornstarch can work, though it may result in a slightly gritty texture. Choose what suits your needs best!
Perfectly Sweet Stabilized Whipped Cream: Easy Anytime Delight
Ingredients
- 1 cup Heavy Whipping Cream
- 2 tablespoons Powdered Sugar
- 1 teaspoon Gelatin Knox brand
- 2 tablespoons Cold Water
- 1 teaspoon Vanilla Extract
Instructions
- Sprinkle the gelatin over cold water in a small bowl and let it sit for about 5 minutes.
- Microwave the bloomed gelatin for 5 seconds at a time, stirring in between, until fully melted and transparent.
- In a large, cold bowl, use a hand mixer on medium speed to whip the heavy cream for about 15 seconds until it starts to foam.
- Gradually mix in powdered sugar and vanilla extract, continuing to whip on medium speed until soft peaks form.
- Lower the mixer speed to low and slowly drizzle in the melted gelatin.
- Increase the mixer speed back to medium and whip until firm peaks form.
Notes
- Use the stabilized whipped cream immediately after preparing for best results.
- Do not over-mix; stop immediately once firm peaks form.